


How to Change Background Color in Photoshop?


Changing the background color of an image can dramatically transform its look and feel, creating a powerful impact that captivates your audience. Whether you're a graphic designer, a photographer, or someone who loves experimenting with photos, learning how to change background color can unlock endless creative possibilities. Our comprehensive guide will walk you through the entire process, making it easy to achieve professional results.
Imagine you have a stunning portrait, but the background doesn't quite match the mood you envision. With Photoshop, changing the background color becomes a breeze. This powerful tool allows you to alter the background, enhancing the overall composition seamlessly. In this blog post, we'll explore the step-by-step process of how to change the background color in Photoshop, ensuring you achieve a flawless finish every time.
At Erase.bg, we understand the importance of having the right tools at your disposal. That's why we've dedicated ourselves to helping you master techniques like Photoshop to change background color. Stay tuned as we dive deep into tips, tricks, and insights that will elevate your photo editing skills and bring your creative visions to life.
What is Photoshop?
Photoshop is a powerful image editing software developed by Adobe. It is widely used by photographers, designers, and digital artists for its vast array of tools and features that allow for photo manipulation, retouching, and graphic design.
With Photoshop, users can edit images by adjusting colors, adding filters, creating composite images, and changing backgrounds. It supports layers, enabling complex edits without altering the original image. Photoshop is also essential for web design, allowing designers to create and optimize graphics for online use.
Its extensive range of capabilities makes it a cornerstone in the creative industry, from simple photo edits to intricate digital art. Photoshop’s versatility and precision have made it the go-to software for professionals seeking to elevate their visual content.
How To Change Background Color In Photoshop
Changing the background color in Photoshop is a skill that can significantly enhance your images, giving them a fresh and professional look. Whether you're a graphic designer, photographer, or hobbyist, mastering this technique can elevate your work.
Photoshop offers intuitive tools that make this process straightforward, allowing you to replace dull or distracting backgrounds with vibrant colors that make your subject stand out.
This tutorial will guide you through the steps to change the background color in Photoshop, ensuring you achieve a seamless and polished result. With a few simple clicks, you can transform the entire mood and impact of your images, making them more engaging and visually appealing.
Step 1: Selecting the Background
1.1 Use the Magic Wand Tool:
Quick and effective, the Magic Wand tool is ideal for stark foreground-background differences. Click and hold Shift to select different parts of the background swiftly.
1.2 Try the Lasso Tool:
For a more nuanced selection, explore the Lasso tool variations—standard, Polygonal, and Magnetic. Draw around the background elements, refining your selection with precision.
1.3 Explore the Masking Tool:
Achieve unparalleled precision with the Masking tool. "Paint" your selection with a brush, combining it with other methods for meticulous adjustments.
Step 2: Changing Background Color
2.1 Change Hue:
Press Ctrl+U to access the Hue and Saturation menu. Adjust the Hue slider to change the overall color palette while maintaining lighting levels.
2.2 Paint Over It:
Opt for a blank background color by creating a new layer, selecting the Fill Tool, and using the color palette. Paint within your selection for a solid color or choose the gradient option for a dynamic background.
Whether you prefer swift changes or detailed modifications, these techniques offer a spectrum of possibilities for transforming background colors in your images. Embrace the versatility of Photoshop and elevate your creative endeavors with these easy-to-follow steps.
Set the Tone: Choosing A Background Color From The Start
Choosing the right background color from the beginning sets the tone for your entire project. Whether you’re aiming for a bold, vibrant look or a subtle, understated vibe, selecting the appropriate background color is crucial. In Photoshop, this process is made easy with a range of tools and options to help you find the perfect hue.
When you start a new project, consider the overall mood and message you want to convey. A bright background can make your design pop, while a softer color can create a more relaxed feel. By using Photoshop’s color picker and adjustment tools, you can experiment with different shades until you find the one that best suits your vision.
Remember, the background color should complement your main subject, not overpower it. By carefully selecting your background color in Photoshop, you ensure that your design is cohesive and visually appealing from the outset. This step-by-step guide will show you how to change the background color in Photoshop, ensuring your project starts with the perfect tone.
Adding Color To An Existing Image In Photoshop
Adding color to an existing image in Photoshop can transform its mood and impact. Whether you're enhancing a photo's vibrancy or completely changing its backdrop, Photoshop offers powerful tools to achieve stunning results. From adjusting hues to blending seamlessly with existing elements, the process allows for creative freedom and precise control.
This guide will explore essential techniques and tips to effectively add color to your images, ensuring your creations stand out with professional-grade quality. Embrace the versatility of Photoshop and elevate your imagery with vibrant new colors.
- Selective Color Adjustment: Use selective color adjustment layers in Photoshop to target specific hues in your image. This allows you to enhance or modify colors without affecting the entire image.
- Gradient Maps for Tonal Changes: Utilize gradient maps to apply smooth transitions of color across your image. This method is effective for adding depth and mood to photographs.
- Solid Color Layers for Background Changes: Add solid color adjustment layers to change the background color of your image. This technique provides flexibility and allows for easy adjustments.
- Overlay and Blend Modes: Experiment with overlay and blend modes to blend new colors seamlessly with existing elements in your image. This enhances realism and integration.
- Brush Tool for Fine Detailing: Use the brush tool with low opacity to selectively paint colors onto specific areas of your image. This method is ideal for fine-tuning and adding subtle accents.
These points will guide you in effectively adding color to your images using Photoshop, achieving professional and creative results.
The Magic of Layer Masks: Effortless Background Changes in Photoshop
Discover the transformative power of layer masks in Photoshop, where precision meets creativity effortlessly. Layer masks empower you to alter backgrounds with precision, allowing you to blend, edit, and refine colors seamlessly while preserving the integrity of your subjects.
This essential tool not only ensures non-destructive editing but also grants you complete control over every detail of your image compositions. Whether you're a novice or a seasoned designer, mastering layer masks opens up a realm of possibilities for achieving professional-grade results in background editing. Unlock the magic of layer masks and elevate your Photoshop skills today.
- Non-Destructive Editing: Layer masks in Photoshop allow you to make changes to your image without permanently altering the original pixels. This flexibility ensures you can experiment freely with background colors and other elements.
- Precision and Control: With layer masks, you can precisely control which parts of your image are affected by adjustments. This includes changing background colors seamlessly while keeping your subject untouched.
- Gradient and Blend Options: Photoshop offers a variety of gradient and blending options that enhance the transition between your subject and the background. This makes it easier to achieve natural-looking results.
- Editing Flexibility: Layer masks enable you to edit and refine your background color choices at any time. You can adjust opacity, apply different colors, or even add textures without starting over.
- Professional Results: Whether you're editing photos for personal projects or professional purposes, mastering layer masks ensures your background changes look polished and integrated into your design.
Using layer masks effectively in Photoshop transforms the background editing process, making it efficient and offering endless creative possibilities.
Masterful Background Editing: Unveiling Photoshop's Layer Masks and Selection Tools
Changing the background in Photoshop involves mastering powerful tools like Layer Masks and Selection Tools. These tools are essential for precise and seamless background replacements or adjustments in your images.
- Layer Masks for Precision: Photoshop's Layer Masks allow you to hide or reveal parts of a layer selectively. This capability is invaluable for intricate background changes while preserving the details of your main subject.
- Selection Tools for Versatility: Tools like the Quick Selection Tool and the Pen Tool enable you to make precise selections around objects or people in your images. These selections form the basis for accurate background adjustments.
- Refine Edge for Smooth Transitions: The Refine Edge tool enhances selection edges, ensuring smooth transitions between the foreground and the new background. This feature is particularly useful for complex subjects like hair or detailed objects.
- Background Removal Techniques: Explore various techniques, such as using the Background Eraser Tool or employing layer blending modes to integrate new backgrounds into your images seamlessly.
- Creative Freedom with Adjustment Layers: Adjustment Layers offer creative flexibility by allowing you to tweak colors, brightness, and contrast of the background independently, ensuring it complements your main subject.
Mastering these tools empowers you to achieve professional-level background editing in Photoshop, enhancing your creative projects with seamless and visually appealing results.
Best Photoshop Alternatives For Background Changes
Looking for the best Photoshop alternatives for changing backgrounds and adjusting background colors? You're in the right place! While Photoshop is a powerful tool, it’s not the only option available. Whether you need a free solution, an easy-to-use platform, or professional-grade software, several alternatives offer impressive features for background editing.
From GIMP's open-source capabilities to Affinity Photo's professional tools, these alternatives provide a range of options to suit different needs and budgets. Explore these top picks to find the perfect tool for your background editing projects.
1. Darktable
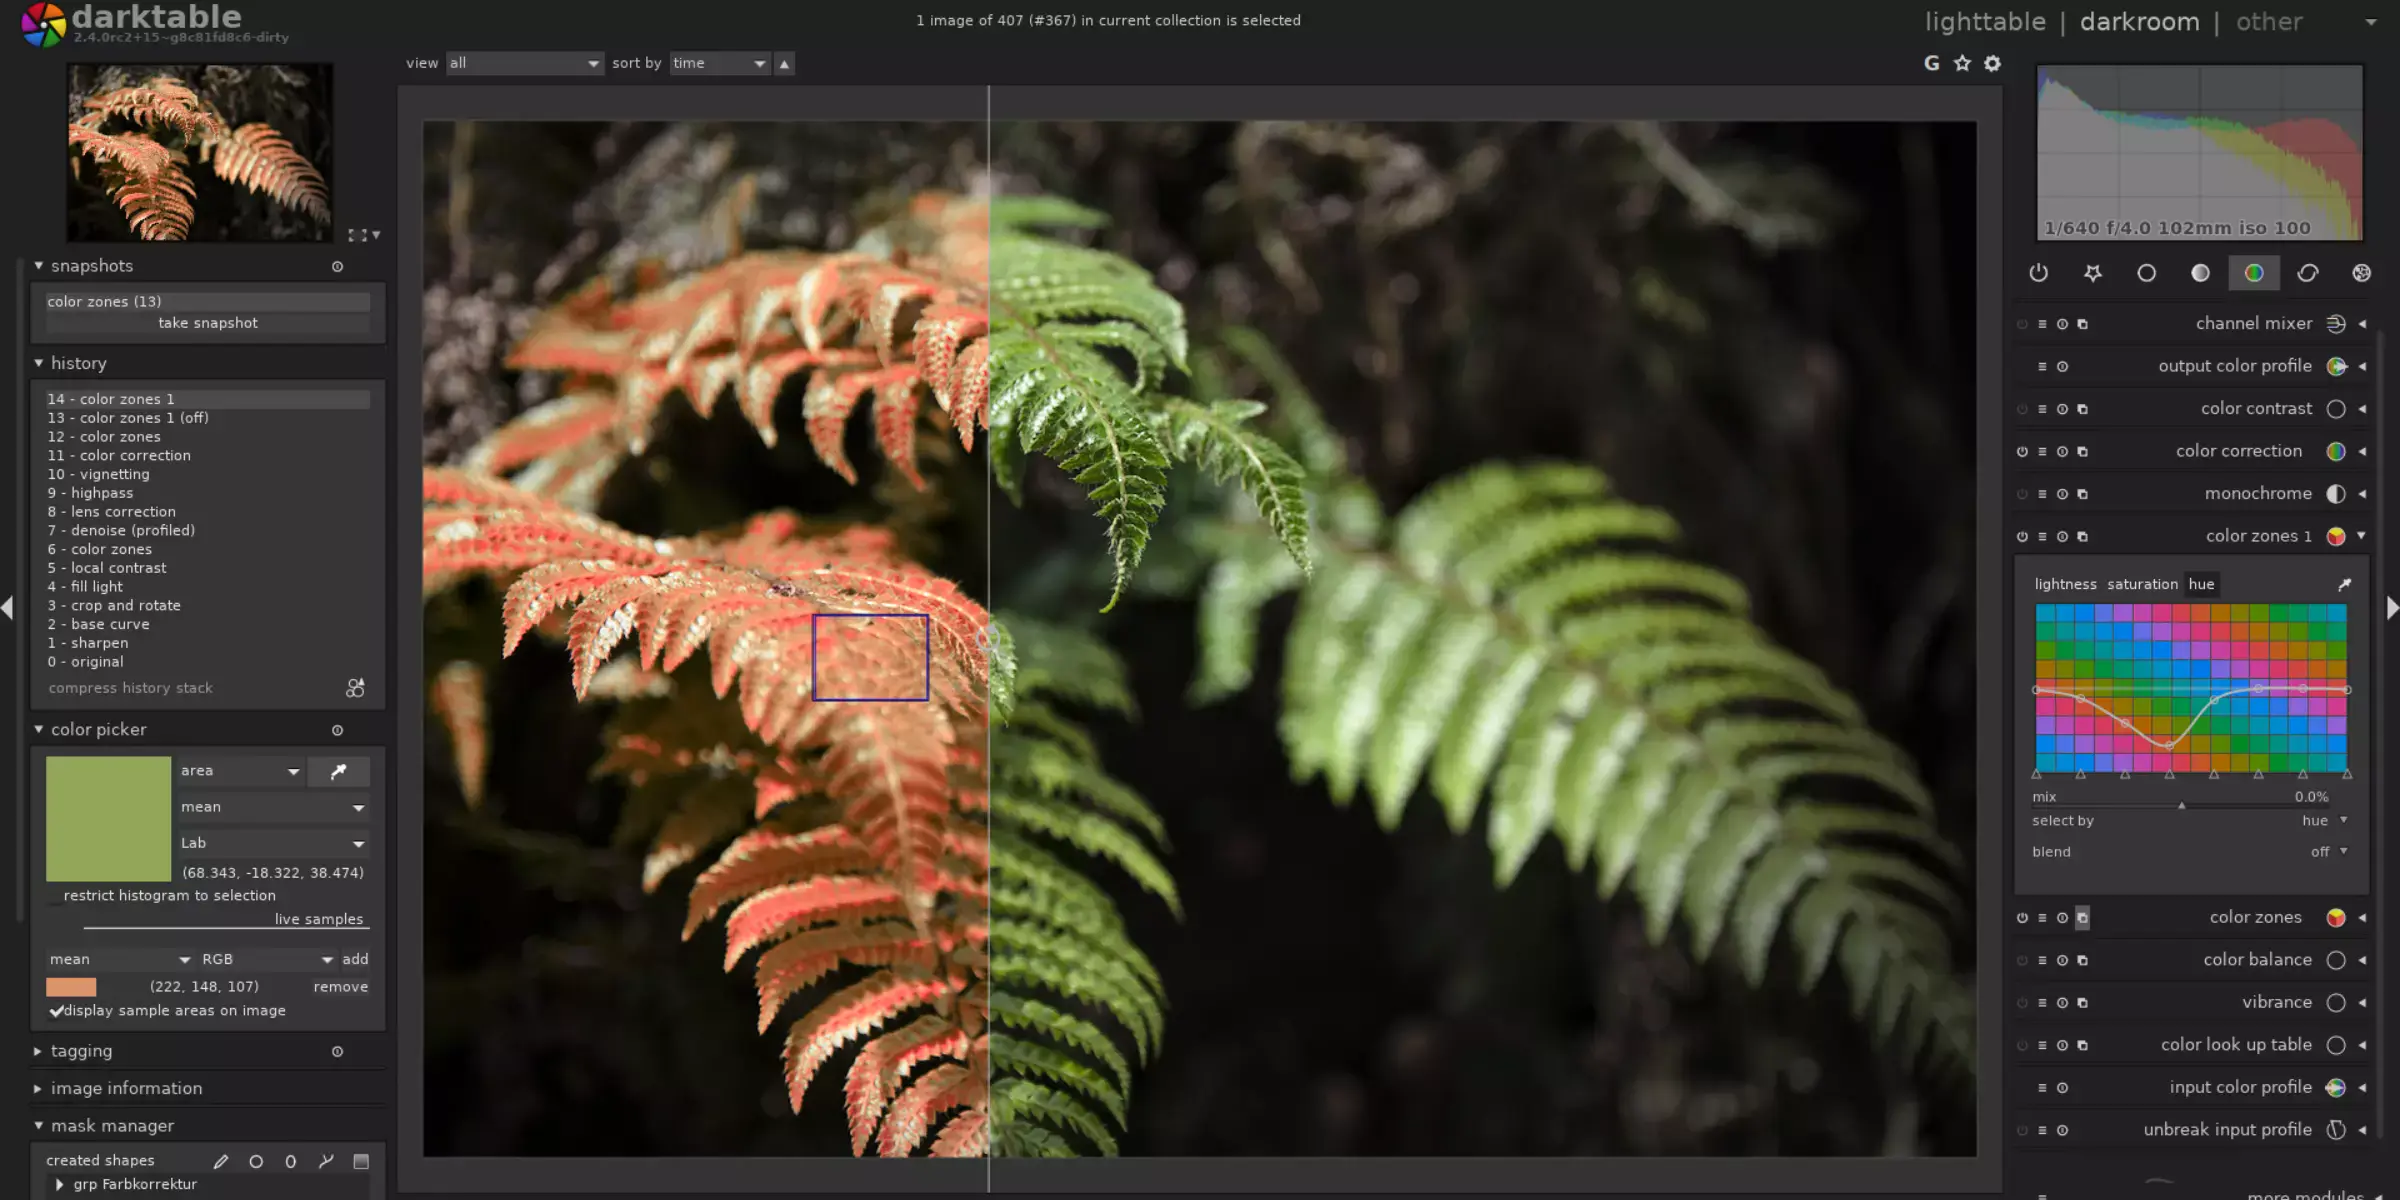
Darktable is a robust, open-source alternative to Photoshop, especially renowned for its powerful photo editing capabilities. If you're looking to change the background color in Photoshop but want a free option, Darktable is an excellent choice. It provides a range of tools that allow for seamless background color changes, enhancing your photos with professional precision.
With a user-friendly interface and extensive editing features, Darktable caters to both beginners and advanced users, ensuring high-quality results without the need for expensive software. Explore Darktable to effortlessly transform and enhance your images, making background color changes a breeze.
Pros:
- Free and open-source, providing cost-effective photo editing.
- Extensive range of editing tools for professional-quality results.
- Non-destructive editing allows for easy adjustments and revisions.
- Active community support with regular updates and enhancements.
- User-friendly interface suitable for both beginners and advanced users.
Cons:
- Steeper learning curve compared to more mainstream software.
- Limited integration with other popular software tools.
- Fewer advanced features than some paid alternatives.
- Occasional performance issues on lower-end hardware.
- Less extensive documentation and tutorials compared to Photoshop.
2. Affinity Photo
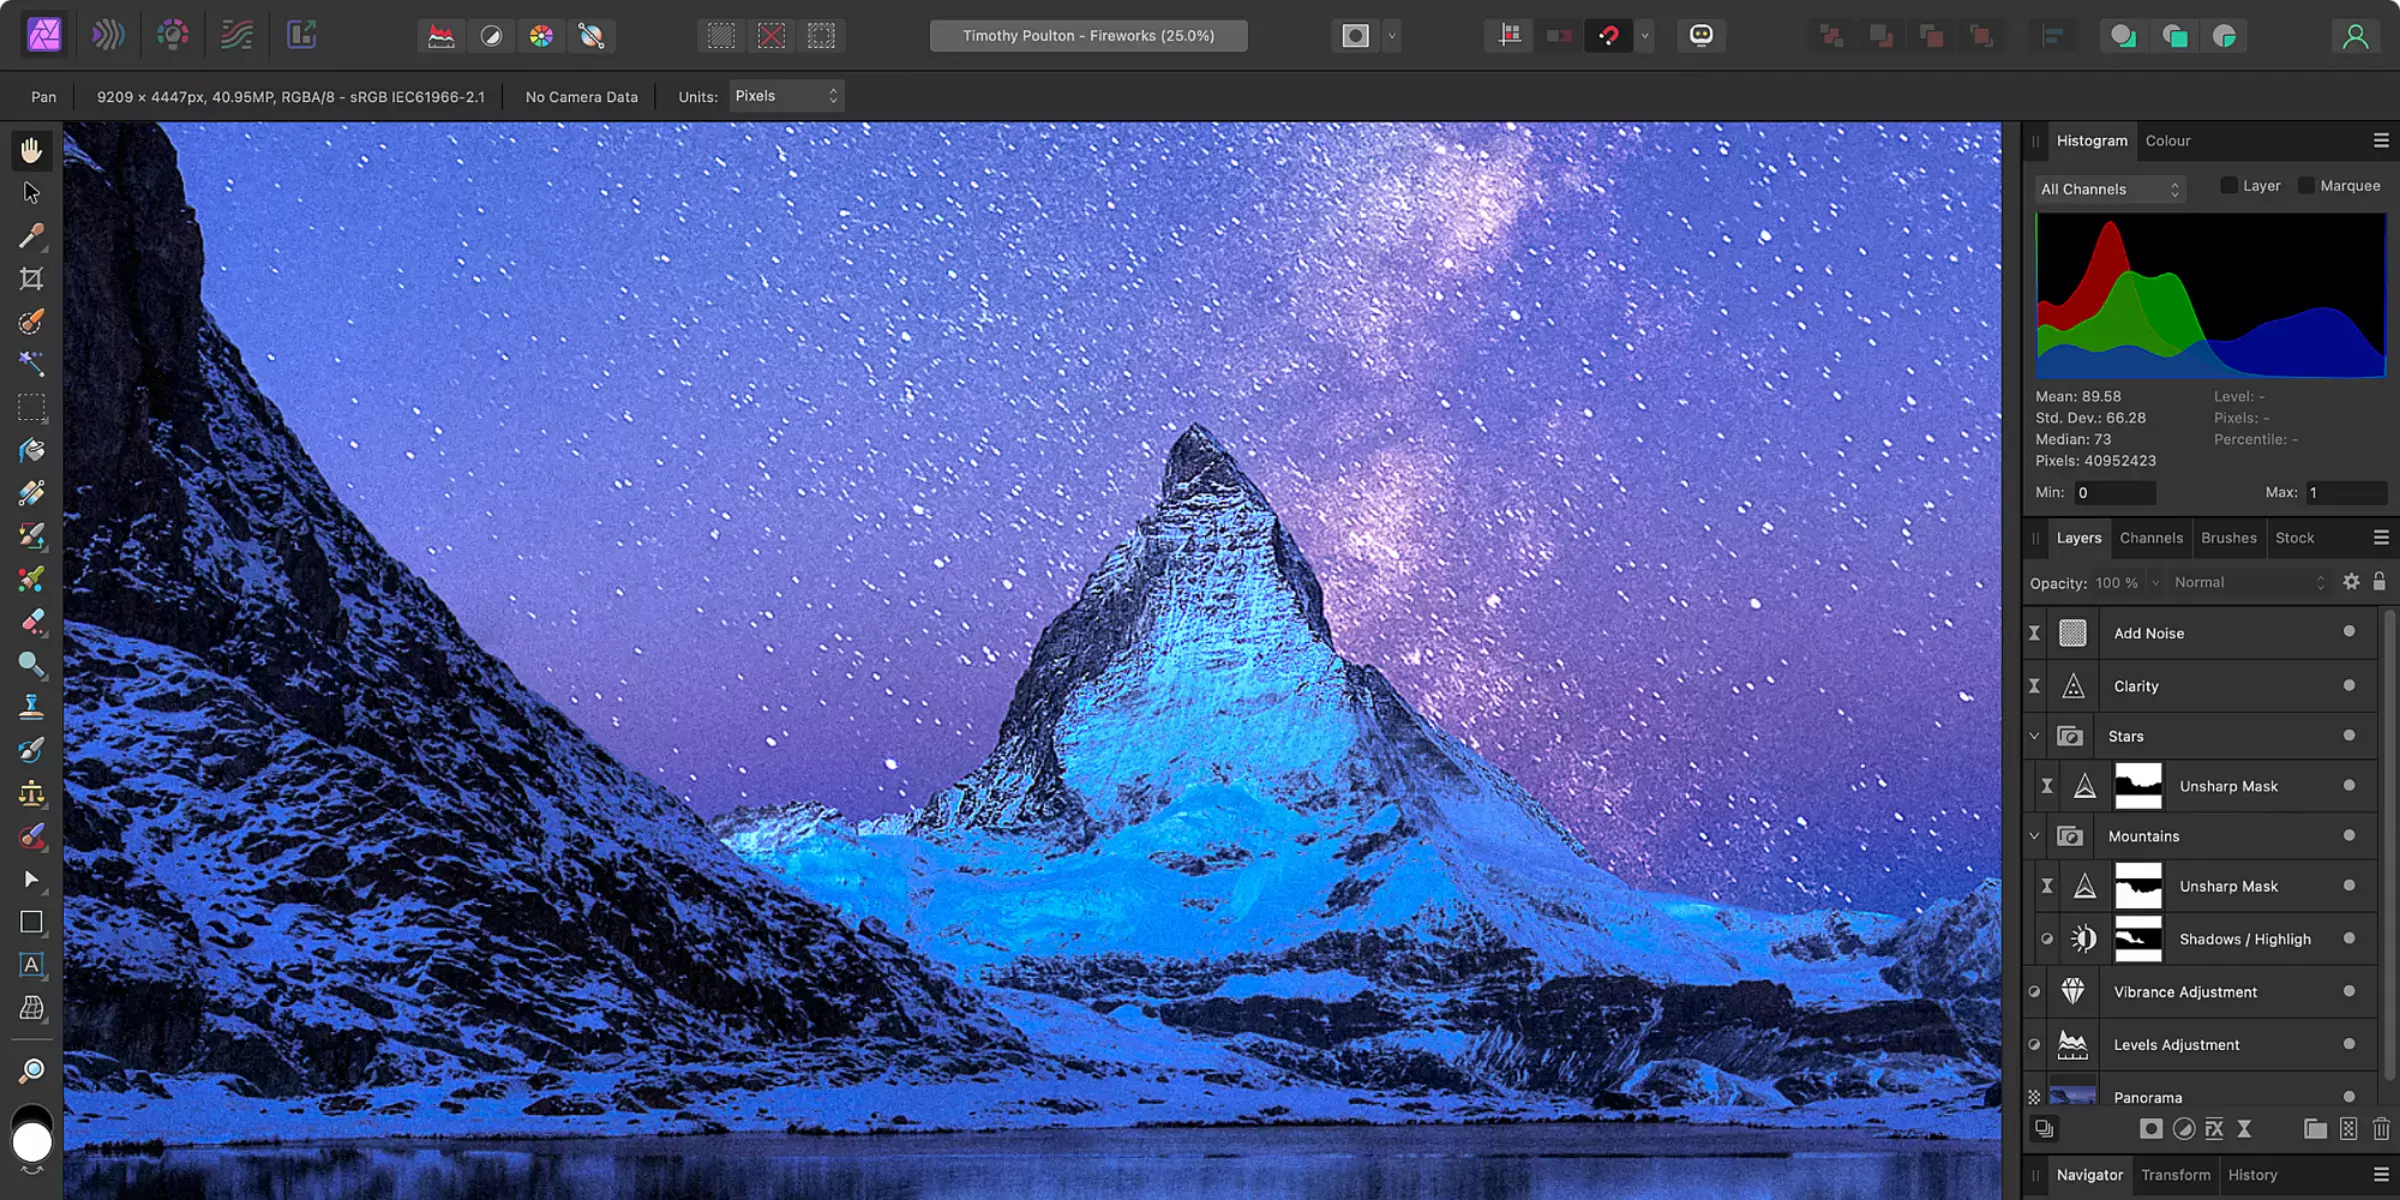
When it comes to powerful and affordable alternatives to Photoshop, Affinity Photo stands out. This software offers a comprehensive suite of editing tools that can easily rival Photoshop, making it a favorite among professional photographers and designers. With Affinity Photo, changing the background color of your images becomes a straightforward task.
The software provides intuitive tools that allow for precise background selection and seamless color adjustments. Whether you are looking to enhance your photos with vibrant new backgrounds or simply make subtle changes, Affinity Photo has you covered. Explore its capabilities and transform your images effortlessly.
Pros:
- Powerful editing tools comparable to Photoshop.
- Affordable one-time purchase with no subscription required.
- Intuitive user interface that's easy to navigate.
- Supports RAW editing and non-destructive adjustments.
- Seamless integration with other Affinity products like Designer and Publisher.
Cons:
- The learning curve for new users unfamiliar with Affinity's interface.
- Limited availability of third-party plugins compared to Photoshop.
- Compatibility issues with some file formats used in professional workflows.
- Less extensive community support and tutorials compared to industry giants.
- Users report occasional stability issues on certain systems.
3. LightZone
LightZone is a versatile photo editing software known for its unique non-destructive editing capabilities and user-friendly interface. Designed with photographers in mind, LightZone allows for precise adjustments to enhance images, including changing background colors effortlessly. Unlike traditional software, LightZone uses a zone mapping system that simplifies editing by focusing on zones of brightness and color.
This approach enables photographers to achieve nuanced changes to backgrounds and other elements without compromising image quality. Whether you're a beginner or a seasoned photographer, LightZone offers a creative platform to explore and refine your photos with ease and precision.
Pros:
- Intuitive zone mapping system for precise adjustments.
- Non-destructive editing preserves original image quality.
- User-friendly interface suitable for beginners.
- Offers creative tools for enhancing photos effectively.
- Supports various file formats for flexibility in editing.
Cons:
- Limited advanced editing features compared to industry leaders.
- The steeper learning curve for mastering advanced techniques.
- Occasional stability issues with software updates.
- Lack of extensive community support and tutorials.
- Compatibility issues with older operating systems.
4. Polarr
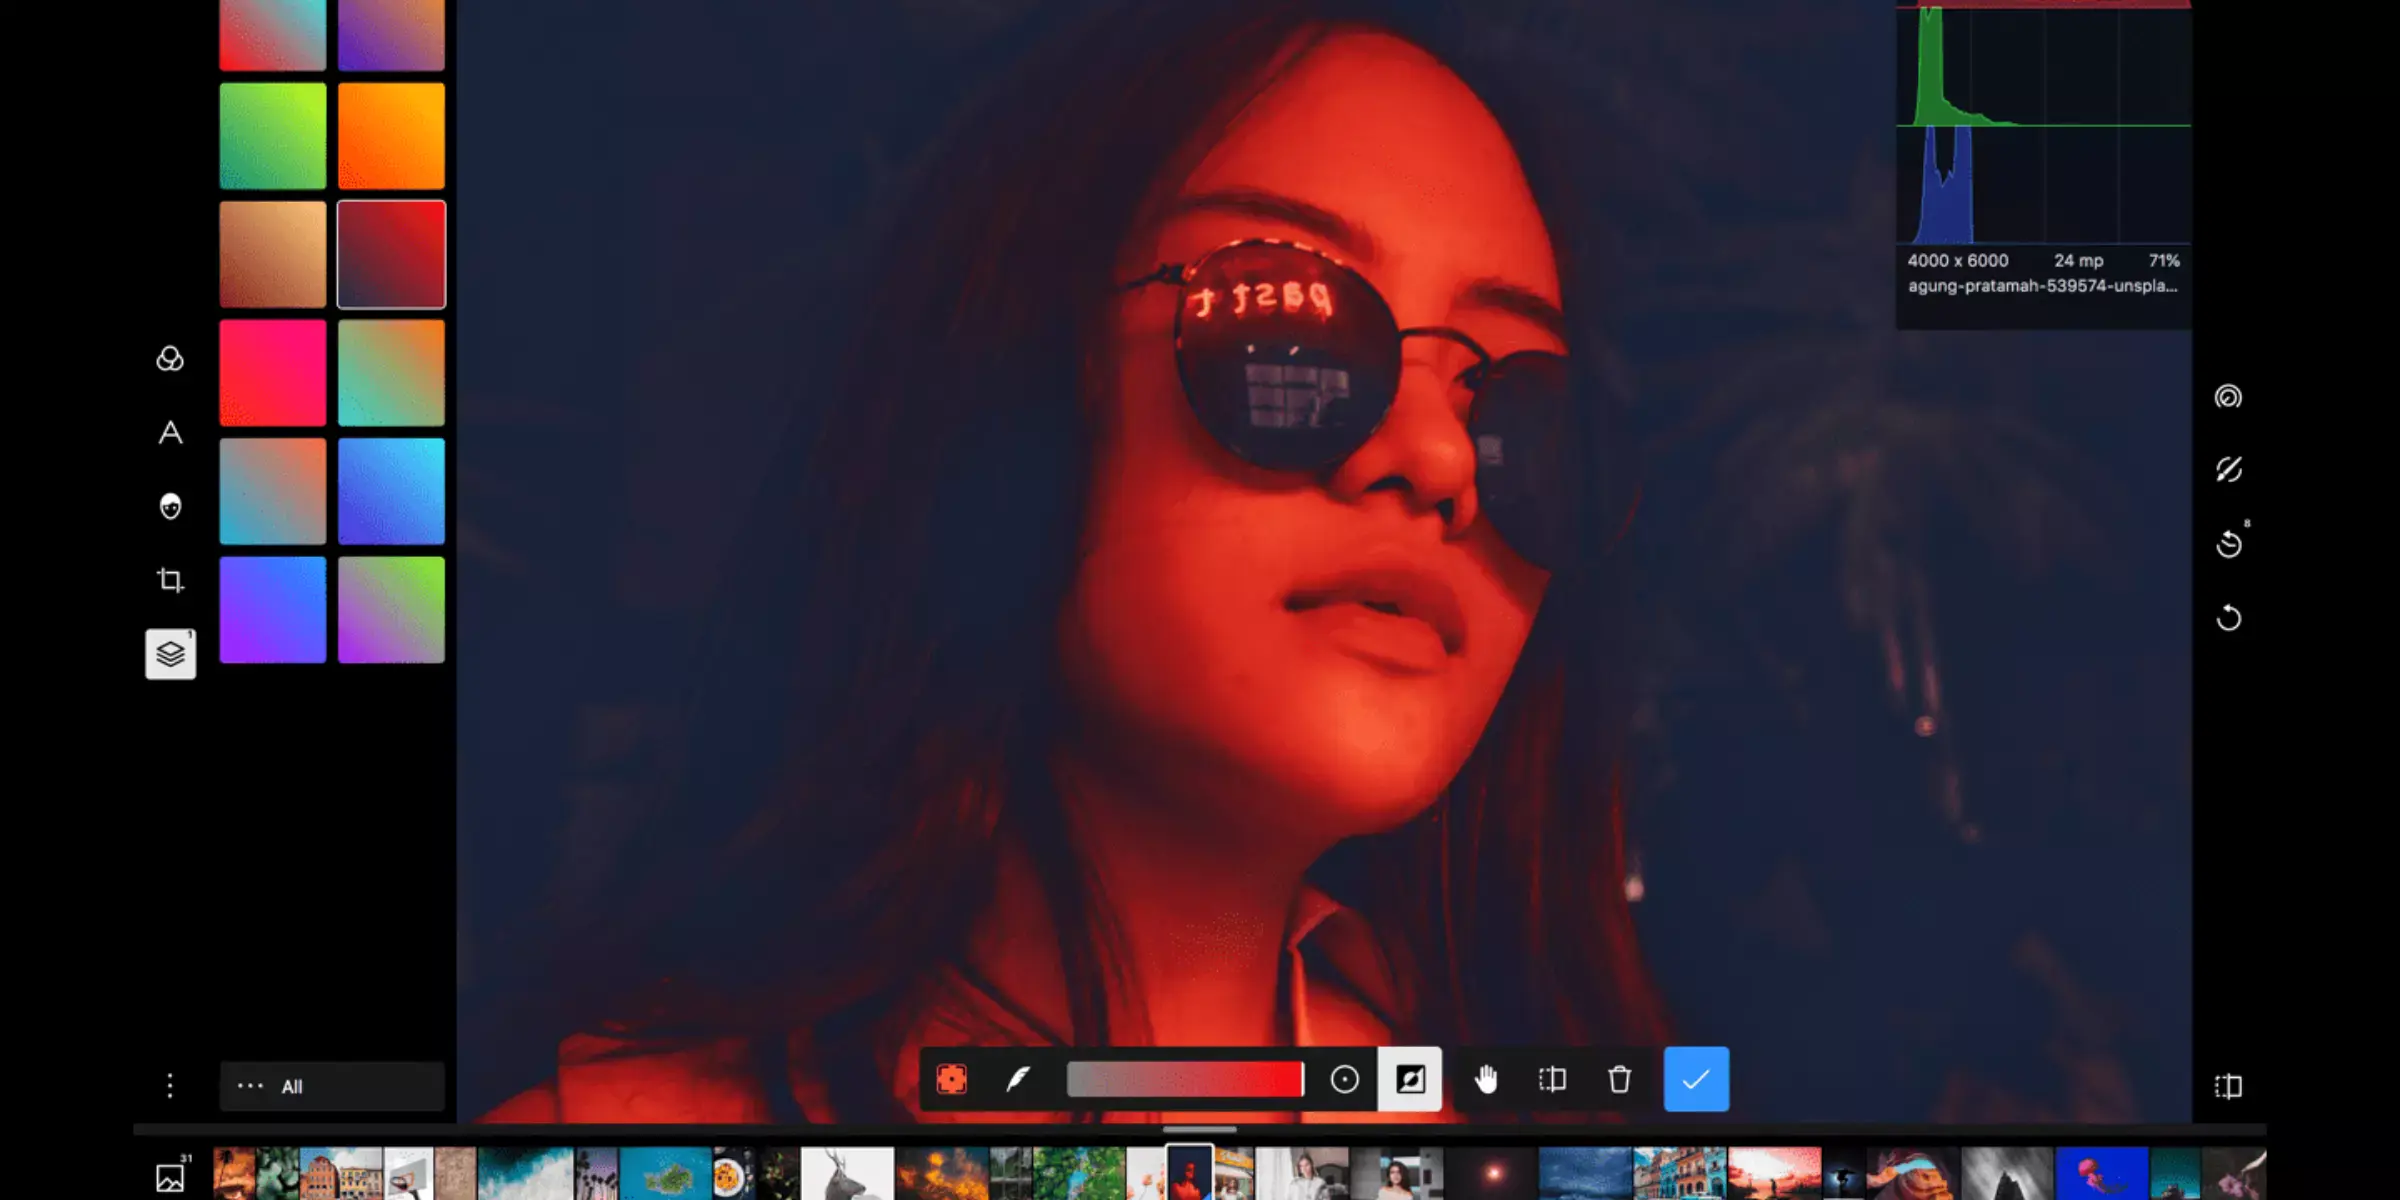
Polarr is a versatile photo editing tool that stands out for its user-friendly interface and powerful editing capabilities. Whether you're a novice or a seasoned photographer, Polarr offers intuitive controls for adjusting and enhancing images with ease. It provides robust features for changing backgrounds, allowing you to experiment creatively with different colors and textures.
With its cloud-based platform, Polarr ensures seamless access to your edits across devices, making it convenient for on-the-go editing. However, while Polar excels in accessibility and functionality, it may lack some of the advanced features found in industry-leading software. Overall, Polarr is a solid choice for users seeking a blend of simplicity and effective editing tools.
Pros:
- Intuitive and user-friendly interface
- Powerful editing capabilities suitable for both beginners and advanced users
- Cloud-based platform for seamless editing across devices
- Creative tools for changing backgrounds and enhancing images
- Regular updates and improvements to features
Cons:
- It may lack some advanced features found in more established photo editing software
- Limited in-depth customization options compared to industry leaders
- Requires an internet connection for full functionality
- The learning curve for mastering all features effectively
- Customer support response time can vary
5. InPixio
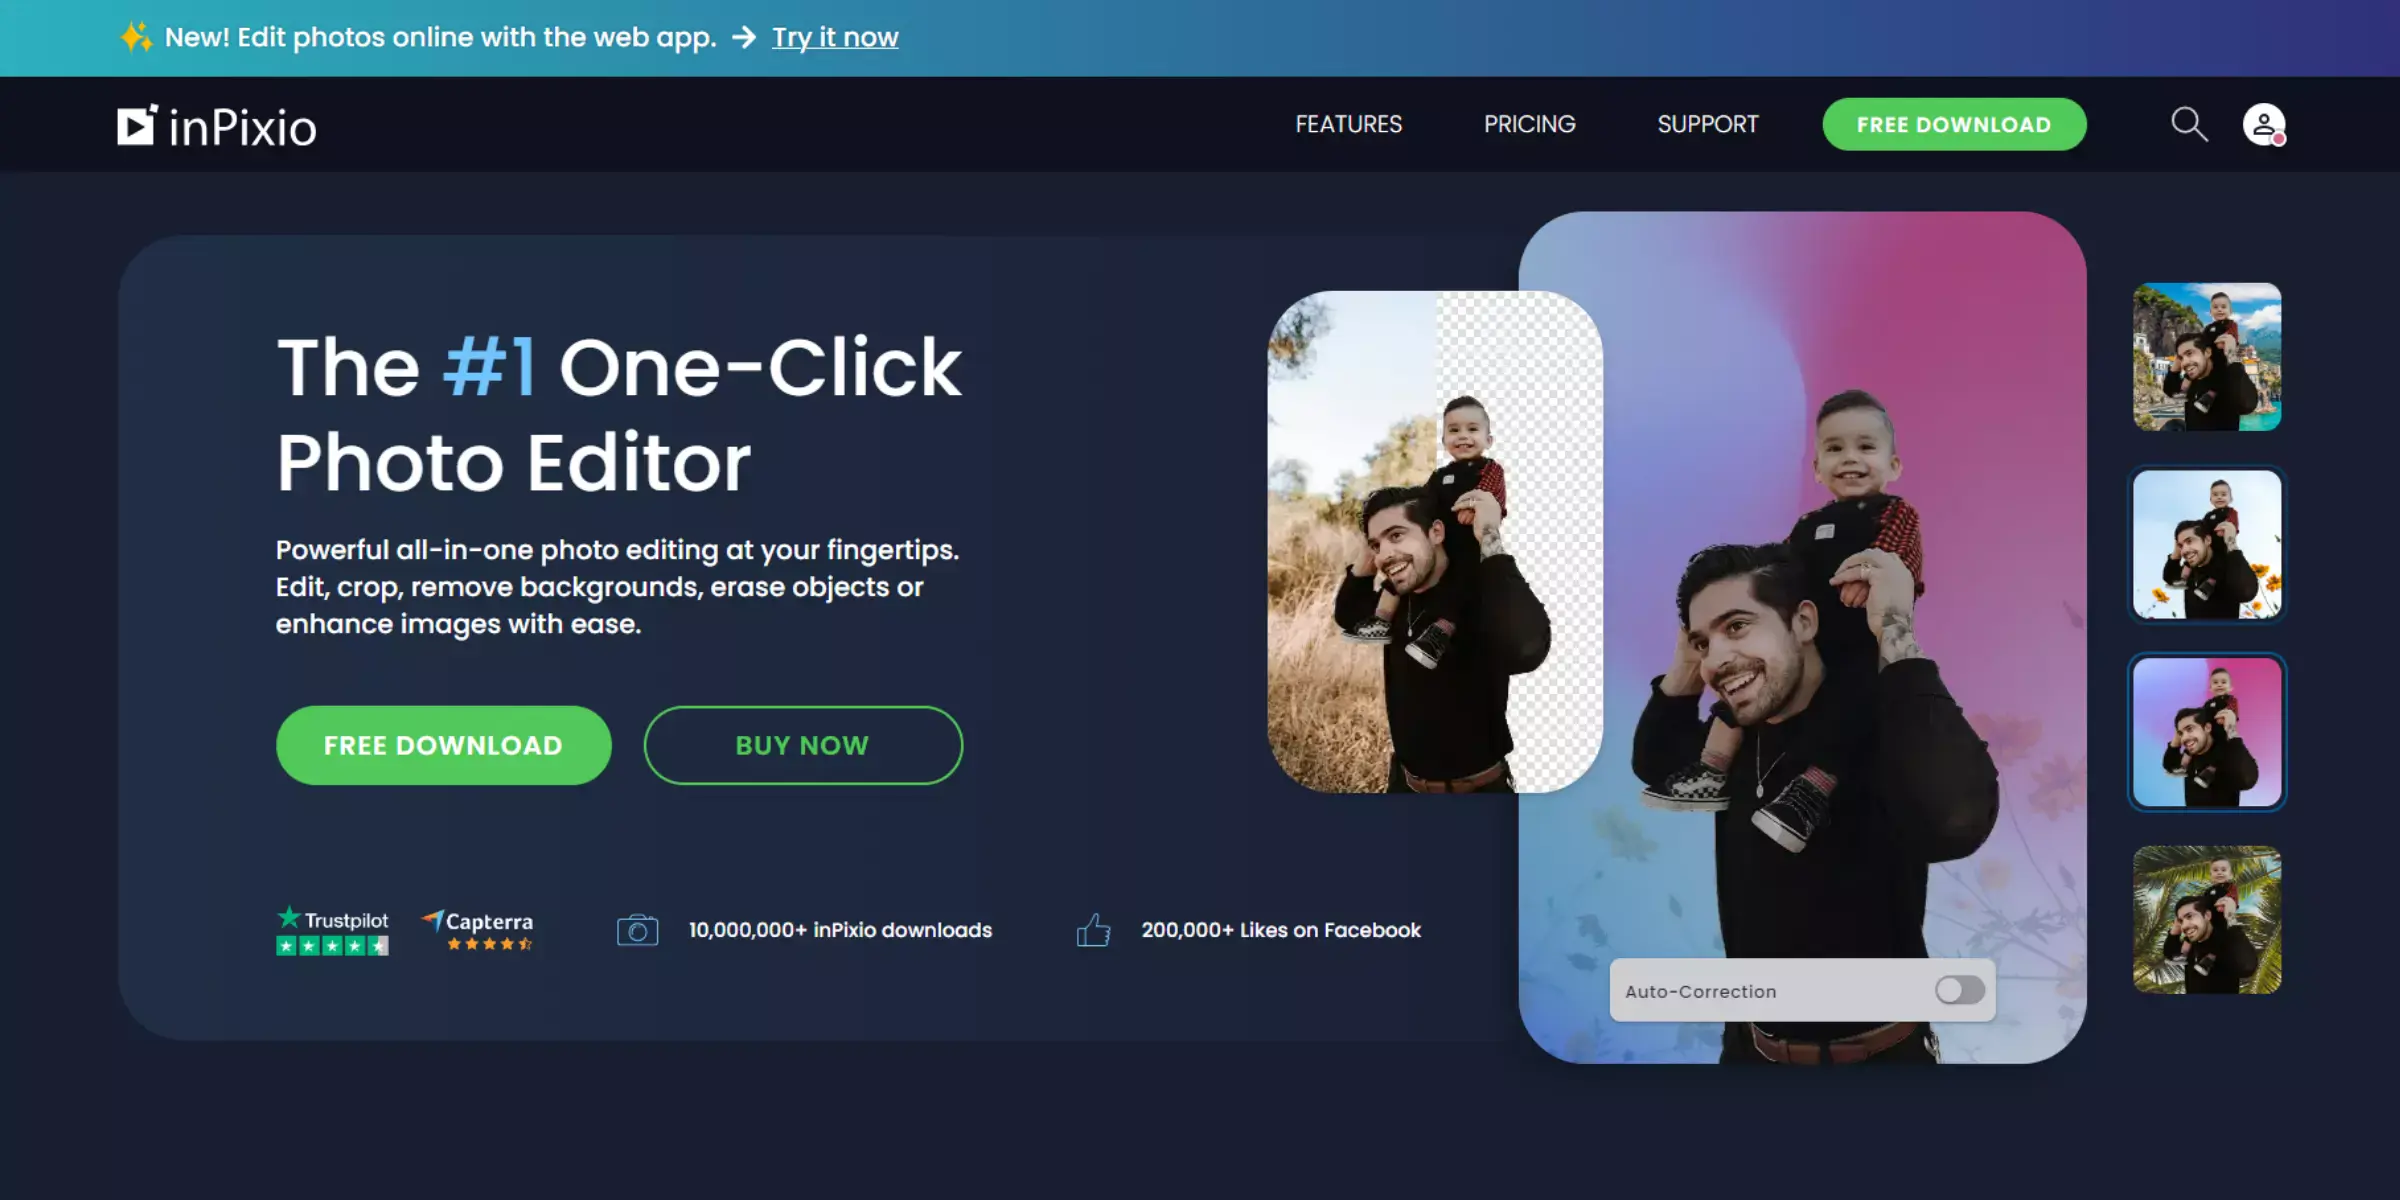
inPixio offers a versatile solution for photo editing enthusiasts and professionals alike. With its robust set of features, inPixio allows users to effortlessly edit, enhance, and transform images with just a few clicks. Whether you're looking to remove backgrounds, erase objects, or replace skies, inPixio's AI-powered tools make complex tasks seem simple.
It supports seamless editing across mobile, online, and desktop platforms, ensuring flexibility and convenience. Perfect for both personal and professional use, inPixio stands out with its intuitive interface and powerful capabilities, making it a compelling alternative to more complex software like Adobe Photoshop. Ready to elevate your editing game? Explore the possibilities with inPixio today.
Pros:
- Powerful AI-driven tools for background removal and object erasure.
- Seamless integration across mobile, online, and desktop platforms.
- User-friendly interface, suitable for beginners and professionals.
- Extensive customization options with templates and graphics.
- Fast processing and efficient editing capabilities.
Cons:
- Less advanced features compared to industry-leading software.
- Some features may require a learning curve for new users.
- Mobile app features vary between Android and iOS versions.
- Occasional performance issues during intensive editing sessions.
- Customer support response times can be inconsistent.
6. Paint.NET
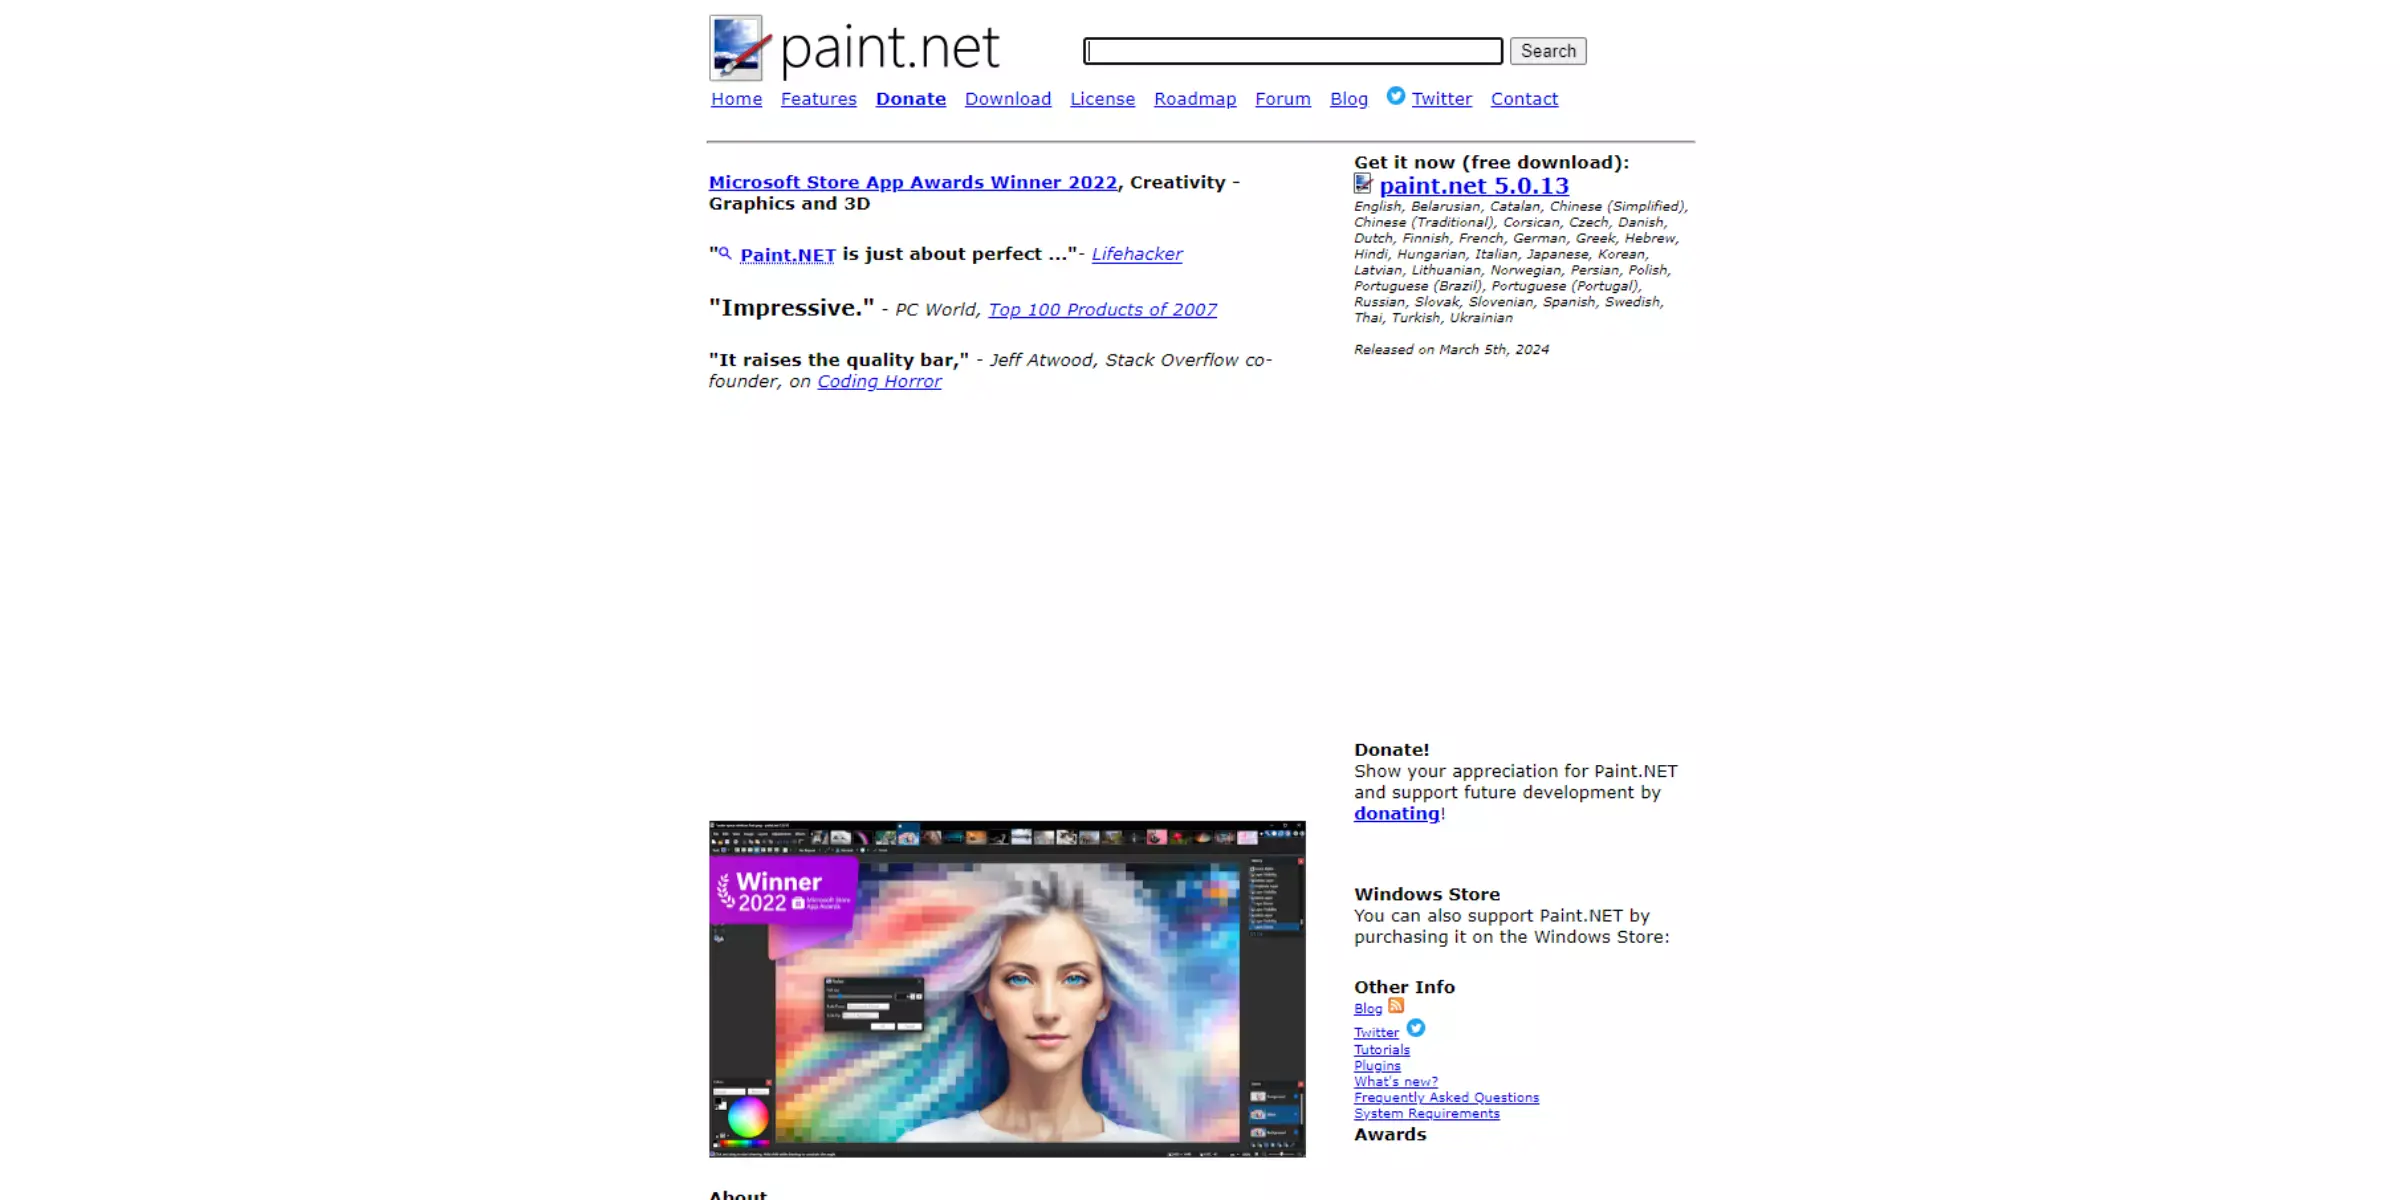
Paint.NET is a robust image and photo editing software designed for Windows PCs, acclaimed for its intuitive interface and powerful features. Developed from a college project mentored by Microsoft, it offers capabilities like layer support, unlimited undo, special effects, and a diverse range of tools. Originally conceived as a free alternative to Microsoft Paint, it has evolved into a comprehensive editor suitable for both novice users and professionals.
The software enjoys a vibrant online community, providing tutorials, plugins, and user support. With frequent updates and a commitment to user satisfaction, Paint.NET continues to enhance its reputation as a versatile and user-friendly editing tool.
Pros:
- Intuitive Interface: Paint.NET offers a user-friendly interface that is easy to navigate, making it accessible for beginners.
- Layer Support: It supports layers, allowing for non-destructive editing and complex compositions.
- Extensive Plugin Support: Users can extend functionality with a wide range of plugins available through the community.
- Regular Updates: The software receives frequent updates, ensuring bug fixes, new features, and improved performance.
- Active Community: A supportive online community provides tutorials, plugins, and user assistance, enhancing the learning and usage experience.
Cons:
- Limited Platform Availability: Paint.NET is exclusively available for Windows, limiting accessibility for users on other operating systems.
- Basic Feature Set: Compared to professional-grade software like Photoshop, it lacks some advanced editing features.
- Plugin Dependency: While plugins enhance functionality, reliance on them may require additional setup and management.
- Steep Learning Curve for Advanced Features: Mastering advanced tools and techniques can be challenging for new users.
- Occasional Stability Issues: Users may encounter occasional stability issues, especially with intensive operations or large files.
7. Luminar
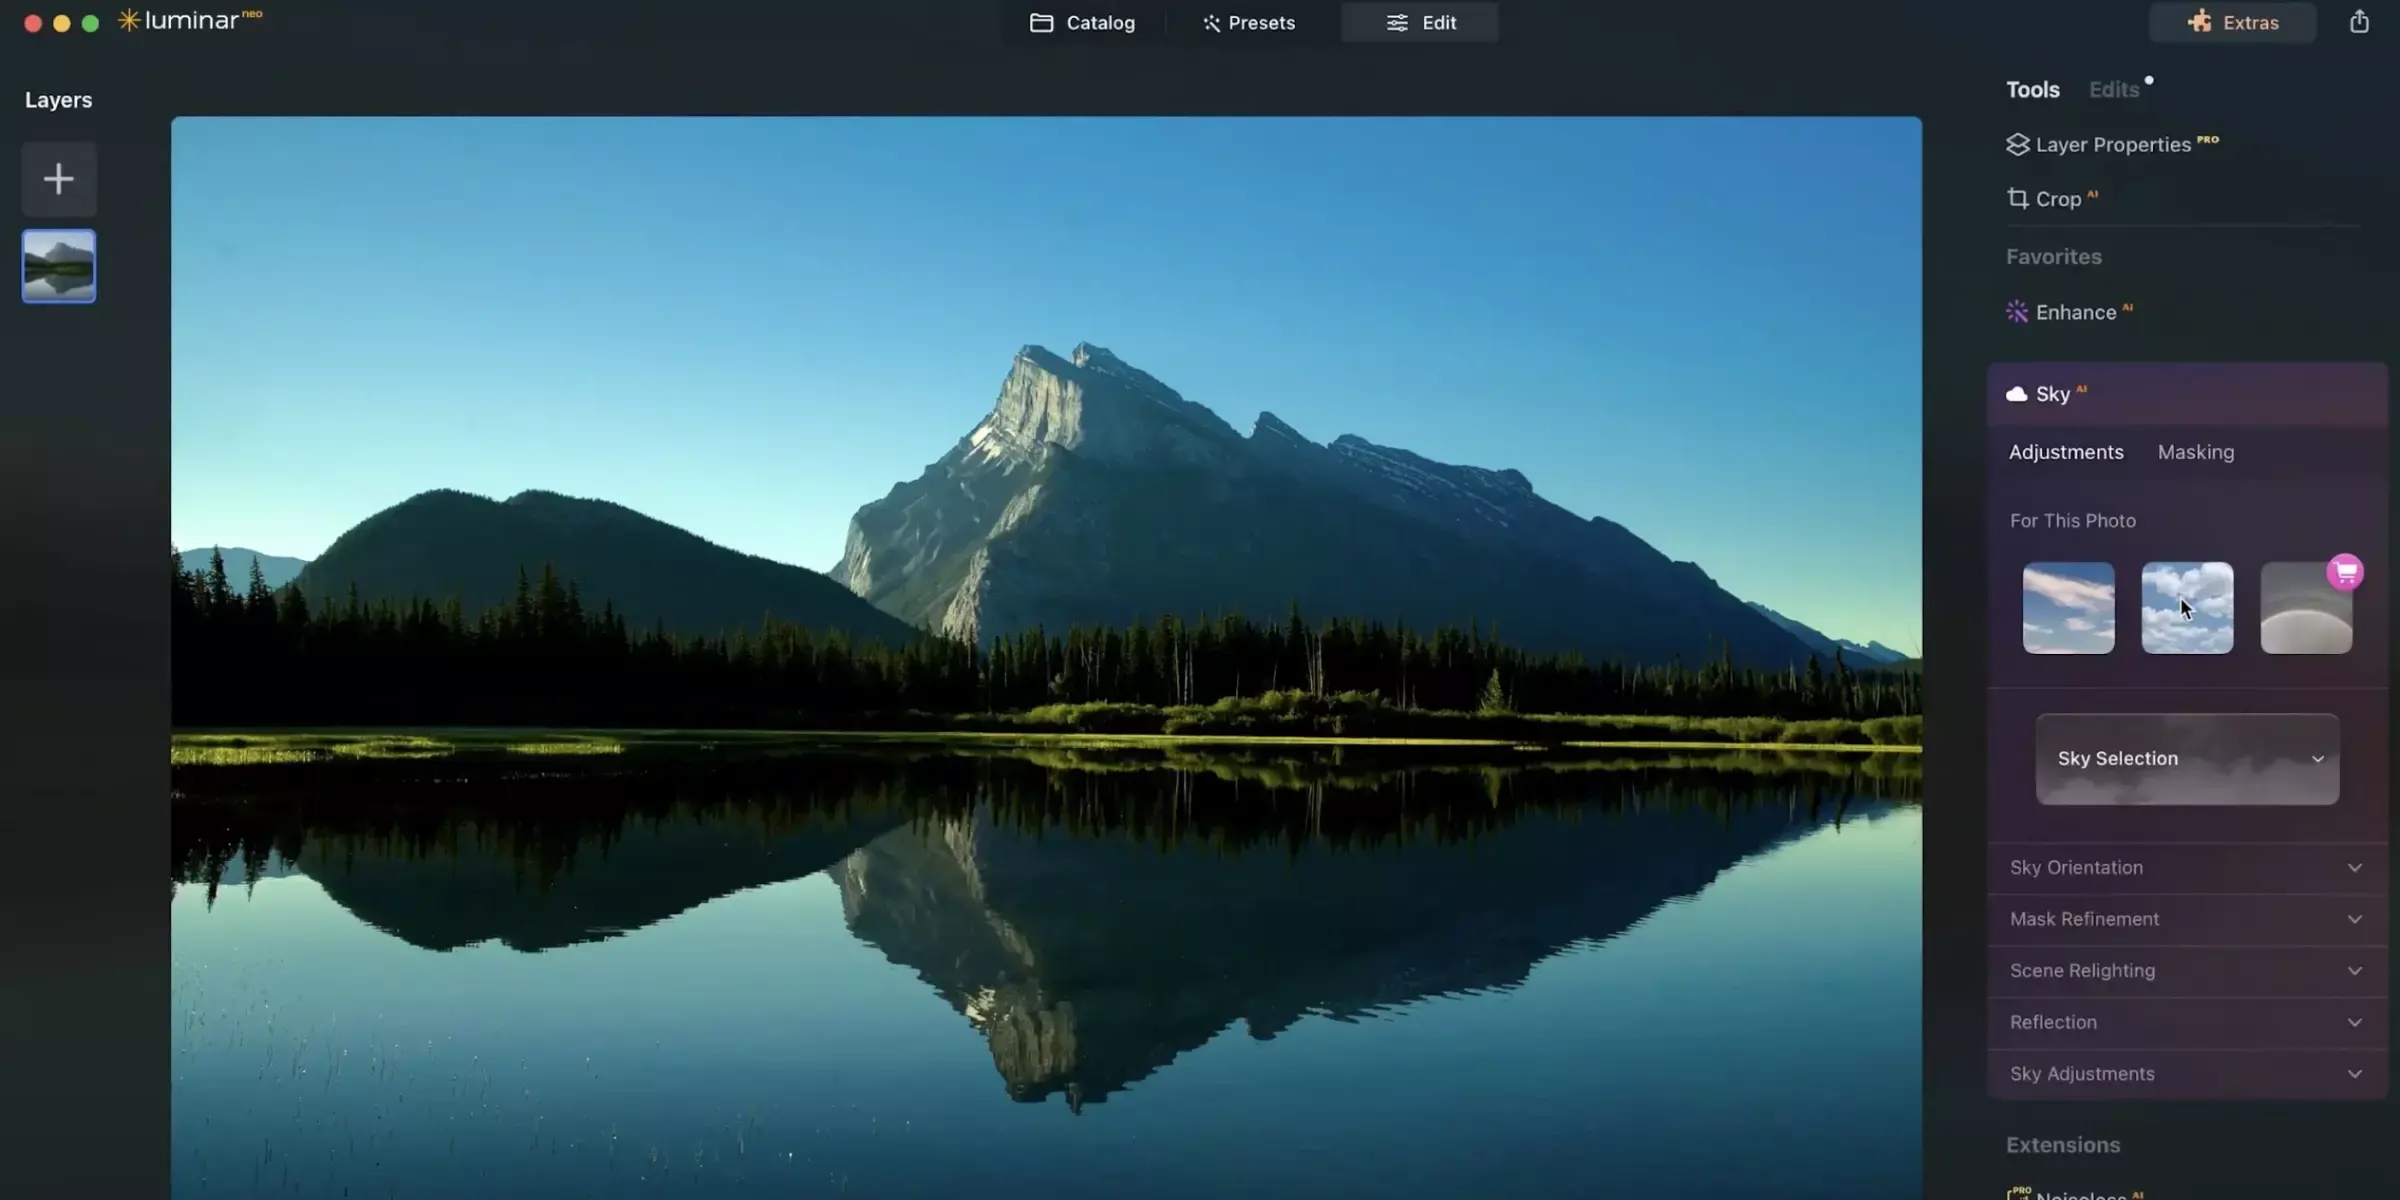
Luminar Neo stands out as a cutting-edge photo editing software designed to elevate your photography with powerful AI-driven tools. Developed by Skylum, it offers a user-friendly interface tailored for both novice photographers and seasoned professionals. Whether you're enhancing landscapes with Sunrays AI or perfecting portraits with AI portrait retouching, Luminar Neo empowers creativity with its comprehensive feature set.
It supports raw editing, batch processing, and seamless integration with popular software like Photoshop and Lightroom, ensuring flexibility in your workflow. With regular updates and a commitment to innovation, Luminar Neo continues to redefine the possibilities of digital photo editing, making it a standout choice in the market.
Pros:
- AI-Powered Editing: Luminar Neo offers advanced AI tools for enhancing images, such as AI image enhancement, AI portrait retouching, and AI-driven enhancements like SkyAI and BokehAI.
- User-Friendly Interface: Designed for ease of use with an intuitive interface, making it accessible for both beginners and advanced users.
- Wide Range of Tools: Includes features like raw editing, batch processing, panorama stitching, and advanced tools for color enhancement and noise reduction.
- Integration and Compatibility: Works as a standalone application or as a plugin for other popular photo editing software like Photoshop and Lightroom.
- Regular Updates: Skylum provides frequent updates and new features, ensuring the software stays current and improves over time.
Cons:
- Platform Limited: Currently available only for MacOS and Windows, limiting accessibility for users on other operating systems.
- Learning Curve: Some advanced features may have a steep learning curve for new users unfamiliar with professional photo editing software.
- Dependency on AI: While AI tools are powerful, they may only sometimes deliver desired results with manual adjustments.
- Price: While discounts are available, the full price might be considered high compared to other similar software options.
- System Requirements: Requires a capable system to run smoothly, which could be a consideration for users with older hardware.
8. Pixelmator
Pixelmator, a versatile image editing software for macOS, provides a robust alternative to traditional heavyweights like Photoshop. Known for its intuitive interface and powerful features, Pixelmator offers seamless integration with macOS technologies, making it a favorite among creative professionals and enthusiasts alike. With tools ranging from advanced image retouching to seamless background color changes, Pixelmator empowers users to unleash their creativity effortlessly.
Its non-destructive editing capabilities, extensive layer support, and a wide array of filters and effects ensure precision and flexibility in every project. Whether for graphic design, photo editing, or digital painting, Pixelmator remains a compelling choice for Mac users seeking powerful yet accessible editing tools.
Pros:
- Intuitive user interface tailored for macOS users
- An extensive array of editing tools for various creative needs
- Non-destructive editing preserves the original image quality
- Seamless integration with macOS technologies
- Regular updates and improvements enhance functionality
Cons:
- Limited availability compared to cross-platform software
- Advanced features may require a learning curve for beginners
- Some users may miss specific Adobe Photoshop functionalities
- Occasional compatibility issues with older macOS versions
- Online community support is not as extensive as larger software platforms
9. Photopea
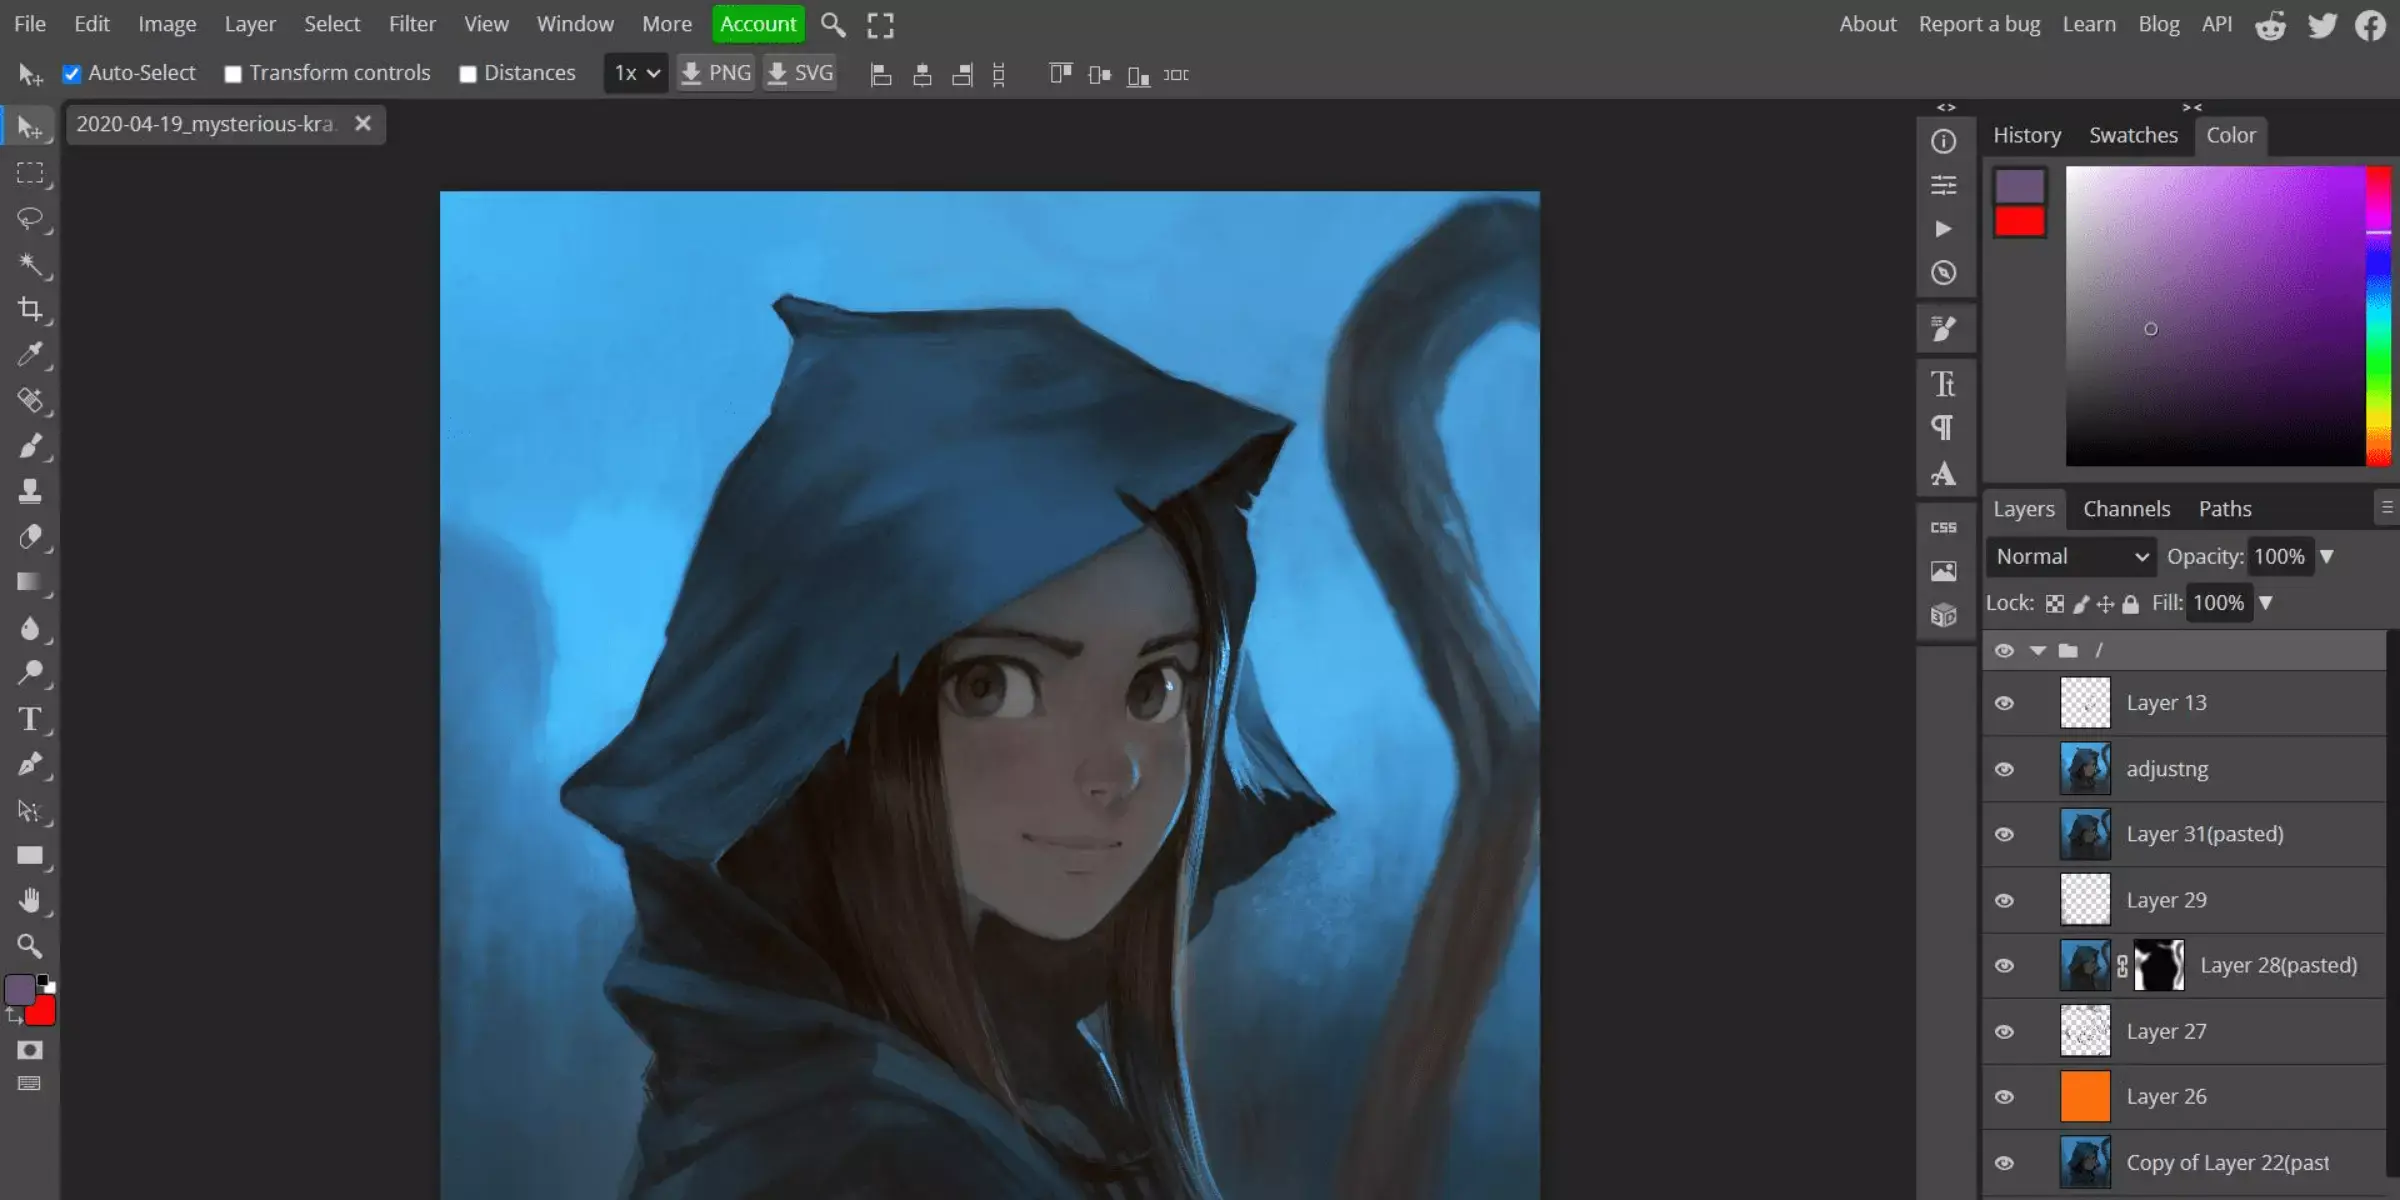
Photopea is a versatile online photo editor that stands out for its ability to replicate the functionality of Adobe Photoshop in a web-based environment. This innovative tool caters to a wide range of users, from casual editors to professional designers, offering a comprehensive suite of editing features accessible directly from a web browser.
Users can manipulate layers, apply filters, use advanced selection tools, and perform complex editing tasks with ease. One of Photopea's key strengths is its compatibility with various file formats, including PSD, allowing seamless editing of Photoshop files without the need for additional software. Whether editing on desktop or mobile, Photopea provides a flexible and powerful solution for image editing needs.
Pros:
- Comprehensive Photoshop-like features accessible online.
- Supports PSD file format for seamless Photoshop compatibility
- User-friendly interface suitable for both beginners and professional
- Works across multiple platforms without needing to install software
- Regular updates and improvements based on user feedback
Cons:
- Requires a stable internet connection for optimal performance
- Some advanced Photoshop features may have limitations or differences
- The interface can be overwhelming for new users unfamiliar with Photoshop
- Limited integration with other cloud storage services
- Ads and occasional interruptions in the free version
10. PhotoScape X
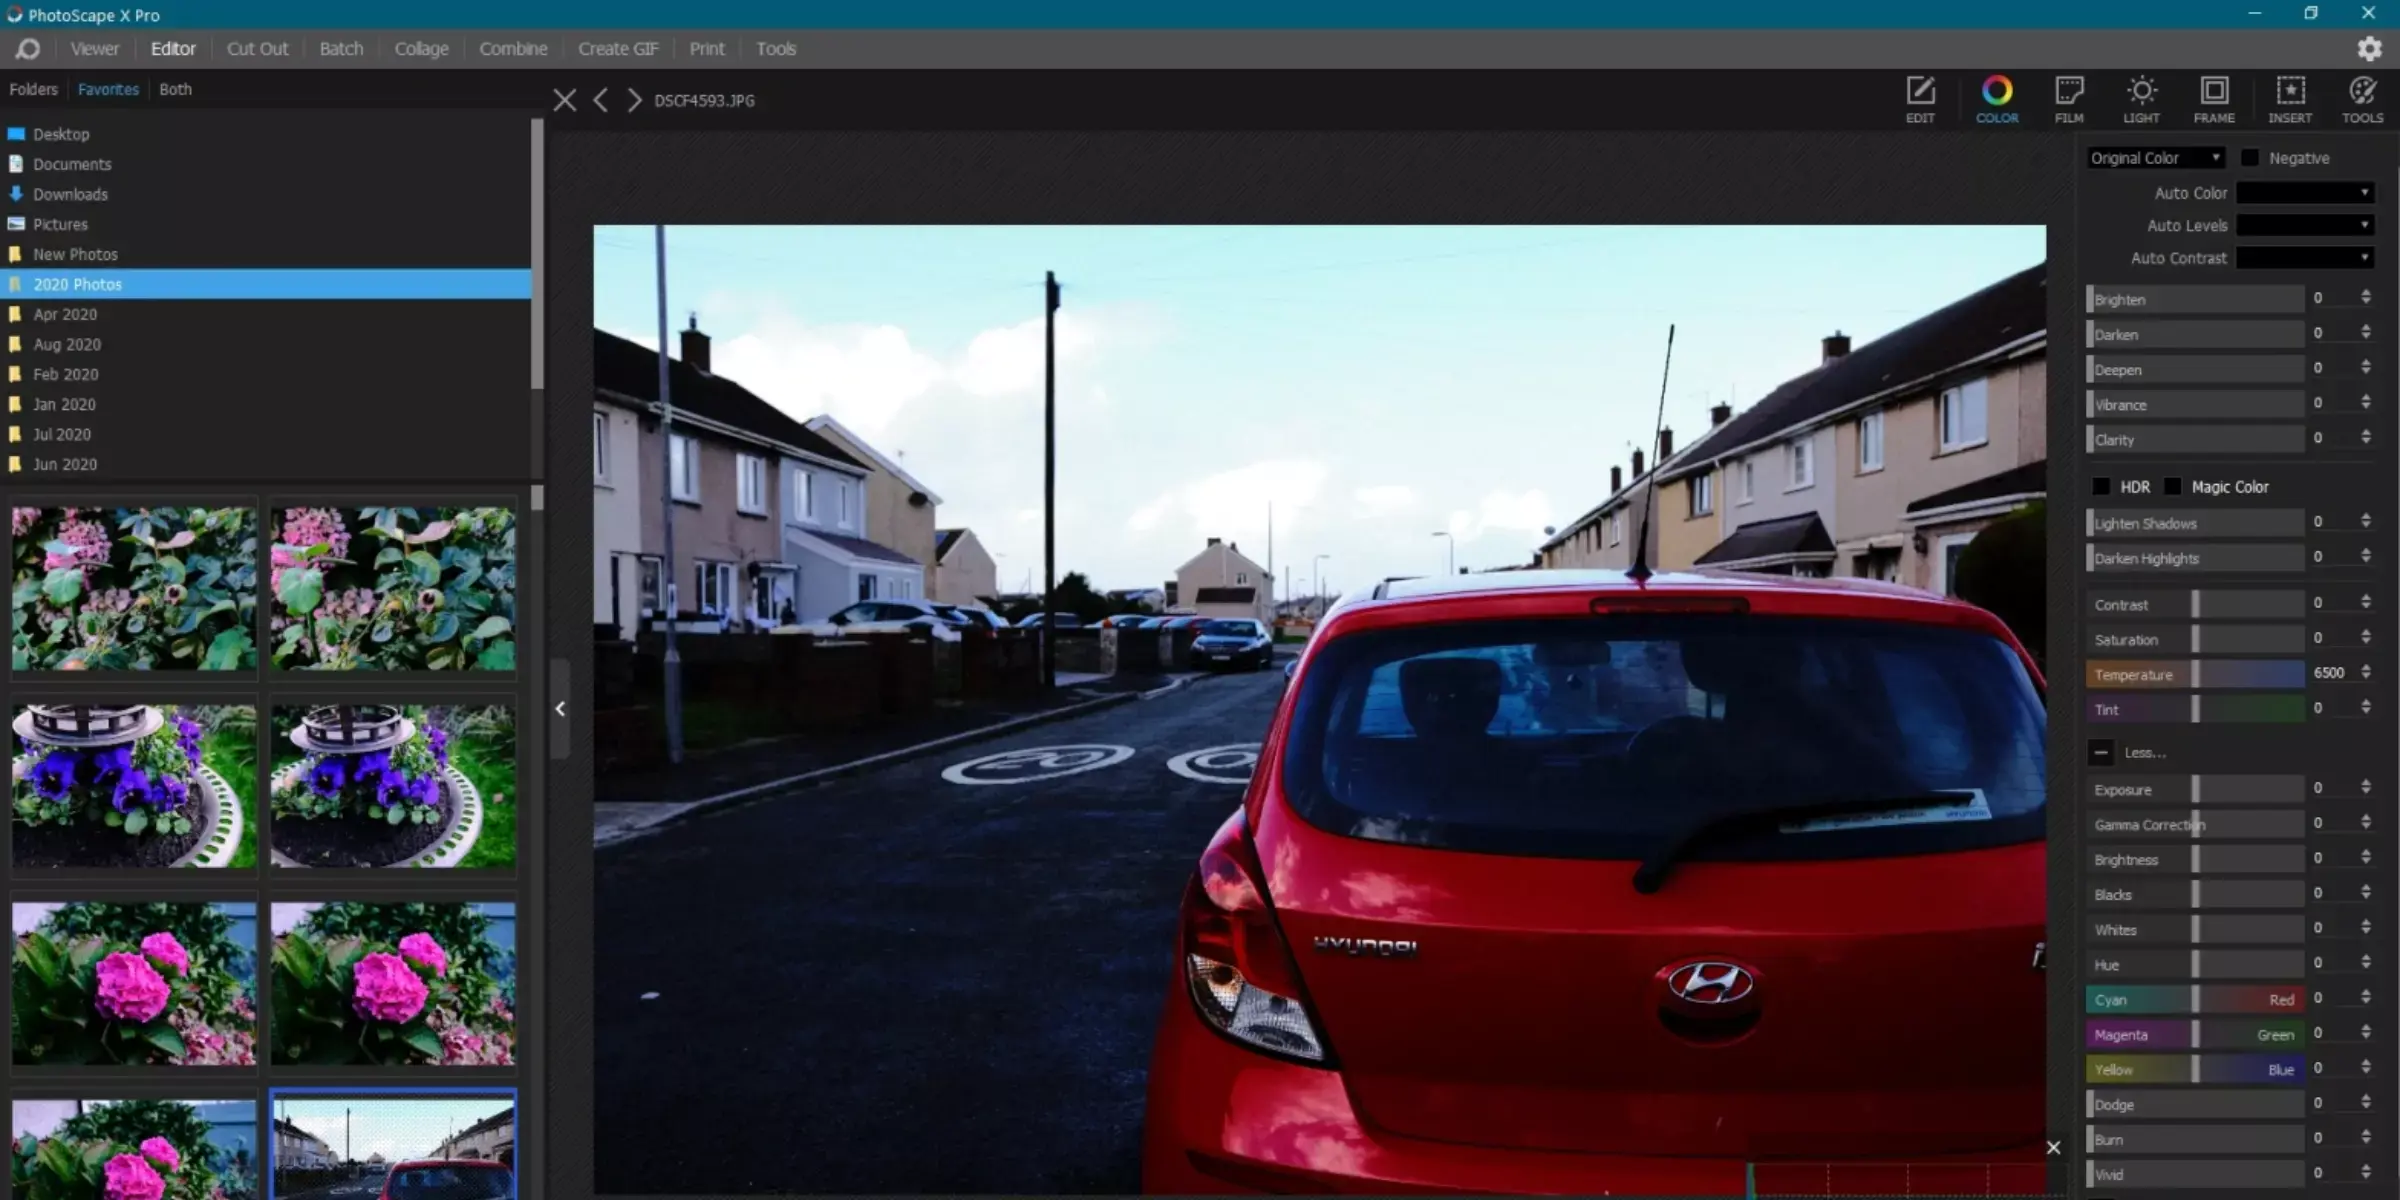
PhotoScape X is a versatile photo editing software designed for both beginners and advanced users looking to enhance their images effortlessly. Packed with a wide array of tools and features, it offers intuitive controls for tasks ranging from basic adjustments to complex edits. Whether you're adjusting colors, removing backgrounds, or applying filters, PhotoScape X provides a seamless editing experience.
Available for Mac and Windows, it supports various file formats, ensuring compatibility with different devices and workflows. With its user-friendly interface and robust capabilities, PhotoScape X stands out as a reliable choice for anyone wanting to achieve professional-grade results in their photo editing endeavors.
Pros:
- Intuitive and user-friendly interface suitable for beginners.
- A comprehensive set of editing tools, including filters, effects, and adjustments.
- Supports various file formats ensuring compatibility across platforms.
- Offers batch processing capabilities for efficient workflow.
- Regular updates and improvements enhance functionality and stability.
Cons:
- Some advanced features may require a learning curve.
- Limited to basic photo editing compared to more advanced software.
- Occasional performance issues with larger files or complex edits.
- The free version includes ads, which can be distracting.
- Customer support may need to be more responsive compared to premium software options.
How To Change The Background Using Erase.bg?
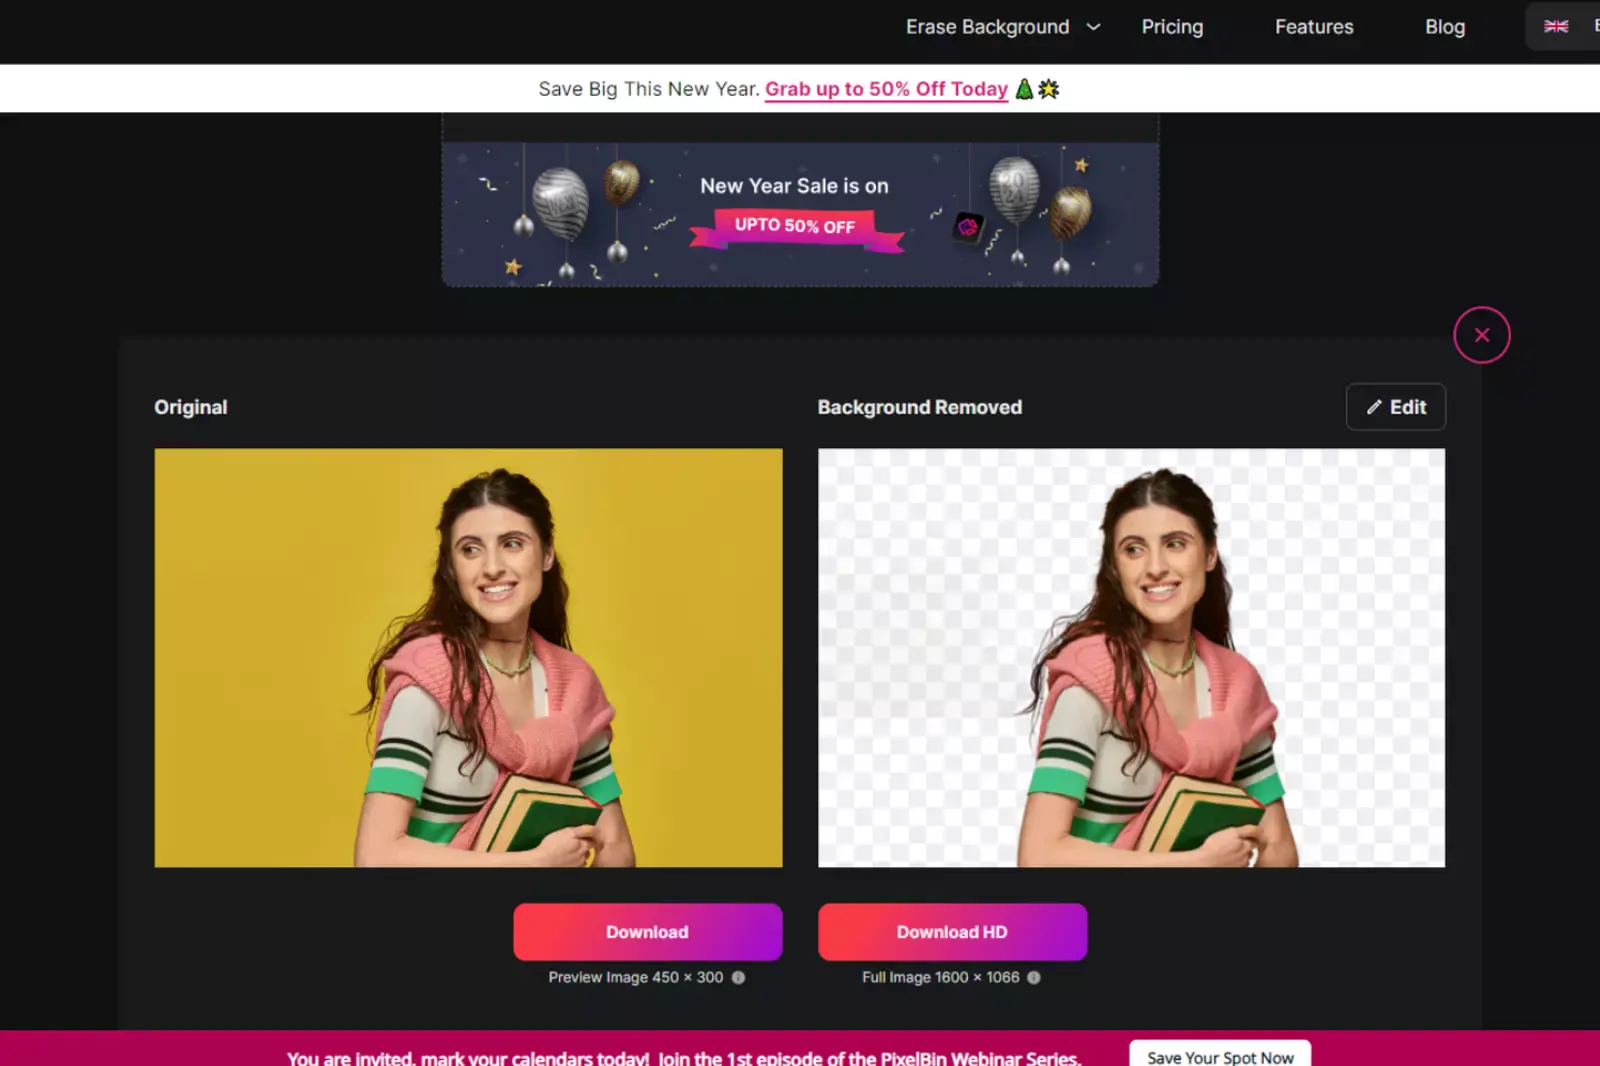
Changing backgrounds using Erase.bg is a straightforward process that streamlines the task of editing images. Erase.bg utilizes advanced AI technology to automatically remove backgrounds from photos, offering users a hassle-free solution for creating professional-looking images.
Once the background is removed, Erase.bg allows you to replace it with a new color or an entirely different background seamlessly. This makes it ideal for various applications, from enhancing product photos for e-commerce to creating engaging social media content.
Unlike traditional methods that can be time-consuming and require extensive manual editing skills, Erase.bg simplifies the process with its intuitive interface and rapid processing capabilities. Whether you're editing portraits, product shots, or creative designs, Erase.bg provides an efficient way to achieve clean, polished results with minimal effort.
Step 1: Visit Erase.bg
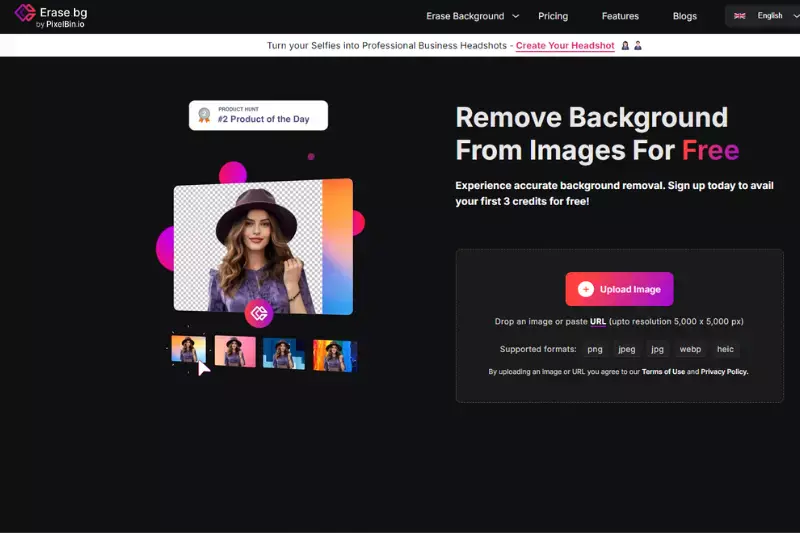
Navigate to the Erase.bg website to access the background removal tool. This online tool offers a user-friendly interface, making it accessible for both beginners and experienced users.
Step 2: Upload Your Image
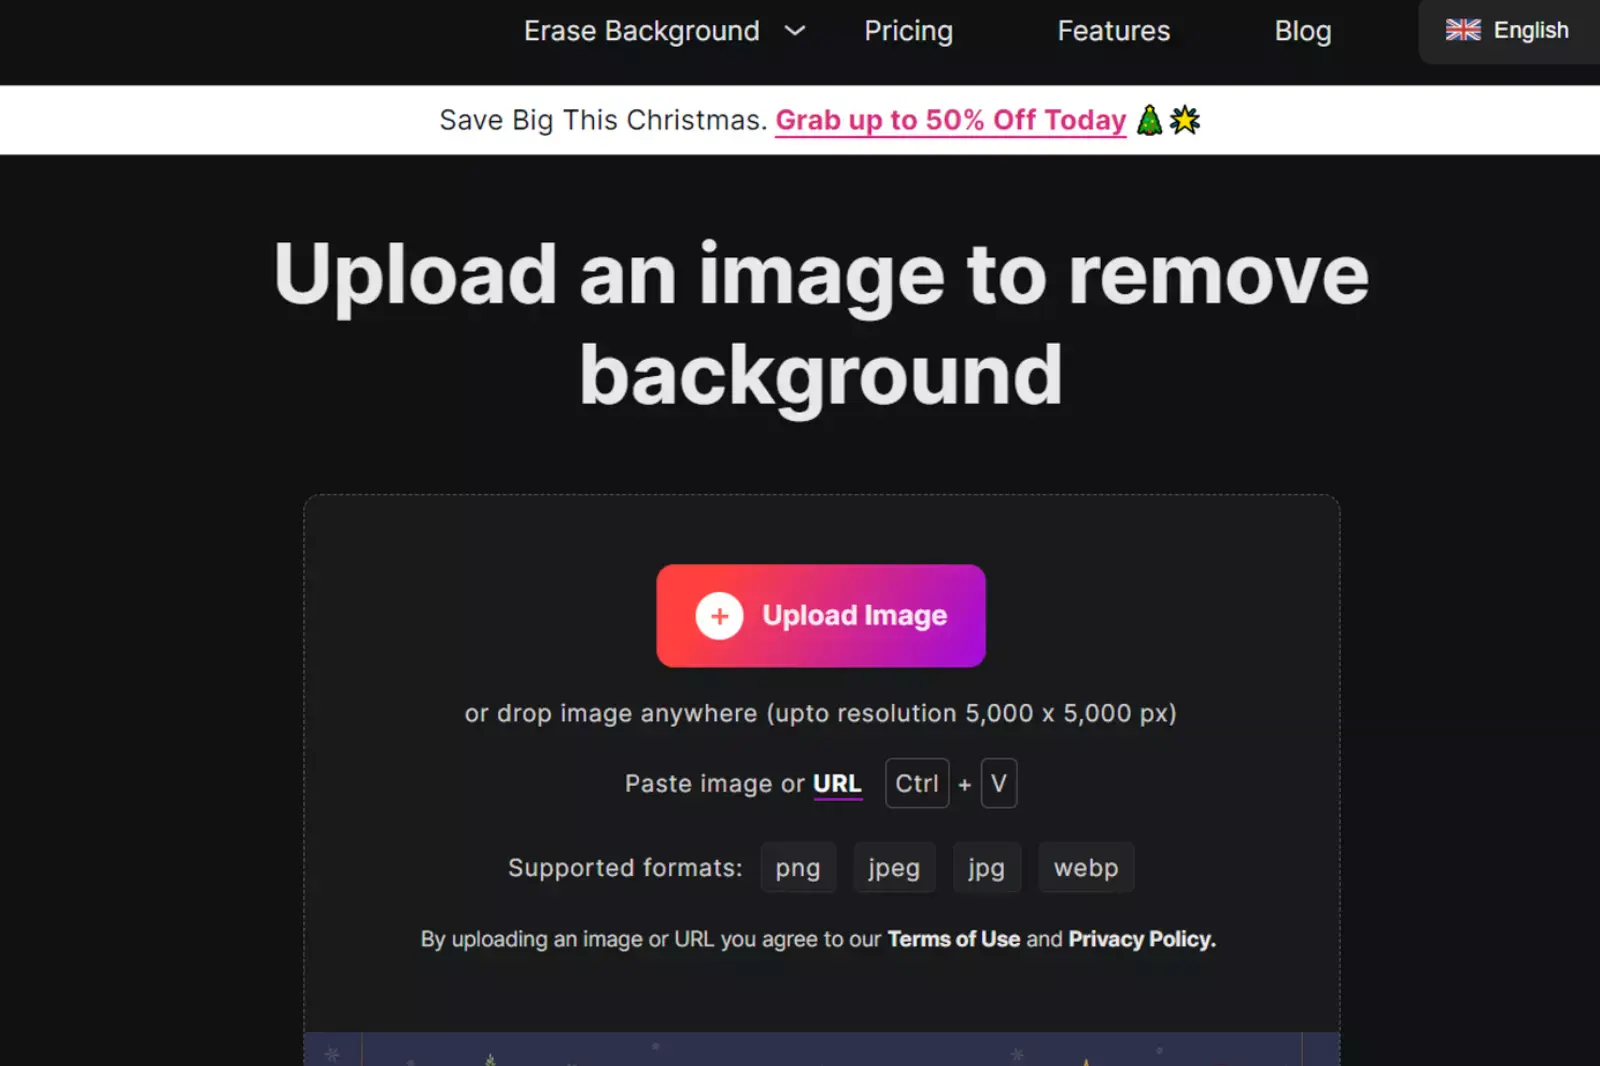
Upload the image you want to work on by either dragging and dropping it onto the site or selecting it from your device. Erase.bg's advanced AI algorithms will automatically remove the background, leaving your subject isolated.
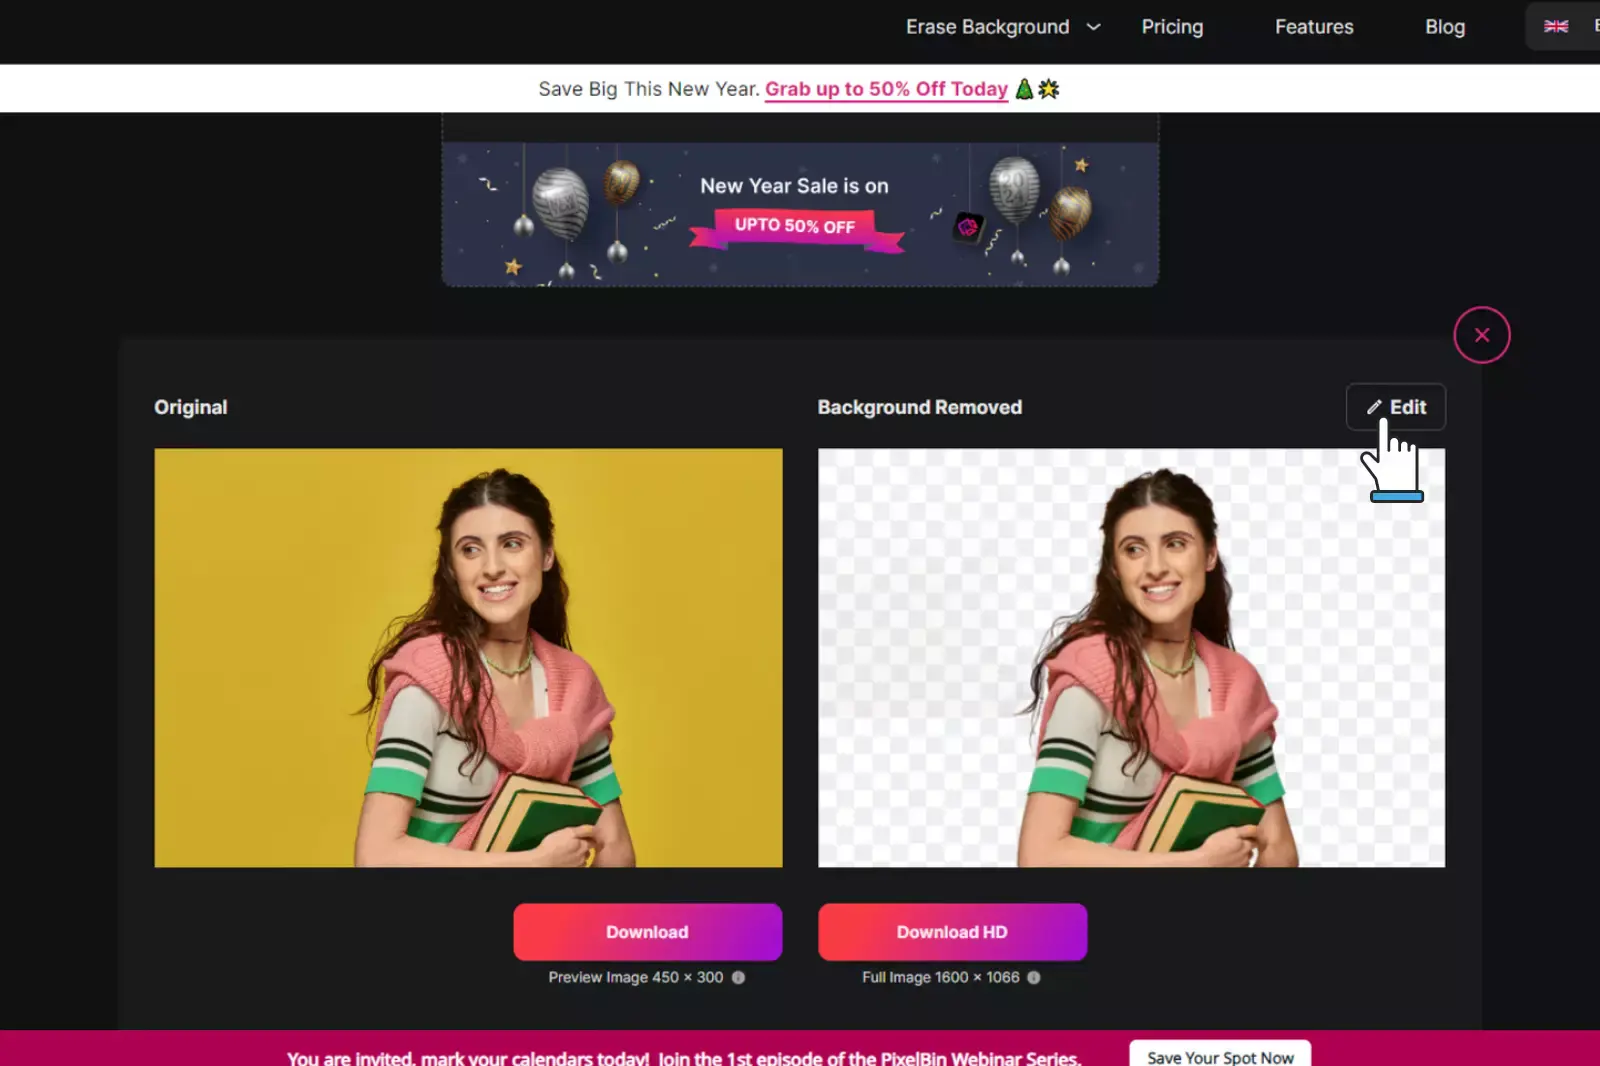
Step 3: Refine Your Result
Use the eraser tool for detailed adjustments or restore parts of the background if needed. Erase.bg provides options to fine-tune the removal process, ensuring accuracy and precision in the final result.
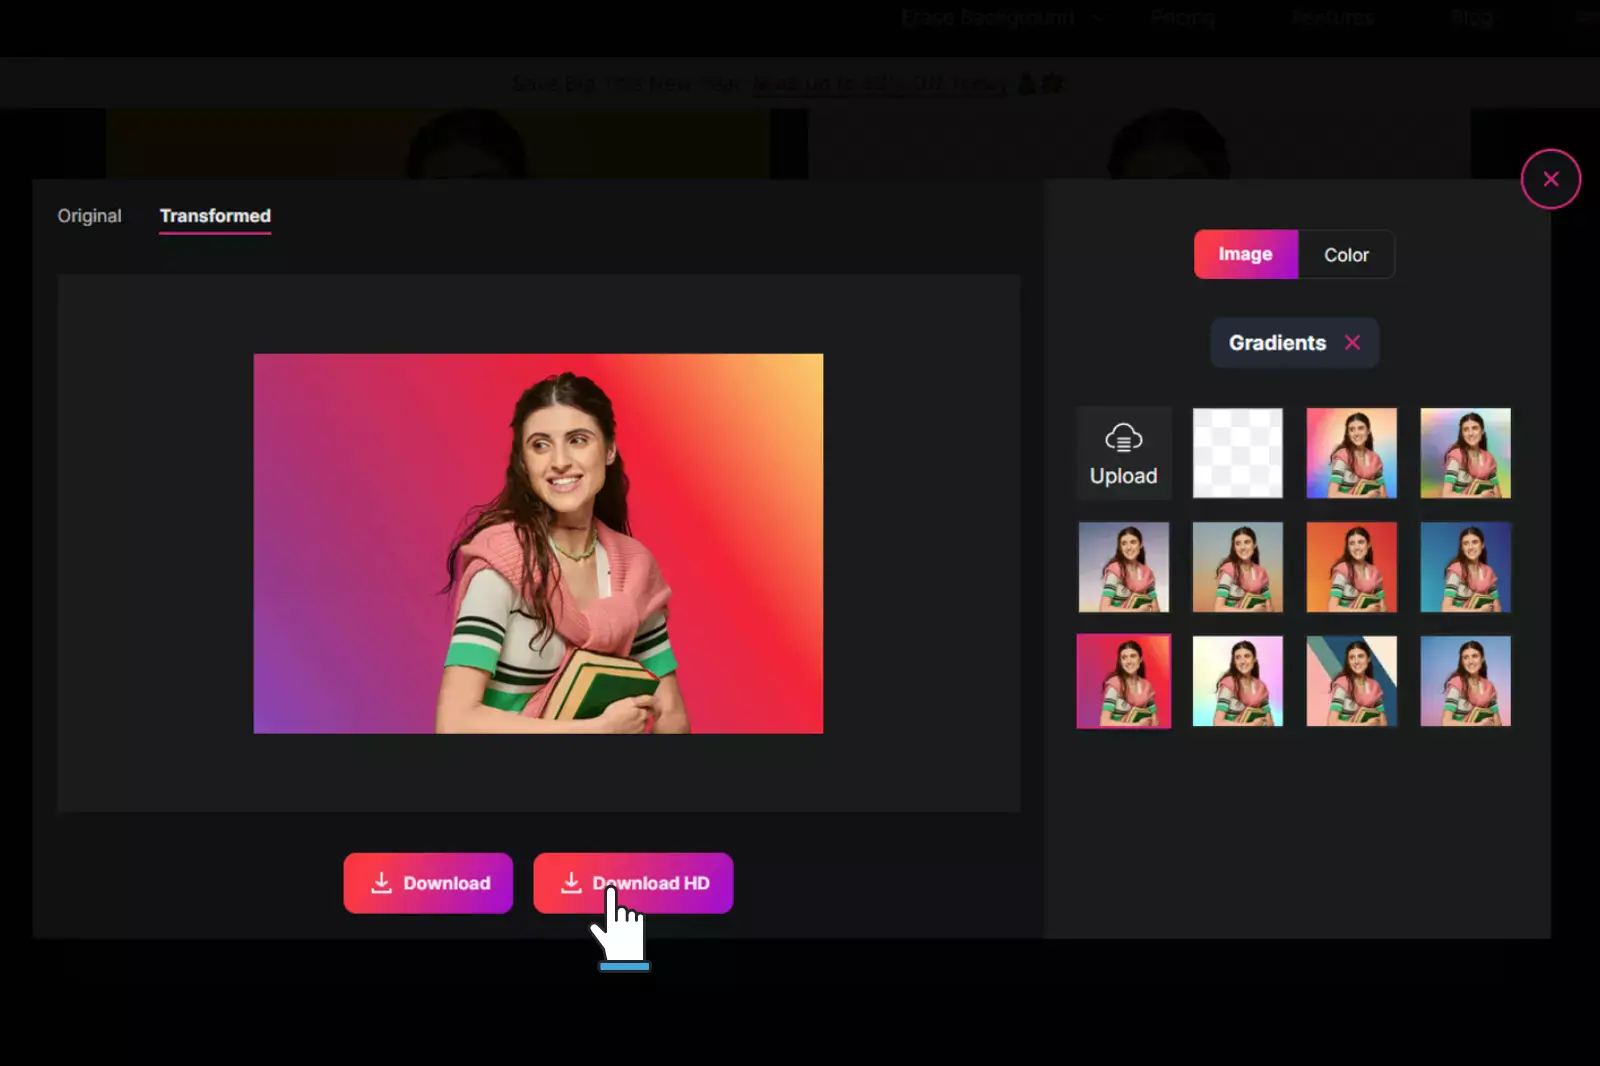
Step 4: Select a New Background
After removing the background, choose a new background from Erase.bg's gallery or upload your own. This step allows you to customize the backdrop according to your preferences, whether it's a solid color, a gradient, or a specific image.
Step 5: Download Your Transformed Image
Conclusion
To change the background color in Photoshop, you can use several methods such as the Fill command, Solid Color adjustment layer, or even blending modes with new layers. Each method offers flexibility in adjusting color tones and gradients to suit your design needs, enhancing the overall aesthetic of your images.
FAQ's
How do I quickly select the background in Photoshop?
Utilize the Magic Wand tool for swift selections, especially effective when there are distinct differences between the foreground and background.
What if the Magic Wand tool isn't precise enough for my background?
Explore the Lasso tool variations standard, Polygonal, or Magnetic for a more nuanced and detailed selection tailored to your image.
How can I achieve super-precise background selections?
Opt for the Masking tool, which allows you to "paint" your selection with a brush for meticulous adjustments and precise background selection.
Once I've selected the background, how can I change its color in Photoshop?
Press Ctrl+U to access the Hue and Saturation menu. Adjust the Hue slider to change the overall color palette while preserving lighting levels.
Can I create a blank color background in Photoshop?
Yes, create a new layer, select the Fill Tool, choose your desired color from the palette, and paint within your selection. For a gradient effect, explore the gradient bucket option.
Is there a way to remove the background color entirely before adding a new one?
Convert the image to grayscale with Ctrl+Shift+U, then add color back using the Hue and Saturation menu. Select Colorize and adjust the Hue slider for a uniform background color.
.webp)

.webp)

.webp)

.webp)
.webp)


