


EraseBG - The Use of Synthetic Data to Solve Real Problems


Annotating data is hard. Often requiring hours of work, manual annotation processes juggle between getting the images we want to annotate, quality control and, of course, data annotation. While data annotation for tasks such as object detection, classification, etc., are easy to annotate efficiently and at a high quality, complex tasks such as image matting require fine-grained, precise annotations to ensure that pixels are correctly labelled with the appropriate alpha vale; a process which is often time-consuming and produces results prone to human bias and therefore is of low quality.
Additionally, even the process of getting the kind of images we want is one that is often difficult. Your model may fail in a particular subset of images where, say, the subject is wearing a certain type of glasses.
Manually searching images for the type of glasses you want can be time-consuming and, of course, prone to generalization problems. Perhaps you scraped images from a particular product line, website, etc., all of which may introduce hidden biases in the model. Not to mention, this is time-consuming.
This is where a fully synthetic data generation pipeline would come in handy. You can set up fully automated pipelines in your 3D renderer of choice and attempt to match the distributions upon which you are failing. Furthermore, these pipelines can be parametrized, allowing you to control the distributions from which generated images are sampled.
Furthermore, besides the benefit of controlling the kind of images you want, you can also get highly precise, fast annotations for the images generated. Now we know why we're interested in synthetic data, let's take some time to understand what it is.
Case Study: Hangers Hook as a Failure Case
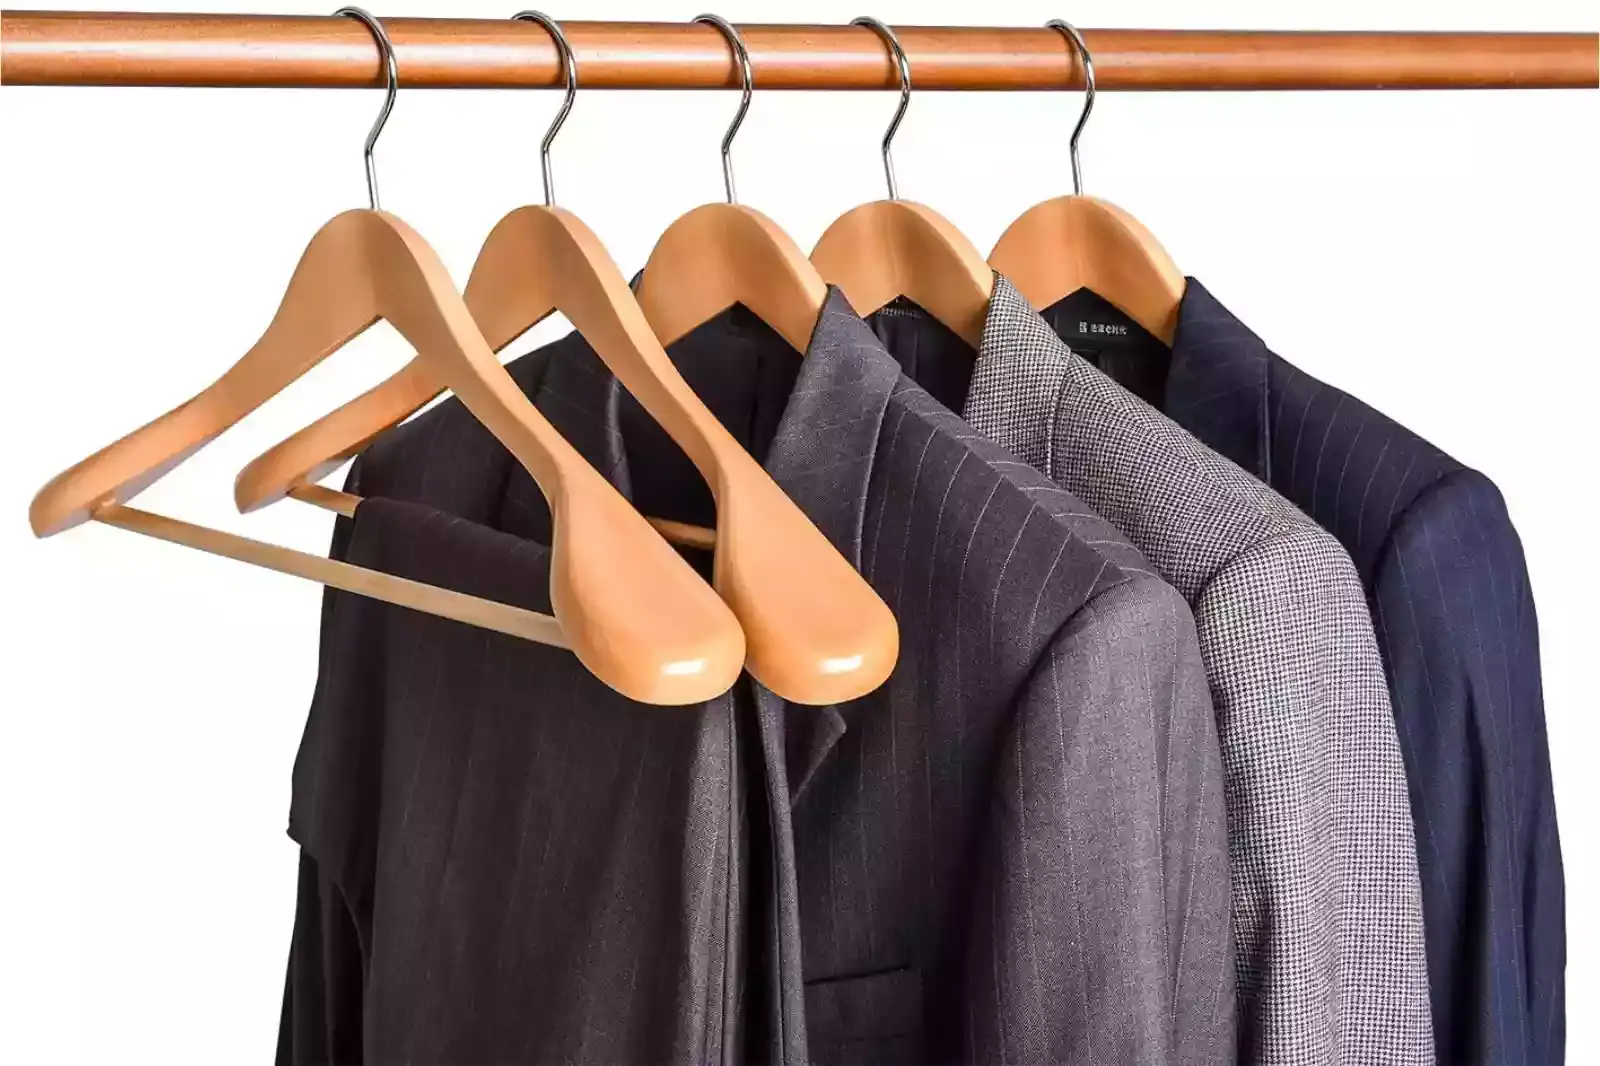
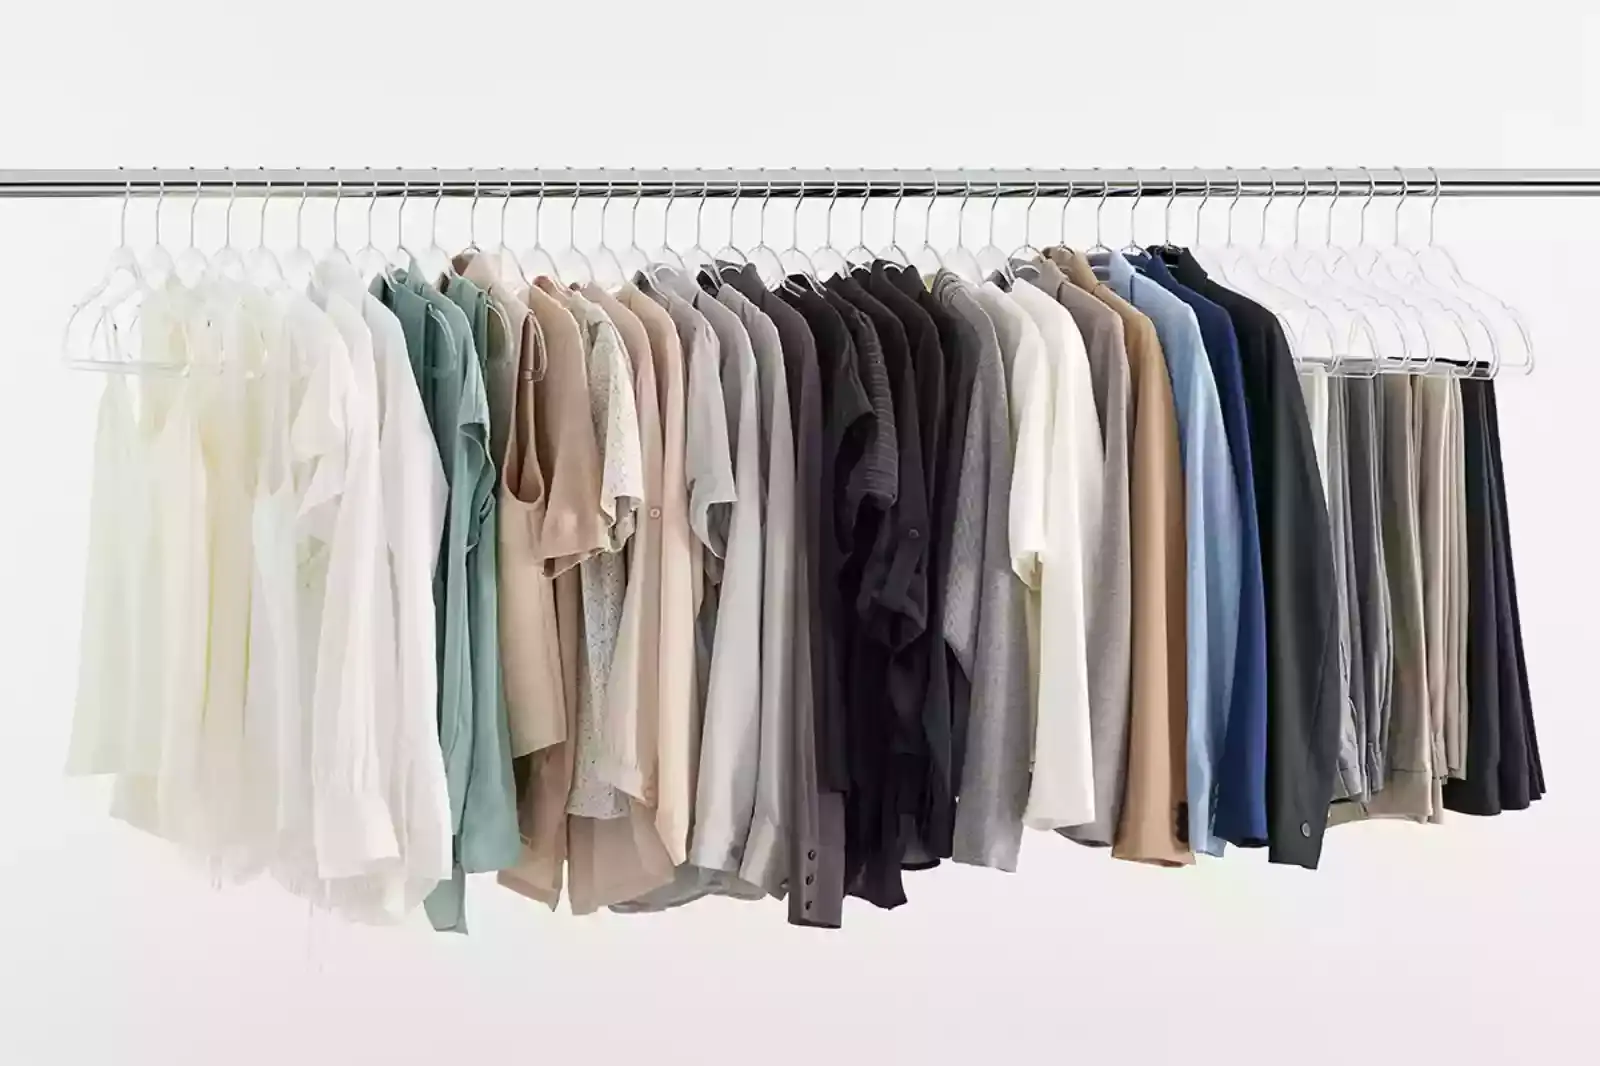
While there are a number of relevant use cases, let us begin with a particularly simple use case. As can be seen in the example below, one of the glaring issues we noticed about our background removal model was the poor performance it had onthin, metallicparts of eCommerce images containing clothes on hangers as the subject of the image.
In particular, we noticed that often the model would take significant portions of the surrounding pixels and assign these high alpha values, indicating that the model had some confusion regarding the exact difference between the two.
One of the possible reasons for that was that the boundary between what is considered to be the foreground (metallic hanger hook) and the background is often difficult to distinguish for humans. And upon perusing the kind of data we had, we immediately noticed the problem. In a number of images, alpha values greater than 0 had been assigned to background pixels.
Furthermore, on consulting with the annotation team, we noticed that annotators were having great difficulty in annotating the images in these parts of the image. This coupled with the fact that the throughput for manual annotations was about 300-400 images/week, a new approach was definitely required. Hence we needed a process that would allow us to create.
1. Hanger images and extracted foregrounds with the true pixel colors at the blending boundaries.
2. A fast, automated process for generating hundreds of images quickly.
Synthetic Data Generation as a Solution
Setting up the pipeline
This is where synthetic data comes in handy. Using Blender, we created hundreds of hanger images closely following the target distribution that we were underperforming on. In general, we tried to set up a pipeline with the 2 following critical features.
1. Parameterizable - We should be able to give input ranges for different object features and sample/generates images conforming to the specified distribution.
2. Automated - All of these should be easy to script and easy to scale/repurpose for other data targets.
With these in mind, we began setting up a simple yet powerful synthetic data pipeline. Our choice of software, for the time being, at the very least, is Blender.
Blender has the advantage of being open-source, comes with an easy-to-use scripting API compatible with Python and offers the ability to generate high-quality, photorealistic renders. For the convenience of this post, we have divided the process of using it into three major parts.
1. Overview of the overall pipeline
2. Sampling and parametrization process
3. Animation and keyframing process
4. Rendering
These three will be discussed in depth in the following sections.
Overview of the Pipeline
The pipeline itself is quite simple. While there exist certain parts which may be improved upon, we've maintained most of the pipeline automated.
1. Asset Creation - First, we begin with a set of reference images. Here, our 3D designer uses the reference images to generate the kind of textures, UVs and 3D models which we may expect to see.
2. Rigging - These models are designed in a "riggable" fashion. Essentially, they are divided into discrete parts. These parts will be, later(in the script), modified on the fly to generate a variance in the dataset.
3. Parameterization - Through scripting, we pick and apply textures, shapes and other features on-the-fly to generate the kind of objects we expect to see in our target distribution.
4. Rendering - Using the Cycles Rendering Engine native to Blender, we render both the 3D model as well as the foreground. With this overview in mind, in the upcoming sections, we will describe the details of the pipeline.
Sampling and Rigging
In this first key step, we spend time deciding on a few things.
1. On the number of discrete model assets that need to be created for an acceptable amount of variance.
2. The textures, UVs, etc. that need to be designed for the target distribution we need to improve upon.
To better understand, let us look at the case of hangers. In general, to generate a good amount of variance in the kind of hanger images we would be rendering, we felt it was best to divide it into three discrete parts; the hanger hook, the hanger body and the hanger support bar.
With these three discrete model parts, then we decided on the properties of these parts we would need to vary. Empirically, we noticed that the following parameters provided the best-looking images and, consequently, the best model performance.
1. Scale - The percentage of the image occupied by the subject.
2. Image Resolution - Output resolution of the image.
3. Hook Shape - The shape and size of the hook.
4. Hook Color - The color and texture of the hook.
5. Hanger Texture - The color and texture of hanger bodies.
6. Background alpha - The color and texture of the background.
7. Lighting - Placement and intensity of the lighting.
Animation and Keyframing
While there may exist better approaches, our approach for quickly generating a good variety of colours, lighting conditions and subject placements was through the process of animating and keyframing various parts of the synthetic hanger object.
For certain parameters, we would like to vary(mentioned in the previous section), we found it much easier to set values at certain keyframes and allow Blender to interpolate the in-between frames.
Rendering
For rendering, we needed the rendering engine to render two separate images.
1. The actual image we're rendering. This is the input to the model we're training.
2. The foreground object. Here we need these to be rendered retaining their "true colour" so as to ensure that the alpha values we obtain correspond.
To generate the foreground of the image, the solution was surprisingly simple; we rendered one image with the background alpha set to 1 and another where it was set to 0. Furthermore, to ensure that reflections from the surrounding surfaces were minimized, surface reflections from other surfaces were turned off for reflective object parts during the second render. In this way, we generated the hanger images. Here are a few examples below,
Aside: A Quick Note on Limitations
And as with everything, this is not without its limitations. With more control over the distribution of image properties and rendering, we run into a rather familiar problem; overfitting. One must be careful to ensure that the hyperparameters used are general enough that we are not "accidentally leaking" distributions from our testing set into our training set.
Hence the parameters used to render each sample must come from a more holistic "idea" of what distributions we expect in the real world rather than only being tuned to the errors we observe in the test set. Otherwise, the model trained using such data may generalize poorly to other images.
Furthermore, care must be taken that the renders produced at least "loosely" look similar to realistic images. The whole idea is that the model understands how to use features picked up from our synthetic images and can apply them to real-world images.
The "gap" in how distributions may look, either as a consequence of unrealistic images or improperly selected parameters during rendering, is known as the "Real-Synthetic Gap". Again, these tend to be problem specific, and what worked for us to model the broader distribution we wanted to improve model performance on may not generalize to all cases.
Summing Up
To summarize, in this blog post, we briefly went over a unique problem that we encountered and our synthetic solution to the same. Synthetic data generation acts as an efficient, reproducible and accurate approach to creating the kinds of distribution that you want to see in your training data.
We believe that progress in the field of data synthetics opens doors to the more practical usage of deep learning models when it comes to applying them to real-world problems, helping everyone save more time and produce better results.
FAQ's
What is a real life example of synthetic data?
A real-life example of synthetic data is the generation of virtual environments in flight simulators for pilot training, where the data mimics various flight conditions.
What problem does synthetic data solve?
Synthetic data solves the problem of data scarcity and privacy issues, allowing for the training of machine learning models where real data may be restricted or too sensitive to use.
What are the uses of synthetic data?
Uses of synthetic data include training machine learning models, testing software, data privacy enhancements, and augmenting insufficient real datasets to improve analytical robustness.
Are there any innovative use cases for synthetic data?
Innovative use cases for synthetic data include generating realistic human faces for virtual reality, creating diverse scenarios for autonomous vehicle testing, and simulating medical data for research without compromising patient privacy.
What is the use of synthetic data in AI?
In AI, synthetic data is used to train and test algorithms, particularly in situations where real data is limited, too costly to obtain, or needs to be free from bias.
Is synthetic data better than real data?
Synthetic data is not inherently better than real data; it serves as a complementary tool. It can enhance model robustness and fill gaps where real data is unavailable, but it may lack some of the complex nuances of real-world data.
.webp)

.webp)

.webp)
.webp)
.webp)


