How to Convert to a PNG Transparent Background -A Guide
PNG files are great if you need an image with transparent areas on the internet, but they can be challenging to create. If you have any graphic design software, it will probably offer the option to save your image as a PNG file with transparency.
Still, there are several other ways that you can convert images to PNGs with transparent backgrounds. We'll show you how five different approaches use free and easy-to-use software.
What is PNG Transparency?

PNG (Portable Network Graphics) is an image format that provides superior lossless compression without losing any image quality. It supports alpha channel transparency and colour depths up to 48 bits per pixel.
This means we can use it in web projects requiring transparent backgrounds. The only downside is that it's a bit larger than JPG or GIF files and requires more time to compress. The easiest way to convert images from one format to another is by using software such as Adobe Photoshop, GIMP, or Paint Shop Pro.
Reasons You Should Use PNG Transparency in Your Graphics
If you're working with any graphic design, transparency is one of the most important things to understand. This little-known feature allows you to manipulate how your graphics appear about the background they're on.
If you're not working with transparency, you're missing out on one of the best features designers have today! Here are ten reasons you should always use PNG transparency in your graphics.
1) PNG is a Portable
PNG is a lossless image format, meaning the image will not lose any quality or detail when compressed. Plus, it supports transparency and can store alpha channels with ease.
This makes it an excellent choice for use on the web. When you have an image that contains transparency, you need to save it as a separate file with png at the end of its name for example, my image-transparent.png (the transparent version).
2) Other graphics formats are lossy (JPG, GIF)
PNG is a lossless format, which means it will not lose any quality when it compresses your image. While other formats like JPG and GIF are not lossless, they have their benefits. GIF is ideal for file size because the image will always be the same size no matter what you do with it. And JPG images are best for photos or images that will be used on the internet.
PNGs can also come with various transparency options (alpha channel), so you can control precisely how much of an object should be showing through an area of another object on top of it. This is great if you want to put something over an image but want to use something other than a layer or anything fancy.
3) PNG Is FAST
PNGs are some of the fastest graphics formats available. They often compress images better than other formats and contain multiple channels for transparent pixels.
For example, a transparent blue pixel has a blue channel and a transparency channel that encodes its alpha value. This is just one of the many reasons why PNGs are so great.
4) Browser Compatibility
For example, if you're using a photo of someone else and the photo is not available for use without a watermark, you can use an image editing program to remove the watermark and save it as a transparent PNG file. This will ensure that the person's face is still evident even if they don't have access to your website or blog.
Can Be Used with Any File Type. Many different file formats are used on the internet, but not all can be used with transparent images like PNGs. For example, JPEGs cannot contain transparent information, whereas GIF files need to be animated, which takes up more space than just one image.
5) Compression
PNG files are more compressed than JPEG and GIF, meaning your graphics will load faster on the web. The downside to using them is that they will take up more space on your computer, so make sure to plan accordingly before uploading a large graphic. PNG files also support alpha channels, which means they have additional transparency.
If you use a photo editor like Photoshop or Gimp to create your graphic, it should automatically save as a png with transparency if you don't change the default settings. However, if you're creating graphics in another program and saving it as a jpg or gif file, then set the transparency layer to 100% before saving the file.
6) No Decompressing Needed
PNG is a lossless format, meaning that the quality of the graphics is not reduced when saving and working on them. When you use JPEGs for transparency, you will need to decompress and recompress your image whenever you want to make changes. This can often cause a degradation in the quality of the graphics.
Another reason to avoid JPEGs for transparency is that they are compressed files, meaning they are significantly smaller than uncompressed files. The downside is that with each change made to a JPEG, the program has to compress it again.
7) Can be layered over itself (Alpha Channel)
PNG transparency is an important thing to know about when you're putting together a website. It's a convenient tool that can be used to create layered images. Layer images over each other and then cut out parts of the top layer so that it shows through the bottom layer. This creates a neat effect and allows for some creative designs.
PNG transparency is also helpful because it can be used as an overlay for text or photographs, giving you more flexibility when designing your graphics. In addition, you can use this tool to make graphics without worrying about those pesky empty transparent pixels showing up on the edge of your image. Just fill in those spots with another colour or pattern.
8) 100% Anti-Aliased by Default on Most Browsers
PNG transparency is a popular choice for web graphics because it has various advantages over other formats, such as GIF and JPEG. One advantage is that PNG images are always 100% anti-aliased by default on most browsers. This means that when you look at the image, there will be smooth edges around the image instead of jagged edges on the edge of an object (as shown below).
This makes text and graphics easier to read while making it less likely that people will notice pixelation when they look at your graphic. Another advantage of using PNGs for your images is that many web design programs can easily export them. Photoshop and Illustrator have built-in options to export from those programs as a transparent background (.png) file.
9) Better quality than GIFs with no additional file size!
GIFs are limited to a maximum of 256 colours and can only be 8 pixels tall by 8 pixels wide, while PNG-8 files can have up to 16.7 million colours and can be any size. This means you get a higher-quality image with no additional file size when you use the transparent feature in your graphics. Plus, PNG-8 files are smaller than their GIF counterparts. It's also possible to convert a JPEG into a transparent PNG-8 for web applications.
It makes it easy to see what's under your images. You can change the opacity or add an overlay effect to give readers an idea of what is on top of or behind your images without putting them on top of each other, which could hide parts of either photo. Are file types other than JPG?: If you're using programs like Photoshop or InDesign, both allow for using native formats like PSD and AI instead of having all images saved as JPG or TIFF.
10) For the Future. Or just keep this reason at the top, it seems good enough.
PNG transparency is a cost-effective way to get the best of both worlds. With it, you can create a graphic that has both a transparent background and an image on top.
It's a great way to save time and money by combining two things into one, but for any other time, the graphic will be fully editable without losing quality. As a bonus, most browsers support transparent PNGs so that you can show off your graphics on any device.
What is Erase.bg?

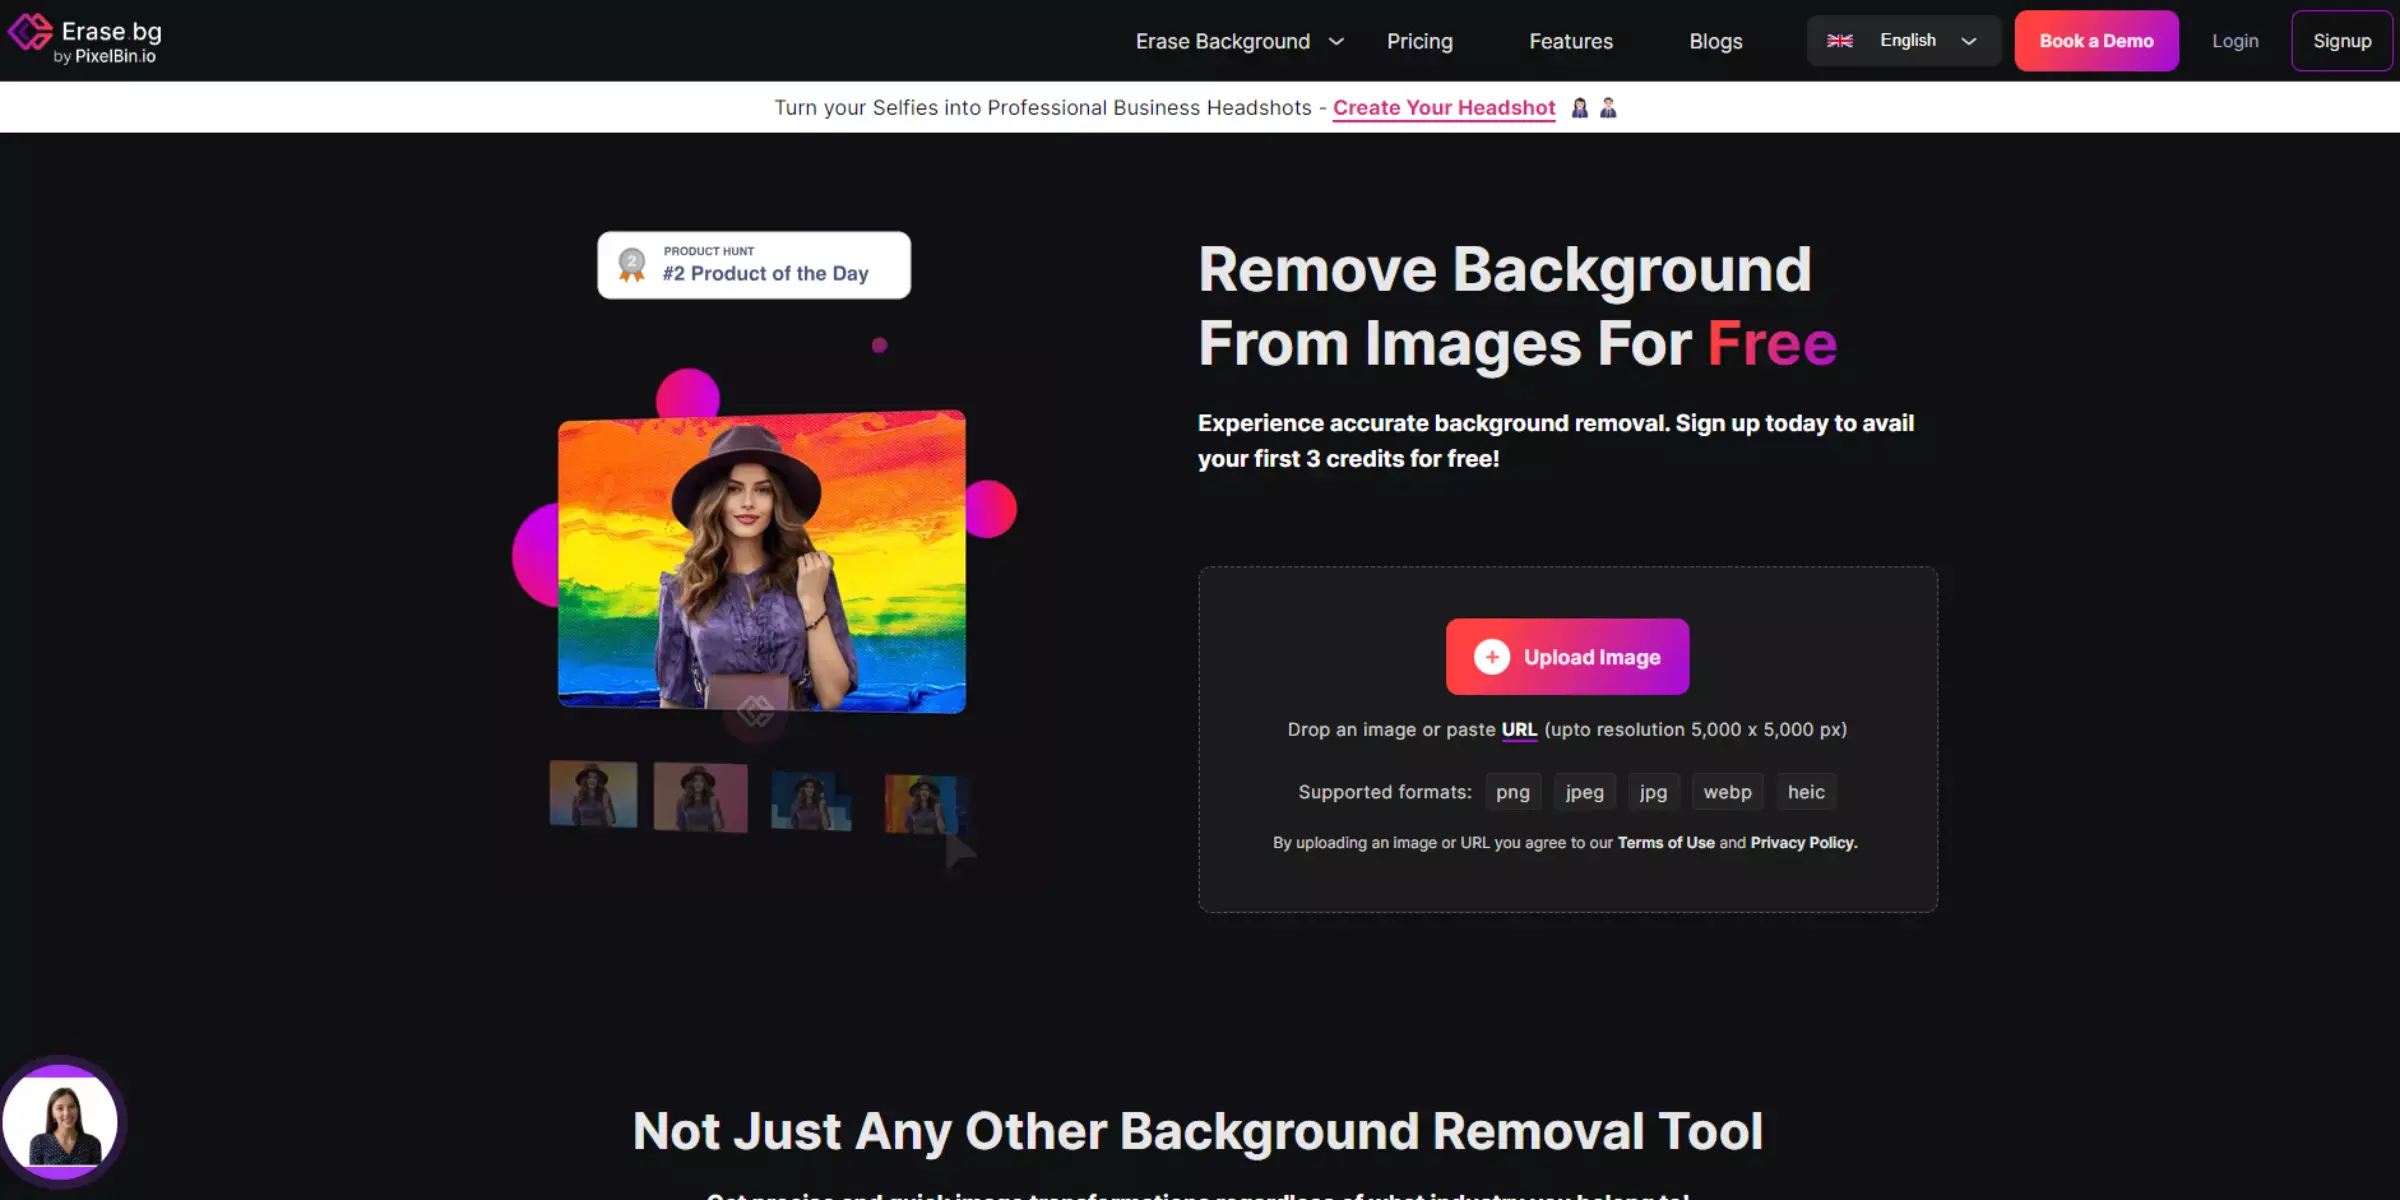
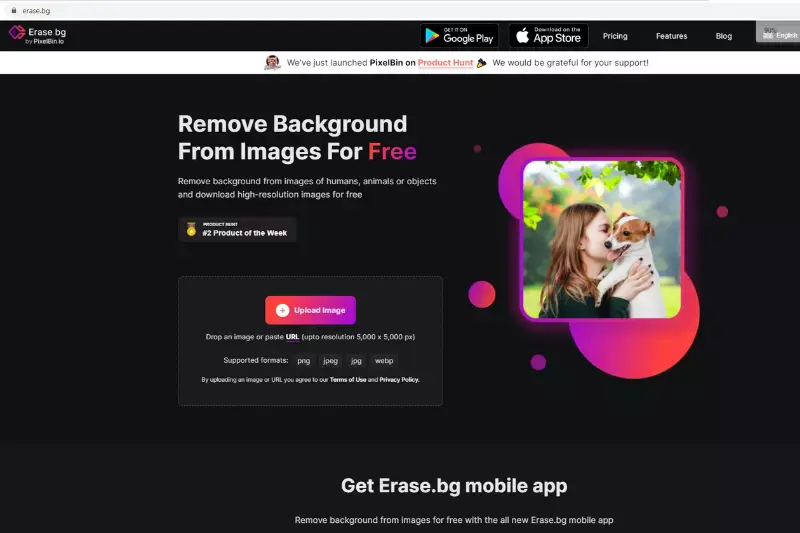
Erase. Bg is a free online tool that lets you upload any image and convert it into a transparent PNG file. Erasing the background of an image can be tricky, but this tool makes it easy. You upload the file you want to be erased and click PNG.
The result is an easily-edited transparent background without any white space around the object. This tool will work for any photo or graphic, so feel free to use it for whatever you need.
Erase.bg- The Answer To All Your Transparency Needs!
When starting a new design project, the quality of the images you use can make or break the outcome. After all, what good is a fantastic photo of your product if it doesn't look as good in your design as it does in real life? PNG transparency eliminates the issue of integrating an image with a background, as it allows you to place an image without the need to delete any part of the background image.
This makes the image look as if it's a part of the design itself. Here are ten benefits of using PNG transparency and removing background online with Erase.bg when working on your projects.
1. Good quality
The first benefit is that the quality is good. It's important to note that the quality can vary depending on what program you use to create your image. Still, it's always best to work with a good-quality image from the beginning to avoid any issues when editing it later.
2. Free
Erase. Bg is an easy-to-use online editor that helps you make a transparent background for your pictures, and it's free.
3. Fast
You have an image that you want to make transparent, and you drag it onto the program's window. The program automatically detects the background colour, so you must pick the foreground colour that matches your design choice and save it! It doesn't get much easier than that.
4. Zero watermark (good in some cases)
Erase. bgis a free online tool for removing the background from images. Still, it does this by replacing the original image with a white one and then using an algorithm to find the area that needs to be cut out of the white background before placing it over your image, which means you'll have white space around your image as well.
5. Can be used directly in MS Word
If you're using MS Word, open the program, click on Insert, and select Clip Art. Then scroll down to the bottom of the list until you find Transparent Windows, and click on it.
This should bring up a bunch of transparent windows; however, if you want a specific colour or shape, go to Browse. You can now see all of your clip art in an organized list; double-click on what you want to use, and it'll appear in your document.
6. Doesn’t add any annoying layer to the image.
PNG images are different from JPEGs in that they don't have any built-in transparency; all pixels in a PNG file are either fully transparent or opaque. This is why when you want to edit a photo, add a watermark, or draw on an image, you need to do so as an overlay on top of the original image and then save the new version as a JPEG.
PNG files also can't be animated like GIFs and can't support alpha channels like Photoshop does with layers, making it challenging to create screenshots where the background is transparent or show off text overlays. So what do you do if you want to go beyond basic editing? Enter Erase. Bg.
7. Can be used in GIMP, Picasa, etc.
Erase. bg is an online service that makes transparencies for you from a range of formats, including PNG. The site is straightforward to use and takes minutes to upload and generate a transparent file that can be downloaded from the website or emailed directly to you in various formats.
8. Step by step instructions on how to use this tool can be found on this website.
PNG images are great, but they can't show transparency effects on the web. If you want to make an image transparent in a Photoshop document, it's a bit tricky to do so. Thankfully, there is a solution with Erase.bg. To get started, visit the website, drag your image onto the screen, or upload it from your computer if you have enabled that option.
Next, move over the part of the image you want to remove (make sure it's not near anything that should stay) and click on trim away if you're not happy with what you've done. You can also use erase away and fill in when needed as well.
9. It's FREE
It's free, it's fast, and it has a ton of options! There are three export types: png with alpha channel, png with no alpha channel, and gif with alpha transparency. If you have a huge file size to reduce, there is an option to select either a percentage or a pixel count reduction. And there are also tons of colour options and the ability to flip your image in both directions.
10. Friendly support at our Facebook page if you have any questions
If you have any questions about how to use Erase.bg, or if you need a hand with something related, feel free to reach out to us on our Facebook page, and we'll be happy to help.
How to Add Transparency With Erase.bg in A PNG File
Step 1 - Erase.bg can be downloaded from Google Play or iTunes.

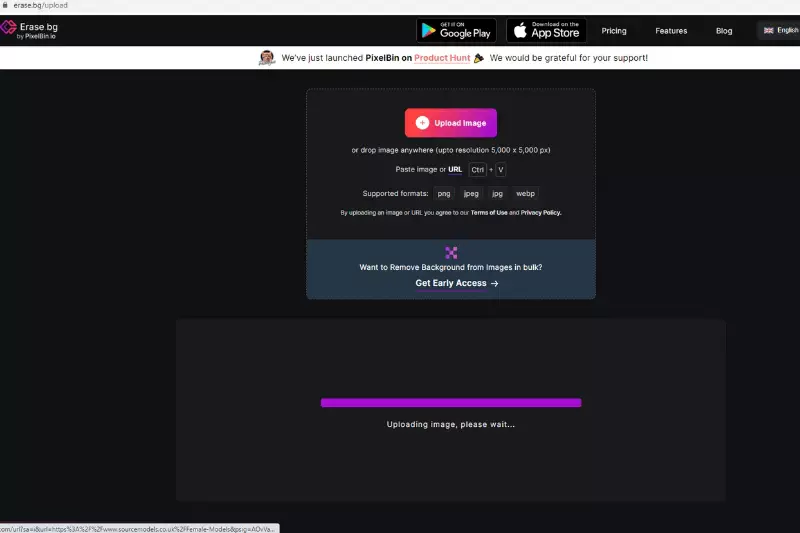
Step 2 - Upload your image by dragging, dropping, or browsing your drive.

Step 3 - Click the 'Remove Background' icon.
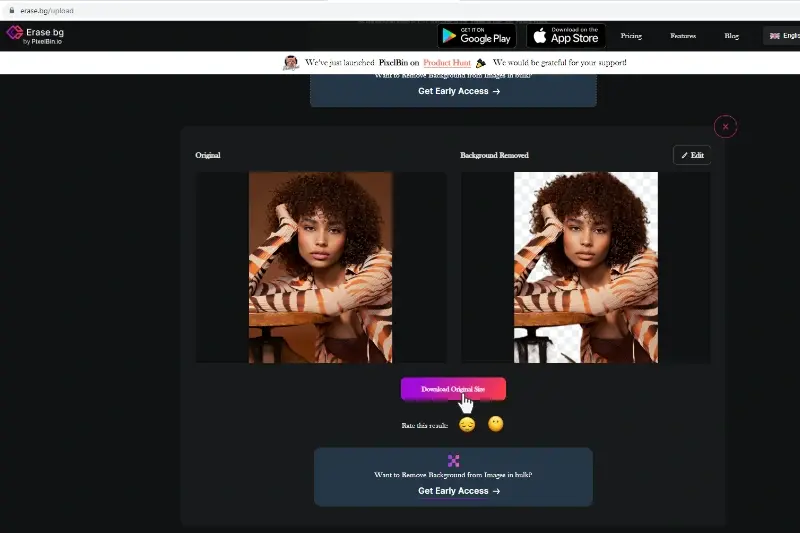
Step 4 - select the file type and click 'Export'.
Step 5 - You can download the transparent Background' here.

Conclusion
The PNG (Portable Network Graphics) format has become increasingly popular as the years have progressed. For a good reason, it can be used on virtually any platform and supports transparency and animation. It’s more lightweight than other image formats such as JPEG or GIF.
But what if you want to convert an image to a PNG, but the background isn’t transparent? With a few easy steps, you can follow this tutorial on converting any image to a PNG with a transparent background so that your image will be compatible with any platform or website regardless of its backdrops.
FAQ's
Can Erase. bg make a transparent background?
Yes, You can use Erase.bg to make a transparent background that is making your image transparent by clicking on it and waiting for the output to appear.
Why are my PNGs not transparent?
There are many reasons why you might have trouble getting your PNGs to be transparent. If the background of your image is not 100% white, it will not be transparent. You may also have an older version of Adobe Photoshop that does not allow for transparency and PNG images. Lastly, if you are trying to save a photo that has text on it, the photo will only be partially transparent because the text blocks out part of the background color. If any of these sound like they might be true for you, then here's what you can do: Step 1 - Make sure your background is completely white by changing its opacity to 0%. Step 2 - Upgrade your version of Photoshop to CS5 or later.
Why does the PNG still show the background?
Not all images are the same, and PNGs are more complex than JPEGs. Step 1 - JPEGs use lossy compression which means that they save on file size by discarding some of the data in an image. Step 2 - This data is generally less important to how the image looks, like what is behind it in the background. Step 3 - The downside to this type of compression is that if someone opens up your image in Photoshop or another program, they'll see what's behind it because there isn't any data for those areas.
Why is my PNG exporting with a white background?
One of the most common reasons why your PNG is exported with a white background is that you are trying to export it from an image editor that does not have the option to export transparent pixels. To export a PNG file in Photoshop, for example 1: you must first select Save for Web and then select Transparency as the color mode. example 2: If you're using another program like Adobe Illustrator or Inkscape, this should be done automatically.
Why isn't my PNG background transparent?
Your PNG background may not be transparent due to several reasons, such as saving the file with a solid background instead of a transparent one, or compatibility issues with certain software or browsers.
Do all PNG files have transparent background?
No, not all PNG files have a transparent background. PNG supports transparency, but it depends on how the file was created and saved. Some PNG files may have solid backgrounds, while others may be transparent.