


How to Nail Your Christmas & Fairy Lights Photography


How to Nail your Christmas & Fairy Lights Photography
Did someone say cosy hot chocolate, roasted nuts, and Gingerbread houses? Warm & crispy turkey? Ah, the aroma of sweet cinnamon combined with Christmas cakes and puddings! Yes, people, you guessed it right. The Christmas season is almost around the corner now, and what better time would there be to indulge yourself in the spirit of the most enchanting holiday season and, yes, the perfect clicks?.
And what perfect Christmas would be perfect without Fairy Lights? It’s no surprise that fairy lights are almost a Christmas tradition in every corner of the world, and those tiny little angels never fail to add that extra magic spark to our Christmas celebration every year! To capture the best Fairy Lights Christmas shots this holiday season, keep reading since we’re here to help you with the same! So get your cameras and tripods ready.
How to do Outdoor Christmas Fairy Light Photography?

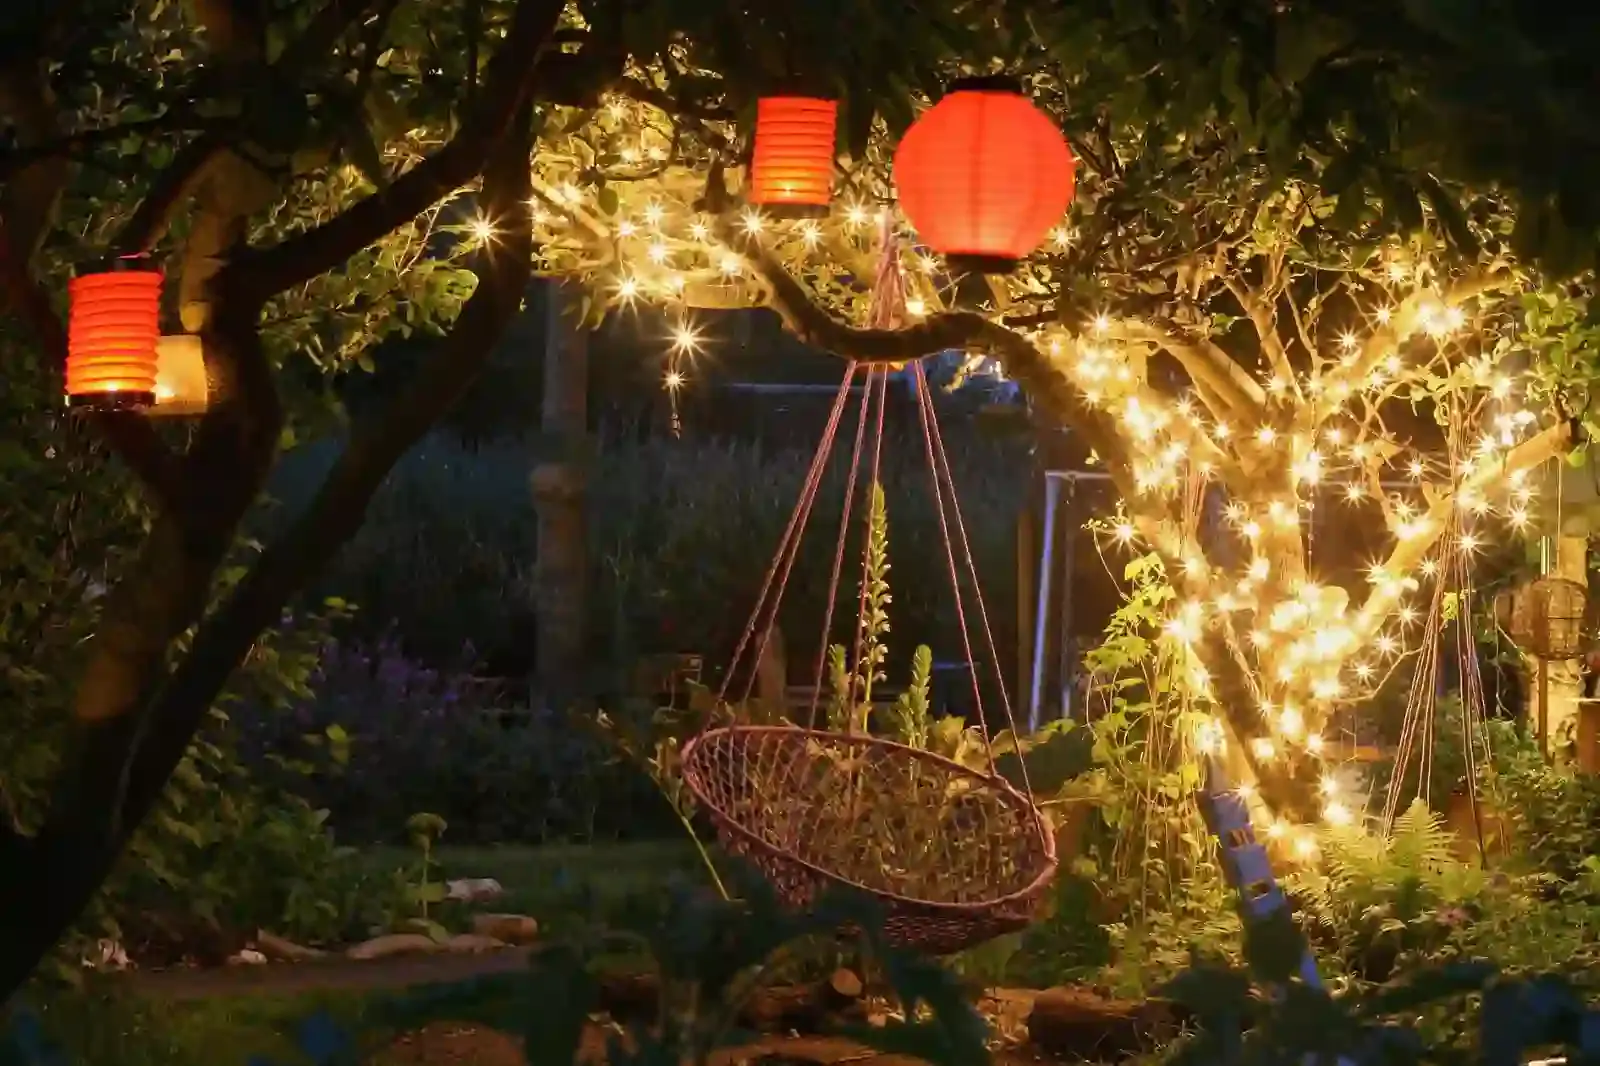
First and foremost, let’s grab some quick tips to set the Christmas magic in motion when you love the outdoors. Many towns and cities have a beautiful Christmas ambience outside with the sparking lights and trees full of knick-knacks, so why not use it all to our benefit? That sounds like a perfect idea already! Outdoor photography would capture the cold-toned and raw Christmas essence even better. So here’s what you need to do-
1. As self-explanatory as the very title of this article is-Grab A Set Of Fairy Lights!
You can do it anywhere you like because fairy lights are relatively cheap and wouldn’t hurt your budget. So, it’s quite an affordable way to add magic and spark to your memorable photographs. You’ll also require a string, tacks, or a stand to hang your lights on. Also, you’ll need a lens that could shoot with a wide aperture (low f-stop number)-A prime lens like 135mm f/2.0, 85mm f/1.8, or 50mm f/1.8 would be perfect for this!
2. Choose The Time Of The Day Wisely
Now you might think that the night-time is probably the best time to capture some fascinating Christmas shots as it’s dark and in resonance with the Christmas spirit, so let’s get you out of this delusion right now! Here’s why.
1. You will capture the lights and nothing else when it's completely dark.
2. Now, even with more exposure, you will get nothing but washed-out images that won’t delight you so much.
On the other side of the spectrum, if you choose to click pictures when the sun is out, and everything’s too bright, you’ll lose the Christmas lights, and we can all agree on the fact that does it feel like Christmas without the glimmering fairy lights in the background? Probably not.
So, what is the best possible option to go for here?
The time of twilight or dawn is the best time to click Christmas fairy light pictures, but that does require some planning beforehand, so you better be on your toes if you genuinely wish to capture a masterpiece.
3. Choose The Right Location
For this Christmas Fairy Light photography, you’ll have to figure out the perfect spot to shoot. A light-coloured background would be great to begin with. And definitely, you’ll need to find a well-lit spot so that the pictures don’t end up dull.
And last but not least, the spot has to be spacious enough because you’ll be experimenting a lot with the change in distance between your subject and lights to get that perfect blurred effect.
After setting up your Christmas Fairy Lights Photography Shoot, begin experimenting with the props and lighting. The perfect shot does ask for some effort! ‘Aperture’ is the key to glimmering Christmas Light Photography.
And for this, all you have to do is set your camera to the widest aperture setting, set your camera to AV mode, and let the camera balance the other elements of manual exposure. Keep experimenting with different angles and positions to get that perfect photograph. Feel free to make all the required adjustments on the way as well when you start your actual photography session.
5. Get Rid Of The FLASH!
Yes. It’s just going to interfere with the original colors and lights from your surroundings so it’s best to leave the flash for today.
How to Take Christmas/Fairy Light Pictures Indoors?

Too cold to go out and click some beautiful Christmas Light pictures? Well, no worries; we got you! The photographs we’ll click inside will serve a different essence- a warm & cosy one! Shooting inside also has different pros; for instance, you can work and play around with materials such as warm blankets and throws to create a relaxed and laid-back atmosphere for your holiday season pictures. Here’s how to do it-
1. Get Creative With Christmas Light Background And Foreground!
For starters, you can kick off by placing the fairy lights in the background and focusing on the subject. In this way, you’ll be able to capture the blurred fairy lights (the bokeh) in the background; it shall add more depth and a warm, cozy, and romantic softness to the picture. In the foreground, try adding warm & fuzzy blankets and maybe stuffed animals (if you wish) to add a sense of contrast to the picture.
2. Add Some Extra Lighting To Your Setting
Add extra lights (other than the fairy lights) to the scene if the contrast seems too high and you wish to soften it up. Introduce another source of light if things aren’t working out that well. For instance, an additional light source from the side can add more crispiness, warmth, and softness to your Christmas Light Photography scene.
3. Keep The Aperture Low
Keep the aperture low and go for a shallow depth of field. By doing this, you’ll be able to create a blurry light feel, also known as a ‘bokeh’. And just like that, you can click some beautiful Christmas masterpieces even if you do not feel like leaving your warm and cozy home to go out! Wasn’t so hard, was it?
Gorgeous Fairy Light Settings
Since there are many different ways by which you can try & experiment with clicking pictures using fairy lights, here are some beautiful ideas if Christmas woke that creative genius in you and you feel like getting a bit extra creative & unique this holiday season.
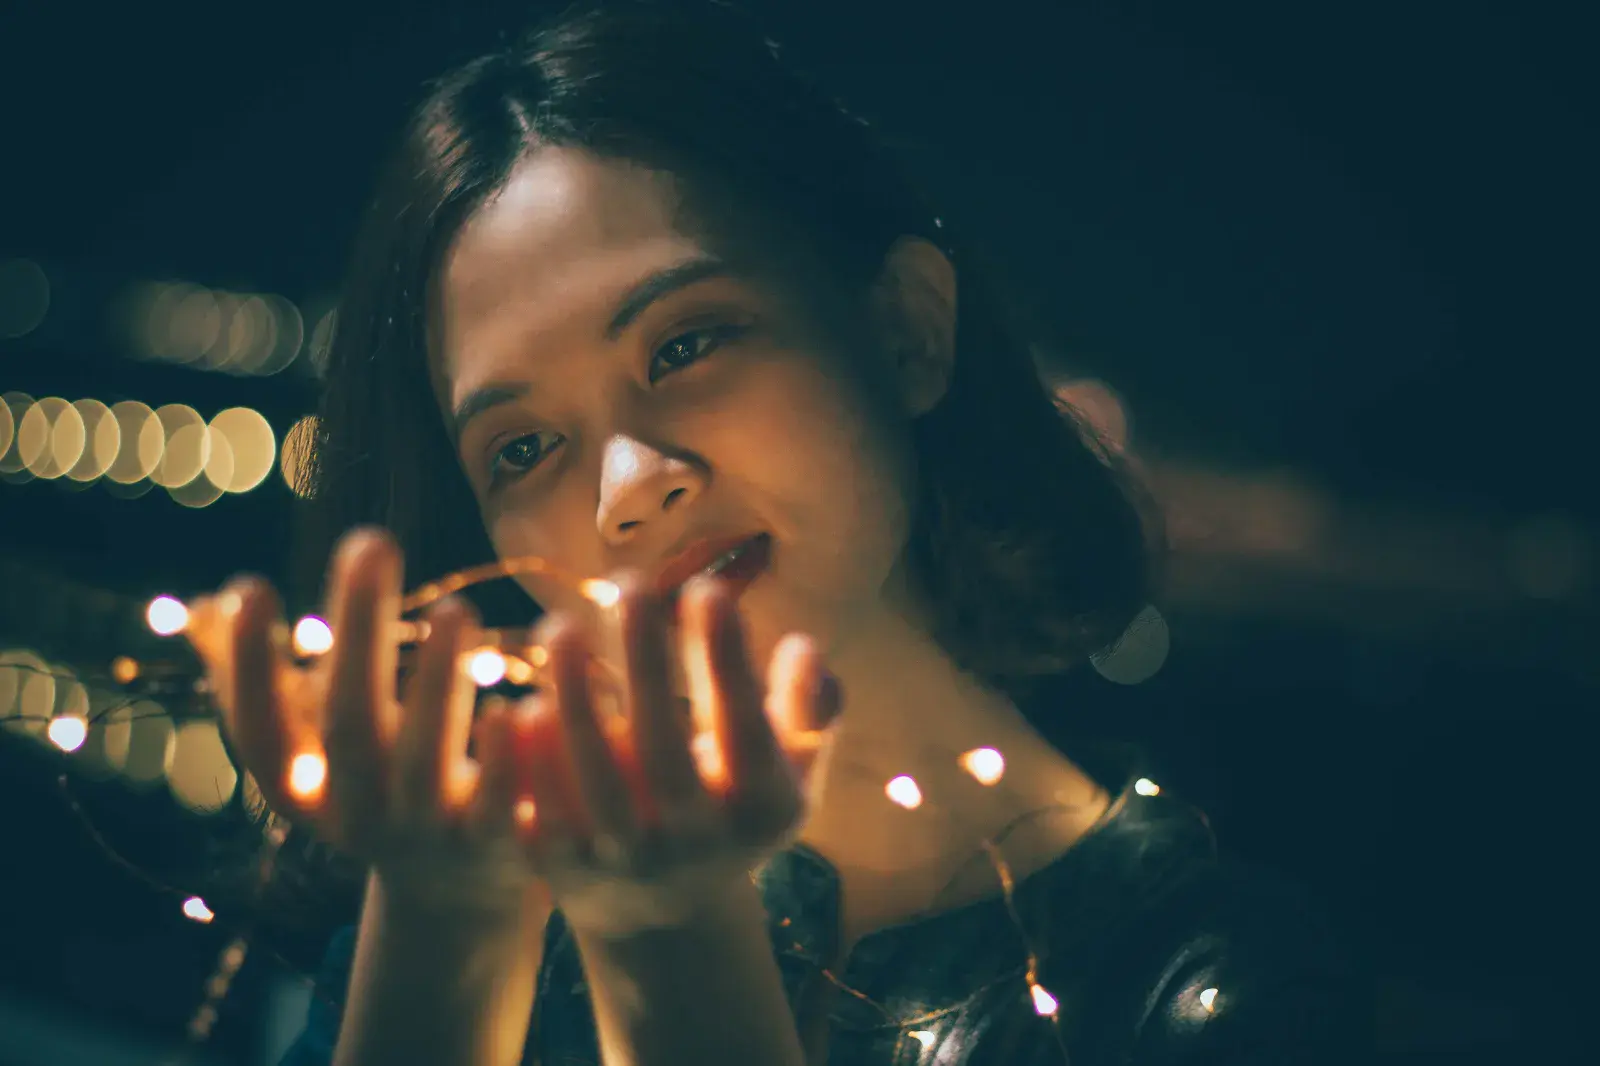
Self-Portrait
Try placing the Christmas Fairy Lights around you or in the background; you can even play wrapping them around you and then try racing towards the camera to capture an exciting and dynamic shot.
Bokeh Backdrop
Bokeh is the charm of Fairy Light Photography, so why not try bokeh backdrop? Yes, exactly! A bokeh background (a curtain full of beautiful fairy lights) would instantly and easily quadruple the magic of your Christmas Light Photography instantly and easily! So get one right now, as it’s something that you shouldn’t miss adding to your Photography Session this year.
Stunning Foreground
To add a warm and enigmatic vibe to your Christmas Light Photography, try using the warm lights and the bokeh effect in the foreground, as it would create an enchanting effect right then and there!
Long Exposure
Here’s yet another exciting thing you can do using your Fairy Lights. It’s called a time warp effect. It’s pretty simple to do- all you have to do is use a long exposure and rapidly move your fairy lights to create unique shapes and patterns for your Christmas Photography.
FAQ's
What Is The Best Camera Setting For Christmas Lights?
As it has been already mentioned in the article, the key to a perfect Christmas Light Photography is Aperture. Keep your aperture low- somewhere between f/2.8 and f/8. On increasing the aperture number, the amount of light in your picture would decrease and the focus of the picture would be clearer, which works quite well if you are going for some low-light shots Hence, it depends on your personal preference. You can adjust the camera settings as per your likes and dislikes.
How Do I Make My Christmas Lights Brighter In The Pictures?
To make your Fairy Lights appear brighter carry out your Christmas Photography session around twilight or dusk and act fast (lights in the surroundings change quickly). Don’t forget to use a tripod and lose the flash. Also, try adjusting the white balance to achieve a warm effect. If after doing all these you still feel like it isn’t enough, then try increasing your exposure time and also increase the shutter speed for blinking lights!
What Is The Importance Of Christmas Lights?
“May the beautiful lights of every holiday season remind us of Him who is the source of all light.” It is believed that Christmas Lights remind us of the Divine Light Of Jesus Christ. It symbolizes happiness, prosperity, and Godliness and reminds us to be the light of others (help people in need) and lead ourselves to the gate of God’s heaven…
How To Get Rid Of Extra Light In A Photograph?
You can easily reduce the unwanted glare in your Fairy Light Photos by bouncing the light off to another surface. Another way to do it can be by using a ‘Polarizer’ or a ‘Lens Hood’. You can even try changing the positions of your subject. You might even want to consider photo shooting at a different time of the day.
How Can I Get The Bokeh Effect With Christmas Lights?
Use a wide aperture. Lenses that offer a wide aperture of f/2.8, f/1.8, or f/1.4 would be perfect for this. With the aperture set wide open, if the camera is in aperture priority mode, it will easily adjust the fastest shutter speed despite the lighting scenario.
How Do I Take Pictures Of String Lights?
You can take pictures of String Lights with no difficulty by using a Night Camera. If you wish to do the same with Android, you can use Camera FV-5 Lite. Apps like these click multiple photos in a short period of time which in turn, creates an effect of long exposure! The blurred effect depends upon its movement- The more movement your camera captures, the blurrier the results come out to be!
.webp)

.webp)

.webp)

.webp)
.webp)


