


How to Remove Green Screen in Photoshop?


In digital artistry, achieving a flawless finish often hinges on seamlessly blending subjects into new backgrounds. For many, removing a green screen in Photoshop can seem daunting.
However, with the right guidance, this seemingly complex process becomes a breeze. Whether you're a seasoned professional or a budding creator, mastering the art of green screen removal opens up a world of creative possibilities.
Imagine transforming your photos with just a few clicks—effortlessly eliminating the green backdrop and replacing it with a scene of your choice. In this comprehensive guide, we will walk you through the steps to remove a green screen in Photoshop, ensuring you can produce professional-quality images every time.
We'll delve into the techniques of removing the chroma key in Photoshop, providing you with the tools and knowledge to tackle this task with confidence. Say goodbye to tedious editing and hello to stunning visuals that captivate and inspire. Join us as we explore the magic of Photoshop and unlock your creative potential with ease.
What Is a Green Screen?

A green screen, or chroma key, is a background used in video and photography to isolate subjects and replace the backdrop with any desired image or scene. The green color is chosen because it differs significantly from human skin tones, making it easier to distinguish and remove without affecting the subject.
In production, the subject is filmed or photographed in front of the green screen, and in post-production, software like Photoshop or video editing programs can replace the green background with another image or video.
This technique is widely used in movies, news broadcasts, and virtual meetings to create immersive and dynamic visuals. It allows filmmakers and photographers to place subjects in various environments without physical travel, making it a cost-effective and versatile tool for creative projects.
About Green Screen Removal
Green screen removal, also known as chroma keying, is a technique used in video and photo editing to eliminate a specific color (often green or blue) from the background, leaving the subject isolated. This process enables creators to replace the removed background with any desired image or video, creating seamless compositions.
Green screen removal is commonly used in filmmaking, television production, photography, and even live streaming to transport subjects to different environments or situations without physically changing locations. By removing the green screen background, creators can add visual effects, place subjects in exotic locations, or create captivating scenes that would otherwise be impossible or impractical to achieve.
This technique offers flexibility, creativity, and efficiency in content creation, allowing for the production of dynamic and engaging visuals that captivate audiences across various platforms and mediums.
What Is Photoshop?
Photoshop is a powerful raster graphics editing software developed by Adobe Inc., renowned for its versatility and robust features. Launched in 1988, Photoshop has become the industry standard for digital image manipulation and editing, used worldwide by professionals and enthusiasts.
It offers a comprehensive array of tools and functionalities for editing, retouching, compositing, and enhancing images, making it indispensable in various creative fields such as graphic design, photography, digital art, and web design. With Photoshop, users can perform a wide range of tasks, including but not limited to cropping, resizing, color correction, adding filters and effects, removing backgrounds, and creating complex compositions.
Its intuitive interface and extensive documentation make it accessible to users of all skill levels, from beginners to seasoned professionals. As a cornerstone of Adobe Creative Cloud, Photoshop continues to evolve with regular updates and new features, maintaining its position as the go-to software for image editing and manipulation.
How to Remove Green Screen in Photoshop?
Removing green screen backgrounds in Photoshop can be a game-changer for photographers, designers, and content creators aiming for professional-looking compositions. With the help of Erase.bg, a cutting-edge background removal tool, eliminating green reflections in Photoshop becomes effortless and efficient.
Whether you're working on product photography, portrait sessions, or creative projects, Erase.bg simplifies the process, ensuring seamless results with just a few clicks. Say goodbye to unwanted green reflections in your images and elevate your visual content to the next level with Erase.bg's intuitive and powerful background removal capabilities.
Step 1: Start Chroma Keying
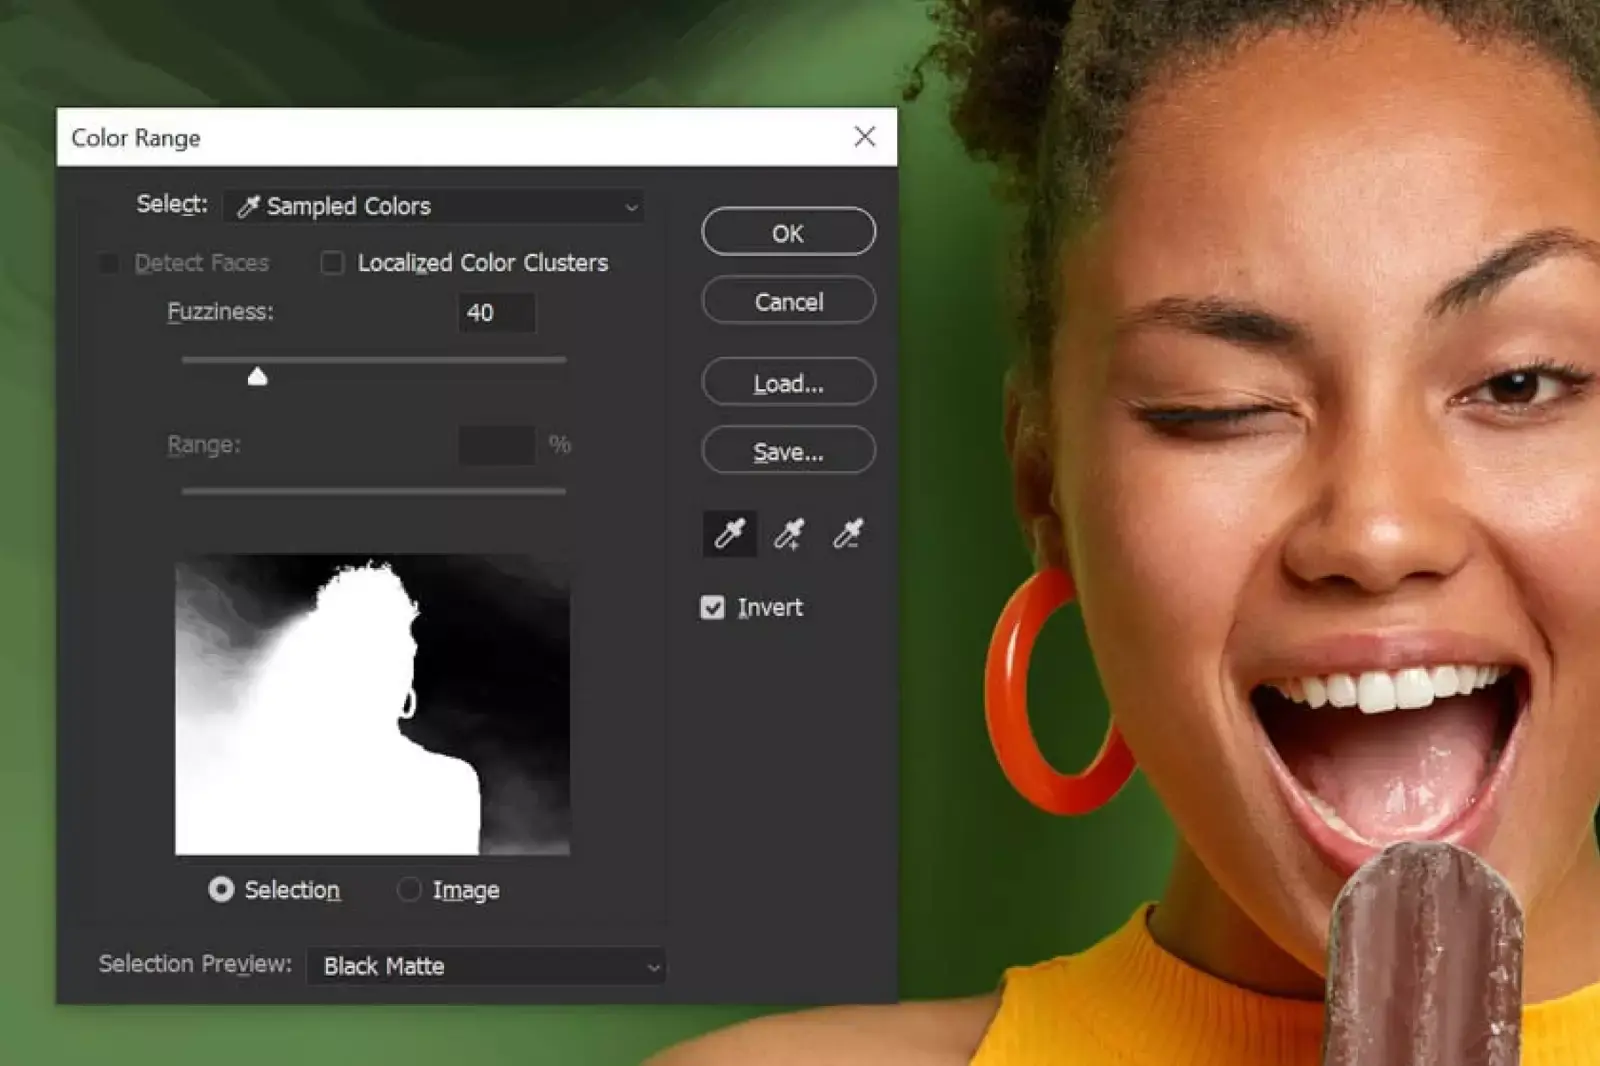
- Select the Green Screen: Begin by opening your image in Photoshop. Two effective methods for chroma keying are using the 'Select Subject' button or 'Select > Color Range'.
- Adjust Settings: For 'Color Range', set Fuzziness around 40 (adjust as needed) and choose 'Black Matte' in Selection Preview for a clearer view. Ensure 'Invert' is checked.
Step 2: Use the Eyedropper Tool
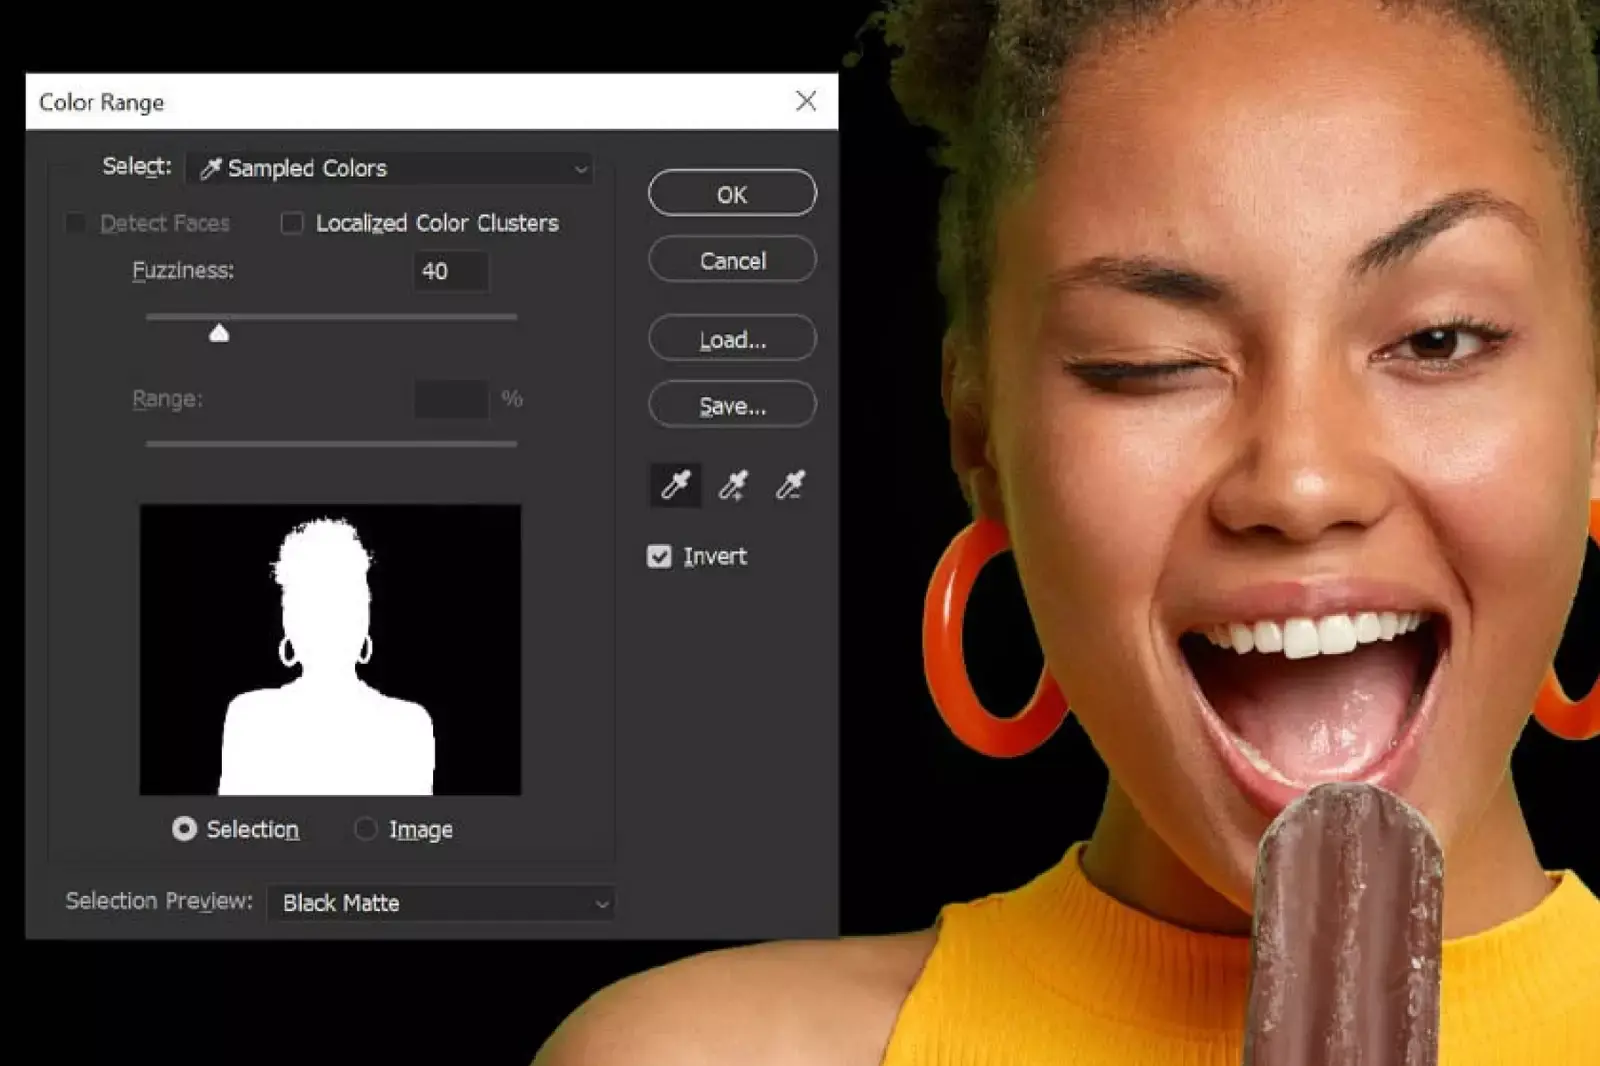
- Select Green Areas: Click on a portion of the green screen with the Eyedropper tool. Hold down Shift and continue selecting all green areas. If you over-select, use Control-Z to undo. Click OK when satisfied.
Step 3: Add a Layer Mask
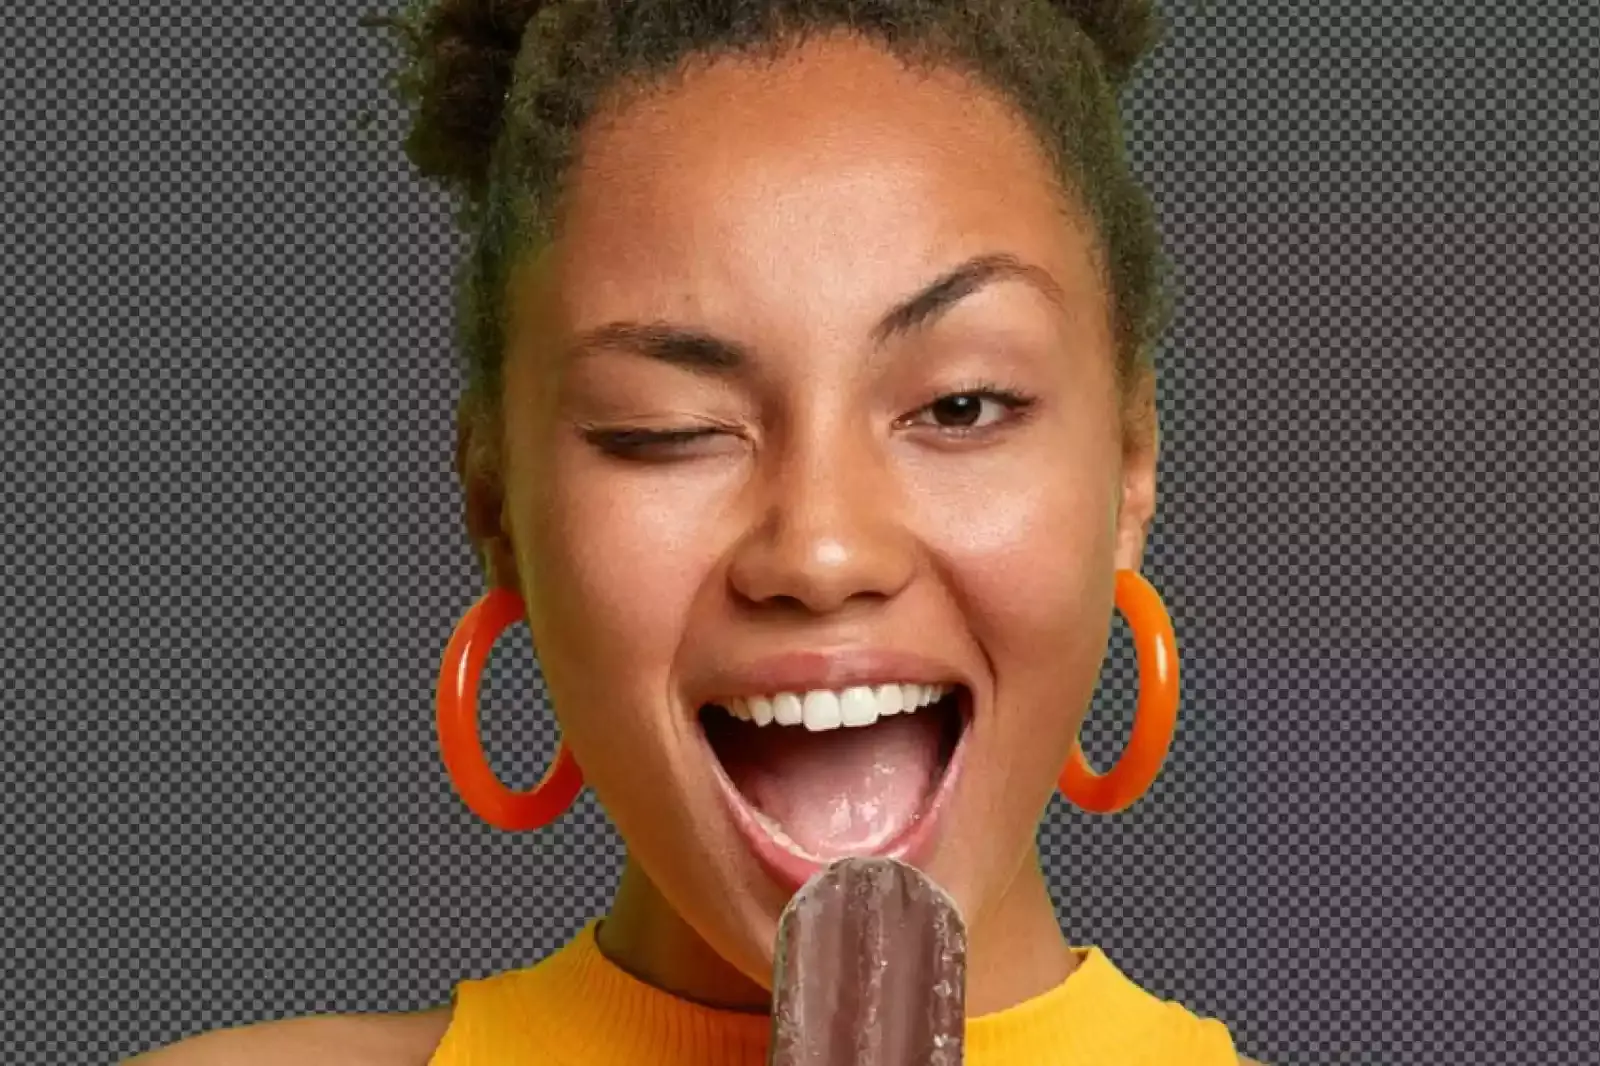
- Mask the Subject: With your green screen selected, add a layer mask to your subject. The mask will automatically take the shape of your selection.
Step 4: Insert a New Background

- Change Background: Remove the green screen by dragging and dropping or switching to your new background. For example, you can use a serene blue sky with clouds to replace the green backdrop.
Step 5: Refine the Mask
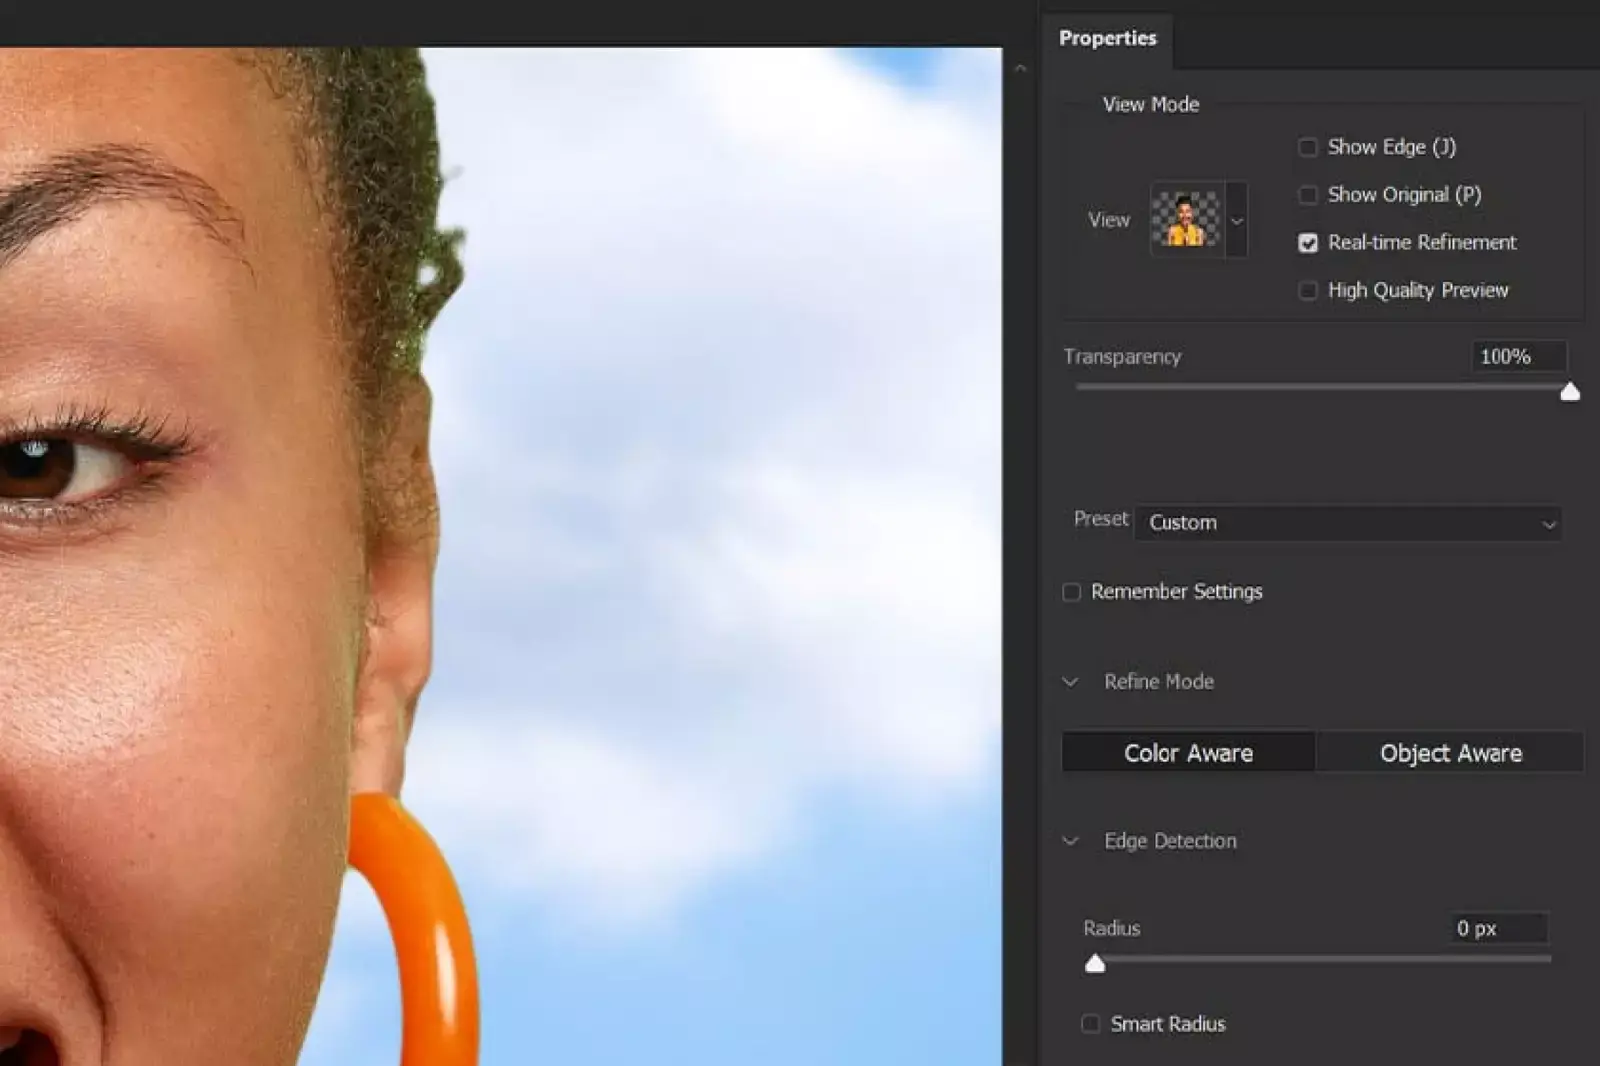
- Adjust Mask Properties: Double-click the layer mask and enter 'Select and Mask'. Use the Feather, Contrast, and Shift Edge sliders to smooth the mask’s edges. Remember, these settings vary per image.
Step 6: Eliminate Fringe Edges

- Contract Selection: Control-click the layer mask to create a selection around your subject. Then go to 'Select > Modify > Contract' and contract by 1 or 2 pixels. Invert the selection.
- Brush Out Fringes: Use a soft, round black brush to mask out any leftover fringes.
Step 7: Refine Hair and Remove Green Cast
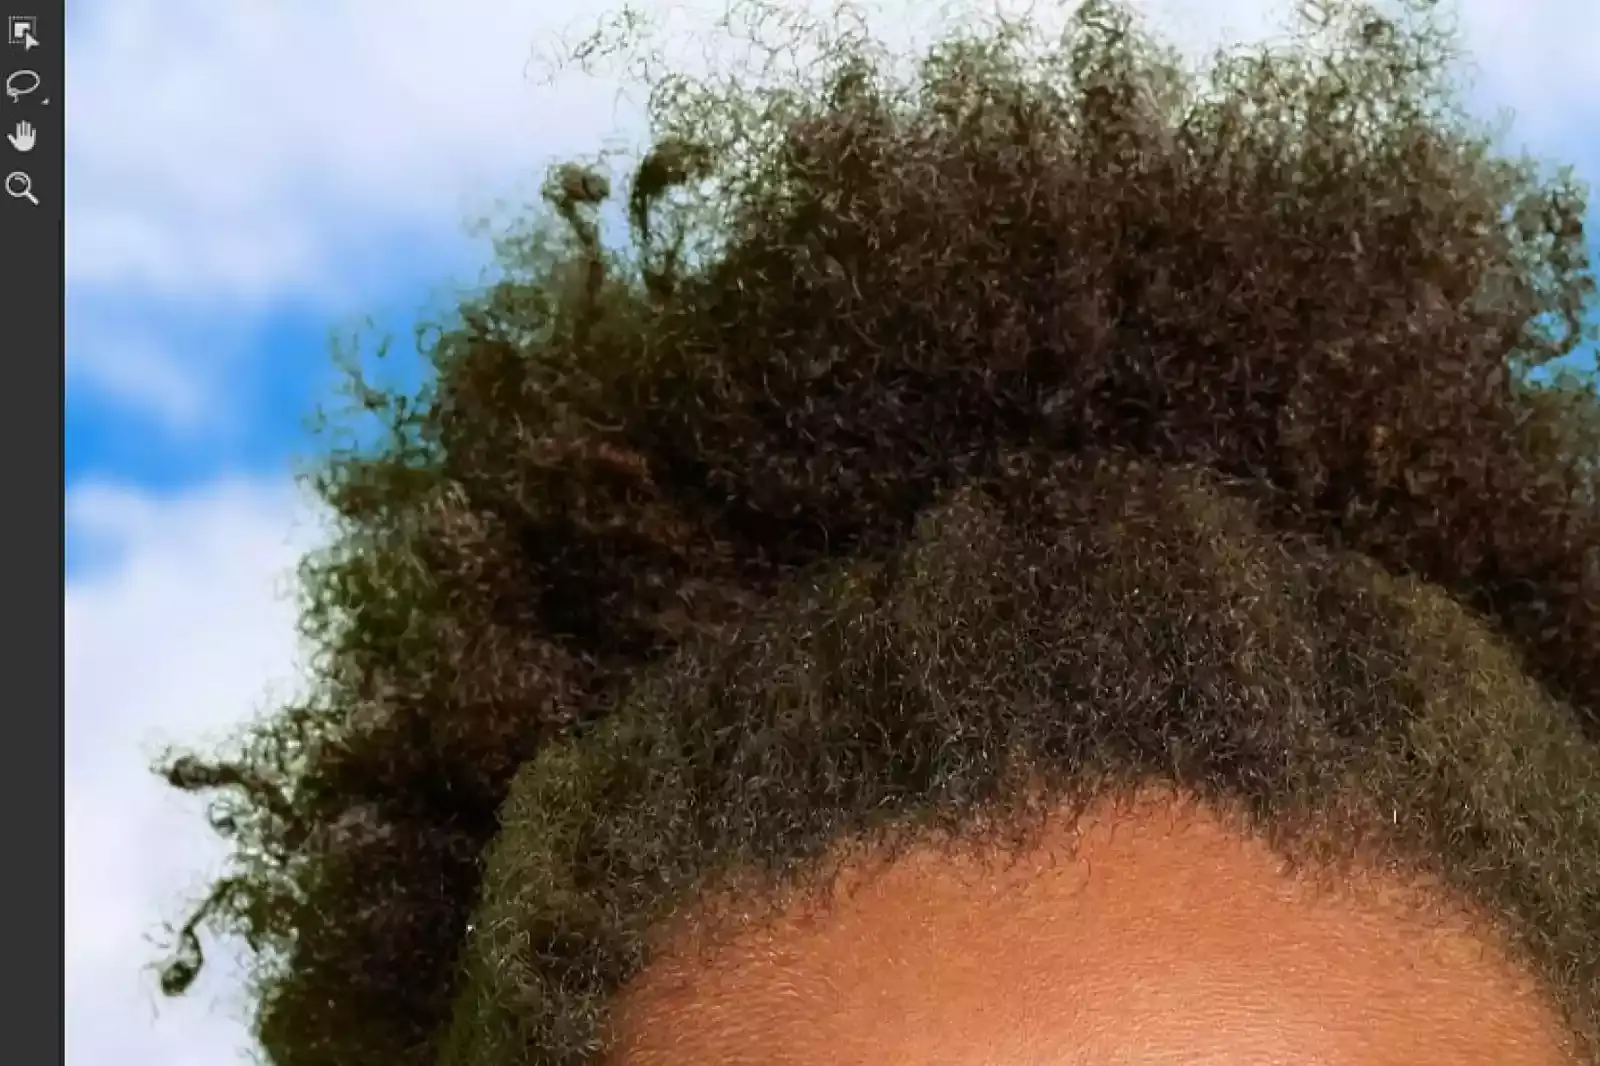
- Refine Hair Edges: Re-enter 'Select and Mask', select the 'Refine Edge Brush', and click on 'Refine Hair' in the toolbar. Hold Alt and reselect with the brush if it removes too much hair.
- Adjust for Green Cast: If the subject has a green cast, you can use color correction tools to neutralize it, ensuring your subject blends naturally with the new background.
Tips for Better Results
- Lighting: Ensure your green screen is evenly lit to avoid shadows that complicate removal.
- High-Resolution Images: Use high-resolution images for better precision and quality.
- Patience and Practice: Practice makes perfect. The more you work with green screen removal, the more proficient you'll become.
How to Remove a Green Cast in Photoshop?
Eliminating a green cast in Photoshop is vital for achieving vibrant and natural-looking images. With Erase.bg, a cutting-edge green screen background remover, this process becomes seamless and efficient. Whether you're dealing with green reflections in product shots, portrait photography, or creative compositions, Erase.bg offers a hassle-free solution.
By effortlessly removing the green screen background from your files, Erase.bg ensures that your images are free from unwanted casts, allowing your subjects to stand out with clarity and precision. Say goodbye to green screen distractions and hello to flawless visuals with Erase.bg's intuitive and powerful background removal tool.
Step 1: Create a Hue/Saturation Adjustment Layer
Clip to Subject: With your layer mask completed, create a new Hue/Saturation adjustment layer. Clip this layer to your subject so that the adjustments only affect the selected area.
Step 2: Select the Right Color Range
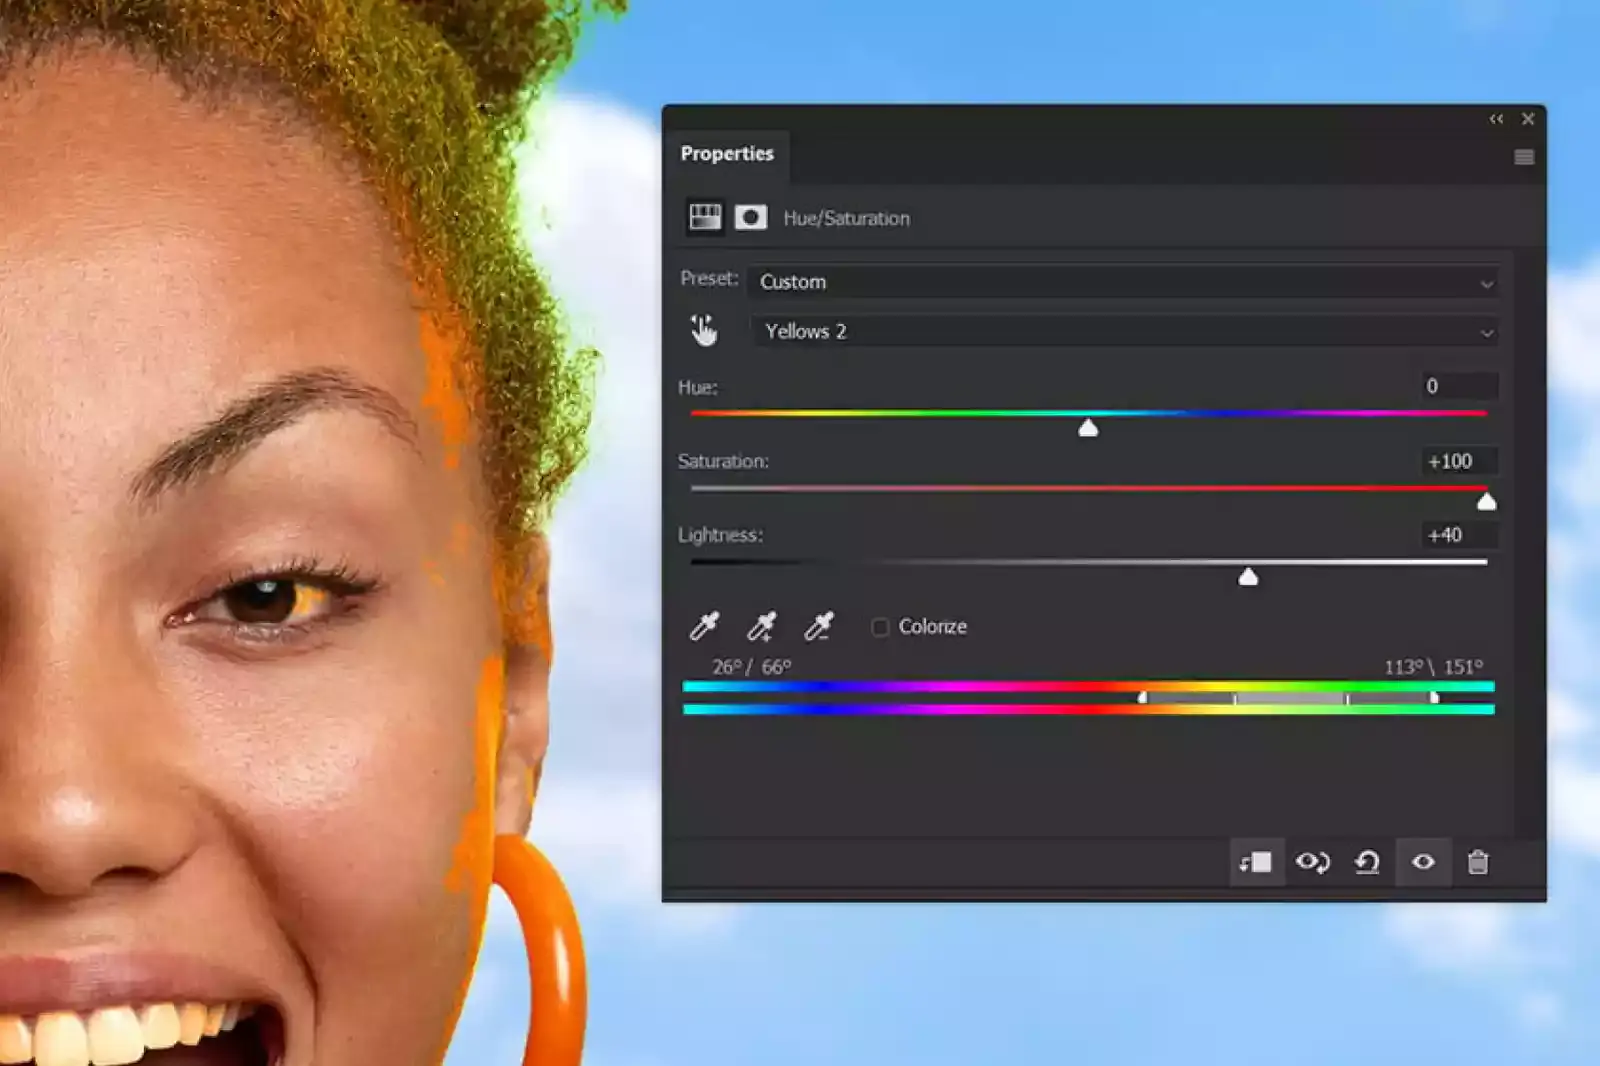
Choose Green or Yellow: From the Master dropdown menu in the Hue/Saturation adjustment layer, select either Green or Yellow. The green cast can sometimes lean towards yellow, particularly on skin tones. This varies depending on the shade of your green screen.
Test and Adjust: To identify which color affects the cast the most, temporarily set the Hue to +100. Observe which parts of the image are altered. Use the bottom Color slider to refine the color selection range. For this demonstration, Yellow is the selected range.
Step 3: Adjust the Hue/Saturation Sliders
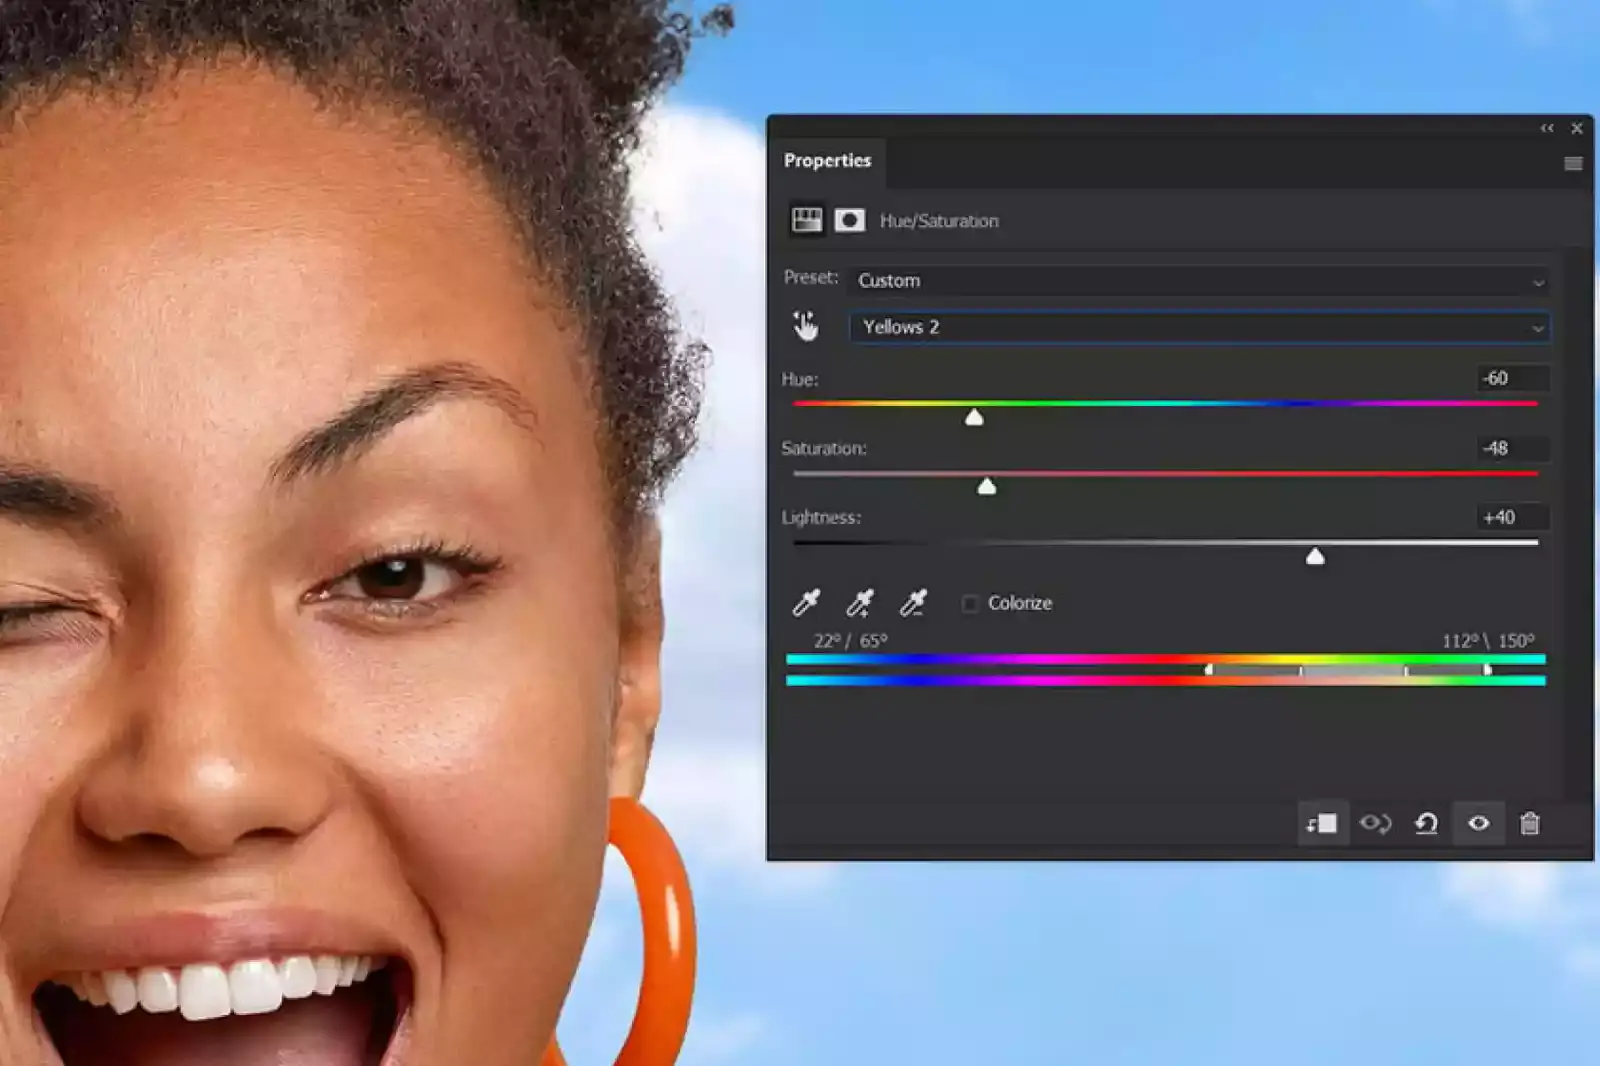
Fine-Tune Settings: Now that you've identified the affected color range, adjust the sliders. Decrease Saturation to reduce the color intensity. Increase Lightness to brighten the affected areas. Adjust Hue to match the subject's natural tones. The settings vary, but a starting point is: Hue: -60, Saturation: -48, Lightness: +40.
Step 4: Mask Out Unwanted Adjustments

Refine the Adjustment Layer: If the adjustment affects areas you wish to retain in their original color, like clothing or background objects, use the layer mask to exclude them. For instance, if the model's shirt has changed to an unwanted color, mask that area to maintain its original hue.
How to Add Backlit Hair in Photoshop?
Enhancing hair with a backlit effect in Photoshop adds depth and dimension to your portraits, creating stunning visual impact. With Erase.bg, an advanced tool for removing green screen backgrounds, achieving this effect is simpler than ever. By seamlessly eliminating the green screen backdrop from your images, Erase.bg provides a clean canvas for your creative endeavors.
Whether you're a professional photographer or an amateur enthusiast, Erase.bg's intuitive interface and powerful algorithms ensure precise and hassle-free background removal. Say goodbye to distracting green screen remnants and hello to professional-quality portraits with Erase.bg's efficient and effective Photoshop solution.
Step 1: Duplicate the Subject
Create a Duplicate Layer: Start by duplicating the subject layer. Place this duplicated layer below the original subject layer in the layer stack.
Step 2: Turn Hair White
Adjust Color Settings: Go to Image > Adjustments > Hue/Saturation. Set the Brightness to 100 to turn the hair white, creating the base for our backlit effect.
Step 3: Enlarge and Flip Hair
Modify Hair Layer: Enlarge and flip this new white hair layer horizontally. Use a mask to remove any excess white areas. This step will create the illusion of sunlit strands, giving a natural backlit appearance to the hair.
How to Blend an Image Into a Background in Photoshop
In today's tutorial, we'll explore how to seamlessly blend an image into a background using Erase.bg, an efficient tool for removing green backgrounds in Photoshop. Whether you're a professional designer or a novice, mastering this technique can elevate your editing skills.
Follow along as we delve into the process, incorporating the essential steps to remove green backgrounds effortlessly. With Erase.bg's intuitive interface and precise results, achieving a flawless blend between your subject and background has never been easier. Let's unlock the potential of your images and create captivating compositions with this simple yet powerful tool.
Step 1: Upload Image: Begin by uploading your desired image to the Erase.bg platform.
Step 2: Background Removal: Utilize Erase.bg's advanced AI technology to remove the background from your image automatically.
Step 3: Customize: Fine-tune the result using Erase.bg's editing tools to ensure precision and accuracy.
Step 4: Download: Once satisfied with the outcome, download your edited image with the background seamlessly removed.
How to Create a Color Grade in Photoshop?
Creating captivating color grades in Photoshop enhances the mood and atmosphere of your images, elevating them to a new level of visual appeal. With Erase.bg, a cutting-edge tool designed for green screen removal in Photoshop, achieving seamless color grades is easier than ever. By swiftly and accurately removing green screen backgrounds from your images, Erase.bg provides a clean canvas for applying vibrant color effects.
Whether you're a seasoned photographer or a budding artist, Erase.bg empowers you to unleash your creativity with its intuitive interface and powerful features. Say goodbye to green screen distractions and hello to captivating color grades with Erase.bg's efficient and user-friendly Photoshop solution.
Step 1: Apply Color Lookup Adjustment Layer
First Adjustment Layer: Add a Color Lookup adjustment layer and choose '3DLUT: 3Strip'. Set the Opacity to 40%. This layer will start to add a cohesive color tone to your image.
Step 2: Add a Second Color Lookup Layer
Second Adjustment Layer: Add another Color Lookup adjustment layer, selecting '3DLUT: Fall Colors'. Adjust the Opacity to 20%. This second layer will enhance the color grade, giving your image a vibrant and cohesive look.
How to Remove Green Screen Background Using Erase.bg?
Removing green screen backgrounds has never been easier with Erase.bg. As a premier green screen remover photo tool, Erase.bg offers a seamless solution for eliminating unwanted backgrounds from your images.
With its advanced AI technology, Erase.bg accurately detects and removes green screen backgrounds, allowing you to focus on the subject without any distractions. Whether you're a photographer, designer, or content creator, Erase.bg empowers you to achieve professional-looking results in just a few clicks.
Say goodbye to tedious manual editing and hello to effortless background removal with Erase.bg's intuitive interface and powerful capabilities. Unlock the full potential of your photos with Erase.bg today.
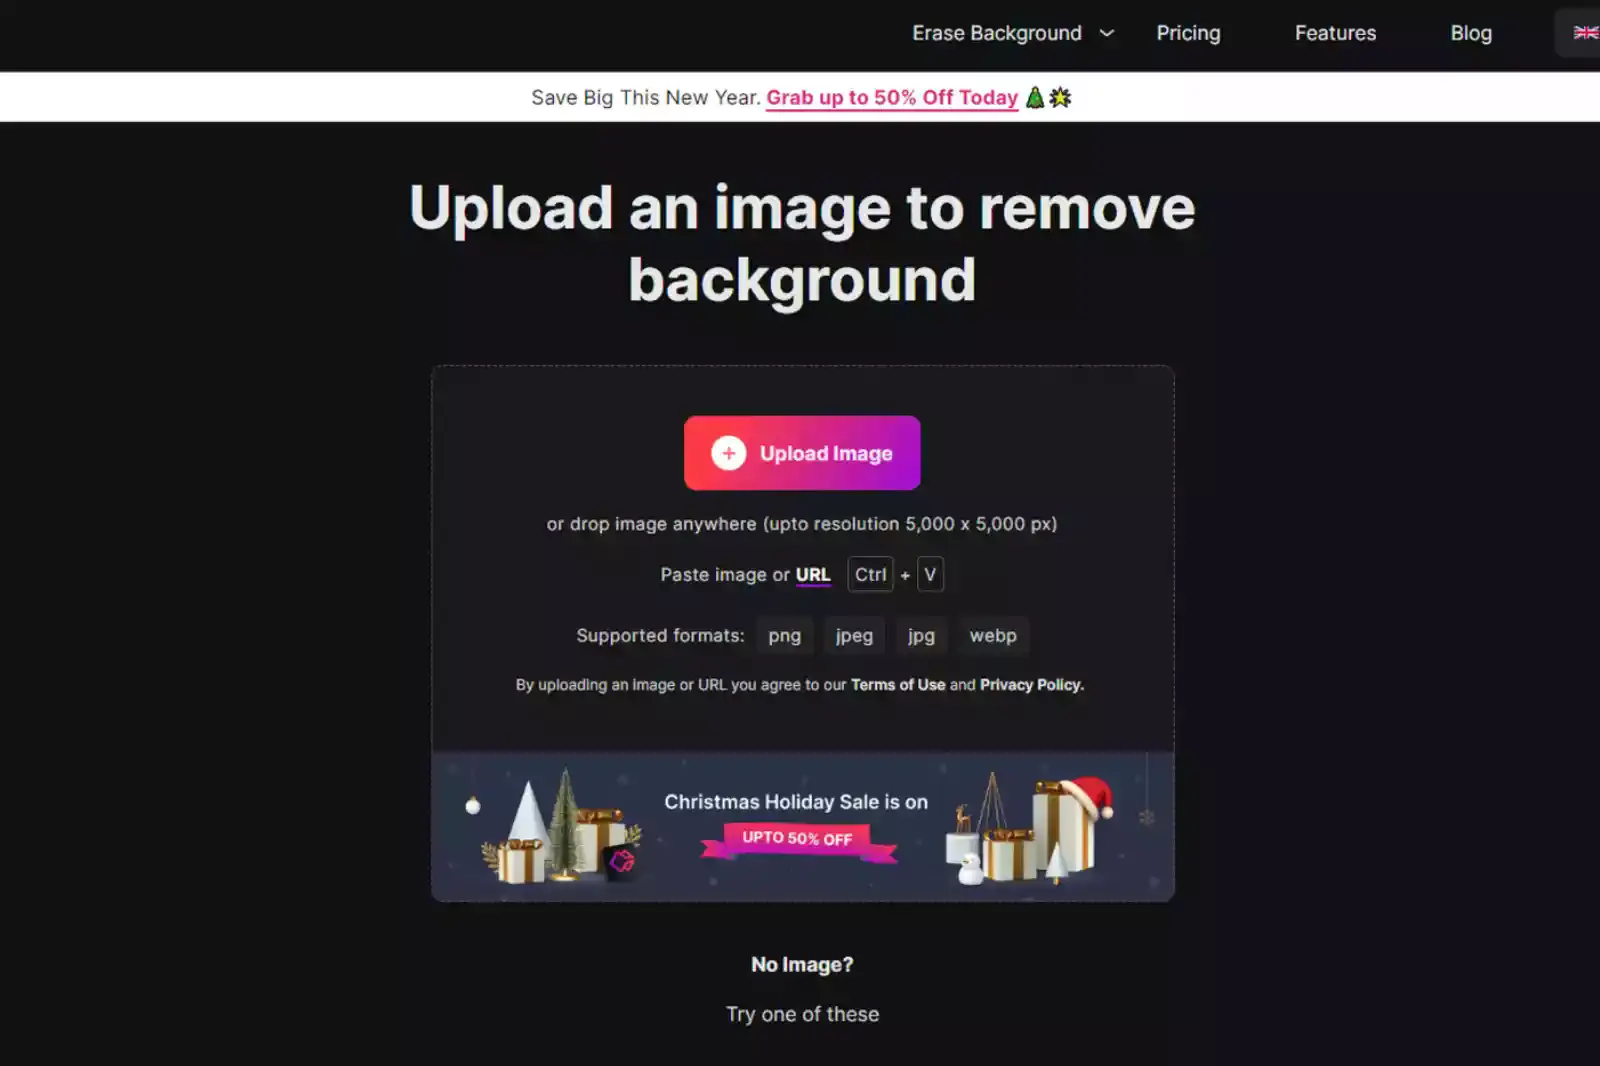
Step 1: Upload Your Image: First, go to the Erase.bg website. Here, you'll find an option to upload the image with the green screen background. You can either drag and drop your file or click to browse and select your image.
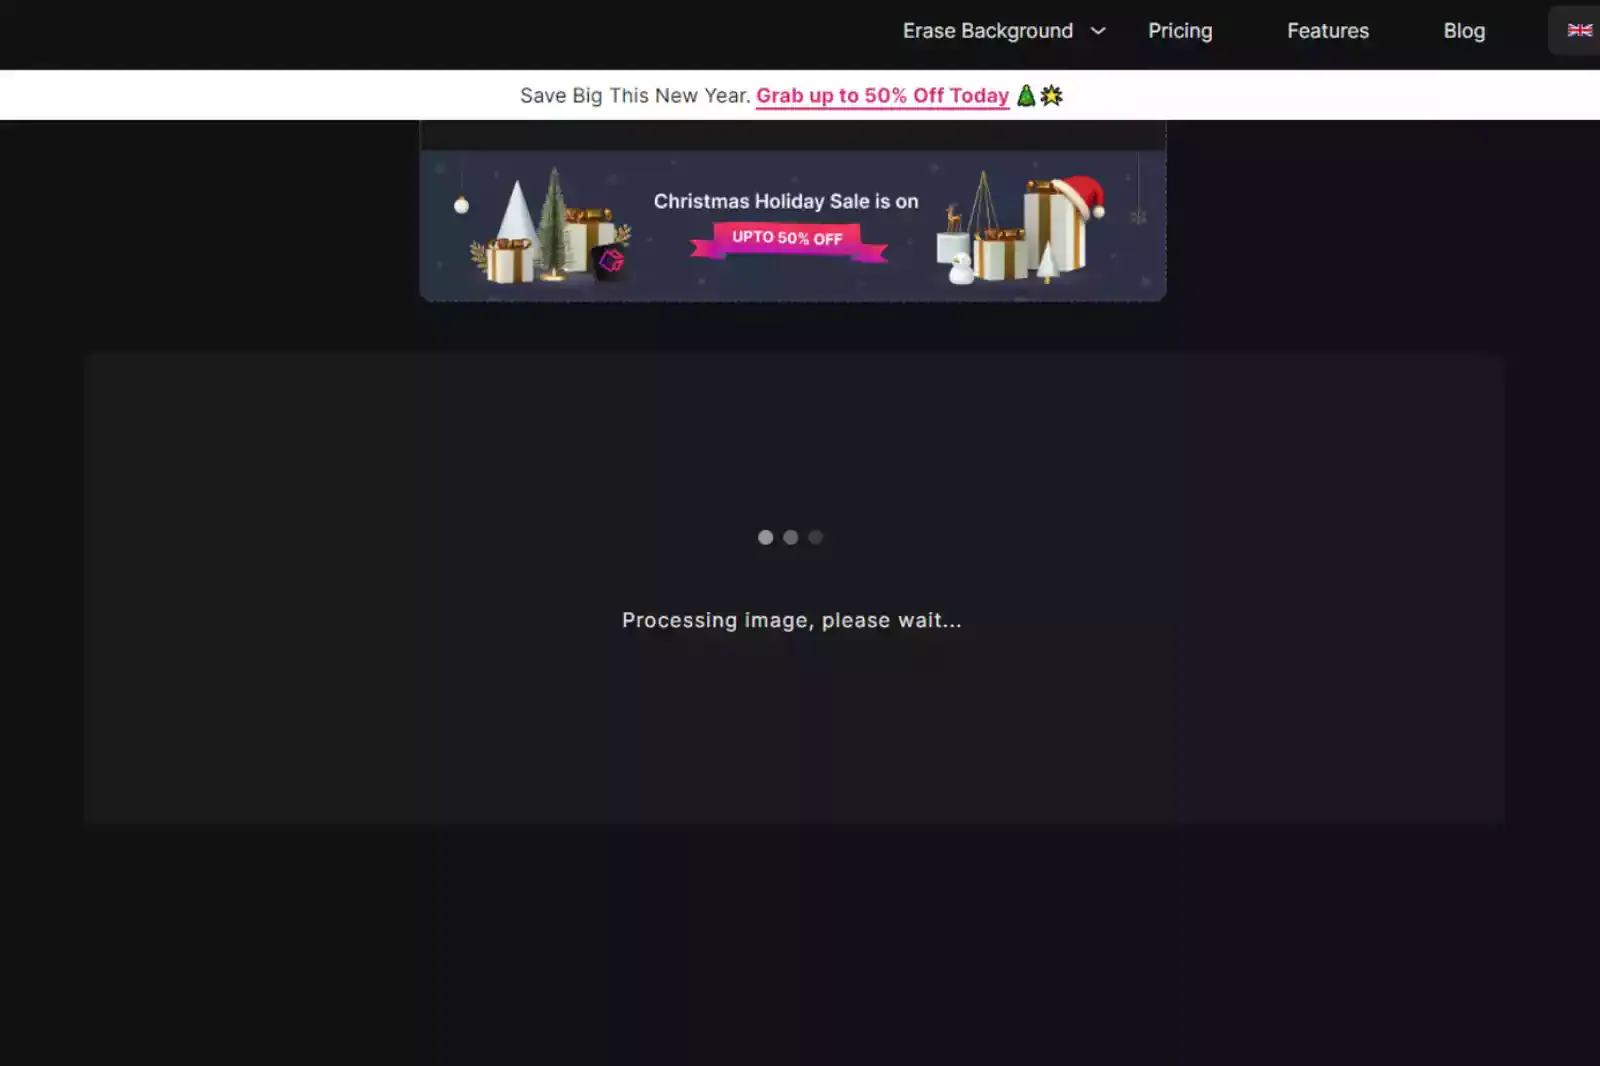
Step 2: Automatic Processing: Once uploaded, Erase.bg will automatically process the image. The AI technology behind Erase.bg is designed to detect and remove backgrounds, including green screens, from images.
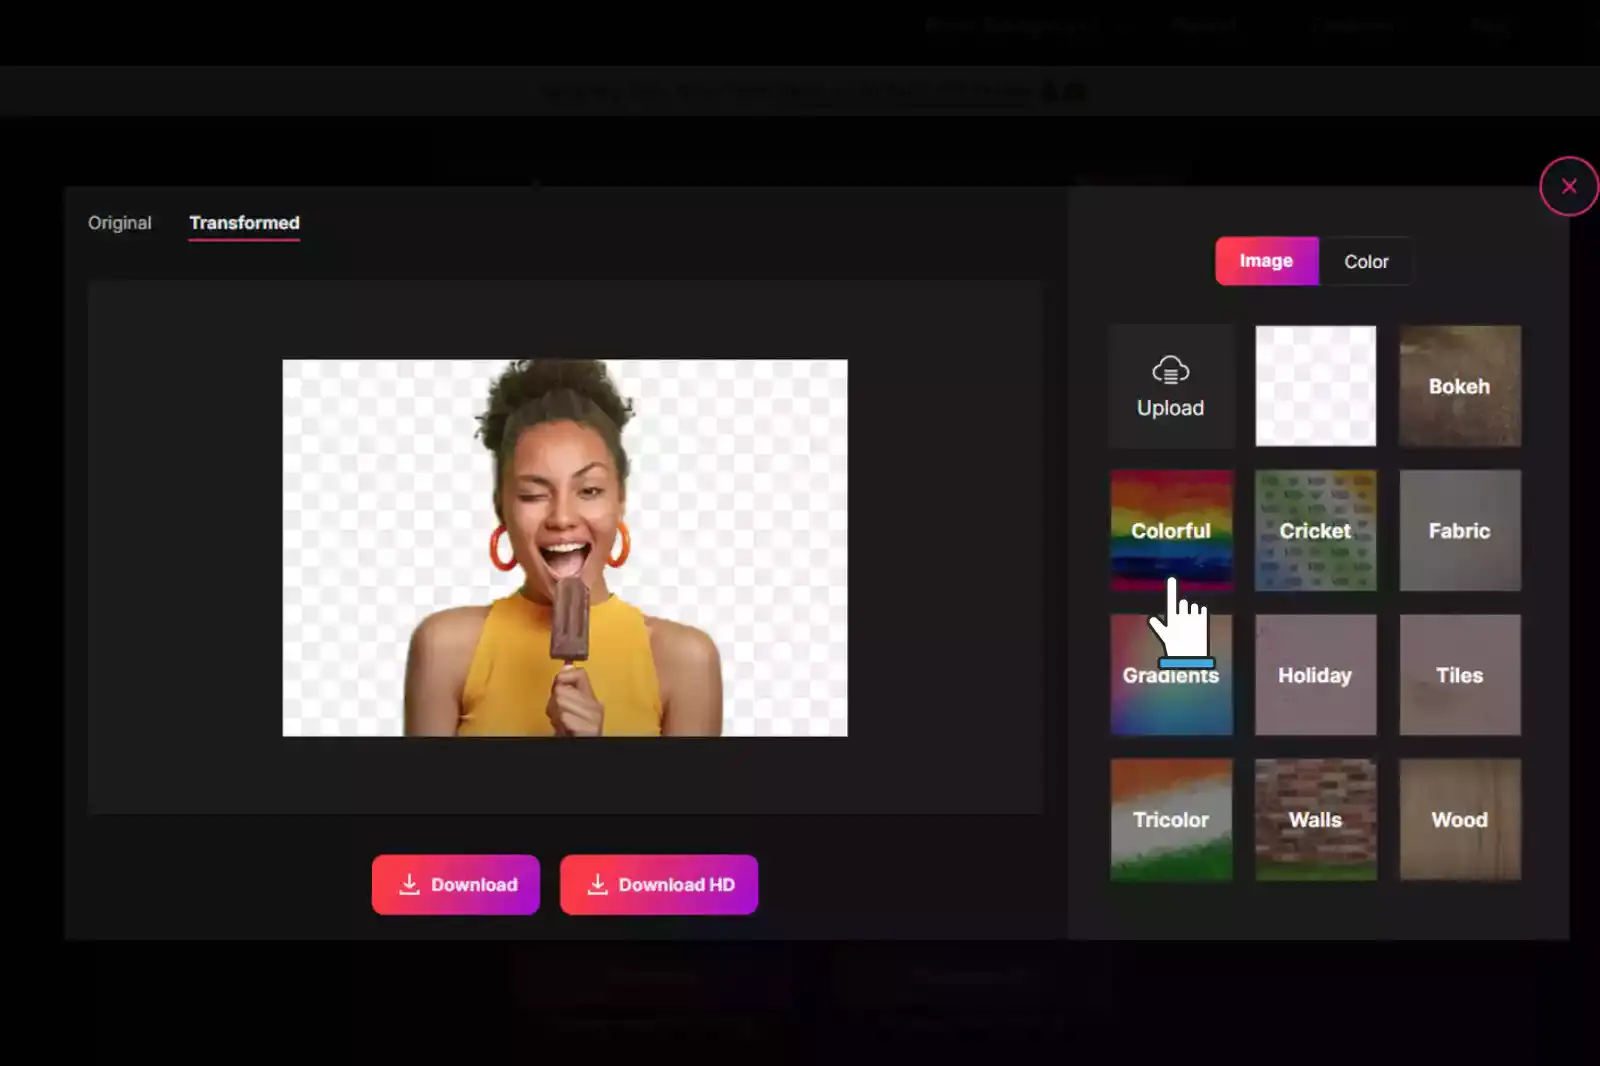
Step 3: Download the Result: After removing the background, you can preview the result on the website. If you're satisfied with it, simply download the image. The downloaded file will have a transparent background where the green screen used to be.

Step 4: Optional Editing: If you need to make further edits, such as adjusting the edges or adding a different background, you can use additional image editing software or even utilize the tools provided by Erase.bg if available.
Erase.bg is particularly useful for quick edits where detailed precision is not critical, or for those who need access to or familiarity with more complex image editing software. It’s a convenient solution for creating professional-looking images without the need for in-depth knowledge of graphic design.
Best Tools to Remove Green Screens Online
When it comes to removing green screens online, having the right tools at your disposal can make all the difference. These online background removers offer convenient and efficient solutions for eliminating green backgrounds from images, saving you time and effort.
Whether you're a professional photographer, a content creator, or just someone who wants to edit their photos easily, these tools provide user-friendly interfaces and powerful algorithms to ensure clean and precise results. Here's a list of the top background removers available online, starting with the highly acclaimed Erase.bg:
Erase.bg
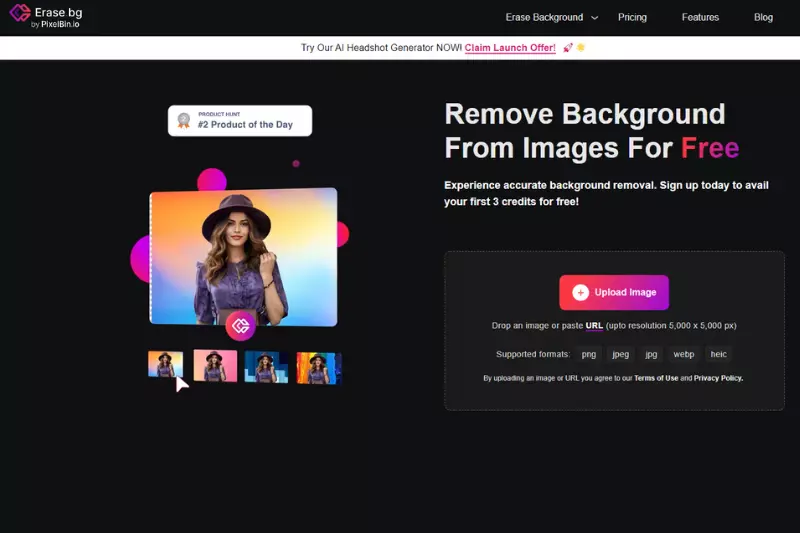
Erase.bg offers a seamless solution for removing green screens from images, simplifying the process with its intuitive interface and advanced algorithms. Users can effortlessly eliminate green backgrounds from their photos with just a few clicks, achieving professional-looking results without the need for complex editing software.
This innovative tool leverages cutting-edge technology to ensure precise and accurate background removal, allowing users to focus on enhancing their images rather than wrestling with tedious editing tasks. Whether you're a novice or a seasoned professional, Erase.bg provides a convenient and efficient way to easily transform your photos, making it the go-to choice for Photoshop green screen removal.
Remove.bg
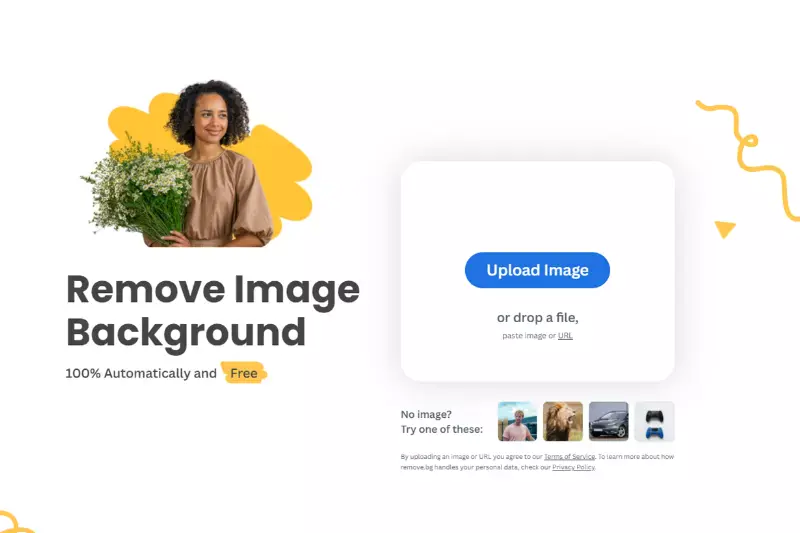
Remove.bg is a versatile tool designed to simplify the process of removing chroma key backgrounds in Photoshop. With its user-friendly interface and powerful AI algorithms, Remove.bg enables users to effortlessly extract subjects from green screen backgrounds with just a few clicks. This innovative solution eliminates the need for complex manual editing, allowing users to achieve professional-looking results in a fraction of the time.
Whether you're editing photos for personal or professional projects, Remove.bg streamlines the workflow and enhances productivity, making it an essential tool for anyone looking to remove chroma key backgrounds in Photoshop.
Clipping Magic

Clipping Magic is a cutting-edge tool tailored to eliminate green reflections in Photoshop effortlessly. It empowers users to remove green reflections from images seamlessly, ensuring a polished and professional final result. With its intuitive interface and advanced algorithms, Clipping Magic simplifies the process, enabling users to achieve precise and accurate removals with minimal effort.
Whether you're editing product photos or personal images, Clipping Magic provides the tools and functionality needed to effectively remove green reflections, helping you elevate your visual content to the next level.
Pixlr
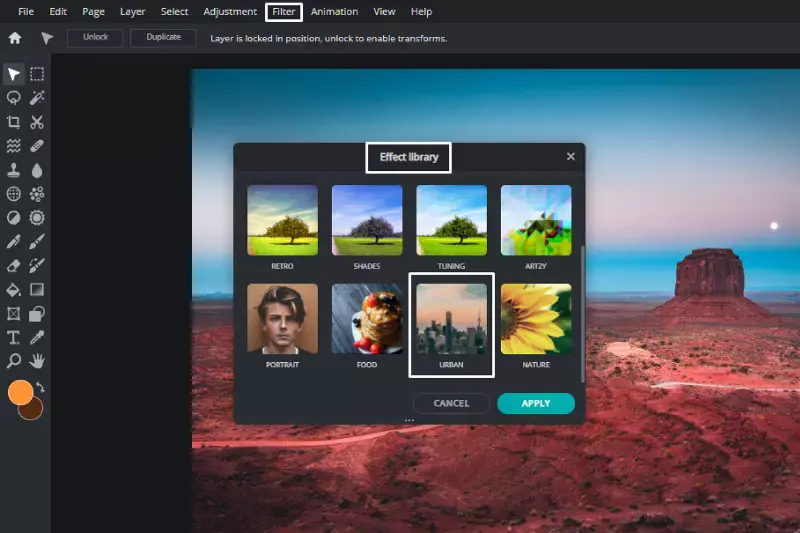
Pixlr is a versatile online photo editor that offers a wide range of tools, including removing chroma key backgrounds in Photoshop. With its user-friendly interface and powerful features, Pixlr allows users to edit images and remove unwanted green screens with precision effortlessly.
Whether you're a beginner or an experienced editor, Pixlr provides the tools you need to achieve professional results. By leveraging Pixlr's advanced editing capabilities, you can easily remove chroma key backgrounds in Photoshop and create stunning visuals that captivate your audience.
Online Background Remover
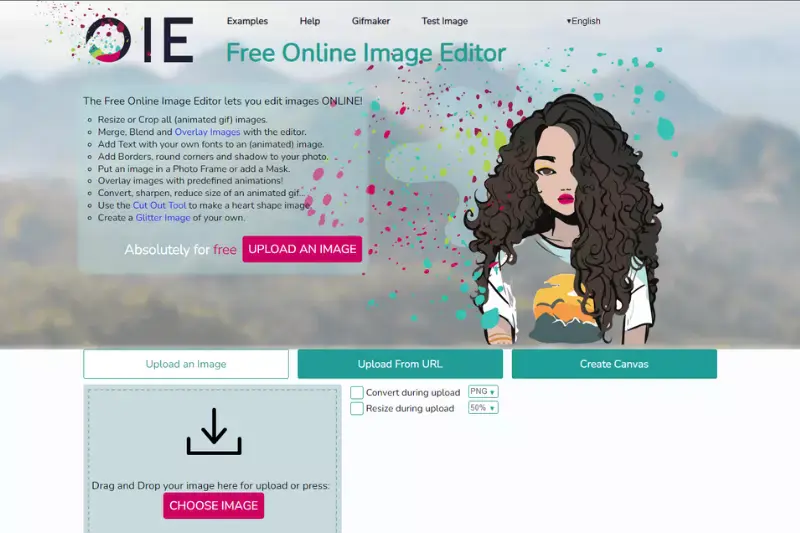
The "Online Background Remover" is a convenient tool enabling users to remove unwanted backgrounds from images effortlessly. Whether you're working on personal projects or professional tasks, this online tool offers a quick and efficient solution to eliminate distracting backgrounds and focus on the subject of your image.
With its user-friendly interface, users can easily upload their images, select the background they want to remove, and generate a clean, transparent background in just a few clicks. By utilizing the Online Background Remover, users can enhance their images, create visually appealing content, and achieve professional-looking results without the need for complex software or editing skills.
Background Burner
Background Burner is a powerful tool designed to remove backgrounds from images seamlessly. With its advanced algorithms, it can effectively eliminate green screen backgrounds, providing users with clean and transparent results.
Whether you're a photographer, designer, or content creator, Background Burner offers a simple and efficient solution to remove unwanted backgrounds and enhance your images. This tool saves users time and effort, allowing them to focus on their creative projects without worrying about tedious editing tasks. With Background Burner, achieving professional-looking results has always been challenging.
PhotoScissors
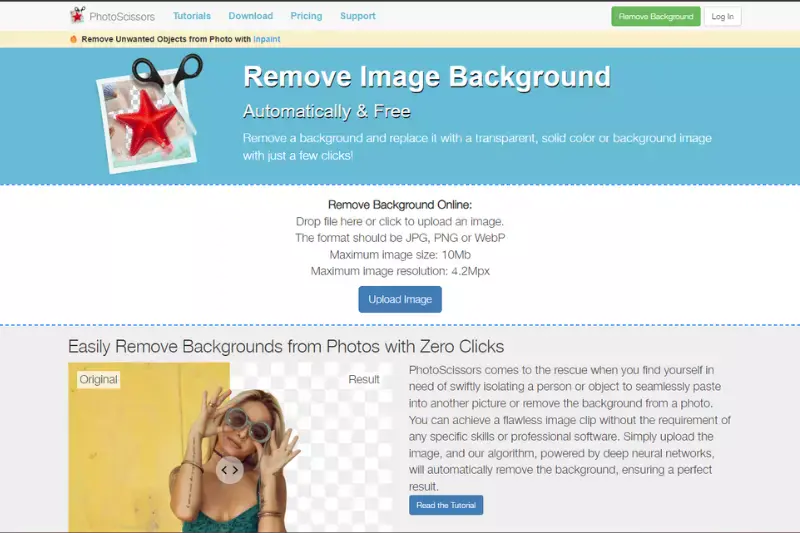
PhotoScissors is a user-friendly tool perfect for removing green screens from images effortlessly. With its intuitive interface and advanced algorithms, users can easily isolate subjects from green screen backgrounds with just a few clicks. Whether you're a beginner or a seasoned professional, PhotoScissors offers a seamless editing experience, allowing you to achieve precise results in no time.
Removing green screens can unlock a world of creative possibilities, from designing stunning graphics to producing captivating visual content. With PhotoScissors, the process of removing green screens becomes quick, easy, and hassle-free, empowering you to bring your creative visions to life.
CutOut.pro

CutOut.pro is a versatile tool designed to remove green screens in Photoshop effortlessly. With its intuitive interface and powerful features, users can easily eliminate green screen backgrounds from their images with precision and accuracy. Whether you're a professional designer or a hobbyist, CutOut.pro provides the tools you need to achieve professional-grade results in your Photoshop projects.
By removing green screens, you can enhance the visual appeal of your images, create stunning compositions, and unleash your creativity. With CutOut.pro, removing green screens in Photoshop becomes simple and efficient, allowing you to focus on bringing your creative vision to life.
Bgremover.net
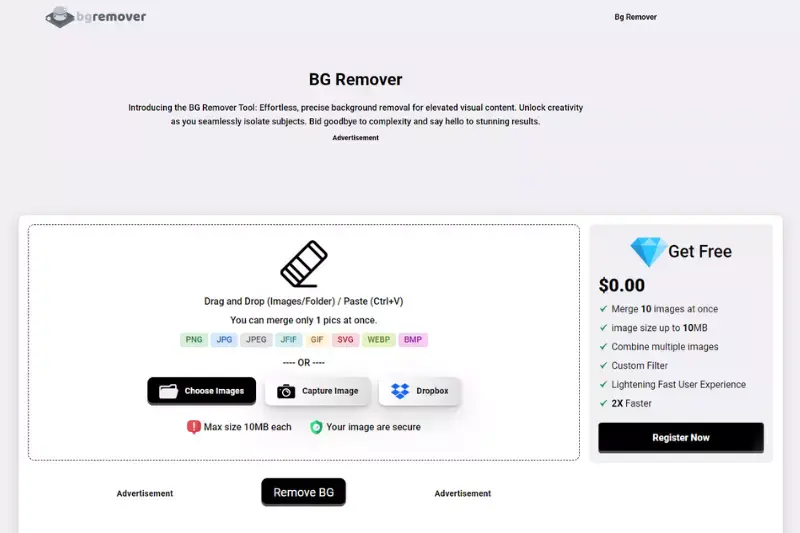
Bgremover.net offers a seamless solution for green screen removal in Photoshop, catering to both professionals and amateurs alike. With its intuitive interface and advanced algorithms, Bgremover.net simplifies removing green screens from images, allowing users to achieve professional-grade results quickly.
Whether editing photos for personal use or professional projects, Bgremover.net provides the tools you need to enhance your images and bring your creative vision to life. Say goodbye to cumbersome manual editing processes and hello to effortless green screen removal with Bgremover.net.
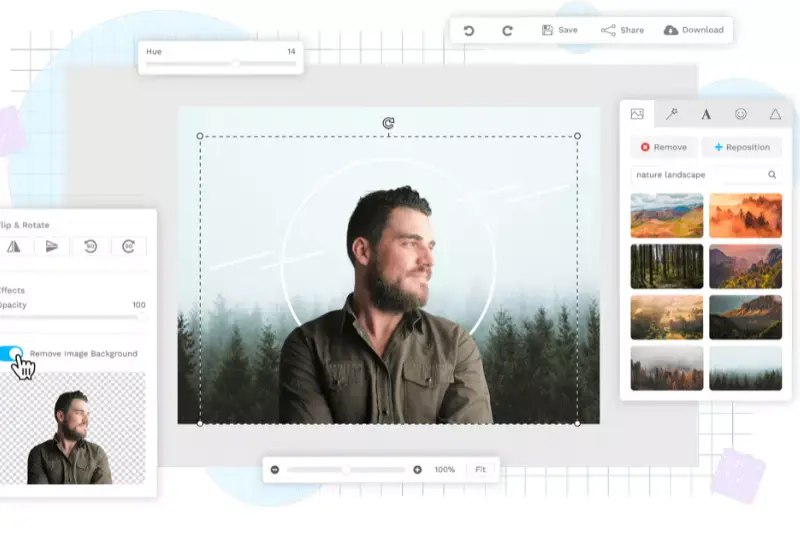
Fotor
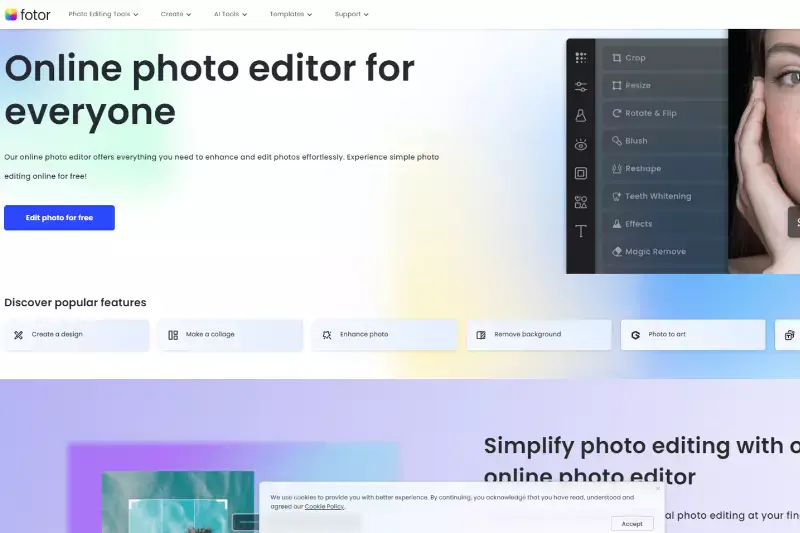
Fotor is a versatile online photo editing tool with a green screen remover feature, making eliminating unwanted backgrounds from your images easy. With its user-friendly interface and powerful editing capabilities, Fotor allows users to effortlessly remove green screens and replace them with custom backgrounds or solid colors.
Whether you're a beginner or an experienced photo editor, Fotor's intuitive tools make it simple to achieve professional-looking results. Say goodbye to green screen issues and hello to seamless photo editing with Fotor's green screen remover feature.
Why Use an Online Tool for Removing Green Screen?
Using an online tool for removing green screen offers several advantages:
- Convenience: Online tools can be accessed from any device with internet access, making them convenient for users who need to edit photos on the go.
- No Software Installation: Online tools eliminate the need to download and install software on your device, saving storage space and reducing the risk of compatibility issues.
- User-Friendly Interface: Many online tools feature intuitive interfaces that are easy to navigate, making them accessible to users of all skill levels.
- Quick Results: Online tools often use advanced algorithms and AI technology to quickly and accurately remove green screen backgrounds, saving users time and effort.
- Cost-Effective: Many online tools offer free or affordable pricing plans, making them accessible to users with various budgets.
Overall, using an online tool for removing green screen provides a hassle-free and efficient solution for editing photos with green screen backgrounds.
Conclusion
Erase.bg stands out as a top choice for removing green screen backgrounds with ease and precision. Its user-friendly interface, advanced technology, and cost-effective solutions make it the ideal tool for anyone looking to edit photos efficiently. Say goodbye to green screen woes with Erase.bg.
FAQ's
What is green screen technology used for?
Green screen technology is used in photography and videography to replace the green background with a different image or scene, allowing for creative and diverse visual effects.
Is it difficult to remove a green screen?
While it can be complex using traditional methods, online tools like Erase.bg simplify the process, making it accessible for users of all skill levels.
Can these tools handle video content?
Yes, tools like Unscreen are specifically designed to remove backgrounds from video content and GIFs.
Are these online tools free to use?
Many online green screen removal tools offer free versions with basic features, while more advanced options may require a subscription or payment.
Can I use these tools on my smartphone?
Most of these tools are accessible via web browsers, making them usable on various devices, including smartphones.
Do I need any special skills to use these tools?
No, these tools are designed for ease of use and do not require special skills or technical knowledge.
.webp)

.webp)

.webp)

.webp)
.webp)


