


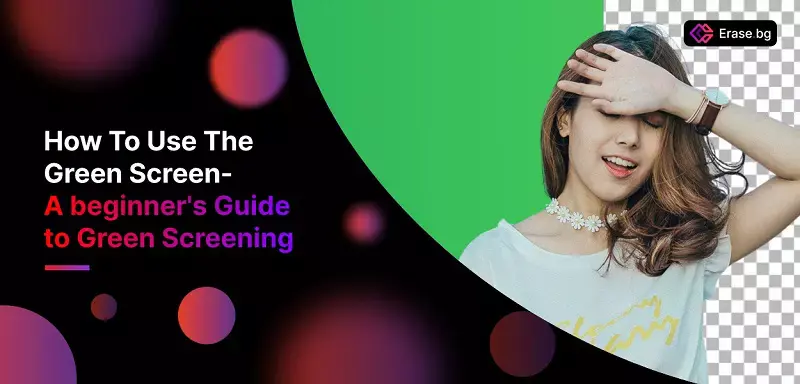
How To Use The Green Screen- A beginner's Guide


As a budding video editor and professional, you might have wanted to expand your technological resources and ideas. If you fancy the science & technology behind filmmaking and other special effects concerning it, you might have thought of introducing a green screen to your setup.
Whether you need to provide visuals that appear like you are on the other side of the world or graphics that block parts of a green brick wall, this article is for you as you will learn how to use a green screen at home effectively in your filmmaking here, so keep on reading
What Exactly is a Green Screen, and How does it do its Magic?
A green screen is a sizable green backdrop and a type of Chroma key that is added to a shot to add digital effects later during the editing process. The special effects department uses CGI (computer-generated imagery) or background material known as plates in post-production to change the background from green to whatever is needed.
Depending on what needs to be replaced, the background may cover the entire screen or a mere portion. This process is used in movies and television shows where special effects are needed but is also used for live broadcasts, such as news or sporting events. Green screens are also commonly used by YouTubers and other social media personalities to add backgrounds or other visual effects to their videos.
But why Green?
Blue screens were used widely in film production before Chroma keying became the industry standard. Blue and green screens work technologically because they contrast people's natural skin and hair tones in the colour spectrum.
However, because weather anchors, newscasters, and other TV personalities tend to wear blue clothing more often, production companies discovered that using green screens rather than implementing a dress code for various talents was easier. Modern video cameras have also been developed to be more sensitive to the colour green, resulting in cleaner effects when using a green screen.
When was the First Green Screen Invented?
Today, Chroma keying technology and special effects can appear seamless, but this was only sometimes the case. George Albert Smith invented the technique in 1898, using a black cloth to make objects "disappear."
The most well-known early application occurred during The Great Train Robbery (1903). They painted the train windows black to allow the later addition of passing scenery.
Other milestones in Green Screen's history include:
- 1918 - This was the time when Frank Williams created a travelling matte technique. Black was still in use at that point, as it was one of the first Chroma keying effects.
- 1933 - This technique was used in The Invisible Man to make a man seem invisible.
- 1940 - The Thief of Bagdad employed a blue screen and won the Academy Award (Oscar) for best special effects.
- In the 1970s - Keying software was used in films like The Empire Strikes Back (1980s).
- 1988 - And in 1988, Who Framed Roger Rabbit won an Oscar for its remarkable visual effects.
So, after decades of development, Chroma keying has evolved from a novelty to an essential component in video and filmmaking. There have been landmarks along the way that have pushed this type of visual effect, but few have done so as effectively as The Matrix (1999).
Where to Buy a Green Screen
A green screen can be an excellent tool for creating the scene you want in your video. Whether you want to transport yourself to a different location or create a special effect, a green screen can help you do it! Many types of green screens are available, so make sure you choose the one that will work well for your needs.
If you are shooting on a budget, you can find green screens made from materials like cloth or paper. If you need a more durable option, there are also green screens made from PVC or aluminium. A simple green screen can cost as little as $45 an hour without a camera crew. Some more upscale rentals, such as cyclorama spaces and soundproofing, can cost up to $650 per hour.
Also, it is easy to purchase a green screen online. Amazon is a great option, as green screens range from around $16 to $50.However, if you wish to avoid investing in a green screen, it is not a problem, as we are here to guide you on How to create a green screen at home, so keep on reading!
How to Make a DIY Green Screen at Home
Now, how do I make a green screen myself? After all, they are used in big-budget movies, so they must be expensive. However, you might be surprised that a low-cost green screen is still within your budget.
And, with a home green screen, you can film a variety of scenes in your living room for pennies on the dollar, which means it is a super easy job, and anyone can do it. Here are three different and easy ways to make a green screen at home:-
1. DIY Green Screen With Poster Board
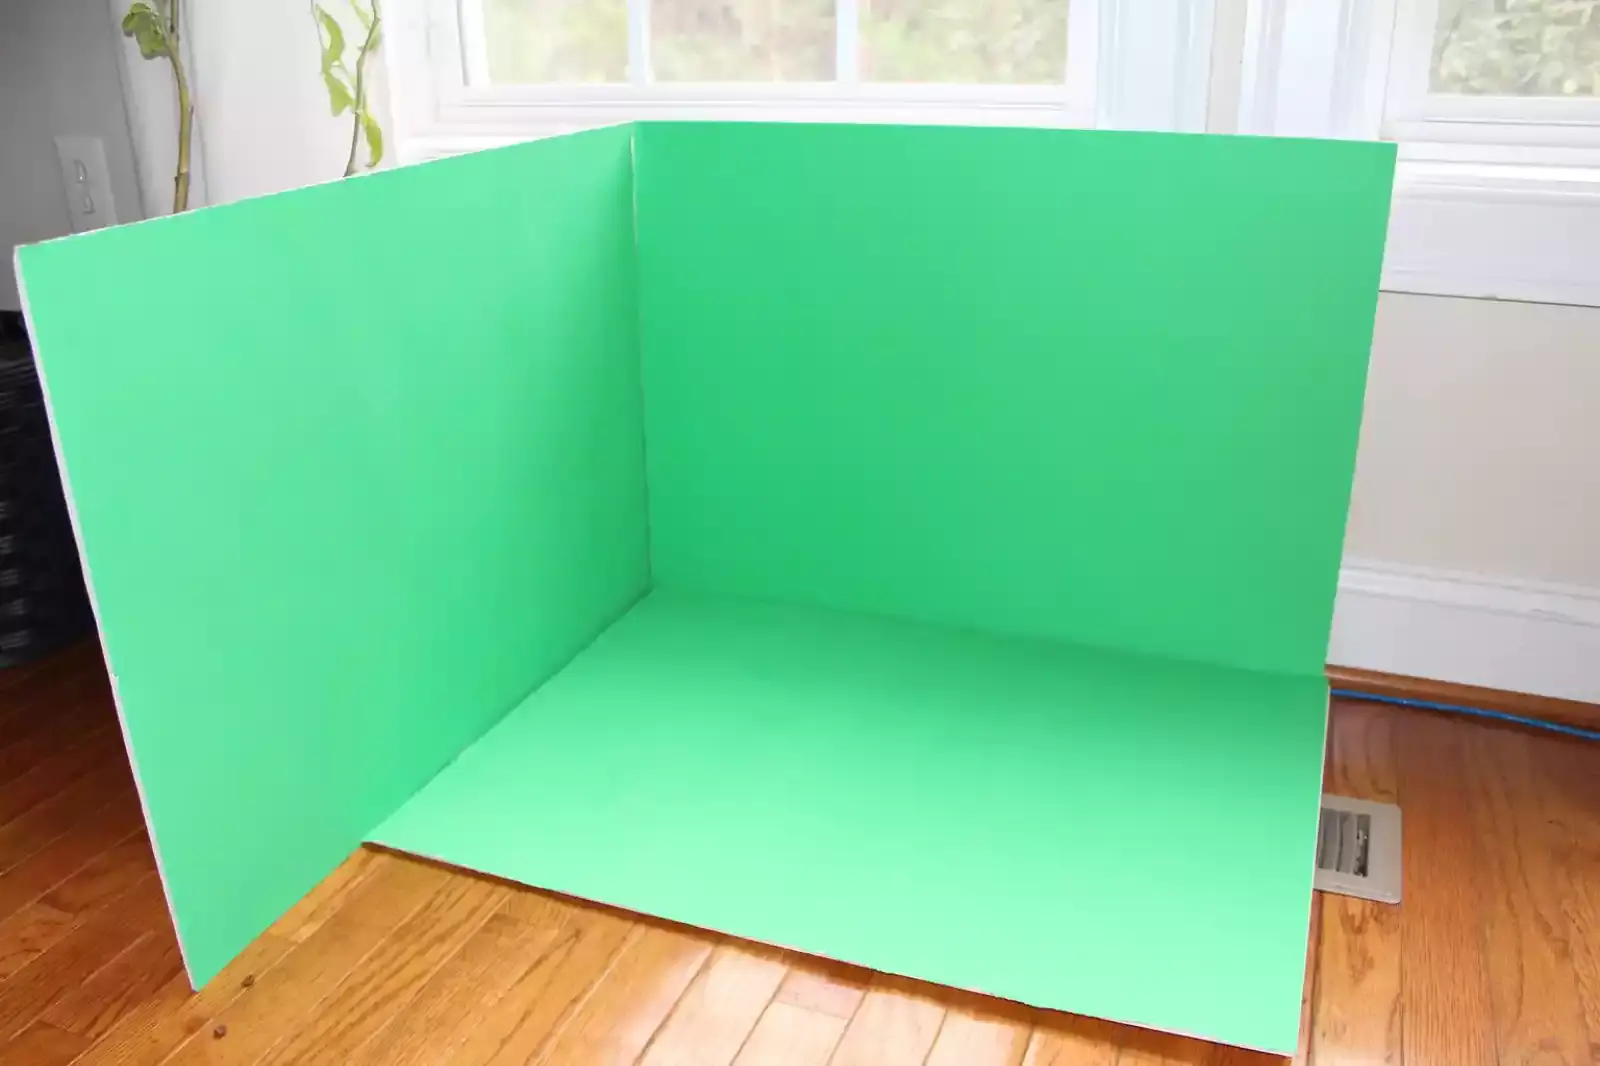
You can find multicoloured posters at your local craft store. All you have to do is find a lime green or neon green poster board. As per your requirement, you can increase the number of poster boards if you wish. Just ensure that your poster board is smooth, as it might imbalance the overall lighting of your project.
2. DIY Green Screen With Green Cloth
Utilising a green fabric as a backdrop in your setting is another substitute. And it is the easiest too! Just visit your regular fabric store and grab a piece of green fabric with the required length and width, and you are good to go! An extra tip:- Choose a heavier fabric as it is easier to work with and provides better coverage.
3. DIY Green Screen With Green Paint
Here is the last thing you can do if you need something else. Now, this may not cater to your needs if you do not have a spare wall but if you do, paint it green all the way! Yes, you heard it right. Select a matte or matte enamel finish to ensure the wall appears flat and smooth beforehand. Also, matte paints do not reflect light.
How to use a Green Screen- Setup, Lighting, and Creative Uses
After choosing the perfect green screen, setting it up can seem intimidating if you have never done it before. But you certainly do not have to worry, as we are here to help you with every little step. If you follow each step deliberately, working with the green screen will become much more fun and exciting.
How To Use A Green Screen:-
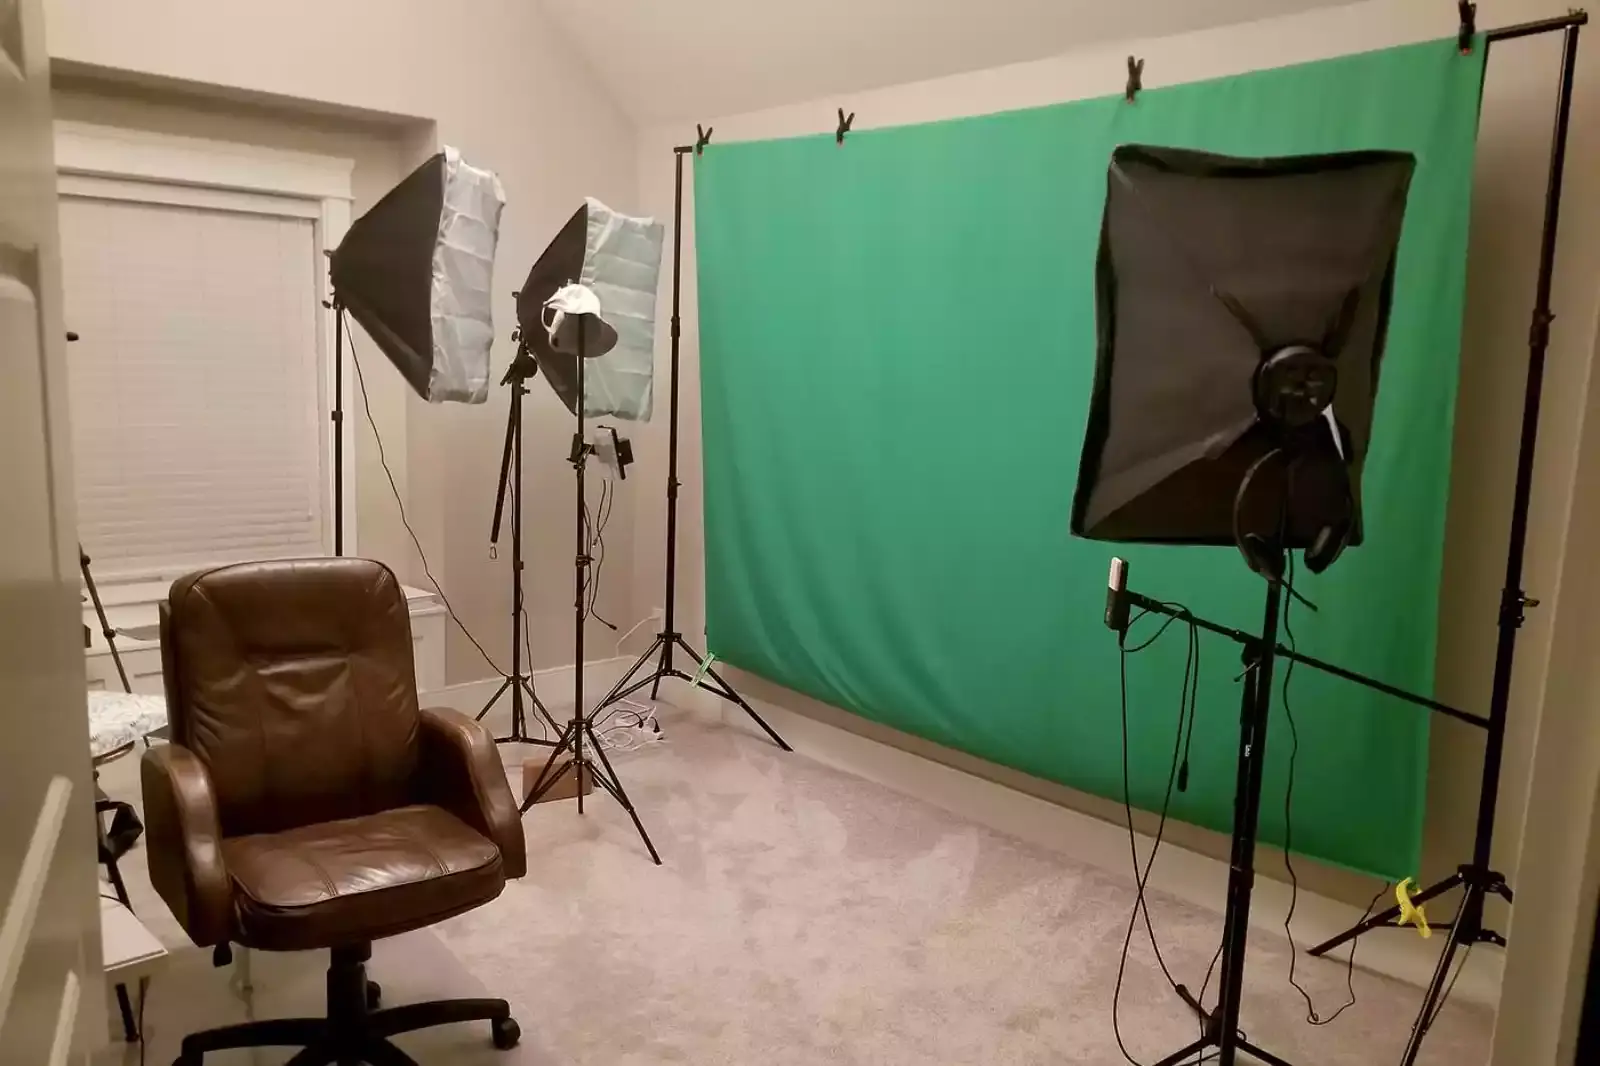
Step 1. Set up Your Green Screen
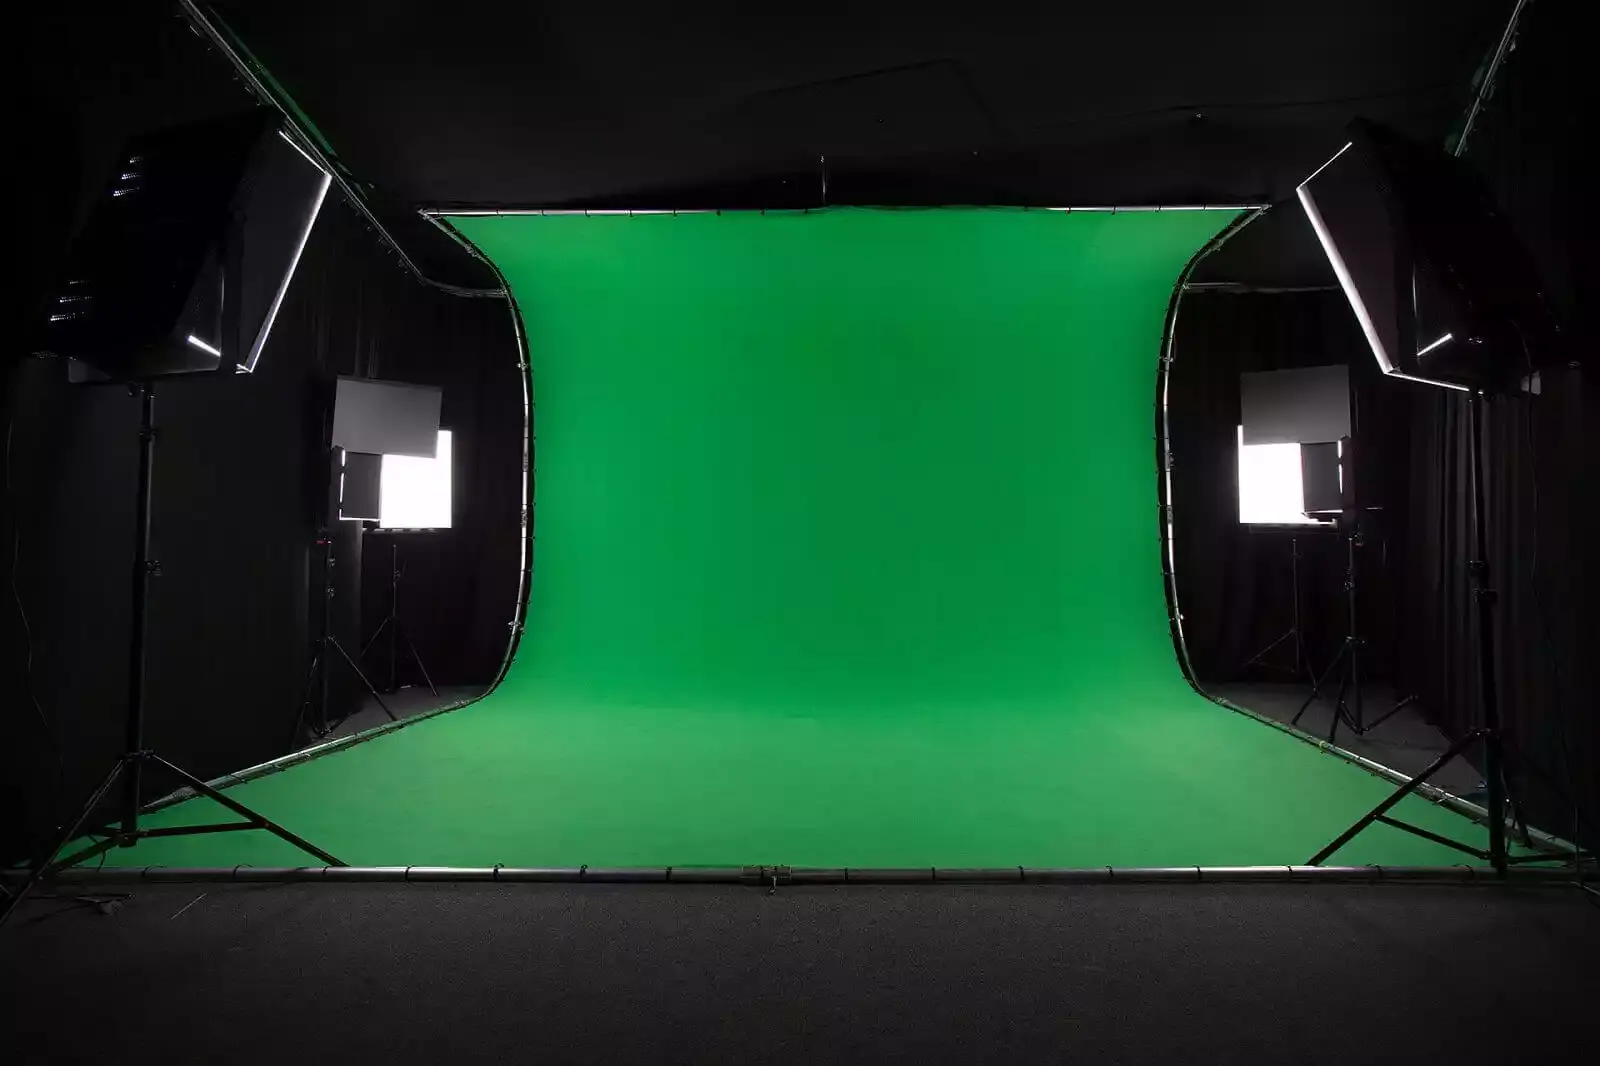
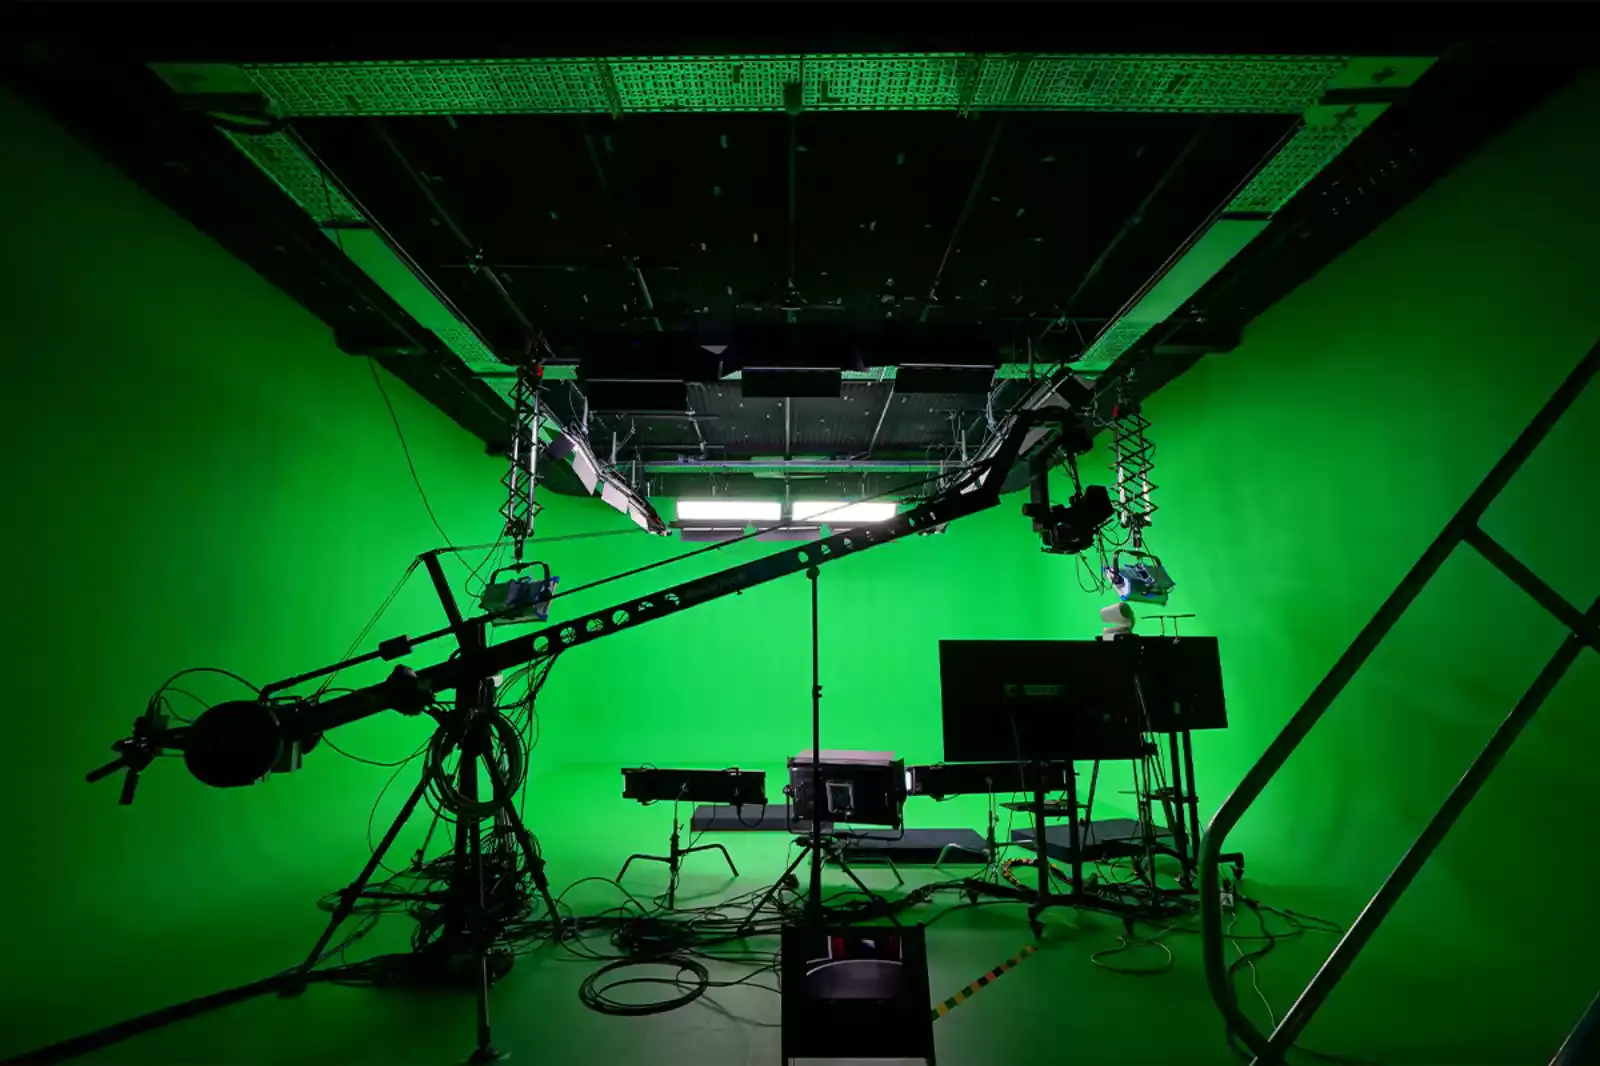
- Selecting a location for your green screen is a critical step. Find an ample space that accommodates your backdrop, such as a studio, garage, or outside. Make sure there is enough space for film equipment like cameras and lights.
- Place it on a flat, stable surface to keep your Chroma key fixture from falling over while filming. If there are wrinkles or folds in the screen, they will show up in your final video, so get rid of those. Consider using green flooring for full coverage if shooting the actor down to their feet. A simple Chroma-key process requires only a drape that matches the colour of your screen. After that, secure the backdrop. Consider strapping weights or sandbags to your feet.
- Also, keep some stands on hand, as those can be helpful; whether you need them to hang a fabric screen or to set up lights. There are also numerous types of stands you can keep on hand. The right ones will depend on how heavy your gear is, how much space you have, and your budget. You can always start with photography tripod stands; these are among the most common and affordable ones if you're a beginner.
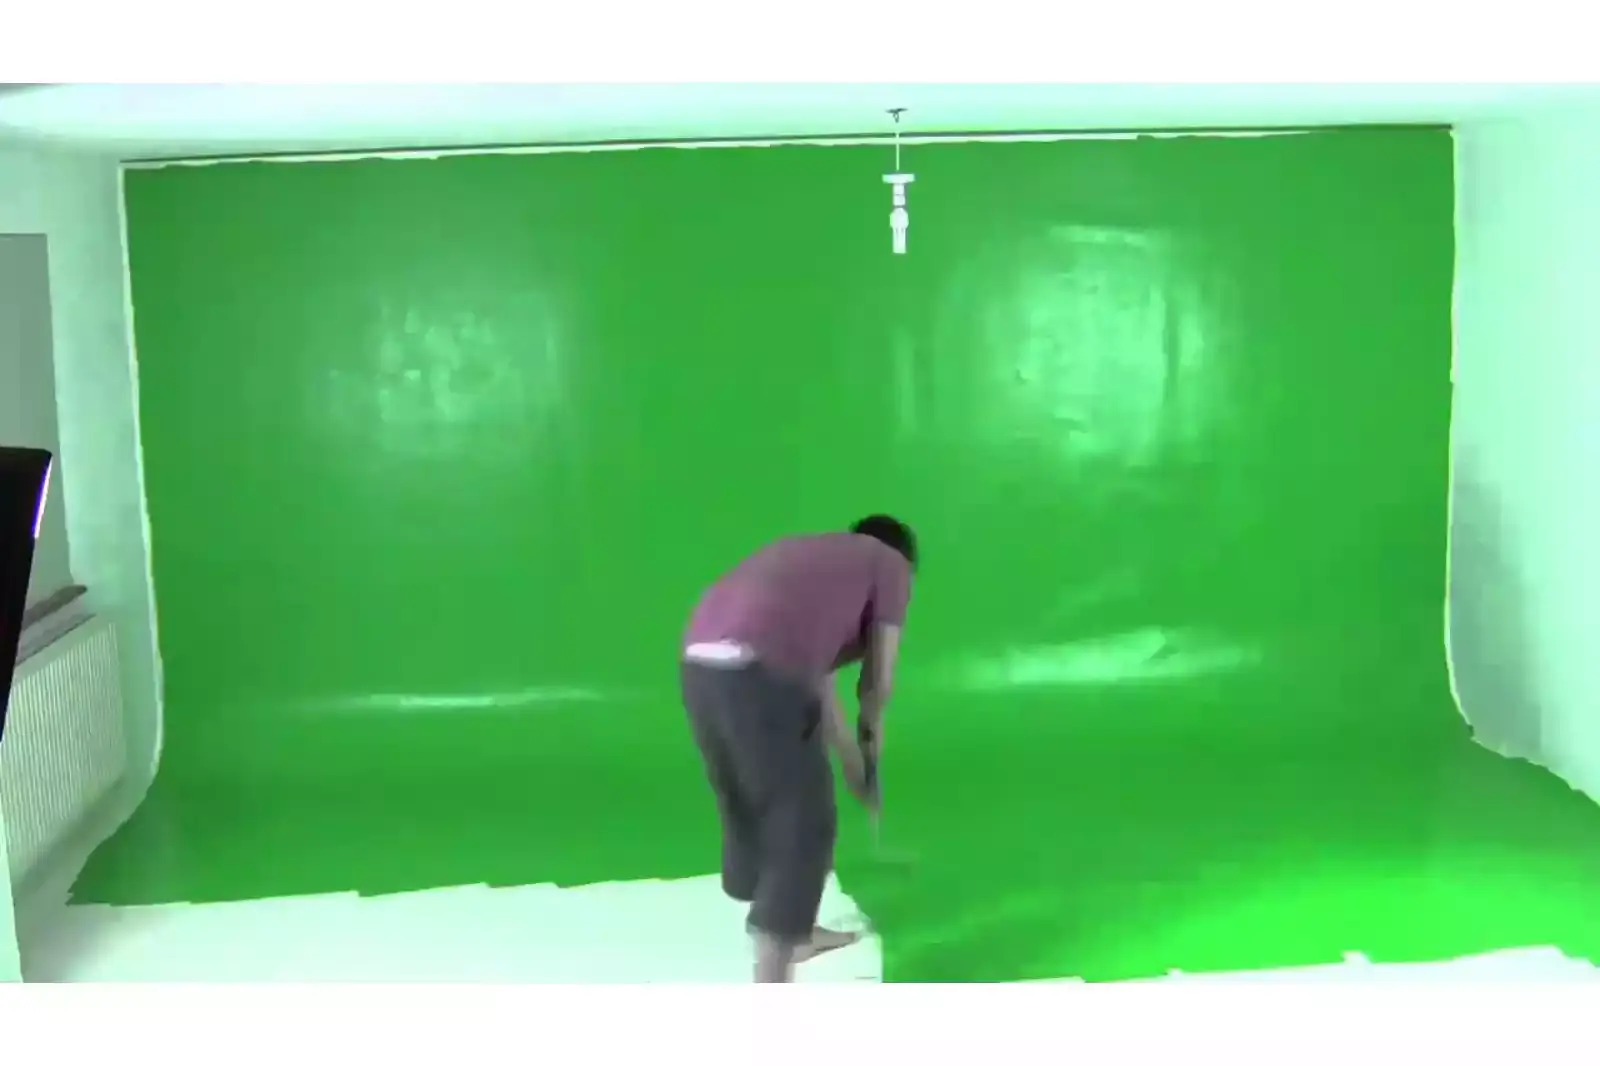
Step 2. Light Your Green Screen!
- Proper lighting is the key when working with a green screen. If your lighting game is not perfect, your results will not be either. So, ensure that you pay close attention to the lighting process at the beginning, as it is the base of your project. You want to avoid any shadows on the screen, so make sure the lighting is even across the surface. You may need to use multiple light sources to achieve this.
- Common Myth:- Many amateurs believe that lighting the subject is more than enough for lighting the green backdrop when you have to light up the green screen separately!
- Lighting the green screen adequately can look patchy on camera and be easier to key out in post-production. The best lighting setup will be diffused, hitting your screen from above to avoid making any directional shadows. You would most likely need at least two 1000-watt bulbs diffused through a softbox or even a DIY tool like white bedsheets to get the best effect.
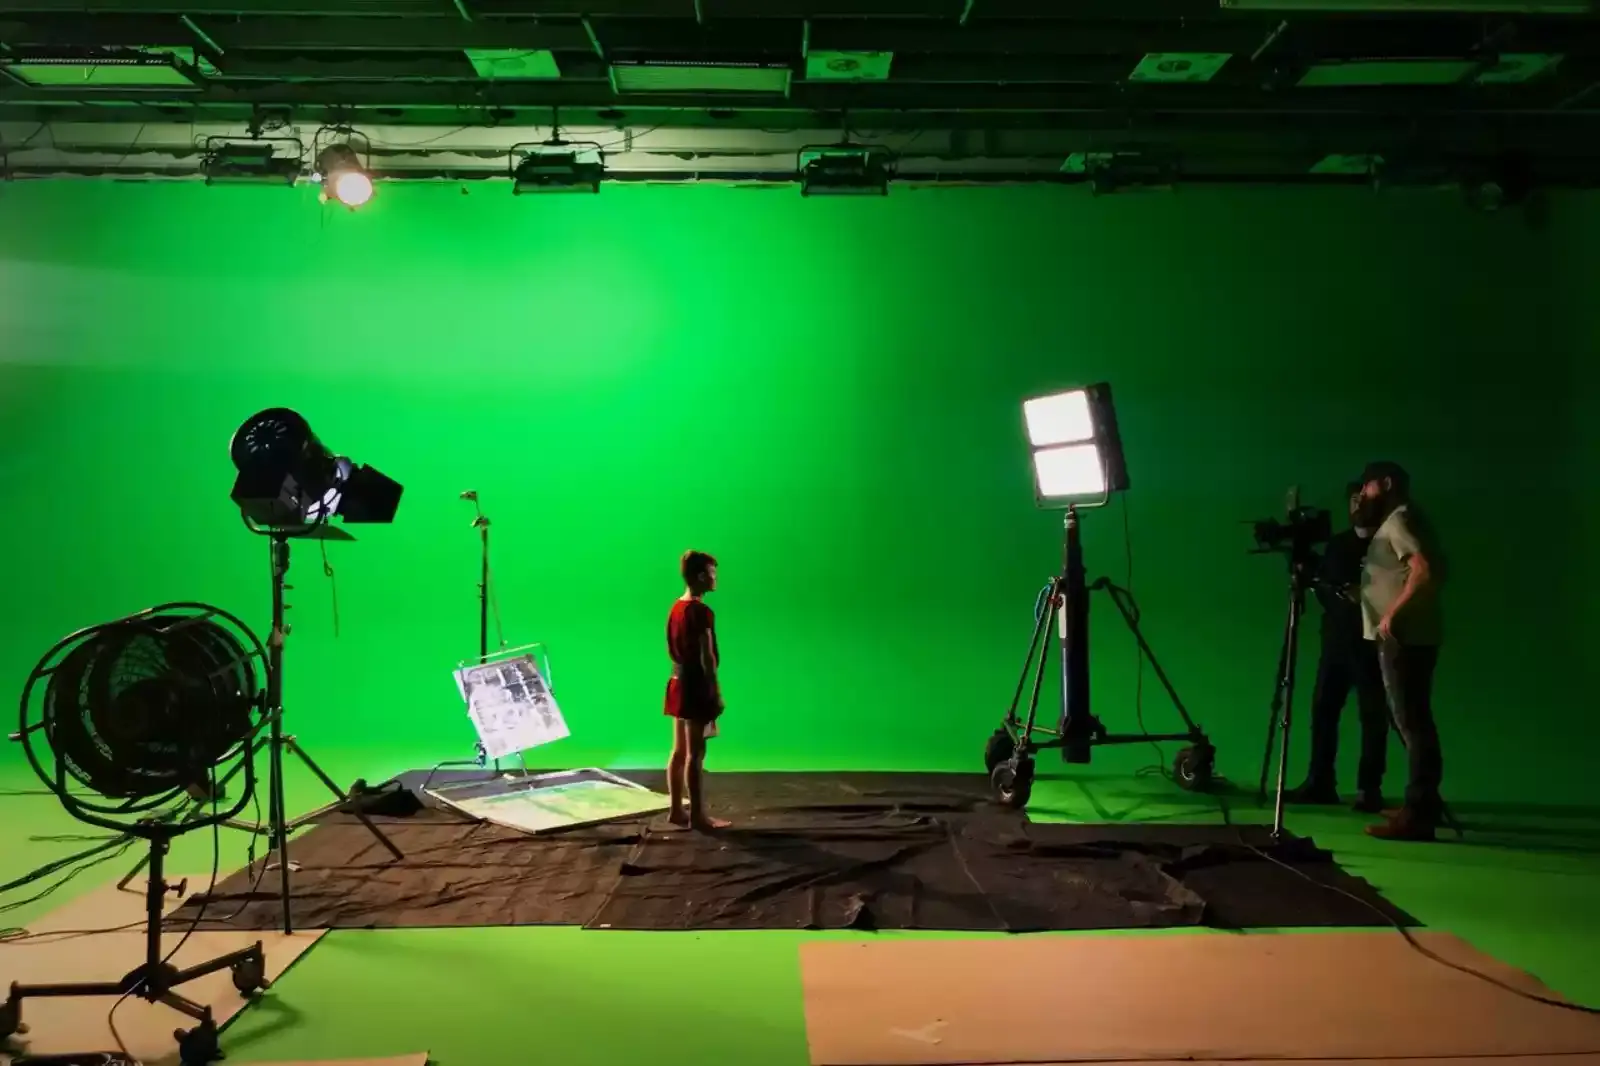
Step 3. Set Up Your Subject!
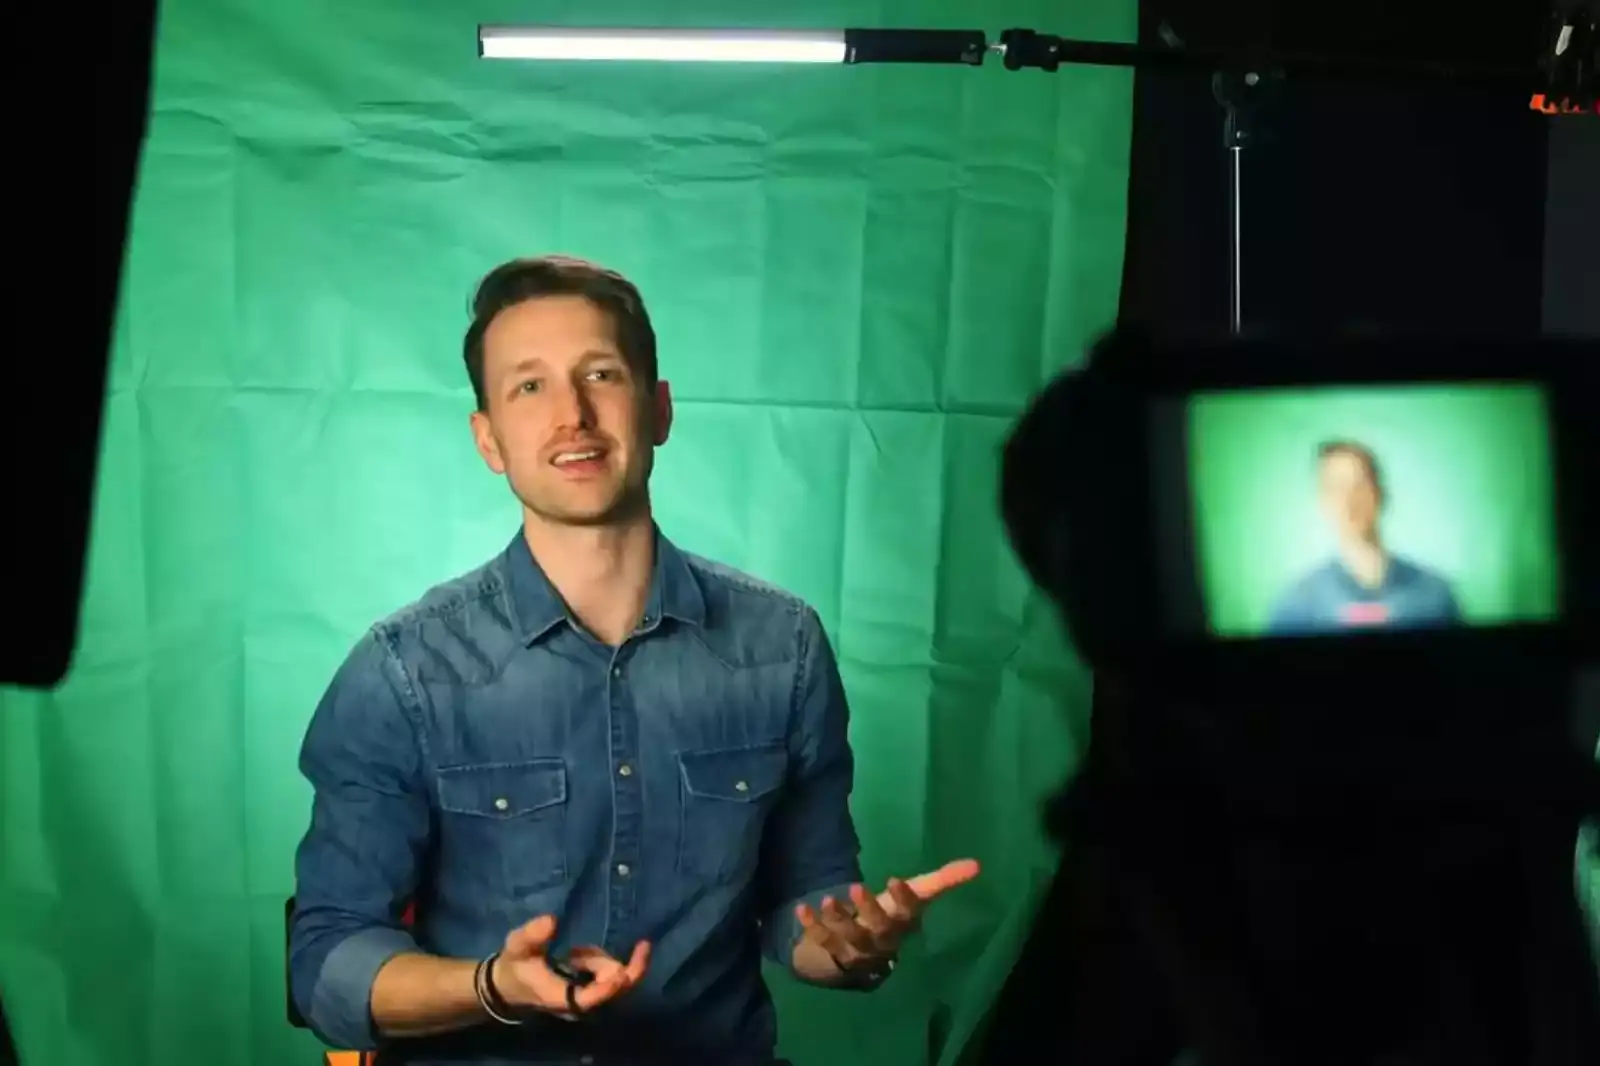
- Once done with lighting your green screen, light your subject separately.
- Gentle reminder:- First, light your screen, followed by your subject; the most common error in green screen work is lighting the screen and the subject as one.
- Match the lighting on your subject to the lighting in the scene. Use an orange or yellow front-facing light pointed at the subject from the side to create a more realistic sunlit effect if your actor is supposed to be on the beach at sunset, for example. Remember to place your lighting in a way that appears to sync with the background footage. If the scene is indoors, white lighting from above is preferable.
- Leave as much space between the subject/actor and the green screen as possible. It stops a green edge caused by the shadows of the actor and an unintended effect commonly referred to as a colour spill. Make sure they are not wearing anything close to bright green, or they will disappear into the background! If the subject or actor is directly in front of the green screen, a greenish hue is most likely to reflect off of it, making it difficult to match the subject lighting and background lighting that you would be adding to the post.
Step 4. Lights, Camera, Action!
You are done with the considerable part of the project, and now comes the best part, so position your cameras and subjects and film a couple of test shots!
- Record a test shot and bring it to your video editing software. Use the Chroma-keying effect to see how well it goes with the background footage. Remember to record several shots, as you may need more raw footage if you miss this step.
- Edit the rough cut- Kudos to you! Your footage is all ready to edit now! So, now is the time to cut out the green screen using your editing software. You can choose from various editing software; use what works best. Generally, almost all types of editing software work the same. The only difference is a slight variation in the set of instructions. Basically, in all editing software, there is a button, which when pressed, automatically removes the green screen from the shot. You can customise and key out a series of sliders henceforth.
- Finally, paste it into your new background! Now, you are almost done! After editing the green screen, add it to your desired background image or video. Pay close attention to the details, which include the sharpness, hue, lighting, and other effects to make the image or video appear as realistic as possible. And with that being said, you have completed your first green screen project, so congratulations!
Also, remember to save your work because nothing hurts more than the work that gets lost in which you put so much effort! So, review your green screen video regularly to fine-tune the pace and look for flaws. After a final run-through, save and download it in high-quality mp4 format once satisfied with your work.
And there you have it- your very first green-screen video! Wasn't so unnerving, was it? Following the proper guidelines and a step-by-step approach makes achieving the desired outcome a walk in the park! Now, you know everything you need to know before setting up a green screen, which means you can create magical and enchanting effects that seem too good to be true to others; little do they know that it is just a bit of green screen and editing skills!
A green screen remains extremely important - be it in terms of professional usage like during Hollywood filmmaking or for personal and relatively small projects such as streaming by YouTubers and other content creators. Therefore, its knowledge always comes in handy, especially in film production. A green screen plays a crucial role. You might even call yourself a wizard of the film world now, as you know all of its secrets!
FAQ's
What material is a green screen made of?
A green screen is made of synthetic stretchable nylon spandex, but it is not compulsory to use only this. Other alternatives can be taken into consideration such as green fabric and paint.
What is the best type of green screen?
According to the professionals, the simple answer to this is The Kodak Portable Collapsible green screen. However, here are some other examples:- 1. Neewer Chromakey Backdrop 2-in-1 Collapsible. 2. Webaround Big Shot Gen2. 3. Emart Green Chroma Key Photography Backdrop. 4. Emart Chroma Key Kit. 5. Yisitong Green Screen Backdrop.
What green screen size is the best for me?
Consider the size of your green screen and whether or not it will be adequate for what you intend to do. On average, green screens are 9 x 15 feet, which is usually sufficient for most purposes.
How does a green screen work?
Using a green screen involves filming a person or adding visual effects in front of a solid colour. Then, in post-production, you drop that scene onto the background of your choice by digitally removing or "keying out" that colour. The process of removing the colored background is known as "chroma keying."
What is a Chroma key effect?
"Chroma keying is the use of colour information to select and isolate a very specific range of colours," explains professional filmmaker Colin Dougan. "The idea is to use colour contrast to shift reality, cutting our subjects from a background and placing them somewhere completely different."
Is green screen editing easy?
Green screen editing involves removing a solid color background (usually green) from video footage and replacing it with a different background. For simple projects with a clear and consistent green screen and simple backgrounds, the process can be relatively straightforward. However, for more complex projects with multiple subjects, movement, and intricate backgrounds, the process can be more challenging and time-consuming.
.webp)

.webp)

.webp)

.webp)
.webp)


