


Remove Image Background in Illustrator (Step-by-Step Guide)


Now that summer is here, those gorgeous images of your family on the beach are starting to appear in your social media feed. With the relaxing beach vibes - and a Corona in hand - it's hard not to show it off. The only problem?
Those sun-kissed images have a disturbing imperfection–the dreaded white background. How many likes will you get if you post that picture? That's why we decided to write a tutorial using Adobe Illustrator to remove the background from an image.
At the same time, you will learn some essential skills along the way. Learn about using shape tools, the quick selection tool, working with layers, and so much more. So, let's get started right away:
Using Image Trace
Most of the time, while you’re using Adobe Illustrator, you’ll be working with vectors which are images drawn by the computer’s math. These images usually appear sharper than your conventional JPEGs and don’t even get pixelated when you zoom in on them.
The best thing about using Illustrator is that it can easily differentiate the subject from the background. Using this software, you can effectively remove white backgrounds from your photos. Here are the steps that you should follow to do this:
- Open the required file from your PC and place the image in your workspace.
- Then, convert the image file into a vector by heading to Window > Image Trace. There, choose the High Fidelity Photo option to gain the most favourable results.
- However, you can also choose to go ahead with the other two options per your preferences.
- Once done, head to the View > Show Transparency Grid to show the checkboard background. Alternatively, you can use the keyboard shortcut Shift + CTRL + D on Windows and Shift + CMD + D on Mac.
- Afterwards, click on the Direct Selection Tool indicated with an arrow and choose the Expand option on the drop-down menu. Doing so will bring the anchor points into your vector image and transform it into a shape.
- You can click on the anchor points and choose the parts of the background you wish to delete. Then, click on the Delete button to remove those areas.
Once it was once done, export the file as either. PNG or. EPS while keeping the Background Transparent Box checked.
Using Magic Wand or Pen Tool
You can also use the clipping mask feature in Adobe Illustrator to eliminate the unnecessary background in your images. Using this feature, you can hide or mask the unnecessary object in the image so only the subject and the background are visible.
You can select multiple objects in a group or layer by making relevant selections, known as a Clipping Set. Moreover, while this clipping mask will be a vector, you can also mask regular .PNG or .JPEG files.
To use this tool, you first must select the image you want to remove from the background. Either you can choose to use the Pen Tool or Magic Wand for the purpose. The latter is easier to use for the purpose.
You can easily select objects and parts with similar characteristics using the Magic Wand. The features automatically guess the selection you want to make, and you can add or remove specific areas by clicking on them. Follow the steps given below to remove your photo’s background using this tool:
- Open the object in your workspace and then zoom in on the image. Based on the precision of the marks around the object, the quality of your mask will be determined. Press the Z key on your keyboard to access the zoom tool from the toolbar.
- Then, click on the parts of your image with the attributes you want to highlight in the selection. This will automatically allow the magic wand tool to select the other relevant parts.
- To add to your selection, you can hold down the shift key and click on the other parts of the image you wish to choose. If you mistakenly select multiple items, you can remove them by pressing the Alt key on your keyboard (for windows) and the Option key (for Mac).
- Keep in mind that you may find the tool to be quirky, so to gain more accurate results, you can choose to customize the toolbar settings. Focus on the selections that resemble each other in colour, stroke weight, opacity, and more.
There’s another tool, Adobe’s Standard Pen Tool, that you can use to remove background in illustrator. This tool provides greater precision control while making straights and curves. However, it may take you a while to get used to it. Here’s what you should do:
- After accessing your object in the workstation, zoom in and get a precise mark around it.
- Then, access the Pen Tool and choose your stroke colour, followed by selecting the No Fill option. Once done, you can outline the image by clicking on it and selecting the object through the anchor points.
- After that, you can manipulate those lines by joining them and using the dots to make curves. The more you use this tool, the more you’ll be able to learn about it.
- Once you’ve made a complete outline that fits your object the best, click on the first anchor point to close the shape.
- Don’t worry if the selection isn’t precise yet. You can always choose to change it later. Once you have selected it, you must use the Clipping Mask tool. Here’s how:
- Choose both the images and your outline by clicking on the Shift button and the object using the mouse.
- Then, right-click on your mouse and select the Make Clipping Mask option. Doing so will only leave your desired object on the screen.
- Now you can add or remove any parts within the selected object and use the Direct Select Tool to make alterations.
Lastly, export the file as either .EPS or .PNG while ensuring that the Background Transparent Box is checked.
Saving It as An EPS File
The best thing about using vectors in place of Bitmap files is that they’re much more scalable and don’t appear blocky when you zoom in on them. If you are working on a logo, you can export it as an EPS file for better results.
This will allow you to make your image as significant as you want before printing for maximum quality. You can also remove the white background in illustrator, which automatically becomes transparent. Here’s how you can do it:
1. Firstly, click on the Save As option and choose Illustrator EPS, followed by clicking on the Save button on the floating menu.
2. Then, choose the Tiff (8-bit Color) from the Format menu in the EPS window. Make sure that it is marked as transparent, and you’re done.
Remove Backgrounds from png, jpg, jpeg, or webp Images using Erase.bg
You must follow these simple steps to remove any background from png, jpg, or webp image formats.
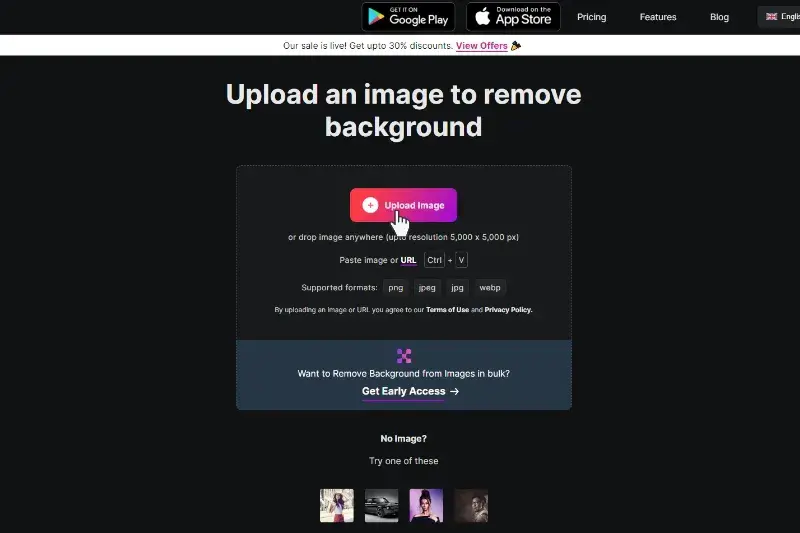
Step 1 - Open erase.bg on your computer or mobile phone. It also has a dedicated mobile app that can be installed and used for various editing purposes.

Step 2 - Upload your image by clicking on the upload image button and selecting the image you want to transform.
Step 3 - The tool will automatically erase the background of your image and provide you with an image that has a transparent or no background.

Step 4 - Download the image if satisfied, or you can also edit the image by clicking on the edit button on the right corner of the transformed image.

Final Words
Photo-bombed backgrounds or unwanted things in the background can significantly disrupt the image quality. Moreover, sometimes, you may need images without a background. Knowing exactly how to remove the image background is handy in such instances.
This guide has covered all the different ways to remove image backgrounds in illustrator. We hope that this has made things easier for you. Now, you know everything you need about removing image backgrounds in illustrator. So go ahead and remove those annoying image backgrounds. Enjoy the freedom that being an illustrator brings. And best of luck in your creative pursuits.
FAQ's
How to Get Rid of White Background in Illustrator?
You can remove the white background in Illustrator in multiple ways, such as using the Magic Wand or Pen Tool, Image Trace, and more. Depending on your preferences, you can choose from either of these methods to get rid of the white background.
How Do You Separate an Object from The Background in Illustrator?
To separate an object from the background, you can choose the Direct Selection Tool and then click on the Expand button in the dropdown menu. Then, add anchor points to your image and convert it into a vector. Once done, select the background parts and click on the Delete button.
Why Can’t I Erase Part of An Image in Illustrator?
You first have to unlock the object to be able to erase a part of it. Go to the Object menu, select Unlock All, and then use the Eraser Tool to erase the object. You can remove areas without affecting the anchor points of the new shapes.
What tools can I use to remove image backgrounds in Illustrator?
There are several tools in Illustrator that can be used to remove image backgrounds, including the Magic Wand tool, the Lasso tool, and the Pen tool. Each tool has its own strengths and can be used to select different parts of an image, depending on the complexity of the background.
Can I remove image backgrounds in Illustrator automatically?
Yes, Illustrator has an Automatic tracing tool that can be used to remove image backgrounds automatically. This tool works by analyzing the colors and shapes in an image and creating a vector path around the subject. However, it's important to note that this tool may not be accurate for all images, and manual adjustments may still be necessary.
Is Illustrator a good choice for removing image backgrounds?
While Illustrator is a powerful tool for removing image backgrounds, it can be time-consuming, especially for complex images. In such cases, using an AI-powered background remover like erase.bg can be a faster and more efficient option. These tools use machine learning algorithms to automatically detect and remove the background from an image, often with impressive accuracy.
.webp)

.webp)

.webp)

.webp)
.webp)


