


Replace a Dull Background with a Fresh Look


Do you want to change the light background of your image to a fresh look? Must you not be satisfied with the flat background of your corporate portrait? Or do you want to change a dark sky into a beautiful shiny day? If yes, then do not worry. Instead, you have come to the right place.
Here we have selected an application, erase.bg, that is used Remove background from images of people, animals and objects and download high-resolution images for free the most popular application, Adobe Photoshop is used for image editing and operations.
In this guide, you will learn how to change a background in erase.bg and Adobe Photoshop with some professional techniques that are very easy to follow. You can also go to the FAQ section at the end of the page in just a few clicks to learn how to make the theme work well with your new background.
How to Replace a Dull Background with Refresh look using Erase.bg
With the help of erase.bg, you can remove backgrounds from social media graphics, company logos, e-signatures, presentations, profile pictures, and more with intelligent resizing, editing, and export tools. Erase.bg supports png, jpeg, jpg, and webp formats. Steps to follow to change background with erase.bg:
Step 1 - Go to the URL: https://www.erase.bg/
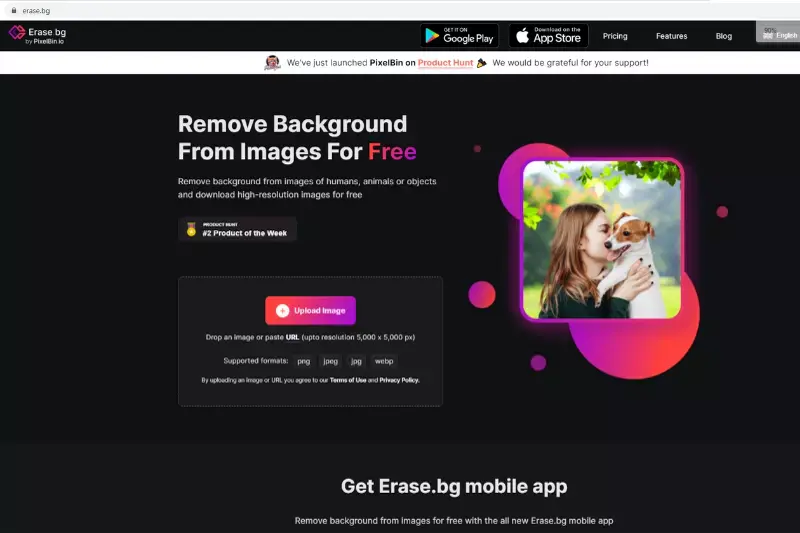
Step 2 - When the website is opened, you will see an “upload image” button on the first page. Upload the image whose background you want to change.

Step 3 - Once your image is uploaded, it shows the background eliminated image on the other side, and you have two options further, whether to download that no background image or edit the image and add the new background.

Step 4 - Click the edit option, and you will have a new page. There is a collection of images that you can add to the background of your image, or else you can upload another picture you want to add as a background image.

Step 5 - Once you have set the new background, there is a download option at the bottom of the page. By clicking it, you can download your new image.

About Adobe Photoshop
One of the great features of Adobe Photoshop is the ability to change the background of an image. The application also includes tools to select tricky areas such as hair and match colours in different images. You will learn about masking, adjusting lighting, adjusting perspective, and more.
Changing Background In Adobe Photoshop
A basic way to change the background of an image
To change the background in Photoshop, follow these basic steps:
- Open your selected image in adobe photoshop.
- Go to the layer section, right-click on it, select the layer from the background, and unlock it.
- Open the properties section and select remove background. This command uses machine learning techniques to find the main subject of an image and applies a layer mask to remove the background.
- Make necessary adjustments to the mask. In most cases, layer masks that hide the background require some adjustment. Select the brush tool from the toolbar and paint it black or white. Black hides pixels and white reveals hidden pixels.
- Bring in the new background, and resize the image to fit the background.
- From the Layers panel, drag a new background image layer from the Layers panel below the original photo.
Another approach to change the background of an image in Adobe Photoshop
As with everything in Adobe Photoshop, there are many other ways to get the same outcomes.
Select the foreground image
Choose the Quick Selection tool from the toolbar or press W on your keyboard (Adobe Photoshop's handy shortcuts). Using a stiff brush, the area you want to choose, click and drag over that. Adobe Photoshop guesses what you want to add based on the contrast level of the image. As a result, areas with hard edges and high contrast are nicely selected, but soft edges and low contrast will need more work.
Fine-Tune the selection
To fine-tune your selection, zoom in on the image and press the left bracket to decrease the brush size. Continue dragging and clicking to add portions of the foreground image to the selection. If you want to remove something from the selection, hold Alt, click and drag the areas. Preferably, all solid objects should be included in the selection.
Select and Mask
In the options bar at the top of the screen, click Select and Mask. On the screen that comes, you can narrow down the selection and change it to a mask. Click the View Mode in the Properties panel to change how the selection is displayed. Overlays are an excellent choice as they allow you to choose a color that contrasts with your image.
Refine the Selection
Various tools are available on the toolbar on the left side of the screen.
- Refine edge brush tool is used over soft edges like hair, etc.
- Brush tool, which is used for hard edges.
- Lasso/Polygonal Lasso Tool manually draws areas to add or subtract from the selection.
Zoom in on the image to see the selection edges. You can touch only some of them. Mainly you focus on the areas that are either unselected, misselected or have very irregular edges.
Remove Color Fringes
Once you are satisfied with your selections, in the right panel, go to output settings. Select Decontaminate Color to remove the color fringe in the selection. Then, select a new layer with a layer mask and select OK. Now go back to the main image and see the selection added as a new layer. After removing the current background, you can add a new background.
Upload your new background
Now, paste the new background image. Place it below the layer on which you have your foreground selection. Use the hand tool to set the layer where you want it, and resize it with the free transform tool (Ctrl+T) as needed. Then, grab the image's corners and drag it inward to resize. Finally, hold down the Shift key to maintain the aspect ratio.
Adjust the colors
In the last, you have to fix the foreground color so that it blends in nicely with the background. Select the foreground layer, and make sure you select the image. Don’t select the mask. Go to Image, then Adjustments and then Color Adjustments.
In the window that appears, go to Source and select the image you’re editing on. In the Layer section, select the layer you need to modify. You can fit the new background into the foreground or vice versa.
Check the Neutralize box to remove all color casts from the selected layer and adjust the Brightness and Intensity options until the background and foreground match. If desired, you can reduce the effect with the Fade slider. Use the preview option to toggle between the before and after conditions. Click OK, and You’re successfully done with changing your image’s background.
Some Techniques for Learning How to Change the Background of an Image in Adobe Photoshop
Note that no two background replacements are the same. Each situation requires unique adjustments. Still, the techniques discussed in this article should cover common Adobe Photoshop background changing concerns.
Adjusting the light source to the new background
When uploading a new background, ensure the light source is referring in the same direction as the foreground image. If the light source doesn't match, pan the wallpaper horizontally. To do this, press Ctrl+T to convert the layer. Then right-click and choose Flip Horizontal from the drop-down menu. Alternatively, you can use the same technique to invert the foreground image.
Adjusting brightness to the new background
You likely take foreground and background images at different times of the day and under other lighting surroundings. This means you have to do some brightness or color matching. Select Levels from the new adjustment layer icon. This adjustment layer allows you to match the brightness or add or subtract color to your image.
Ensure it only affects part of the composition but only the foreground image. Press Ctrl+G to create a clipping mask. With clipping masks, adjustment layers only affect the layer immediately below them.
Then you can adjust to lighten or darken the foreground to match the background. Another thing is applying color from the channel options. You can select red, green, or blue from the drop-down list. Apply the best colors for your wallpaper.
Adjusting perspective while changing backgrounds
You must always pay attention to perspective when learning to change backgrounds in Adobe Photoshop. You can get almost anything right in a combination. Colors, cropping, shadows, lighting. However, the viewer will notice something wrong if the perspective is incorrect.
They may not know precisely what it is, but they will realise something is wrong with the photo. To adjust perspective in Photoshop, you must first determine where the horizon is in your foreground image.
The horizontal line is the camera's position where the photo was taken. There is a way to find where the horizontal line is. You can activate the line tool and trace parallel coinciding lines on an empty layer to check where they meet.
This meeting place becomes the vanishing point, and there lies the horizon. When we get to where the original image's horizontal line is, we will find the new background horizontal line. Then, using the move tool, you need to position the new background so that we can match the horizontal line of the original background.
Conclusion
In this guide, you’ve learned much more techniques to change the dull background of your image into a new and fresh look. Erase.bg is a free tool that quickly removes your image background, and you can add a fresh and new background to your selected image.
This guide also covers all the queries about the Adobe Photoshop application, the most popular tool everyone uses to edit their images. We hope this guide covers all your questions regarding removing image backgrounds and setting new backgrounds.
FAQ's
What is Erase.bg?
Erase.bg is an AI-powered tool that quickly and automatically removes image backgrounds.
Is Erase.bg free to use?
Yes, erase.bg is entirely free to use.
What is the maximum file size or image resolution?
The maximum size supported is 25 MB.
Can I change my image background with erase.bg?
Yes, you can change your image background with erase.bg.
Who can use erase.bg?
Individuals, professionals, developers, E-commerce, media persons and enterprises can use Erase.bg.
How to change the background of an image?
To change the background of an image using Erase.bg, follow these simple steps: 1. Visit the Erase.bg website. 2. Upload the image you want to edit. 3. Use the AI-powered background removal tool to erase the current background. 4. Click on 'Edit' then add background of your choice. 5. Download the image with the new background.
.webp)

.webp)

.webp)

.webp)
.webp)


