


How To Change The Background To Transparent In GIMP?


Transforming your images has always been challenging with Erase.bg. If you've ever wondered how to change the background to transparent for a cleaner, more professional look, you're in the right place. Whether you're a designer, photographer, or someone who loves perfecting your visuals, Erase.bg offers a seamless solution. Unlike the cumbersome steps required to use GIMP to make the background transparent or the intricate process of deleting the background to transparent in GIMP, Erase.bg simplifies it to a few clicks.
Imagine the possibilities: flawless product photos for your e-commerce site, polished headshots for your professional profile, or creative images for your social media posts. With Erase.bg, you don't need to be a tech expert to achieve stunning results. Our AI-powered tool ensures precision and speed, turning your photos into masterpieces in seconds.
Plus, with our free credits, you can experience top-notch background removal without any initial investment. Join countless users who have elevated their image editing game with Erase.bg. Say goodbye to complicated software and hello to effortless, high-quality background removal. Ready to take your visuals to the next level? Upload your image now and watch the magic happen!
What is GIMP?
GIMP, which stands for GNU Image Manipulation Program, is a powerful, open-source image editing software. It offers a wide range of tools and features comparable to those found in commercial software like Photoshop, making it a favorite among designers, photographers, and hobbyists. With GIMP, you can perform tasks ranging from simple image retouching to complex graphic design projects.
One of the many versatile features of GIMP is its ability to replace color with transparency. This is particularly useful when you want to remove a specific color from an image, such as a background, and make it transparent. The process involves using the "Color to Alpha" feature, which turns selected colors into transparent pixels, allowing for seamless integration of images into different backgrounds or for creating layered designs.
Whether you're looking to enhance your photos, create stunning graphics, or simply need a reliable tool for image editing, GIMP provides the functionality and flexibility you need, all while being completely free to use.
Why is It Used?
GIMP, the GNU Image Manipulation Program, is a robust, open-source software renowned for its versatile image editing capabilities. Ideal for both beginners and professionals, GIMP offers powerful tools for photo retouching, graphic design, and more—all at no cost. Discover why millions worldwide rely on GIMP for their creative projects.
- Free and Open-Source: GIMP is completely free to download and use, making it accessible to anyone without cost barriers. Being open-source also means that developers can customize and improve the software continuously.
- Versatile Image Editing: It offers a comprehensive set of tools for image retouching, editing, and composition. Users can perform tasks such as photo enhancement, digital painting, graphic design, and more.
- Platform Compatibility: GIMP runs on multiple operating systems, including Windows, macOS, and Linux, ensuring broad compatibility and accessibility across different devices.
- Community Support: It has a vibrant community of users and developers who contribute plugins, scripts, and tutorials. This community-driven support enhances functionality and provides valuable resources for learning and troubleshooting.
- Professional Features: Despite being free, GIMP rivals commercial software in terms of features. It supports layers, masks, filters, and advanced color adjustments, making it suitable for professional use in various creative industries.
- Customization: GIMP's interface and functionality can be customized through plugins and scripts, allowing users to tailor the software to their specific needs and workflows.
Overall, GIMP is favored by individuals and professionals alike for its powerful capabilities, cost-effectiveness, and community-driven development model.
How to Make A Transparent Background in GIMP
Creating a transparent background in GIMP is straightforward and effective. Begin by opening your image in GIMP. To remove the background, add an Alpha Channel by right-clicking the layer and selecting "Add Alpha Channel." Use the Fuzzy Select Tool or the Select by Color Tool to highlight the background. Next, hit the Delete key to make the selected area transparent.
For more precise removal, you can use the "Color to Alpha" feature, which replaces a specific color with transparency, perfect for complex backgrounds. This method is ideal if you're looking to replace a uniform color with transparency, making GIMP a powerful background remover. Save your image as a PNG to retain the transparent background, ensuring professional, clean results for your projects.
1. Open Your Image in GIMP:
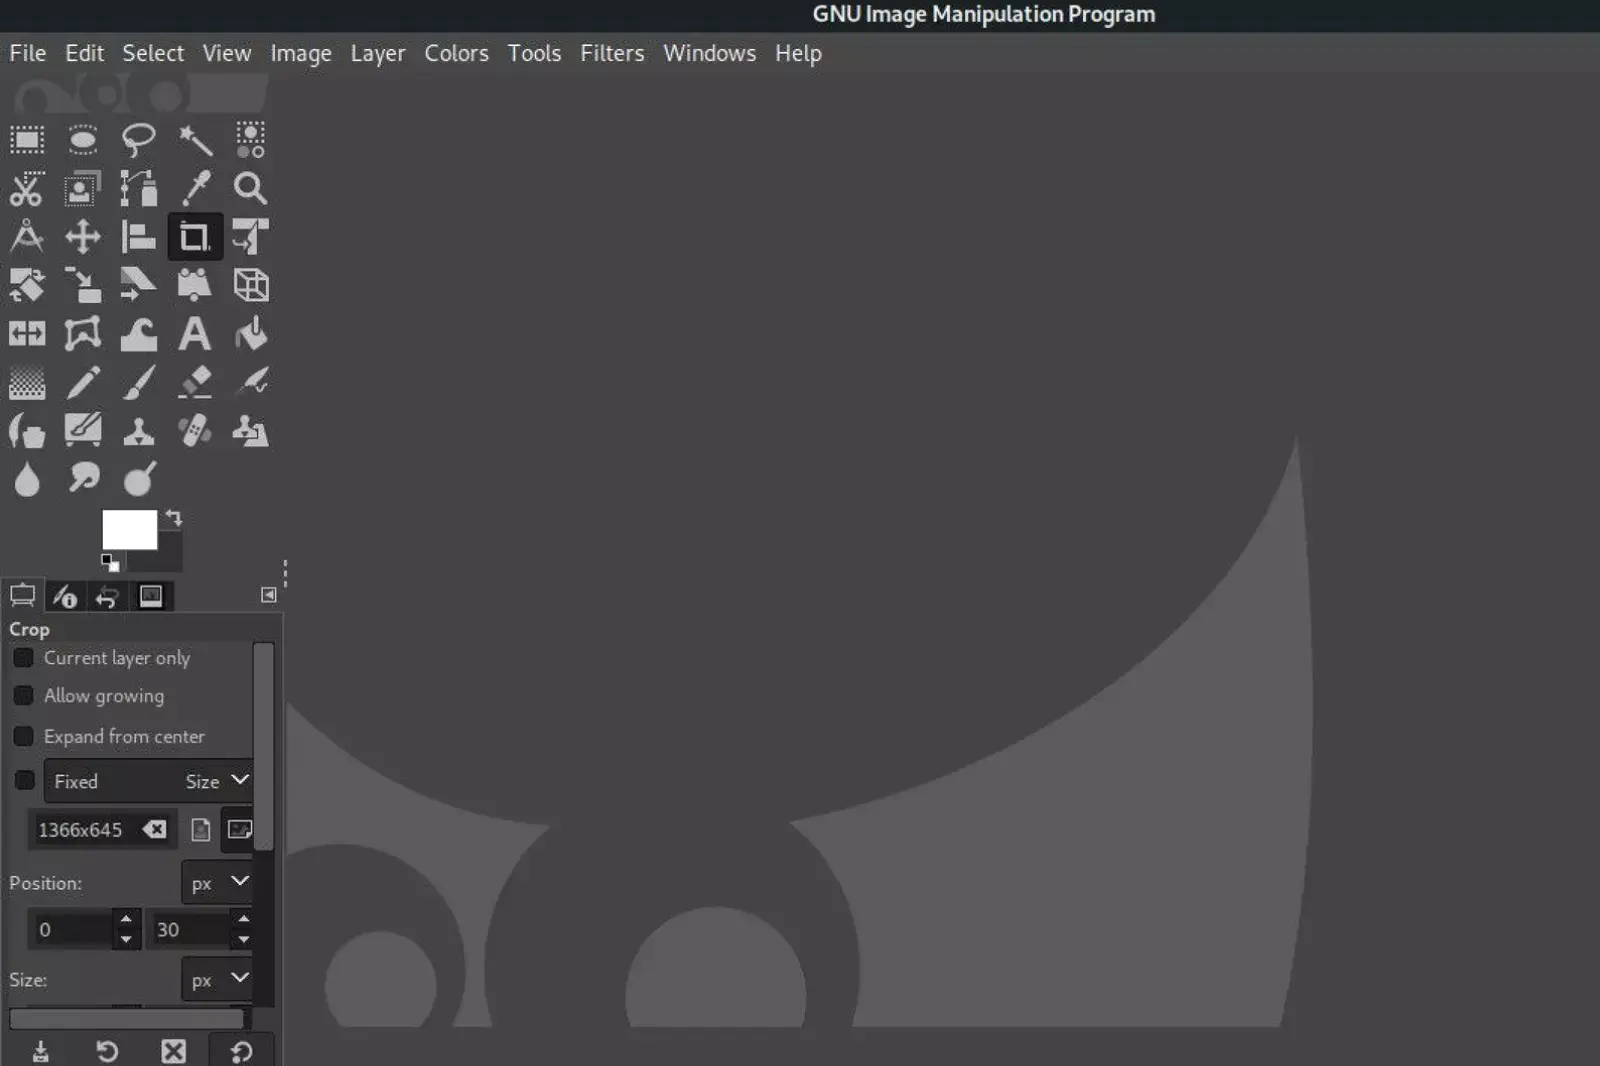
- Start by launching GIMP and opening the image you want to work on.
- For color-based selections, we'll use the Imagy.app logo as an example to remove the blue background.
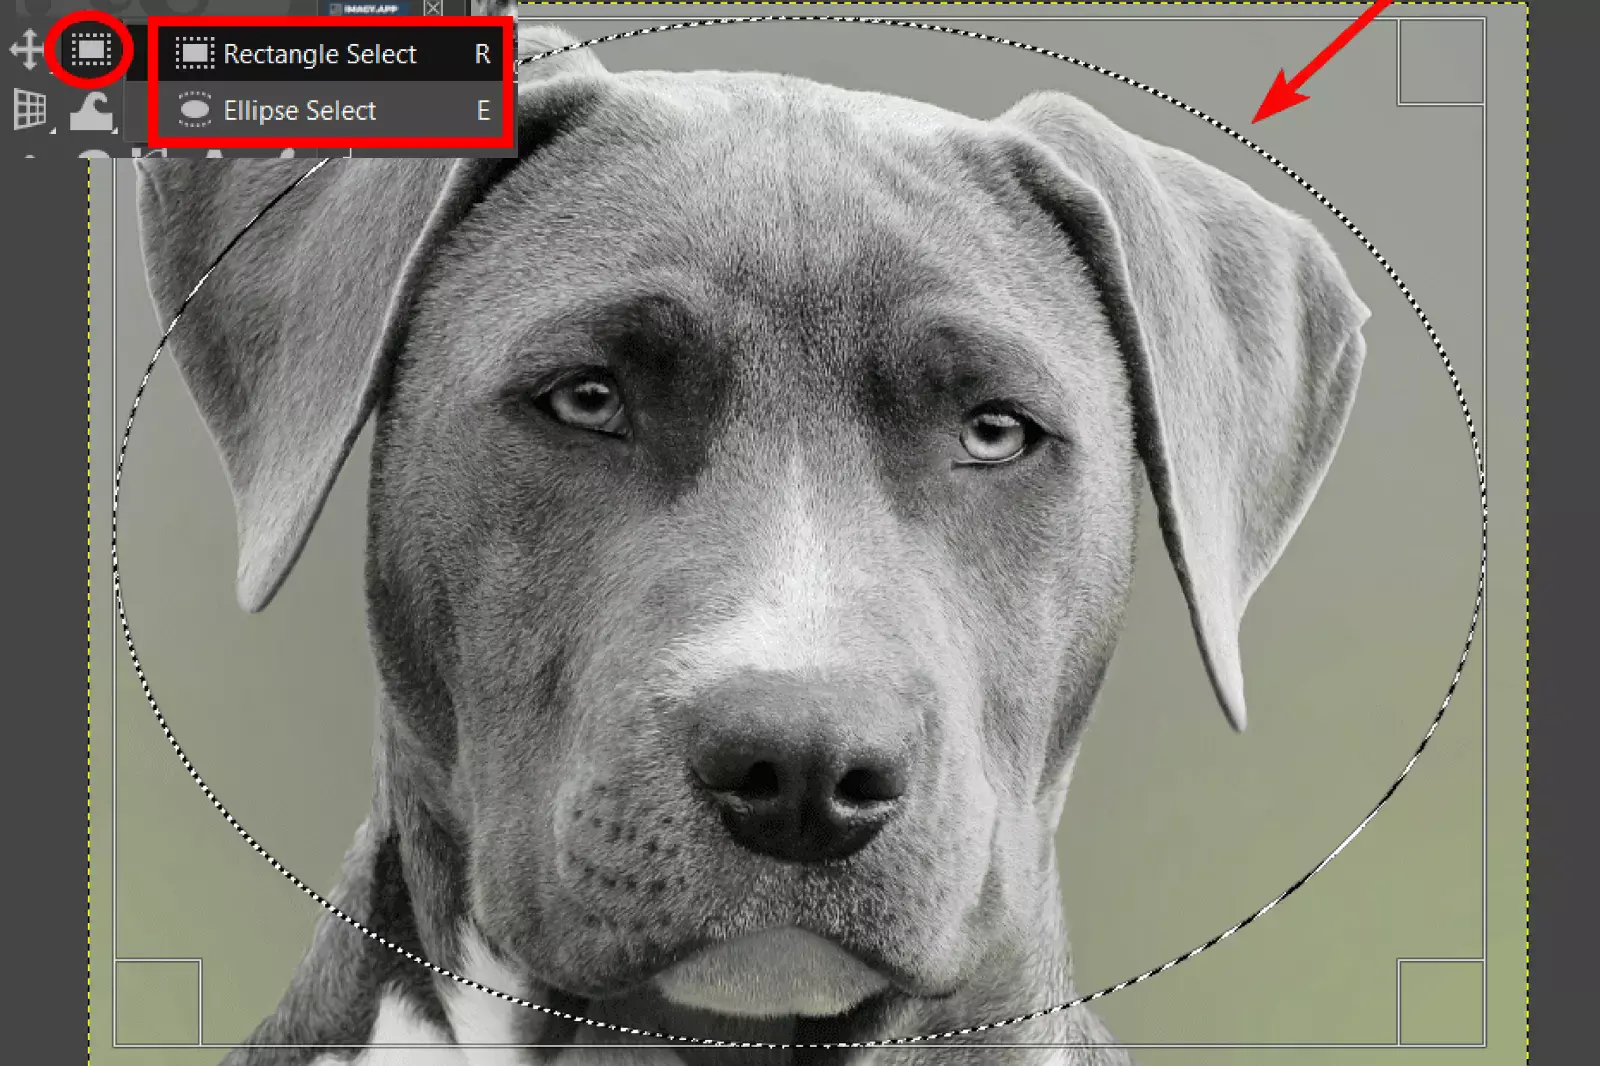
- For more complex images, such as the Focus photography of a grey dog from Unsplash, the process remains consistent.
- Stay tuned for the following steps as we guide you through different techniques to remove the background seamlessly. Each step brings you closer to creating stunning, transparent images with GIMP.
Note: GIMP provides both destructive and non-destructive background removal methods, giving you flexibility and control over your editing process.
Step 2: Add an Alpha Channel to the Layer
After opening your image in GIMP, it's crucial to confirm that the image layer includes an alpha channel. Unlike some other programs, GIMP doesn't automatically set layers to include transparency.
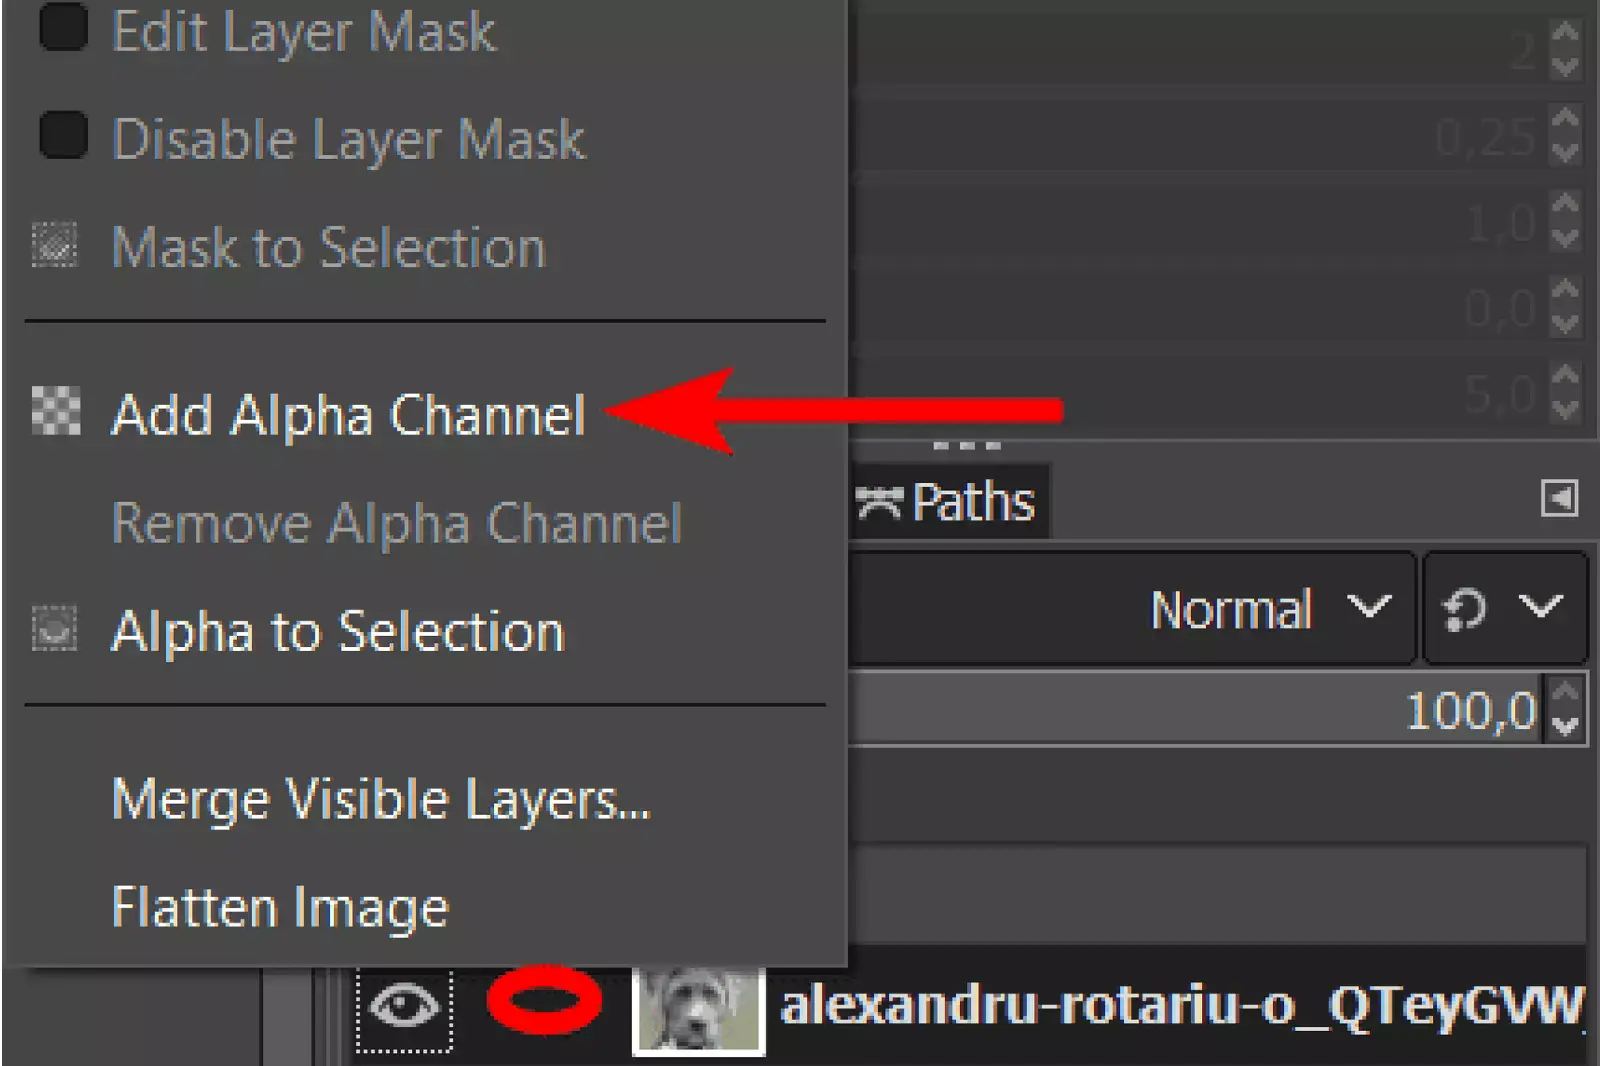
Follow these simple steps to add an alpha channel to the layer:
Right-Click or Control + Click:
In the Layers panel, right-click or Control + click on the layer corresponding to your image.
Select "Add Alpha Channel":
- A contextual menu will appear. From the options, select "Add Alpha Channel."
- If the option appears greyed out, it means the layer already includes an alpha channel and is set up for transparency.
This step is crucial for ensuring that any deleted or masked areas in your image will become transparent. It sets the foundation for achieving a seamless and transparent background in GIMP.
Step 3: Select the Areas to Remove Using a Selection Tool
Benefits of Transparent Backgrounds
Creating a transparent background in GIMP is a game-changer for designers and photographers alike. This versatile, open-source image editing software empowers you to remove backgrounds with ease, offering professional-grade tools for flawless results.
Whether you need to replace a background color with transparency or remove it entirely, GIMP simplifies the process, ensuring your images blend seamlessly into any project.
In this guide, we’ll walk you through the steps to change the background to transparent in GIMP, highlighting key techniques such as using the Alpha Channel and Color to Alpha features. Unlock the full potential of your images with GIMP's powerful background removal capabilities.
- Versatility in Design: Transparent backgrounds allow images to blend into various designs seamlessly. Whether you're creating logos, graphics, or web elements, a transparent background ensures your image can be layered over any color or pattern without unsightly borders.
- Professional Appearance: Images with transparent backgrounds appear more polished and professional. This is particularly important for product photos in e-commerce, where a clean look can enhance visual appeal and boost sales.
- Ease of Editing: Transparent backgrounds simplify the editing process. You can easily place the subject on different backgrounds, making it perfect for creating promotional materials, marketing content, and social media graphics.
- Consistency Across Platforms: Transparent images maintain their appearance across different platforms and devices. Whether viewed on a computer, tablet, or smartphone, your images will consistently look great.
- Flexibility for Future Use: Keeping a transparent background allows for greater flexibility in future use. You can reuse the same image in different contexts, saving time and effort in creating new graphics from scratch.
By using GIMP to remove the background to be transparent, you can leverage these benefits and elevate your design projects. GIMP offers powerful tools for removing backgrounds, making it easy to achieve professional results without expensive software.
Whether you're using "gimp remove background to transparent" or "gimp removing background" techniques, GIMP provides a robust solution for creating stunning, versatile images.
GIMP vs. Erase.bg for Background Removal
Choosing the right tool for background removal can significantly impact the efficiency and quality of your design projects. GIMP and Erase.bg are two powerful options, each offering unique advantages. GIMP, an open-source image editor, provides extensive tools for precise and customizable background removal, ideal for users with advanced editing skills.
On the other hand, Erase.bg leverages AI technology to offer a quick, easy, and highly accurate solution, perfect for those who need fast results without the learning curve. In this comparison, we'll explore the strengths of both GIMP and Erase.bg to help you decide which tool best suits your needs.
Ease of Use
- GIMP: As an open-source image editor, GIMP provides extensive tools and features, but it has a steeper learning curve. Users need to be familiar with its interface and functionalities to achieve the desired results.
- Erase.bg: Designed for simplicity and efficiency, Erase.bg offers an intuitive user interface that allows users to remove backgrounds in just a few clicks. It’s ideal for those who need quick and easy solutions without extensive editing knowledge.
Precision and Quality
- GIMP: GIMP offers highly precise background removal tools, such as the Fuzzy Select Tool and Color to Alpha feature. This allows for detailed and customizable edits, making it a favorite among professional designers and photographers.
- Erase.bg: Leveraging advanced AI technology, Erase.bg provides accurate and high-quality background removal automatically. It ensures that the subject is cleanly separated from the background, maintaining image integrity and quality.
Speed and Efficiency
- GIMP: Background removal in GIMP can be time-consuming, especially for complex images. The process involves multiple steps, such as adding an Alpha Channel, selecting the background, and refining the edges.
- Erase.bg: Erase.bg excels in speed and efficiency, removing backgrounds in seconds. Its AI-powered system handles the heavy lifting, making it perfect for batch processing and saving valuable time for users.
Cost and Accessibility
- GIMP: GIMP is completely free and open-source, making it accessible to anyone with an internet connection. It’s a cost-effective option for those who require advanced image editing capabilities.
- Erase.bg: While Erase.bg offers a free tier with limited credits, it also provides subscription plans for users who need to process images in bulk or for commercial purposes. This makes it a scalable solution for businesses and professionals.
Integration and Compatibility
- GIMP: GIMP is compatible with multiple operating systems, including Windows, macOS, and Linux. It supports various file formats, ensuring flexibility in editing and saving images.
- Erase.bg: Erase.bg is a web-based tool compatible with all major browsers and devices. Its API integration feature allows seamless incorporation into existing workflows, enhancing productivity for businesses and developers.
Best GIMP Alternatives
Looking for alternatives to GIMP for your background removal and transparency needs? Exploring different software options can provide you with varied tools and features tailored to your editing style.
Whether you're seeking user-friendly interfaces, advanced editing capabilities, or specific platform compatibility, the right alternative can streamline your workflow and enhance your creative projects.
From industry-standard tools like Adobe Photoshop and Illustrator to versatile options like CorelDRAW and Photopea, each software brings its strengths to the table. Dive into this guide to discover top alternatives that suit your editing requirements, offering efficient solutions for achieving transparent backgrounds and precise image adjustments.
1. Erase.bg
Erase.bg is revolutionizing image editing with its advanced background removal capabilities, seamlessly integrating cutting-edge AI technology. Ideal for both professionals and enthusiasts, Erase.bg simplifies the process of removing backgrounds, offering precision and efficiency.
Whether you're enhancing product photos or personal portraits, Erase.bg ensures a hassle-free experience with exceptional results. Compared to traditional methods like GIMP, Erase.bg stands out for its user-friendly interface and rapid processing times. Discover a new level of editing convenience with Erase.bg, where flawless background removal meets unmatched simplicity and speed.
Features:
- Advanced AI-powered background removal technology.
- Seamless integration with various image formats and resolutions.
- Fast processing times, delivering results in seconds.
- User-friendly interface suitable for both professionals and beginners.
- A cloud-based solution, accessible from any device with internet connectivity.
2. Sumopaint
Sumopaint is a versatile online image editor renowned for its powerful tools and user-friendly interface. Ideal for both beginners and professionals, Sumopaint offers robust features that include advanced color replacement and transparency adjustments.
Whether you're editing photos or creating digital art, Sumopaint's intuitive platform ensures seamless operations. Explore a world of creative possibilities with Sumopaint, where precision meets simplicity in enhancing your images.
Features:
- Advanced online image editing capabilities
- Comprehensive selection of artistic brushes and tools
- Seamless integration with cloud storage for easy access
- Support for layers and blending modes for intricate designs
- Real-time collaboration and sharing options
3. CorelDRAW
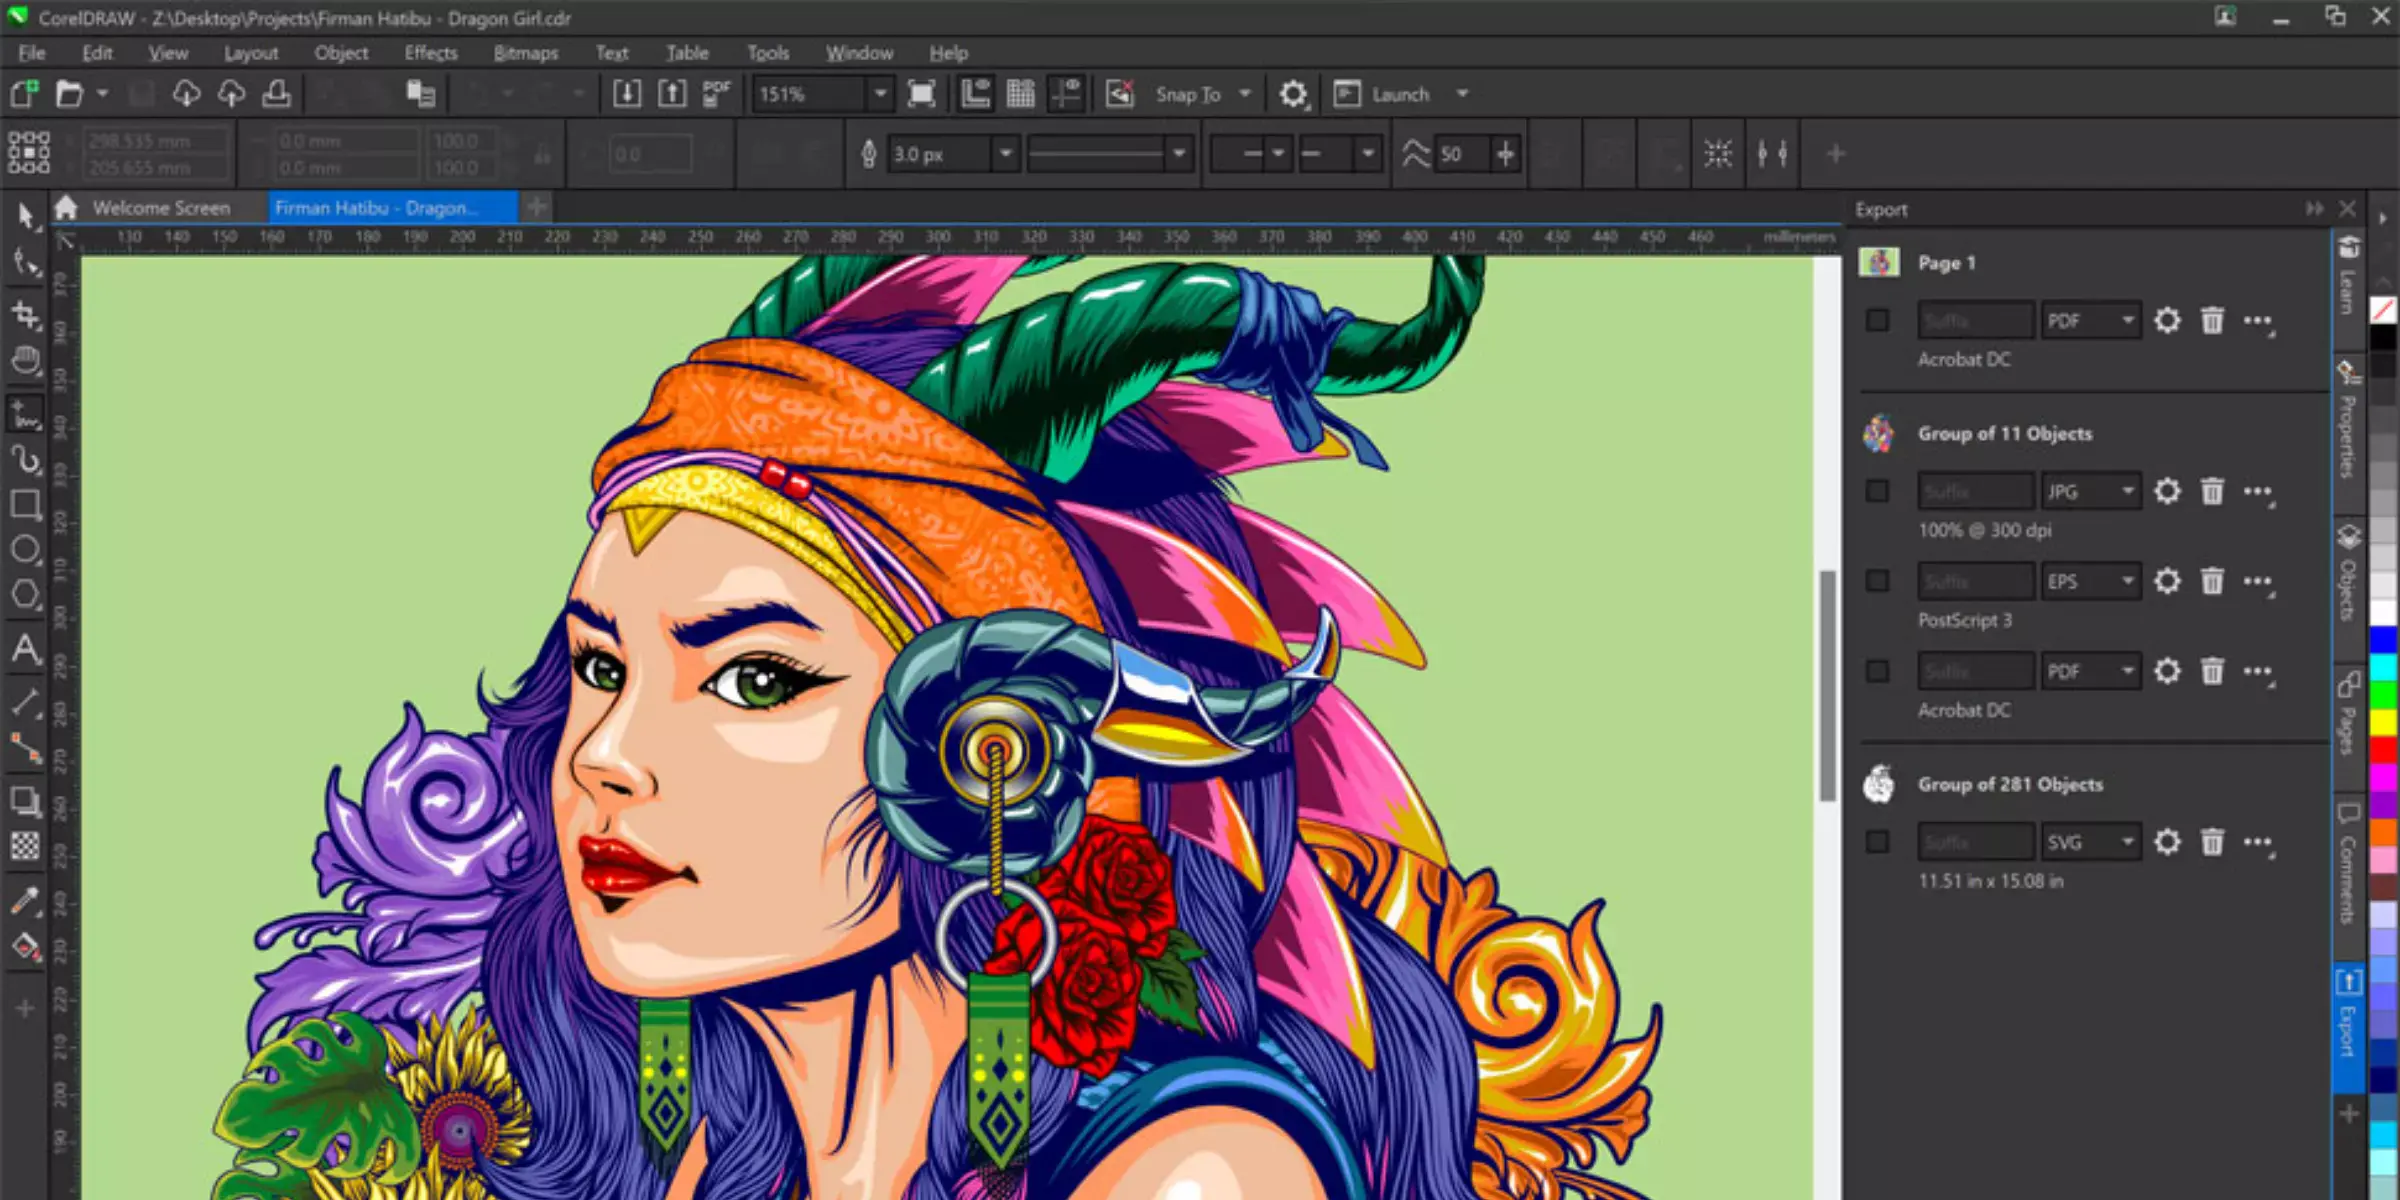
Discover the powerhouse of professional graphic design tools with CorelDRAW Graphics Suite. Whether you're on Mac or Windows, this comprehensive software empowers you to create stunning vector illustrations, precise layouts, and impactful photo edits effortlessly. Seamlessly collaborate with clients using CorelDRAW.app for real-time feedback, ensuring your projects meet every expectation.
From typography finesse to advanced photo editing with Corel PHOTO-PAINT, this suite caters to every creative need. Explore the latest 2025 version packed with new features and exclusive cloud capabilities, making CorelDRAW Graphics Suite the go-to choice for design professionals worldwide.
Features:
- Powerful vector illustration and page layout capabilities
- Seamless integration with CorelDRAW.app for real-time collaboration
- Advanced photo editing with AI-powered Corel PHOTO-PAINT
- Comprehensive font management with Corel Font Manager
- Support for RAW photo editing with AfterShot 3 HDR
4. Affinity Photo
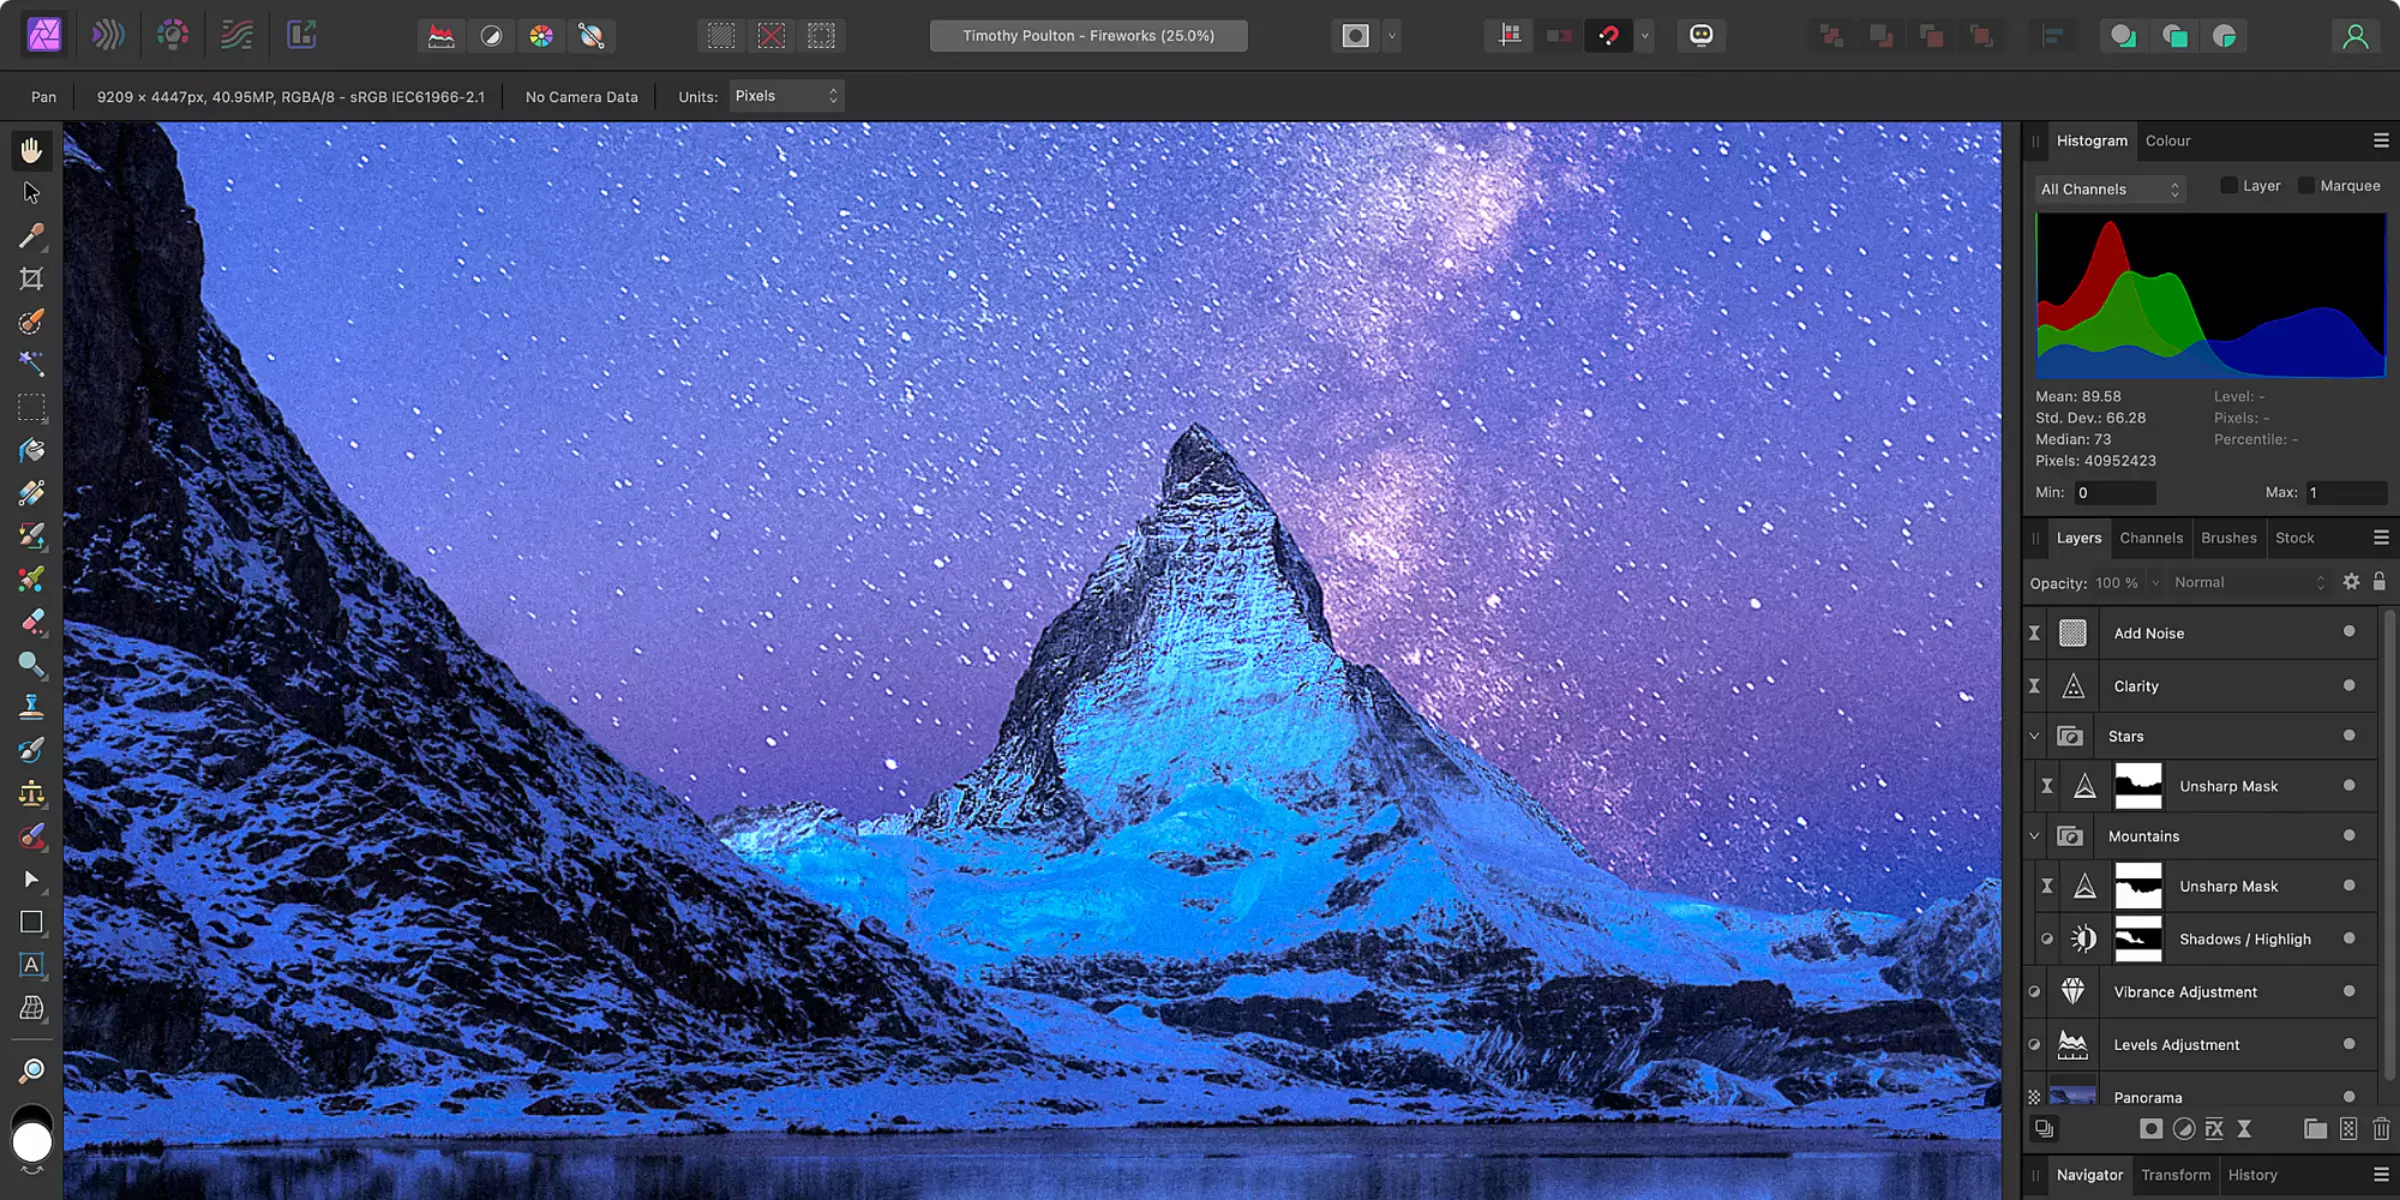
Affinity Photo offers powerful tools akin to GIMP for precise background removal and transparency adjustments. Whether you're editing photos for professional use or personal projects, Affinity Photo's intuitive interface and robust feature set empower users to achieve seamless results.
From detailed masking capabilities to advanced layer management, Affinity Photo ensures that every edit maintains high quality and precision. Whether you're a seasoned photographer or a budding digital artist, Affinity Photo stands out as a versatile and efficient solution for all your image editing needs, rivaling GIMP in its capability and ease of use.
Features:
- Advanced selection refinement for precise masking
- Comprehensive layer management and blending options
- Non-destructive editing workflow with unlimited layers
- Professional-grade RAW editing with extensive file format support
- Panorama stitching and HDR merging for expansive image projects
5. Pixlr
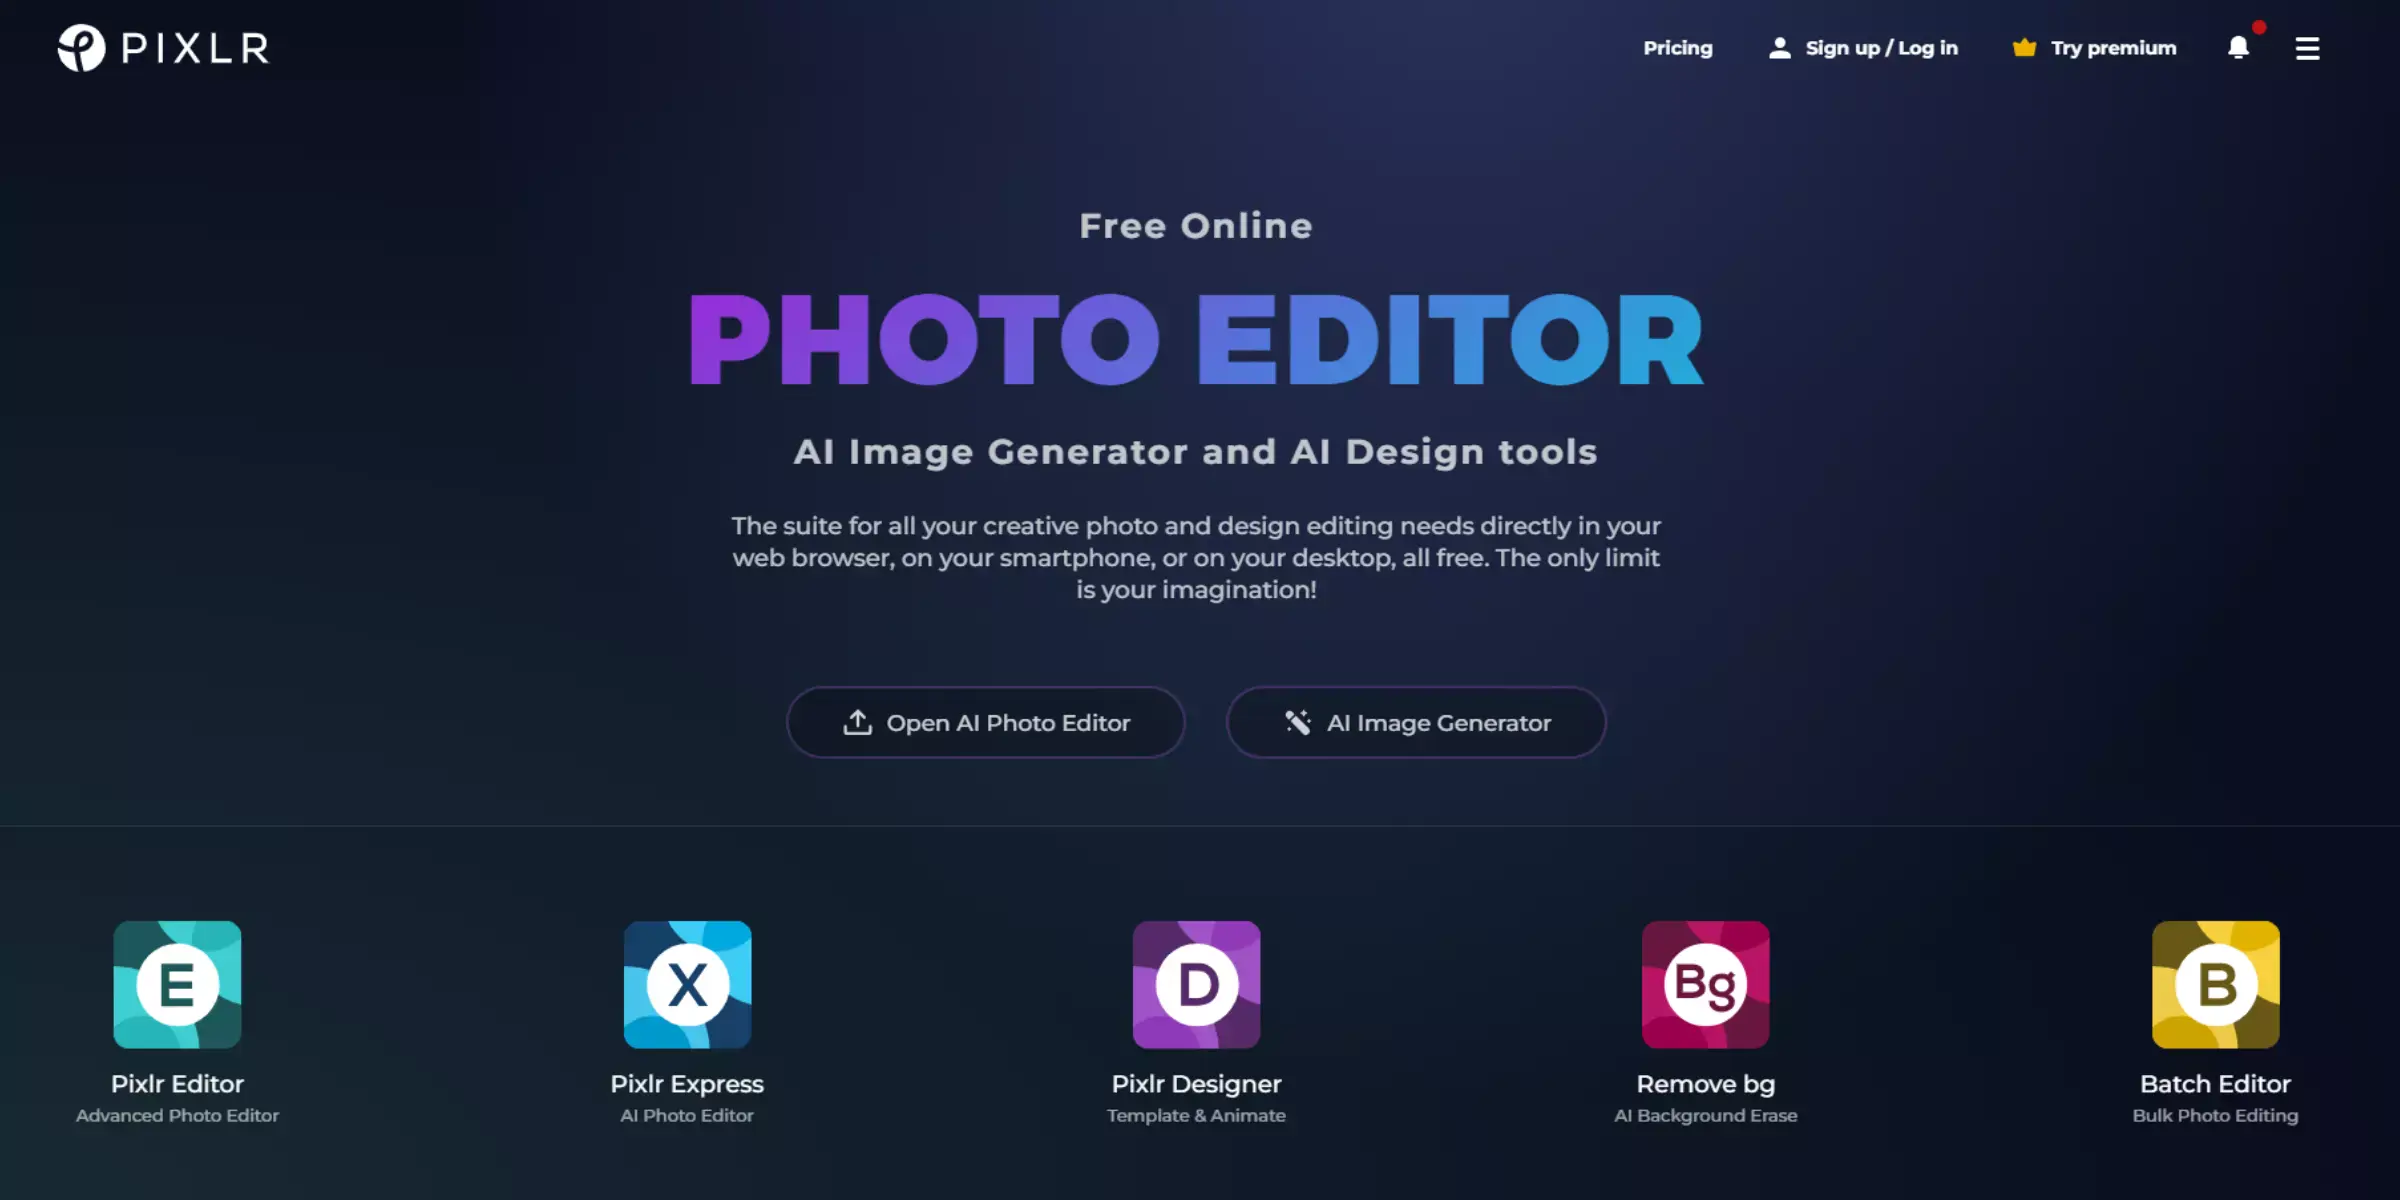
Pixlr is a versatile online photo editor that competes with GIMP in many aspects, especially in removing backgrounds. It offers a user-friendly interface with robust tools for quick and effective background removal. Pixlr supports multiple selection tools and layer management, enabling users to refine selections and create detailed masks.
It provides a range of filters and effects to enhance images after background removal, catering to both beginners and advanced users. With its cloud-based platform, Pixlr allows seamless editing across devices without the need for extensive software installation, making it a convenient choice for quick edits and professional-quality results alike.
Features:
- Comprehensive Editing Tools: Pixlr offers a wide array of editing tools for precise adjustments.
- Layers and Masks: Utilize layers and masks for advanced editing techniques and non-destructive editing.
- AI-Powered Tools: Benefit from AI-powered features for quick enhancements and adjustments.
- Filters and Effects: Apply various filters and effects to enhance your images creatively.
- Web and Mobile Access: Access Pixlr conveniently via web browsers or mobile apps for editing on the go.
6. Paint.NET
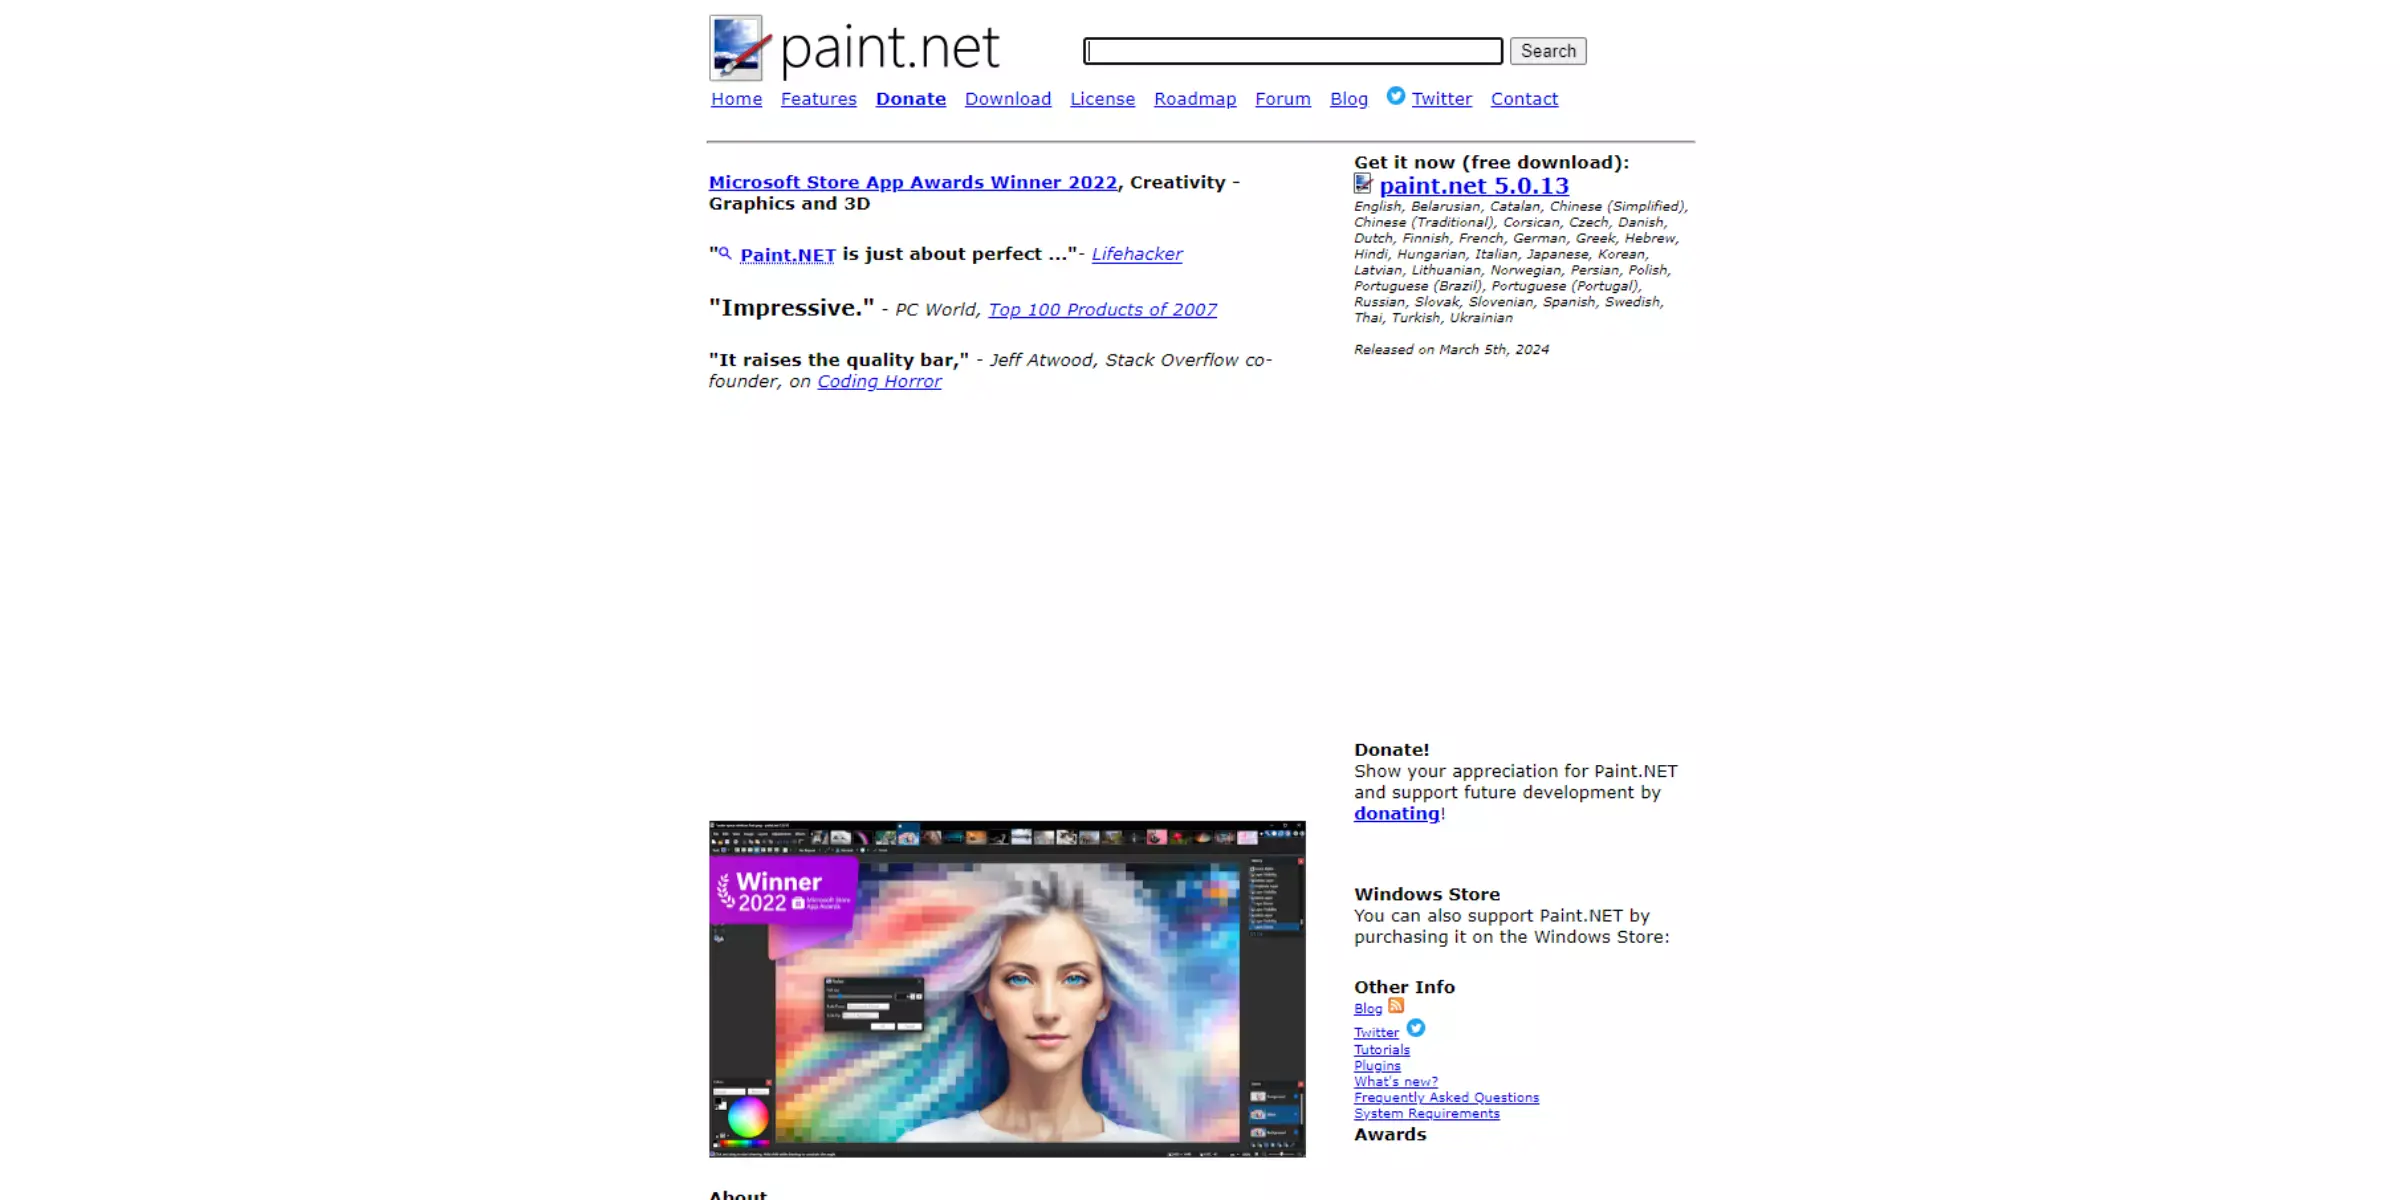
Paint.NET is a versatile and user-friendly raster graphics editor tailored for Windows users seeking more than basic paint programs offer. It strikes a balance between simplicity and functionality, making it ideal for both novice and experienced graphic designers.
Key features include robust layer support for advanced image compositions, extensibility through plugins to tailor features to specific needs, and a streamlined, user-friendly interface that caters to various skill levels. With an active community driving continuous enhancements, Paint.NET ensures users have the tools they need to create and edit images efficiently and creatively.
Features:
- Layer Support: Work with multiple layers for complex image compositions.
- Extensible with Plugins: Add additional features and functionalities as needed.
- User-Friendly Interface: Designed to be approachable for users of all experience levels.
- Active Community: Benefit from ongoing improvements and support from a vibrant user community.
- Advanced Editing Tools: Includes tools for image adjustments, effects, and enhancements.
7. Photopea
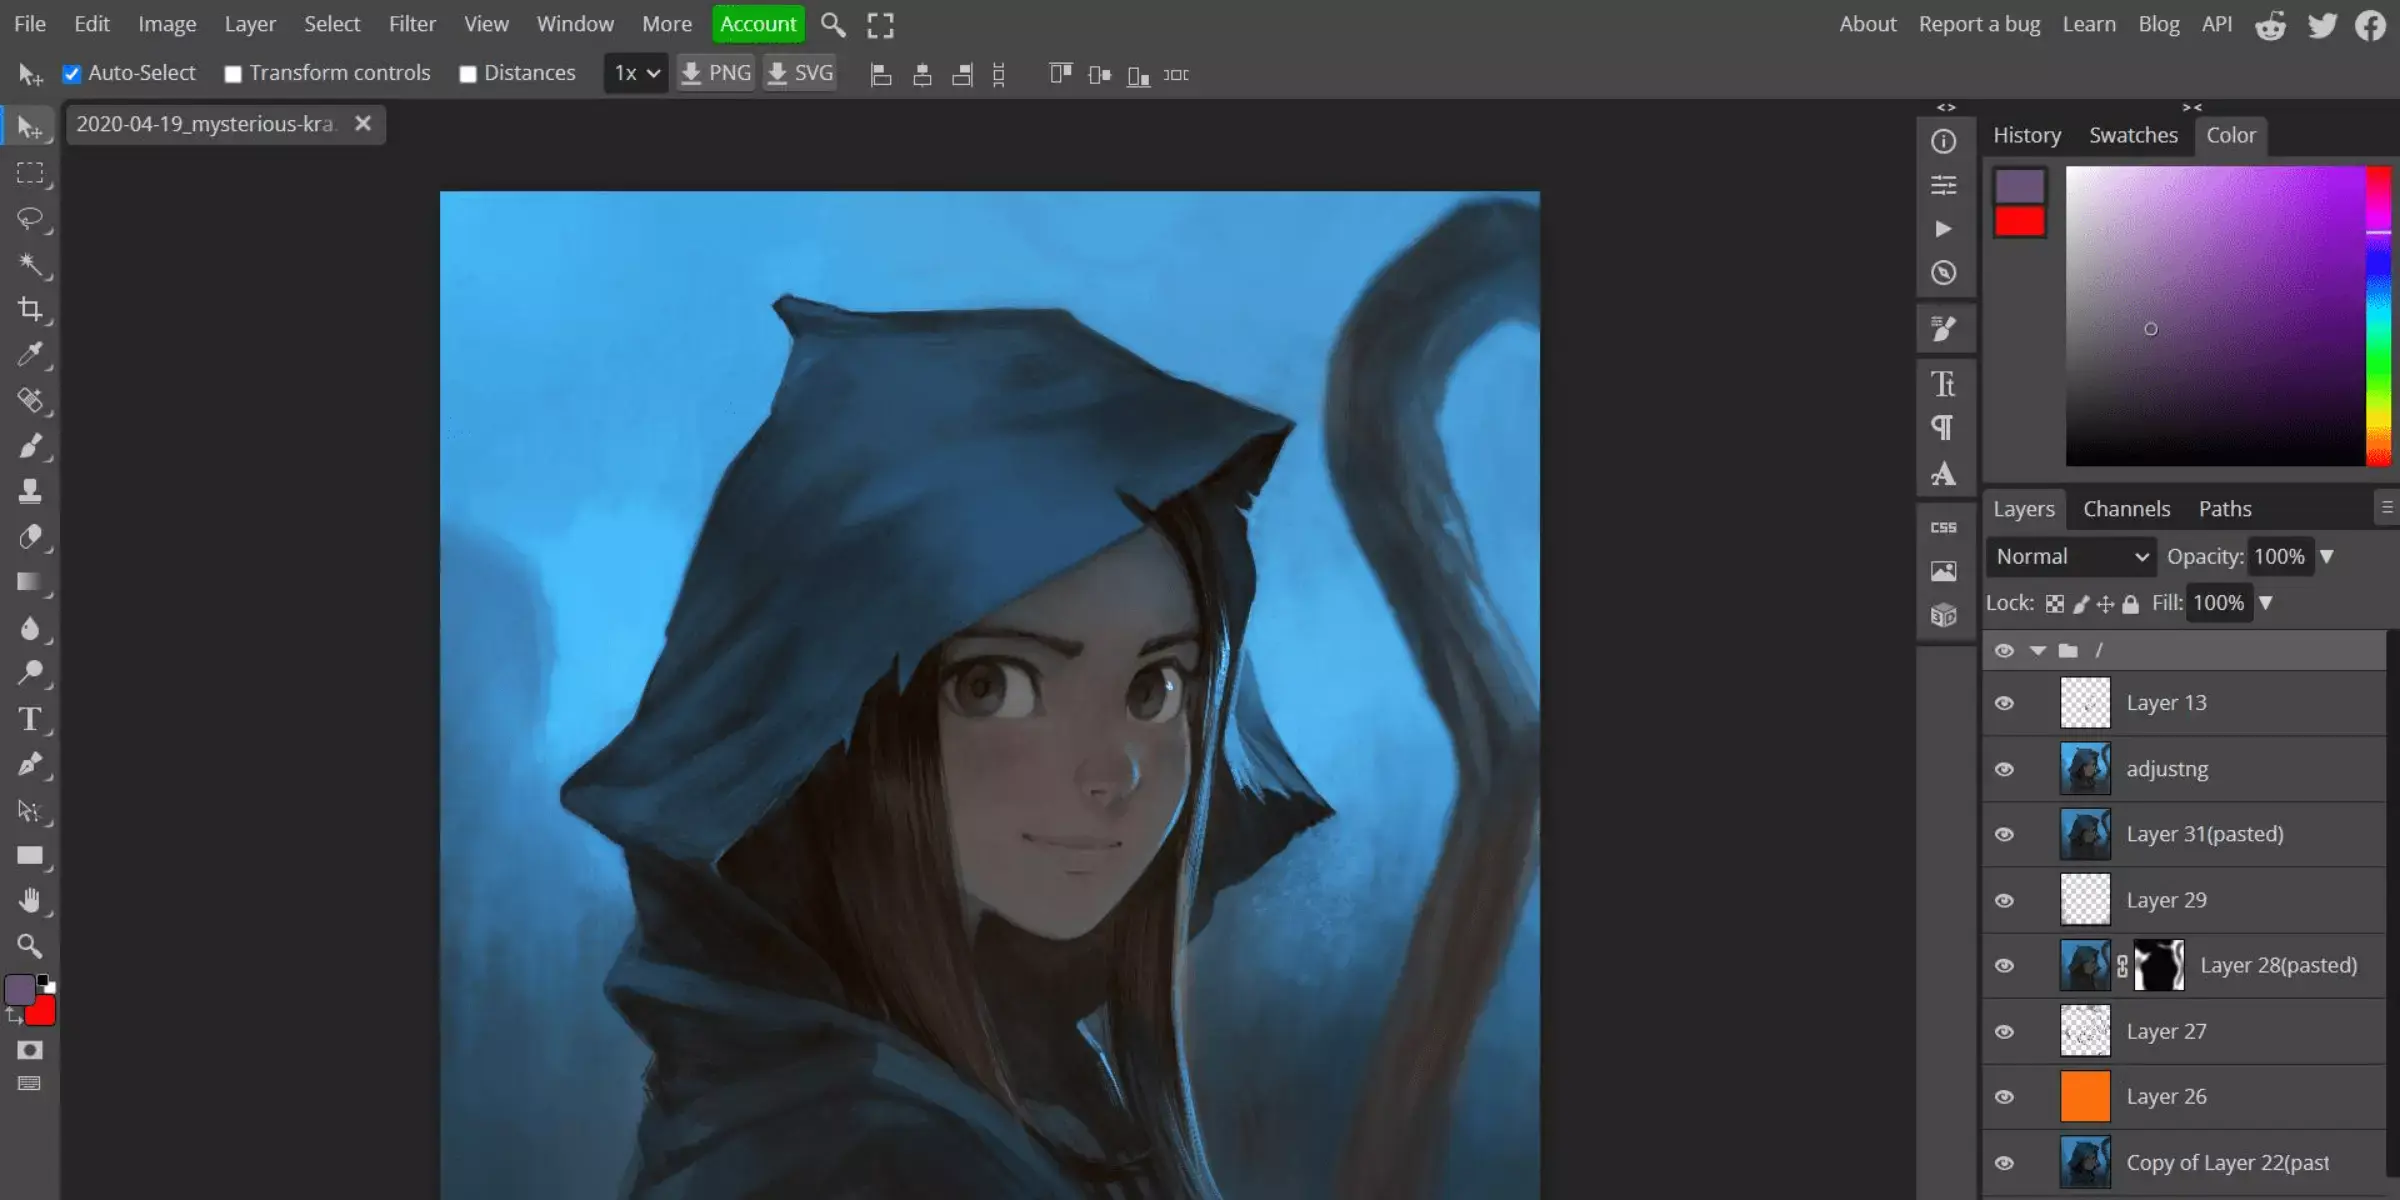
Photopea is a powerful online image editor that mirrors Adobe Photoshop's interface and functionality, making it a versatile tool for diverse image editing tasks. With its familiar Photoshop-like interface, users can seamlessly transition and work comfortably. It supports advanced features like layer management, allowing for intricate composition creation.
Photopea also offers extensive file format compatibility, including PSD files, ensuring seamless integration with existing workflows. Operating entirely within a web browser, Photopea provides convenience and accessibility without the need for installation, making it an ideal choice for users needing robust editing capabilities on the go.
Features:
- Photoshop-like interface for familiar usability
- Comprehensive support for working with layers
- Wide range of file format compatibility, including PSD
- Fully functional as a web-based application
- Capable of handling advanced image editing tasks
8. Canva
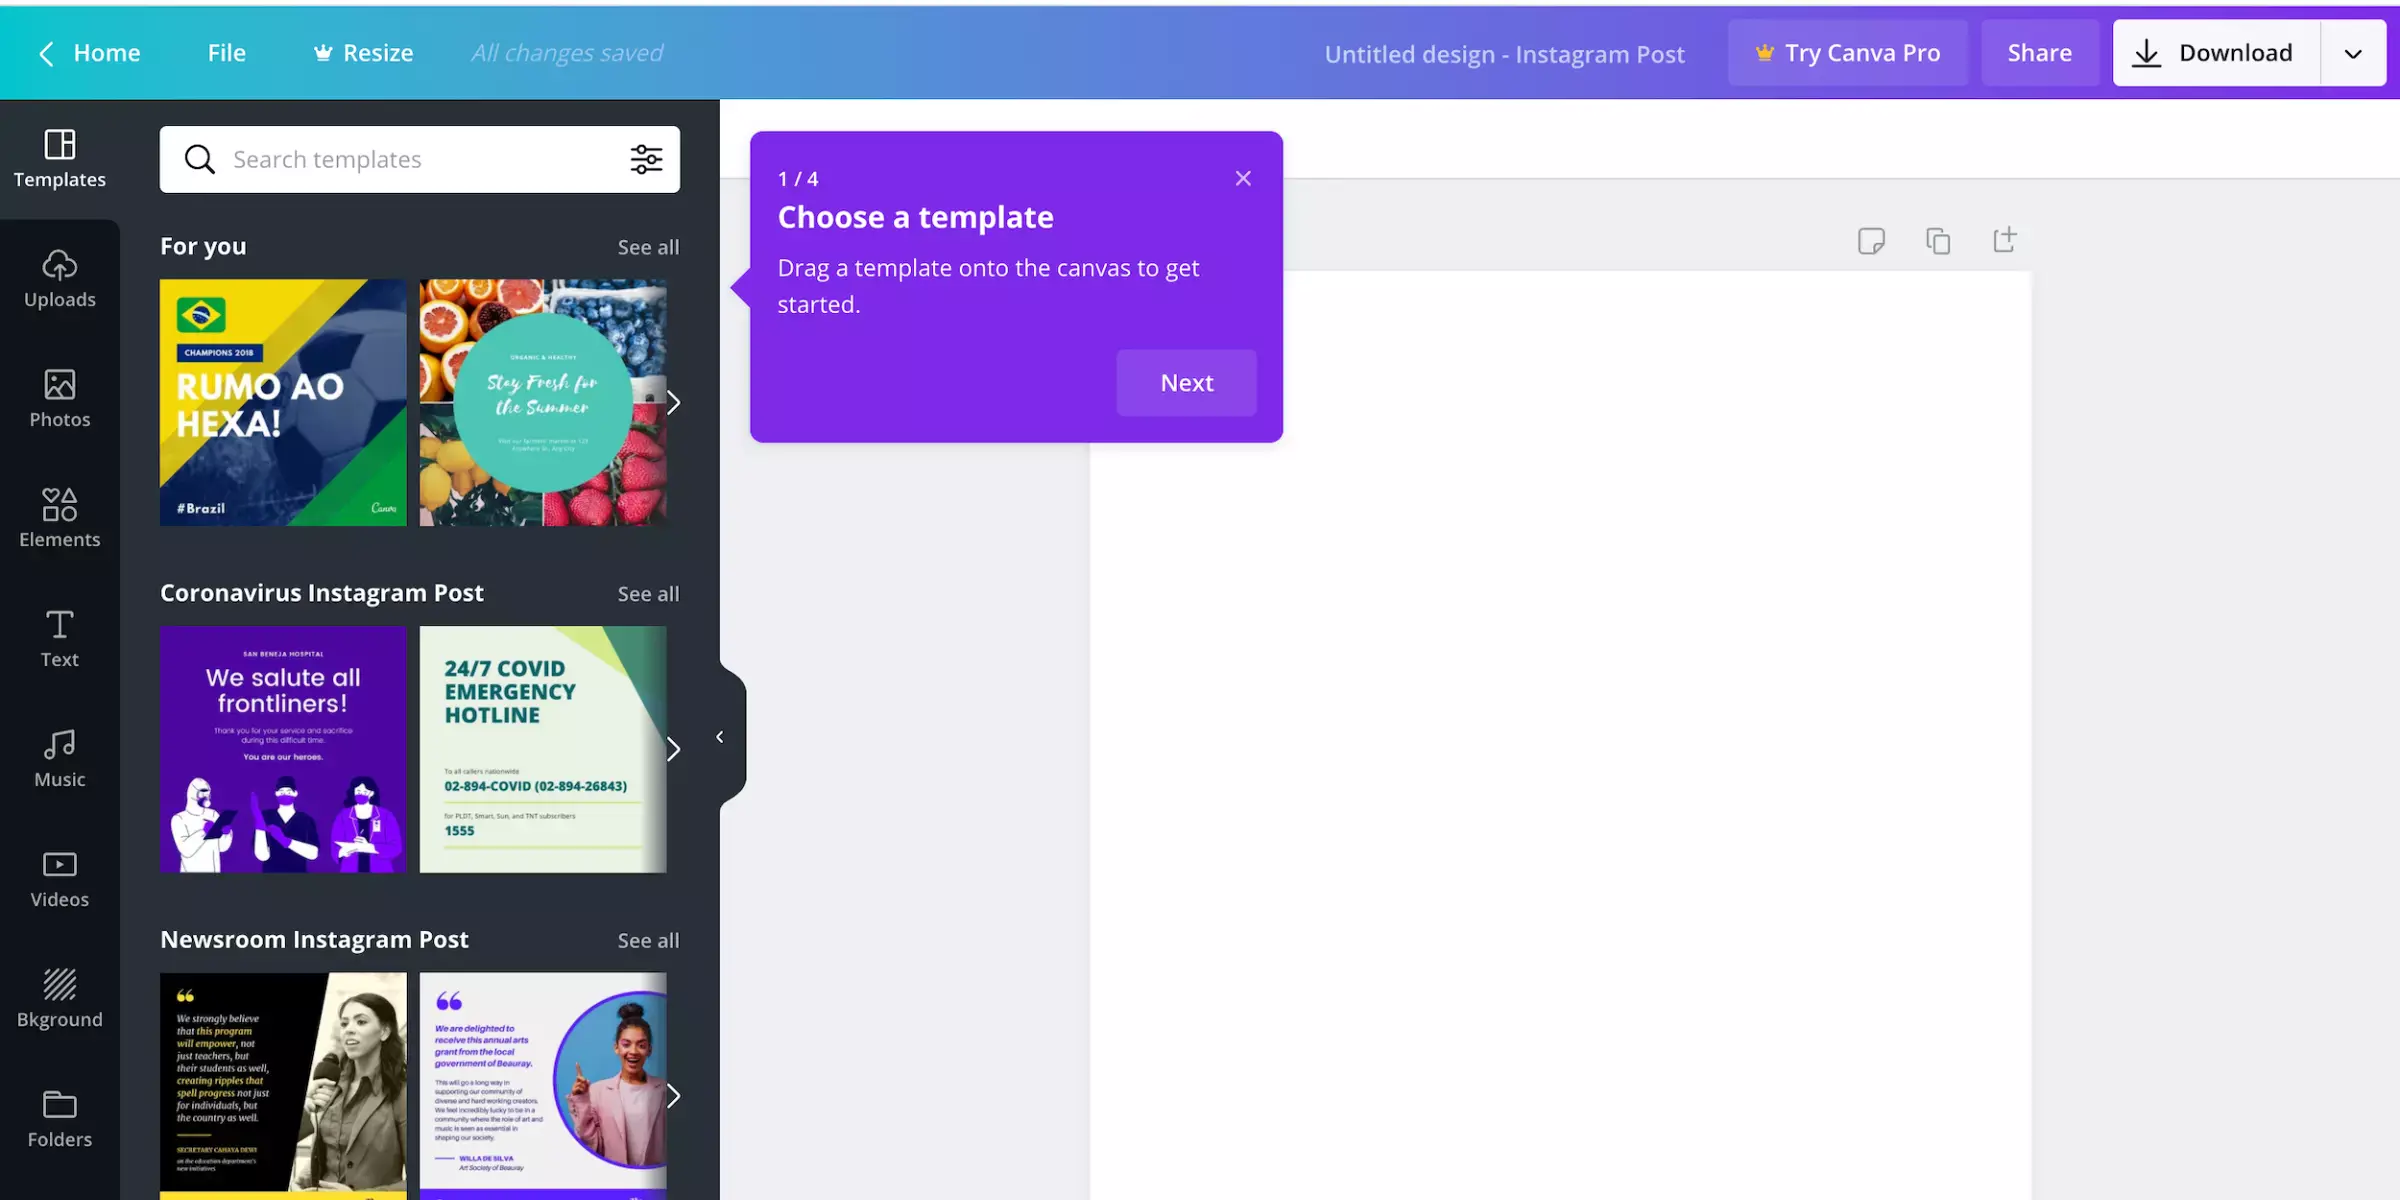
Canva is a versatile online graphic design platform that empowers users to create stunning visuals effortlessly. Whether you're designing social media graphics, presentations, posters, or more, Canva offers intuitive tools and a vast library of templates and elements to bring your ideas to life.
With its user-friendly interface and robust features, Canva is ideal for both beginners and professionals alike. Explore its powerful capabilities and streamline your design process with ease. Join millions of users worldwide who rely on Canva for their creative projects and discover why it's a preferred choice for graphic design enthusiasts.
Features:
- User-Friendly Interface: Canva offers an intuitive and easy-to-navigate interface, perfect for users of all skill levels.
- Template Library: Access a vast collection of professionally designed templates for various design needs, from social media posts to business cards.
- Drag-and-Drop Editor: Easily customize designs with a simple drag-and-drop functionality for images, text, and elements.
- Collaboration Tools: Collaborate seamlessly with team members by sharing designs and allowing real-time editing and commenting.
- Publishing Options: Directly publish your designs to social media platforms or download them in various formats like JPG, PNG, PDF, etc., suitable for print or digital use.
9. Inkscape
Inkscape is a powerful open-source vector graphics editor, ideal for creating and editing scalable graphic designs. It provides robust tools akin to expensive proprietary software but remains free for all users. With a focus on scalability and precision, Inkscape supports advanced features like object manipulation, bezier curves, and text editing within an intuitive interface.
It's compatible with multiple file formats, allowing seamless integration into professional workflows. Whether designing logos, icons, illustrations, or complex artworks, Inkscape's community-driven development ensures continuous improvement and a wealth of online resources for learning and support.
Features:
- Scalable Vector Graphics (SVG) support for high-quality graphics and illustrations.
- Advanced drawing tools, including bezier curves, spirals, and text manipulation.
- Object manipulation with transformations, grouping, and layering capabilities.
- Extensive file format compatibility, allowing import and export of various formats.
- Community-driven development with regular updates and extensive online documentation and tutorials.
10. Krita
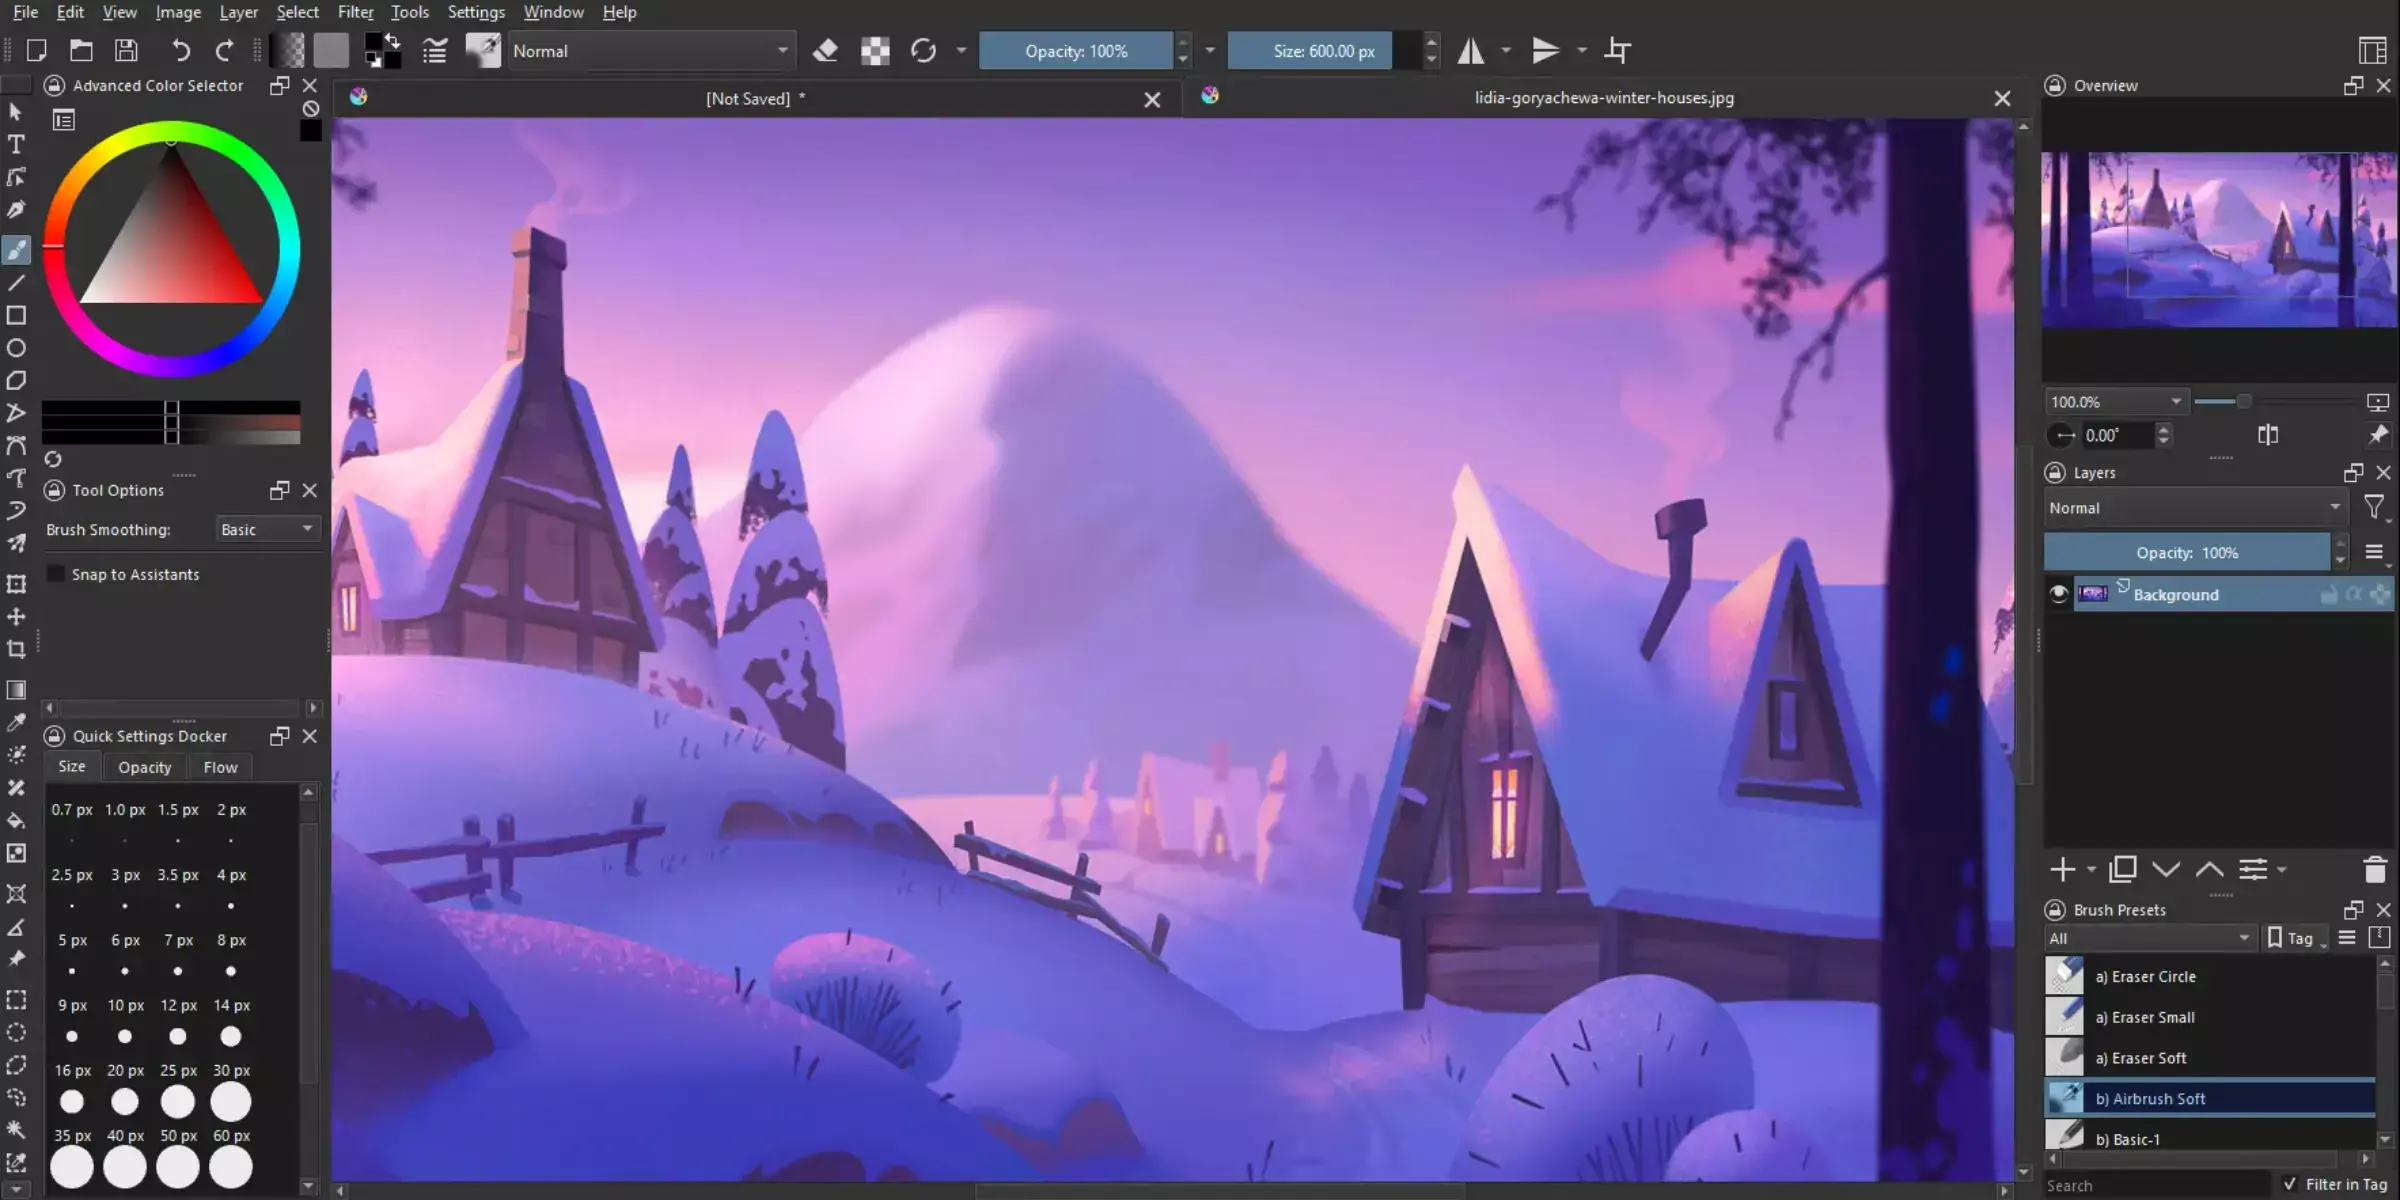
Krita, a robust open-source painting program, stands out as a versatile tool for digital artists and illustrators alike. Known for its intuitive interface and extensive feature set, Krita offers powerful capabilities tailored for creative professionals and hobbyists.
Whether you're editing photos, creating concept art, or designing intricate illustrations, Krita's comprehensive toolkit supports a wide range of artistic endeavors. With a focus on usability and flexibility, Krita continues to evolve, attracting a vibrant community of users who contribute to its ongoing development and enhancement.
Features:
- Powerful brush engine: Krita offers a robust brush engine with over 100 professionally made brushes and the ability to customize and create your own.
- Layer management: Extensive support for layers, including layer groups, masks, and blending modes, allowing for complex artwork and editing workflows.
- Animation tools: Comprehensive animation capabilities with frame-by-frame animation support, onion skinning, and timeline-based editing.
- Resource manager: Easily manage and organize brush presets, gradients, textures, and other resources within the application.
- PSD support: Krita can open, edit, and save Photoshop PSD files, maintaining compatibility with industry-standard formats.
Why Choose Erase.bg for Your Background Removal Needs?
Erase.bg offers unparalleled efficiency in removing backgrounds from images with its advanced AI technology. Whether you're a professional photographer, designer, or hobbyist, Erase.bg ensures seamless and precise results, saving you time and effort. Experience hassle-free background removal that enhances your creative projects effortlessly.
- Advanced AI Technology: Erase.bg utilizes cutting-edge artificial intelligence to accurately remove backgrounds from images, ensuring precision and quality in every edit.
- User-Friendly Interface: With a simple and intuitive interface, Erase.bg makes background removal accessible to everyone, regardless of their technical expertise.
- Speed and Efficiency: The tool processes images quickly, allowing users to save time while achieving professional-grade results.
- Versatility: Erase.bg supports a wide range of image formats and is compatible across various devices and operating systems, offering flexibility in usage.
- Cost-Effective Solution: It provides a cost-effective alternative to traditional editing methods, reducing the need for complex software and manual editing efforts.
Conclusion
Mastering the art of changing backgrounds to transparent in GIMP empowers users to create professional-looking images with ease. By following these steps, you can enhance your design projects, ensuring each image seamlessly integrates into any context or layout, reflecting precision and creativity in your work.
FAQ's
What is GIMP, and why use it for background removal?
GIMP, or GNU Image Manipulation Program, is a powerful open-source image editor. It's favored for its versatility and is widely used for tasks like background removal due to its robust features and flexibility.
Is GIMP suitable for beginners in graphic design?
Yes, GIMP is beginner-friendly with a range of tools. The step-by-step guide in the blog post makes it accessible for those new to graphic design or photo editing.
Can I use GIMP on both Windows and Mac?
Absolutely! GIMP is a cross-platform application, ensuring users on both Windows and Mac operating systems can enjoy its features.
Why should I make my image background transparent?
Transparent backgrounds offer flexibility. They allow you to overlay images seamlessly onto different backgrounds, enhancing visual appeal and customization.
Are there alternatives to GIMP for background removal?
While GIMP is a popular choice, there are other tools available. However, GIMP stands out for being free, open-source, and feature-rich.
Can I undo changes if I make a mistake in GIMP?
Yes, GIMP supports undo functionality. If you make a mistake during the background removal process, you can use the undo feature to revert to previous states.
.webp)

.webp)

.webp)

.webp)
.webp)


