


How to Film a Time-Lapse Video


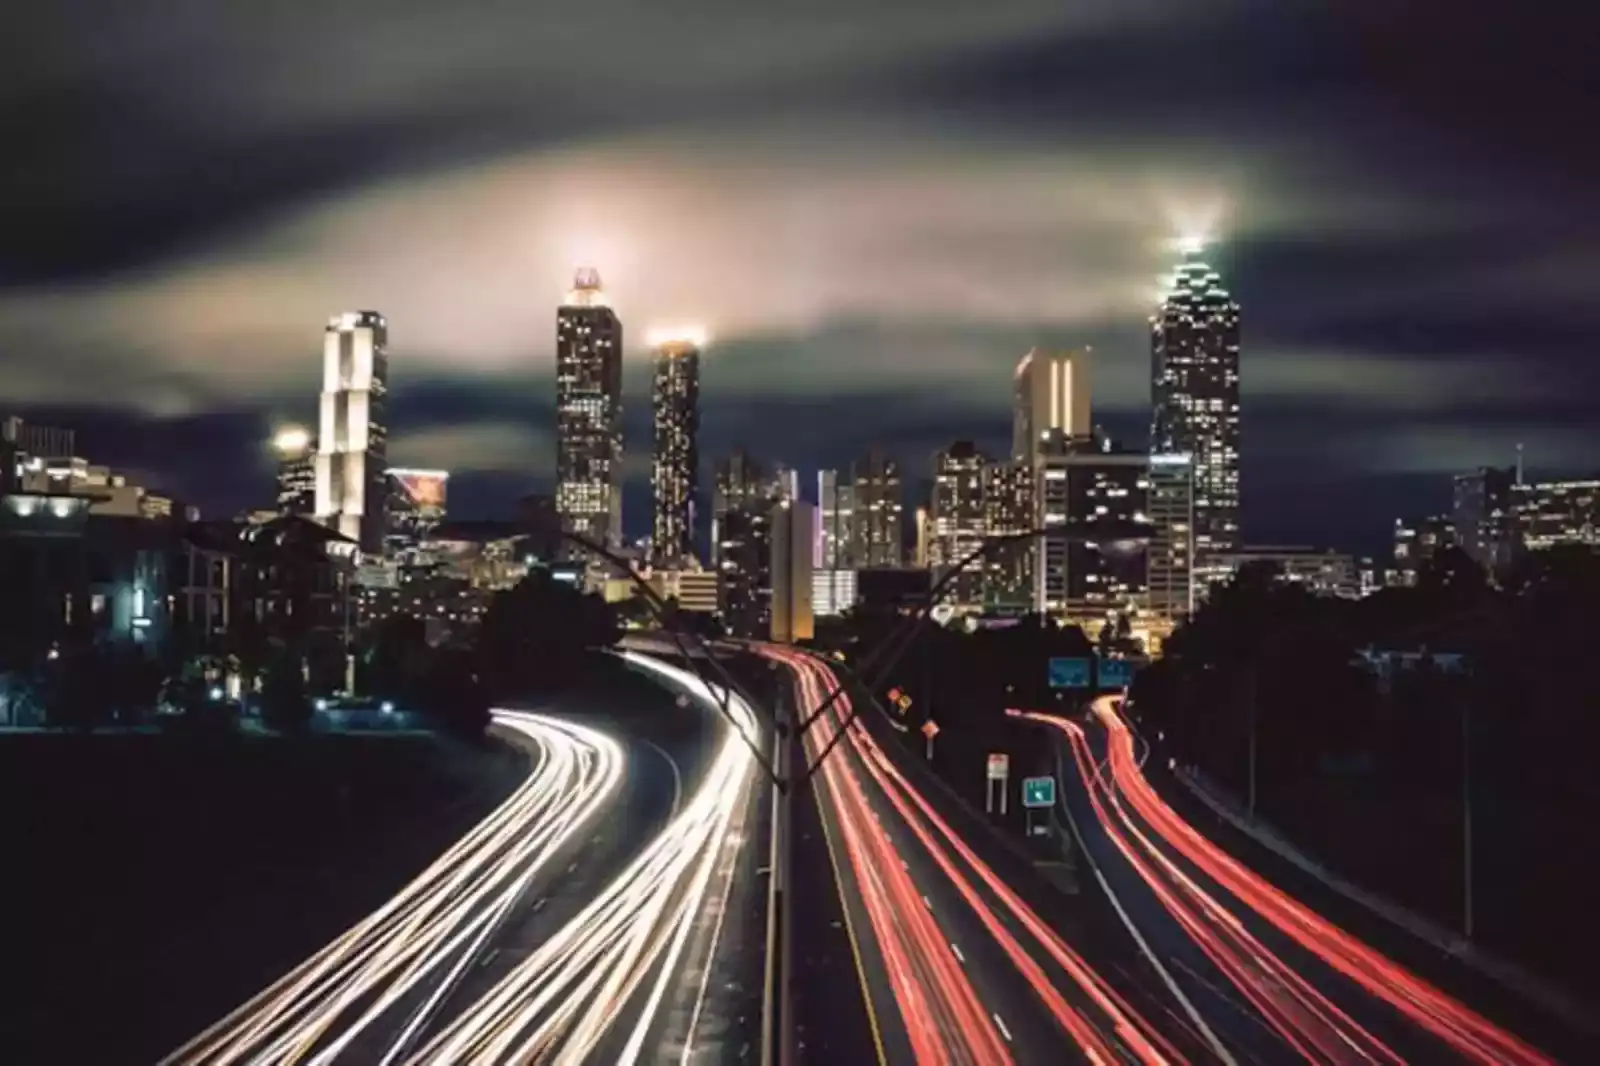
It is an absolute treat to capture a moving sun or moon and convert it into a time-lapse. From creating montages to workouts, time-lapse can be shot everywhere. Shooting a time-lapse is full of fun and excitement. You can either use a DSLR for time-lapse or a mobile phone too.
For excellent mobility and portability, people prefer to shoot time-lapse with mobile. This article has covered how to shoot time-lapse with iPhone and DSLR. Keep reading to learn the easy step-by-step methods.
Understanding Time Lapse Videos
For doing anything, you should have a basic understanding of it. First, get some idea about the moving picture called Video. The process of making it is the same for every video, whether it's a short clip or a three hours movie. The video consists of different individual frames displayed together at certain positions. Frame rate is defined as the frequency of displaying the frames.
However, it is primarily measured in frames per second (FPS). In regular videos, the rate of captures and displays are the same. To have the illusion of motion or movement, try to shoot a video at 24 frames each second and play it back at an exact number of frames. 24FPS is known to be cinematic, while 30 FPS is great for YouTube vlogs.
However, more than 60FPs are used for the display of video games. To be more creative, capture the time-lapse video with the same number of frames but at a different rate. If you use 120 frames each second for video recording but the playback, you use at a rate of 24 frames in a second.
It will turn out to be a slow-motion video. If you play them back at 24 frames a second it will take an extra five seconds to slow down any motion in the video. It is just the opposite of slow motion. All you have to do is record the frames at a slower speed. Since you are using 24FPS of playback, you will have to compress it and speed up.
Equipment Needed for Time Lapse
To record time-lapse, you also need some equipment, right? Here are a few pieces of equipment that are a must for recording the time-lapse.
1. Camera
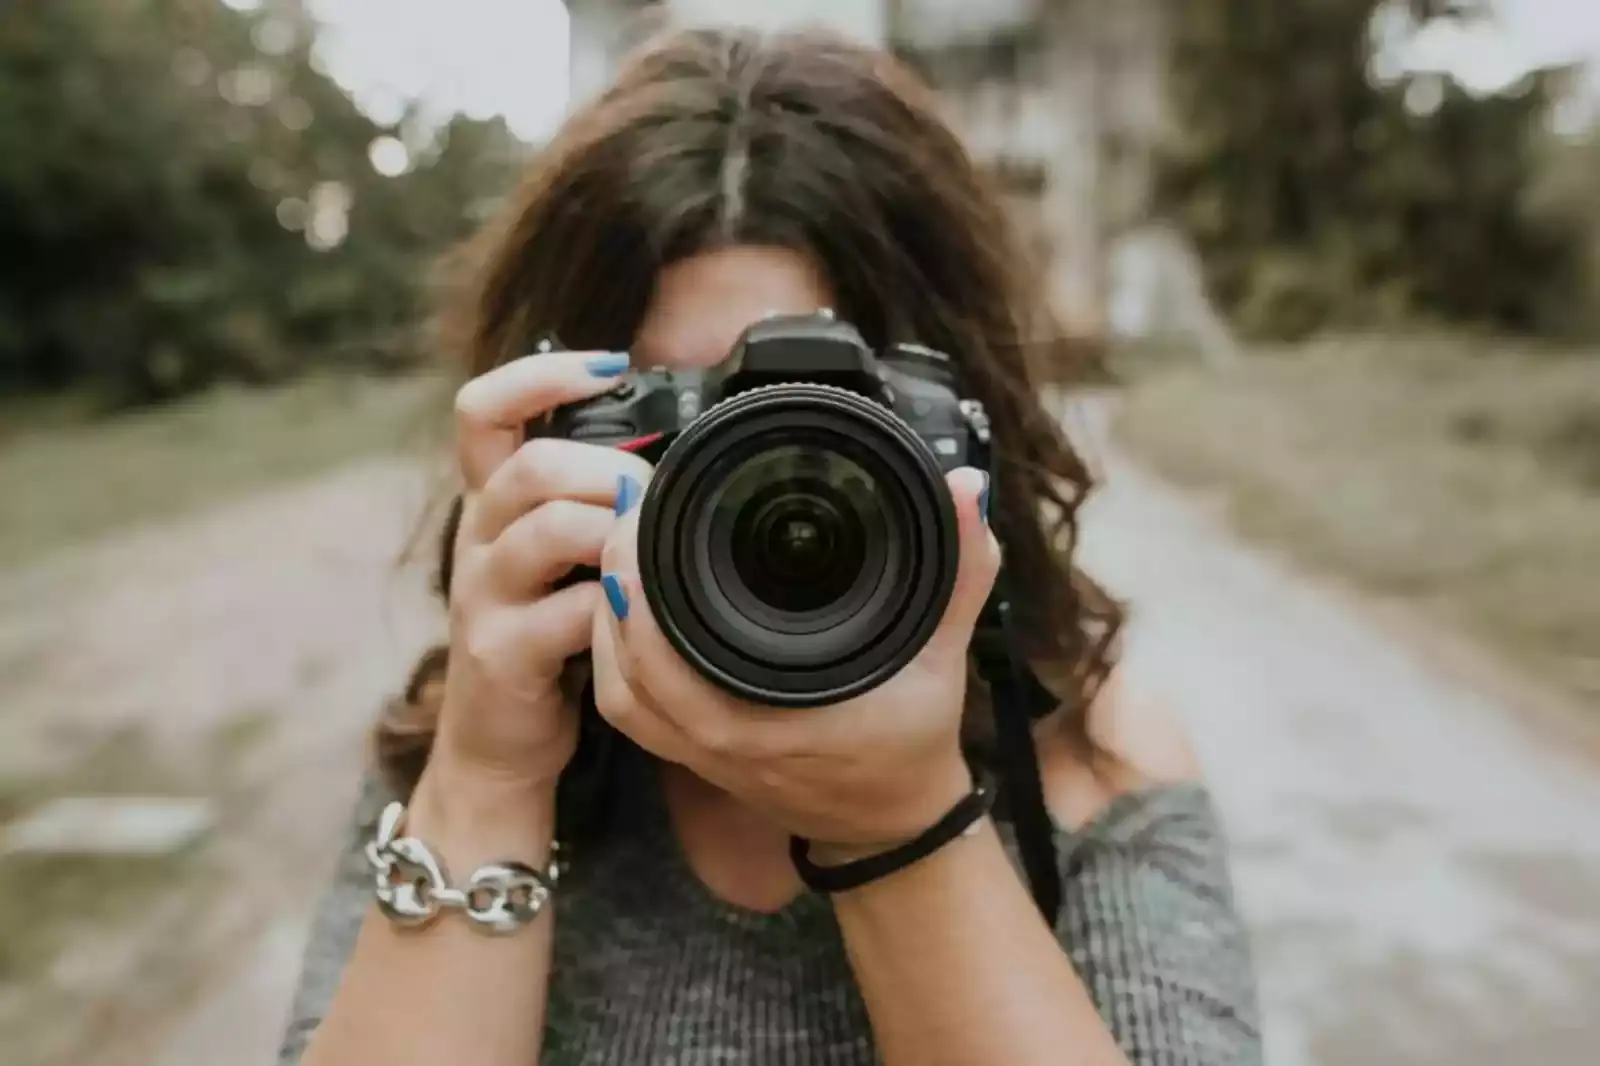
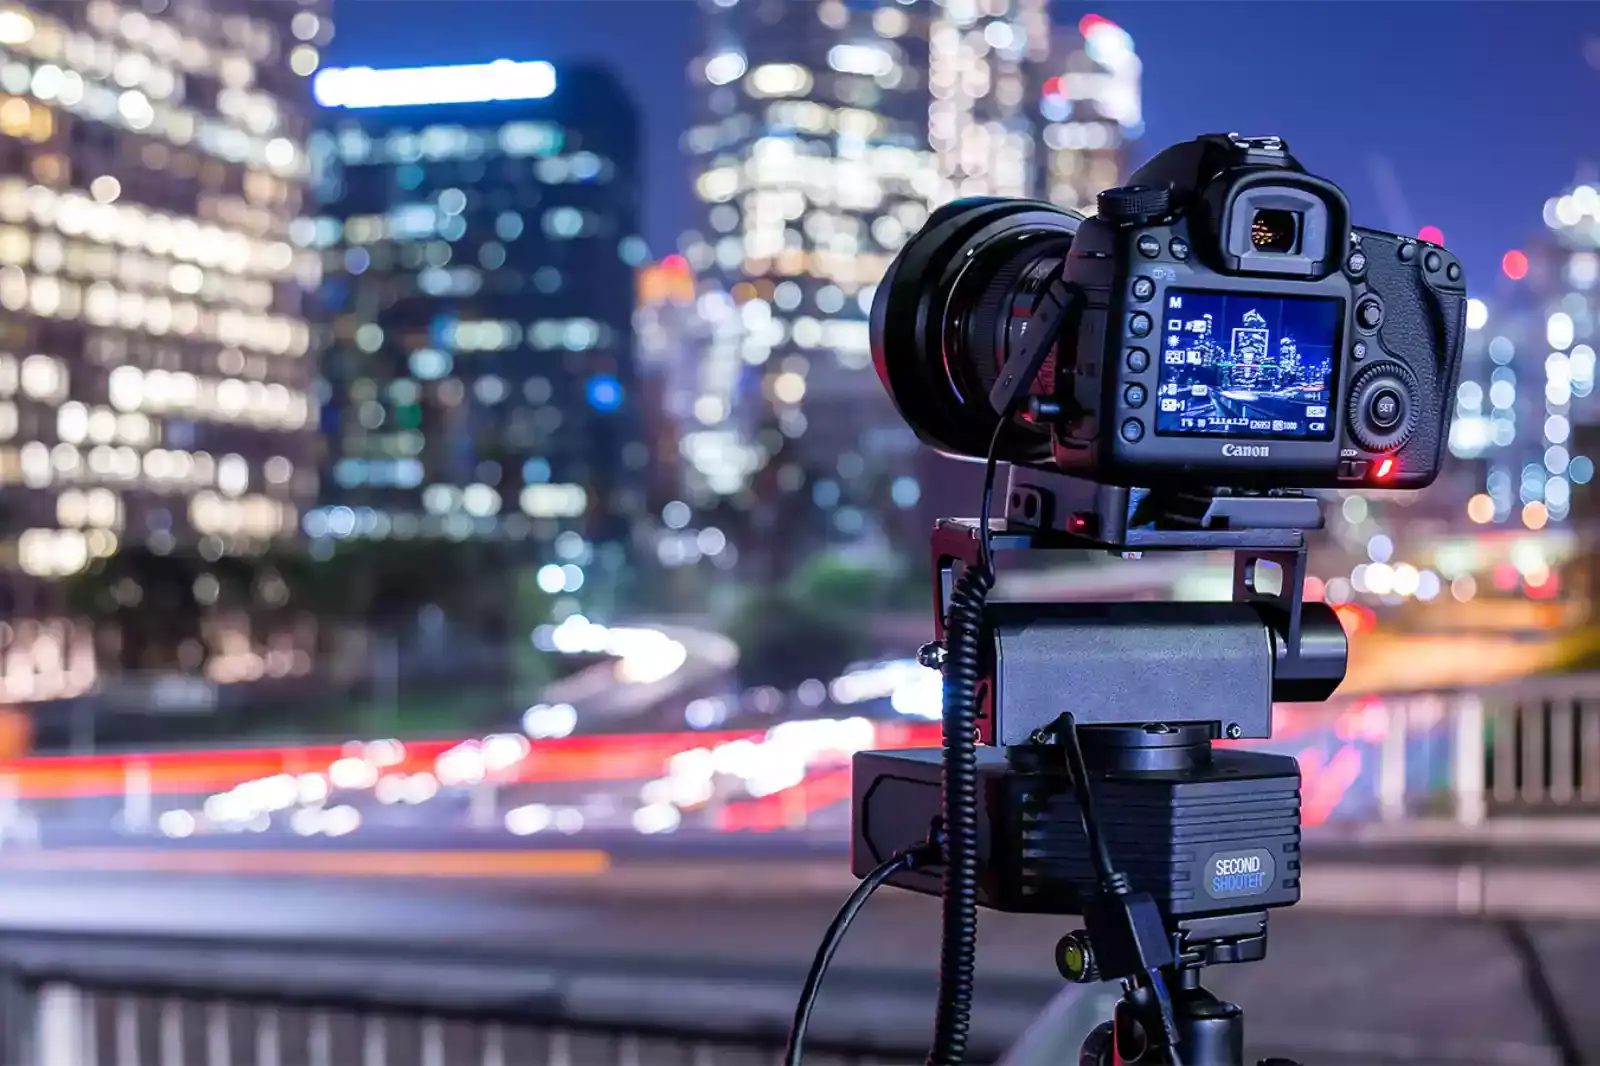
For capturing time-lapse, a camera is needed. You can use either a mobile phone or DSLR. But it's better to use a DSLR or mirrorless camera for excellent image quality. Camera quality matters for good images. Every digital camera can do the job, as all the cameras launched in the last five years have sensors and 24 megapixels of image resolution.
It's super easy to record tremendous and focused 4K time-lapses. If you have a high-resolution sensor camera, you can quickly shoot 8k time-lapses. You must take many pictures for time-lapse videos, which can result in shutter failure.
If your camera has an option for an electronic shutter, use it so you don't need to wear the shutter separately. However, it doesn't make any noise. You can use any lens for time-lapse, but somewhere it depends on the object or shooting scene.
A wide-angle lens will be perfect for landscape view and timelapse, but the telephone will work well for a time-lapse in which lights are turning on well. In short, the choice of lens depends on the subject and scene. Similarly, use a wide-angle lens for the time-lapse of the moon and sun.
2. Tripod
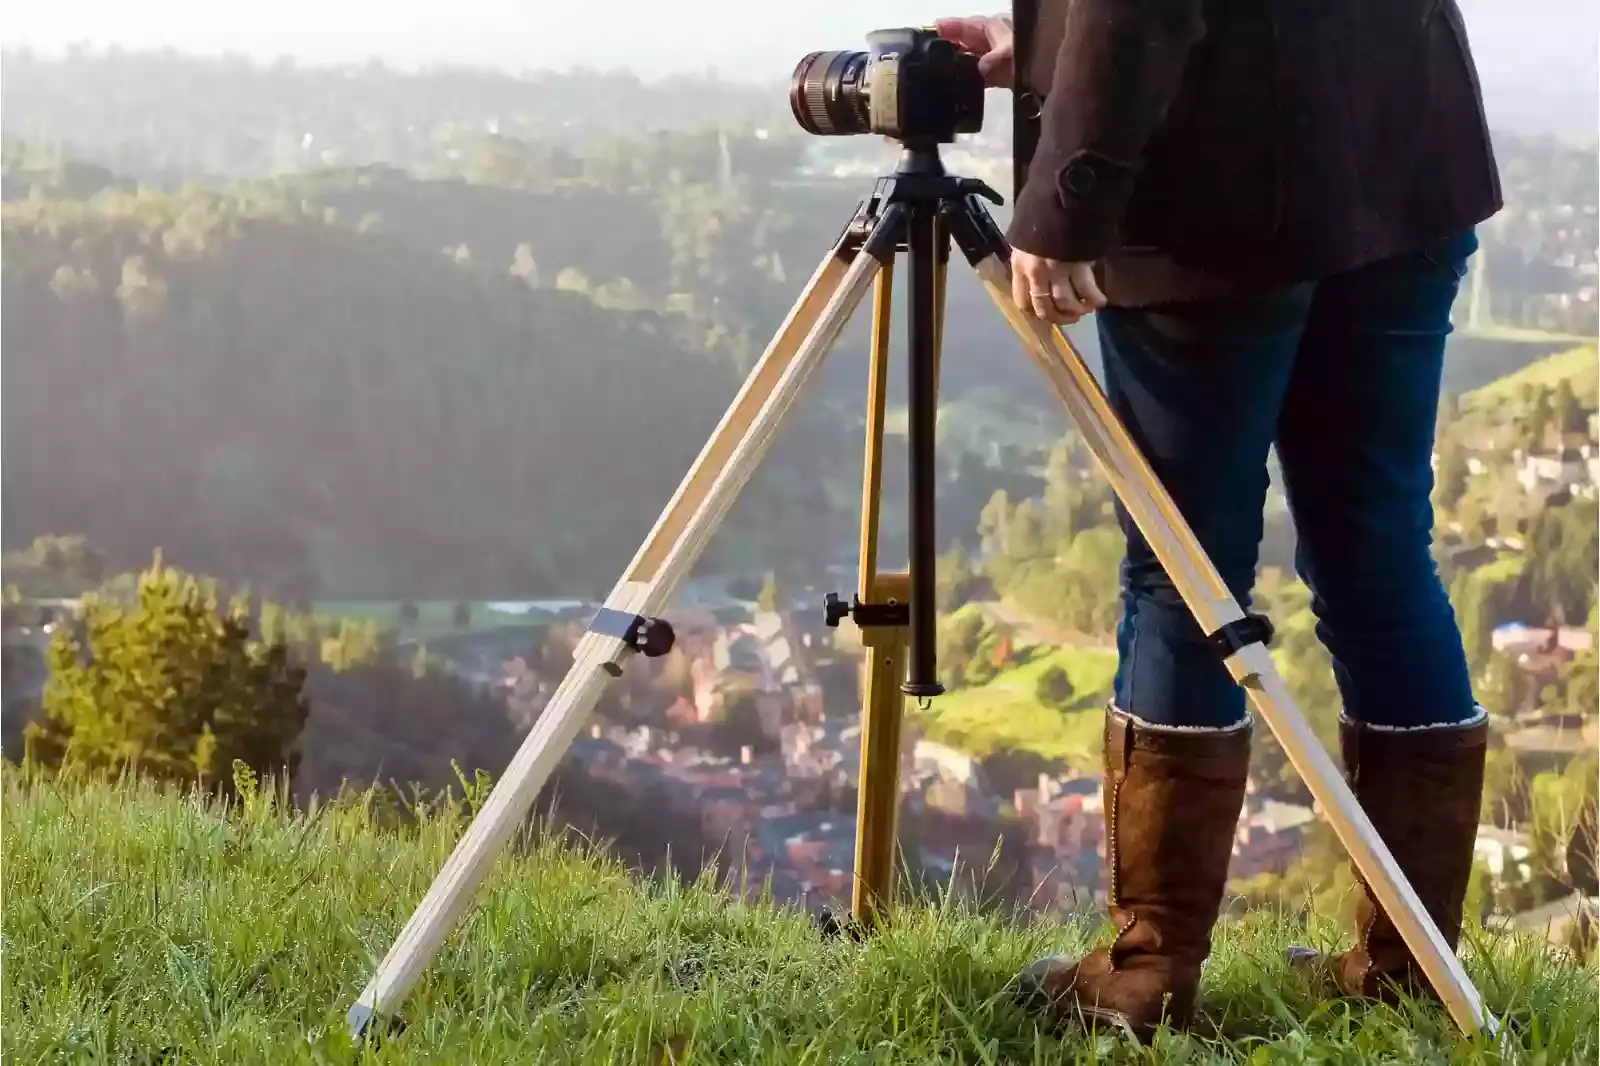
For shooting, a tripod is essential. Before purchasing, make sure that the tripod is solid and sturdy. Also, check it's balanced and doesn't make any movement. Or else the time-lapse videos will have disturbance and blur.
Suppose you don't want to use a tripod, so you can opt for a timelapse slider. With the timelapse slider, you can move the camera smoothly during timelapse. But the thing is that solid timelapse sliders are a bit costly.
There can be the case where you have spent a lot on time-lapse sliders and have a shaky, blurred time-lapse. In short, a strong tripod is essential for long time-lapse shoots. It makes the process efficient and effective.
3. Intervalometer
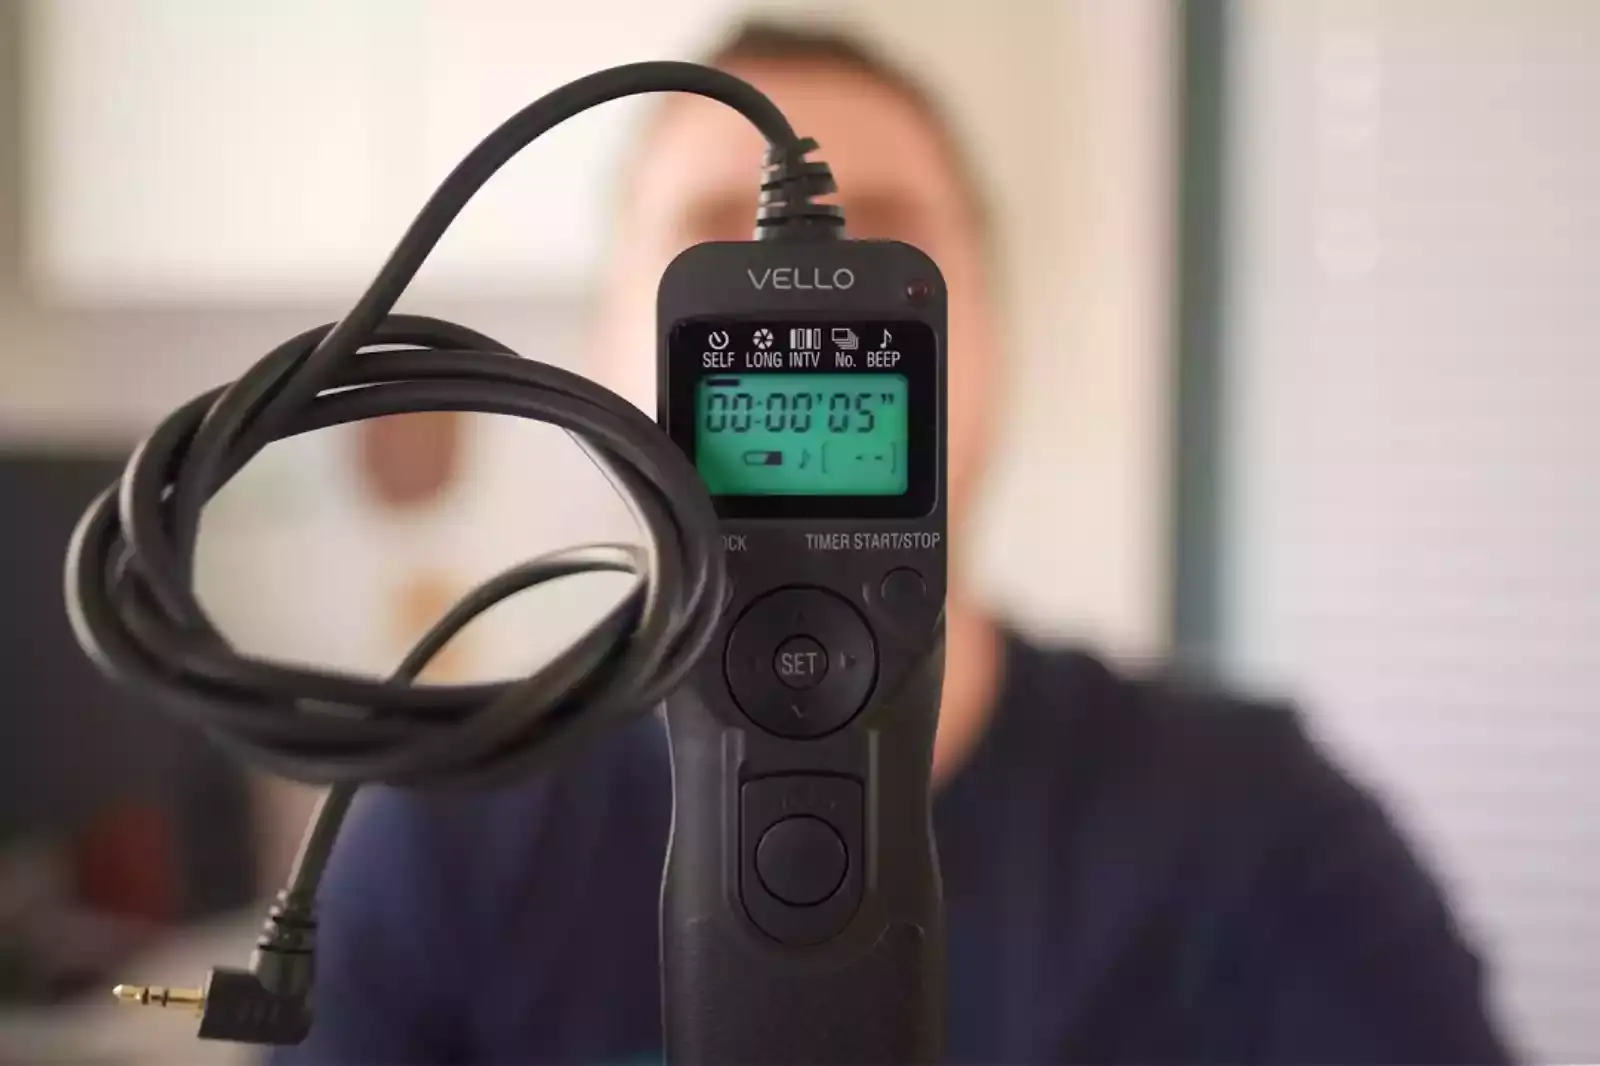
Most of the cameras come with built-in intervalometers, which are great for shooting time-lapse. There is the possibility that it doesn't have advanced features. To start the journey of shooting timelapse, an intervalometer is enough. You can save your photos on a memory card by using. Interval Timer Shooting.
It allows you to process your pictures later on. Time-lapse movie just makes the video file based on the shots you took. However, the individual photos are not saved separately; the video file is stored. It's better to work with raw files to avoid any problems.
How to Capture a Time-Lapse Using a DSLR Camera
If you want expert and quality time-lapse, it's better to use a DSLR instead of a mobile camera. You know what? Photos create beautiful time-lapse videos. Images are much better as they have excellent resolution compared to raw videos.
Creating a time-lapse with a DSLR has so many stills, so editing is also needed. It's better to get yourself Solid storage data so your work can be saved correctly. For getting high-quality time-lapse video with a DSLR, here are the steps.
To achieve the classic time-lapse with your DSLR, follow these five steps:
1. Start with a stable tripod or surface
By using a tripod, your video will be stable and balanced. You will end up getting focused and high-quality videos. Make sure the tripod is solid and durable, or your video will be blurred and shaky.
2. Use still photo mode on your DSLR
Do check that you have a manual mode on. Changing it from frame to frame is not possible.
3. Use a slower shutter speed
Using a slow shutter speed, your video will have a more blur motion effect. To make your video look choppier, use faster speed.
4. Use a timer
Check if you have interval mode or not. If you have, make sure to use it, and work will be super accessible for you.
5. Import and stitch together
When you are done with all the photos and shots, import them to the software and bind them together, and your product will be ready.
How to Capture a Time-Lapse Video With an iPhone

If you want something portable and lightweight to carry for shooting time-lapse, iPhone or Android is the ideal option. They are budget-friendly as well as unique for mobility. Mobiles are an excellent option for bloggers, bloggers, and small online businesses. Short timelapse videos are easy to create and edit on iPhones.
To know the easy steps about creating time-lapse on iPhone, keep reading. As an iPhone user, open the camera app and then go to timelapse mode. Now choose either portrait or landscape.
Using a tripod stand is better if you plan to take a landscape shot. It will balance your phone, so you will not get a blur time lapse. After the recording, the video will be compressed, and you can view it on the camera roll.
You can use different apps to create time-lapse after downloading on your phone. Here is the list of apps that are great for creating time-lapse on iPhone and Android; let's look.
Apps for creating time-lapse on iPhone
1. Hyper-lapse from Instagram
2. Lapse It 3. Lapse It Pro
Apps for creating time-lapse on Android
1. Lapse It
2. Frame-lapse
3. Microsoft Hyper-lapse Mobile
Conclusion
Filming a time-lapse and then watching is honestly a treat to the eyes. Creating a time-lapse is not a challenging task. In our article, you will get easy step-by-step methods that will make filming time-lapse super easy for you. For any queries, comment below. Thank you
FAQ's
What should you use for filming time-lapse?
Shooting with a mobile phone, whether it's iPhone or Android, it's portable and handy. The iPhone comes up with a time-lapse option, or you can download the apps.
Which device can give you better results of time-lapse?
Shooting time-lapse with a DSLR can give high quality. It will be more focused and clear.
How to do time-lapse on I-Phone?
I-phone has the in-built time-lapse mode in their phones. Following are the steps that are supposed to be followed to create a time-lapse video in an I-phone. Step 1 - Go to camera and open it Step 2 - Select the time-lapse mode, Step 3 - The Time Lapse mode automatically captures 1-2 frames per second Step 4 - The user is also free to choose the duration of the time-lapse.
How to slow down a time-lapse?
For slowing down the time-lapse the user just has to adjust the frame per second value as per the speed required by the video creator. The user needs to remember that the value should be set at a lower number for a slower time-lapse.
How to create a time-lapse video from images?
If you have a bunch of good images , you start making a time-lapse video by compiling all the videos through any software or if your phone has the in-built in your camera then you just need to select the images and start creating the video.
What are some tips for creating a great time-lapse video?
When filming a time-lapse video, it's important to plan ahead. Choose a subject that will be interesting to watch over time, and decide on the intervals between photos or frames. A slower interval will create a longer time-lapse video, while a faster interval will create a shorter one. Use a tripod and make sure your camera is level to avoid a shaky video. Finally, consider using post-processing software to adjust the exposure, color, and contrast of your photos or frames for a more polished final product.
.webp)

.webp)

.webp)

.webp)
.webp)


