


14 Product Photography Tips To Make You Look Like A Pro


Have you got amazed by product photos when shopping online? Why are specific product images better? Product photography is the solution. It's not about shooting a product's picture it's about presenting it to attract buyers. E-commerce sales depend on product photography.
Business owners know the importance of product presentation. Website pictures might affect your brand's image. Professional product photography showcases your items best. Not everyone can afford a professional photographer. Our 16 product photography tips will make you an expert!
Follow these suggestions to produce outstanding product images to attract buyers and boost sales. A greatGreat product photography plays a very strong impact onin influencing people to buy the product. It has the power to convert even a window shopper into a customer.
That is the reason why businesses laywhy businesses place a lot of emphasis on finding the perfect professional product photographs to display in order toto help increase the conversions and display the product in a manner that captivates the eyes of the viewers.
And in casesuppose you are starting out your eCommerce business now or you are an existing business owner hoping to boost the conversion rates,. In that case, this article will help you in doingdo your own product photography. Before we get onto it, let us talk a bit about the importance of product photography.
Why Should you Focus On Product Photography?
A couple of reasons why product photography is considered necessary are:
1. Images Might Belong To Someone Else: It might be tough to distinguish which image belongs to whom and who owns the picture's copyright. This hassle gets handled when you take pictures of your products.
2. Easy to Stand Out From The Competition: There are often instances when the customers see repetitive images onin the ads, which might confuse them as they might think that they arethink they are repeatedly watching the same brand's images repeatedly. Using different pictures, you can easily stand out from the competition.
3. Avoid Reverse Image Search: When someone else sells the same products as yours, they will do a reverse search. In a reverse search, it is easy to determine how you are marketing your products and how they can compete with you. Hence, using a distinctive product image will safeguard you from this hassle. Moving on, let us now discuss some tips and tricks on how you can taketaking stunning product photos.
14 Product Photography Tips To Make You Look Like A Pro
A lot is involved in getting the perfect shot for your products. Here are a couple of product photography tips and tricks that you can implement and boost your conversion rates:
Tip 1: Invest in a Good Camera and Lens
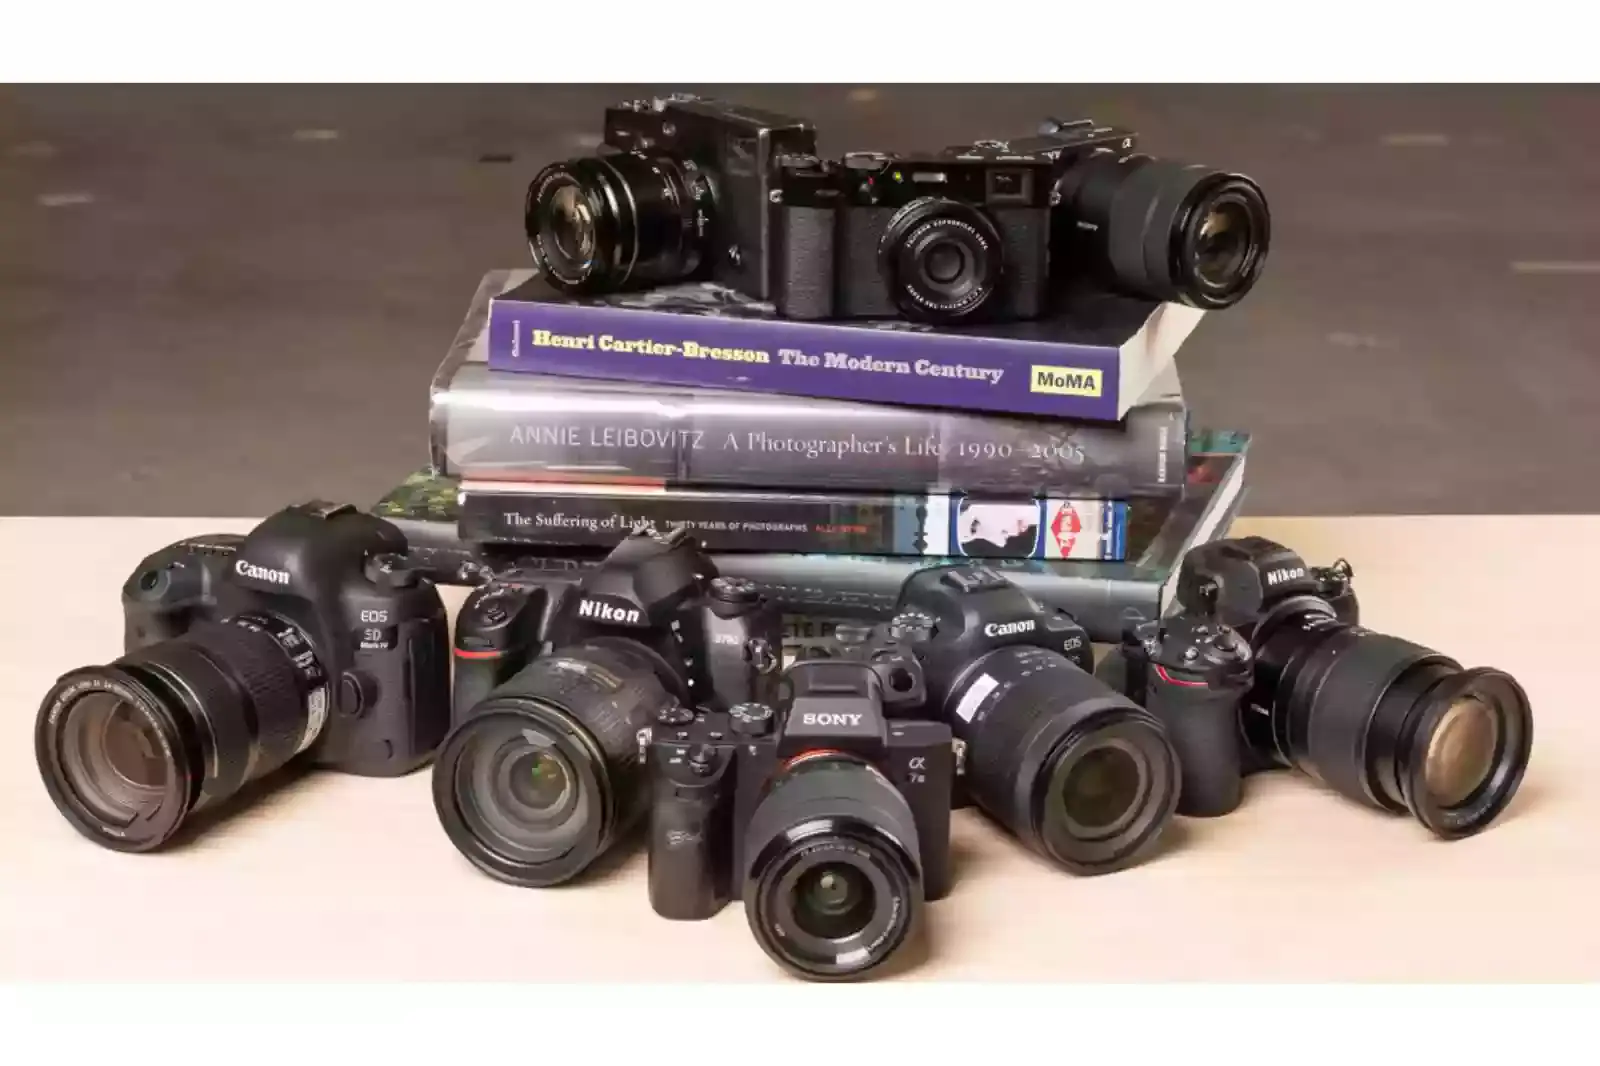
While iPhone cameras are a lot of hype lately when one talks about taking pictures, we still recommend using a professional camera when taking photos for your eCommerce business. Also, you can use different kinds of lenses to shoot your products from different angles and perspectives.
And even though the iPhone's camera has a high resolution, it is not as high as that of a DSLR camera, which helps you see the product's finer details as wellalso helps you see the product's finer details. Always make sure that the customers can see the tiniest details of your products to make an educated choice.
Photography Tips and Tricks
Product photography is tricky. Tips & tricks:
1. Shoot from various angles.
2. Try lighting, props, and composition.
3. Changing angles may change the ambience or emphasise product characteristics.
4. Shoot from below or above for a fresh viewpoint.
Product photography with depth:
1. Shadows and highlights provide depth.
2. Set the scene with items and surroundings.
Product photography details matter:
1. Buyers need product specifics.
2. Macro lenses and close-ups showcase product details.
Product photography: Highlighting characteristics
1. Think about the product's distinctive selling characteristics.
2. Make these qualities pop out using composition and lighting.
Tip 2: Always Shoot Product Photos With A White Background
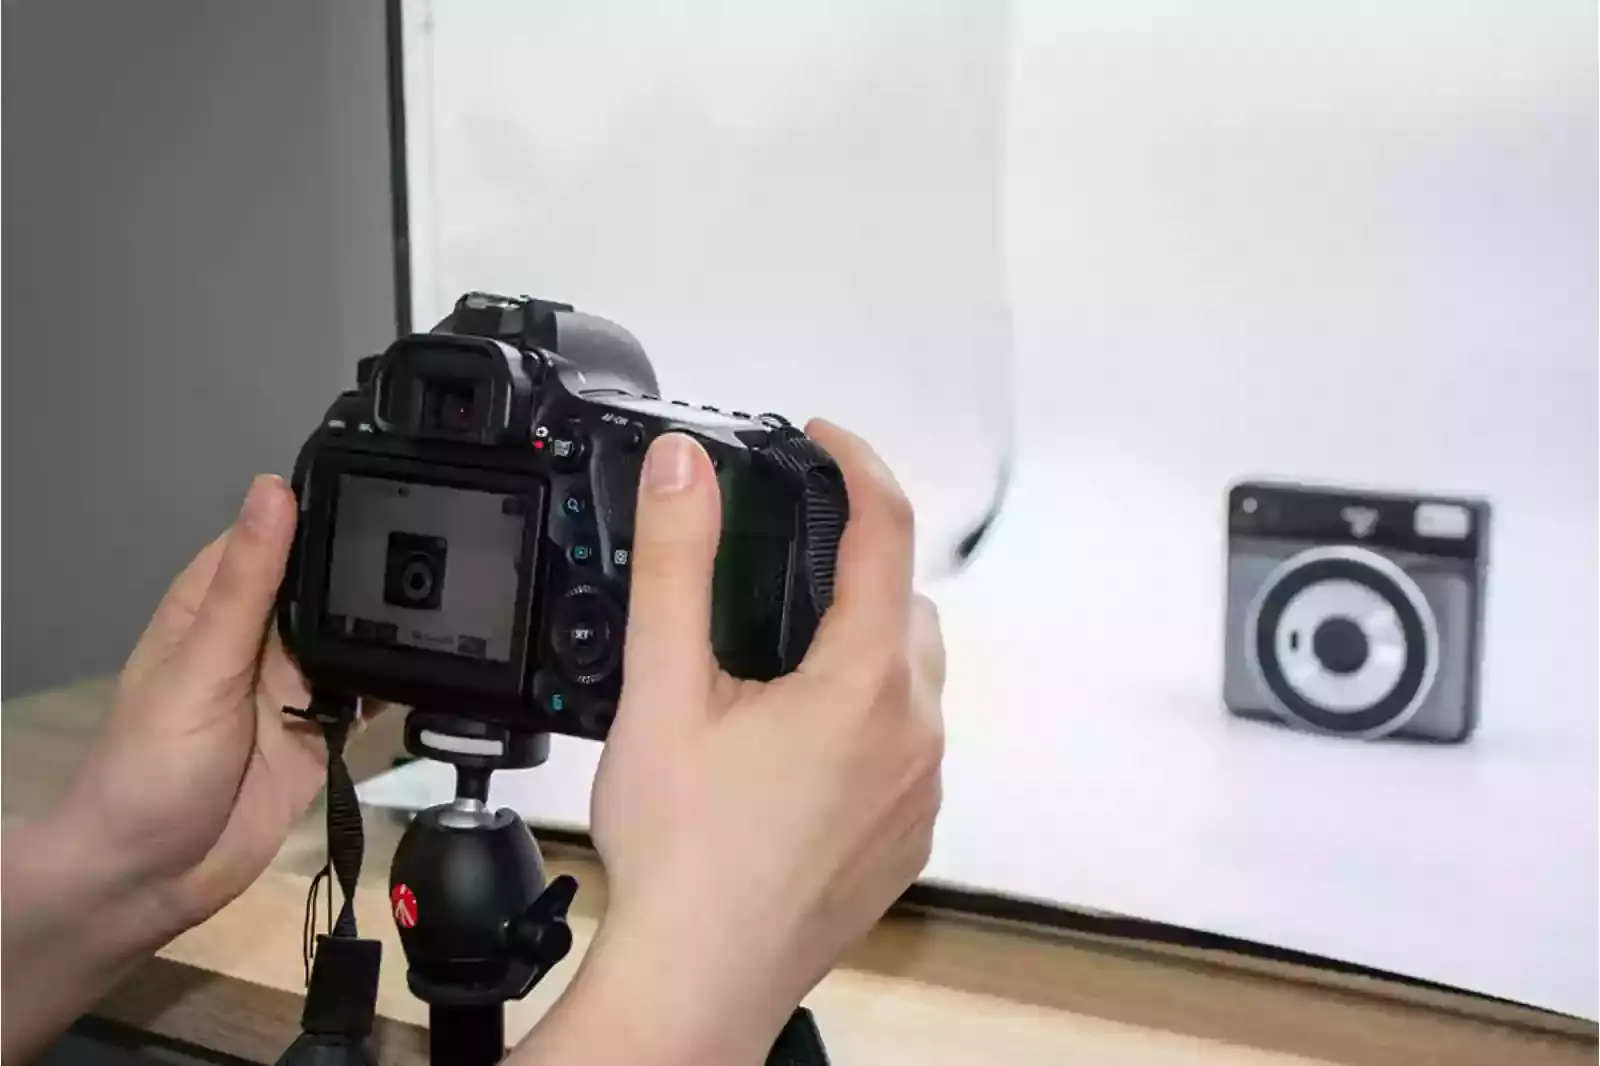
Using a white background for your product images is a wise idea as it helps in giving a consistent look and makes your product listings look rather professional.
And in case you do not have a white background for some reason, or you have some existing product images, you can use background removal and editing tools like Erase.bg to add a white background to your product image.
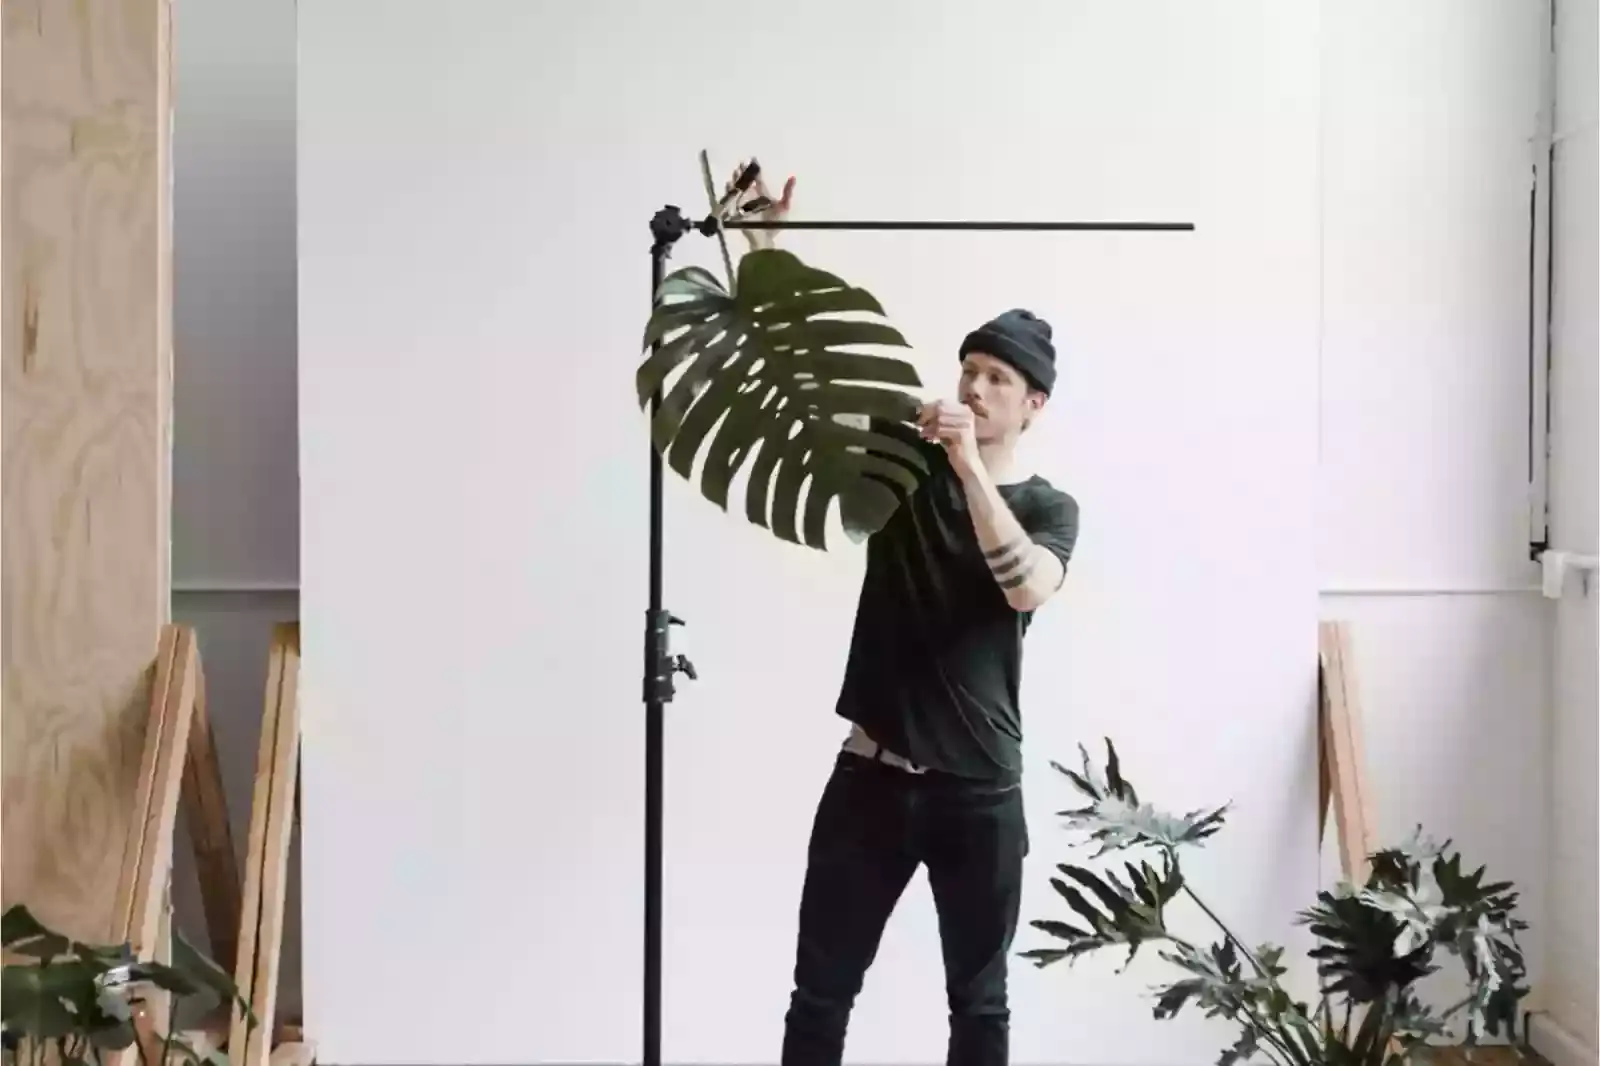
Background and Props
Product photography requires a unified and professional background and props. Background and prop selection tips:
1. Clean backgrounds help highlight the goods.
2. Simple experiences highlight the merchandise.
3. Select a backdrop that matches the product and brand.
4. Props set the scene.
DIY product photography studio:
1. Use a white or neutral background.
2. White poster board and tissue paper make a lightbox.
3. Prop using books or cloth.
The best part about using Erase.bg to add a white background to an image is that it takes only three to four seconds and does not require any technical or specialised skills. The steps to add a white background to a product image using Erase.bg are:
Step 1 - Go to Erase.bg's website or application (available on the PlayStore and the AppStore) and use the Upload Image option or the Drag and Drop feature to upload the image you want to add a white background.

Step 2 - When your image gets uploaded, the savvy AI of Erase.bg starts working on removing the Background from your image. While it happens, a message on your screen reads, "Processing image, please wait…."

Step 3 - Now, you will get an image with a transparent background. Click on the Edit option in the top-right corner of the Background Removed image and select the White Colour.

Step 4 - Download the product image with your white Background by clicking on the Download Image option.

Just like that, you have professional-looking product images in three or four seconds with Erase.bg.
Tip 3: Avoid Using Filters
Make sure that you refrain from using filters and use the best lights to shoot your products so that they reflect the actual colours of your image.
That is because a filter often acts as an accessory that the photographers use to alter an image. You must always make sure that your customers get an accurate representation of the product.
Style/Composition
Styling and arrangement make product photos appear attractive and vibrant. Styling and composition tips:
1. Styling and composition generate atmosphere and narrative.
2. Composition highlights product qualities.
3. Simple and clutter-free.
4. Complementary colors and textures.
5. Compose around the product using the rule of thirds.
Composition strategies for dynamic product photos:
1. Lead viewers with lines.
2. Symmetry and patterns balance.
3. Try alternative viewpoints.
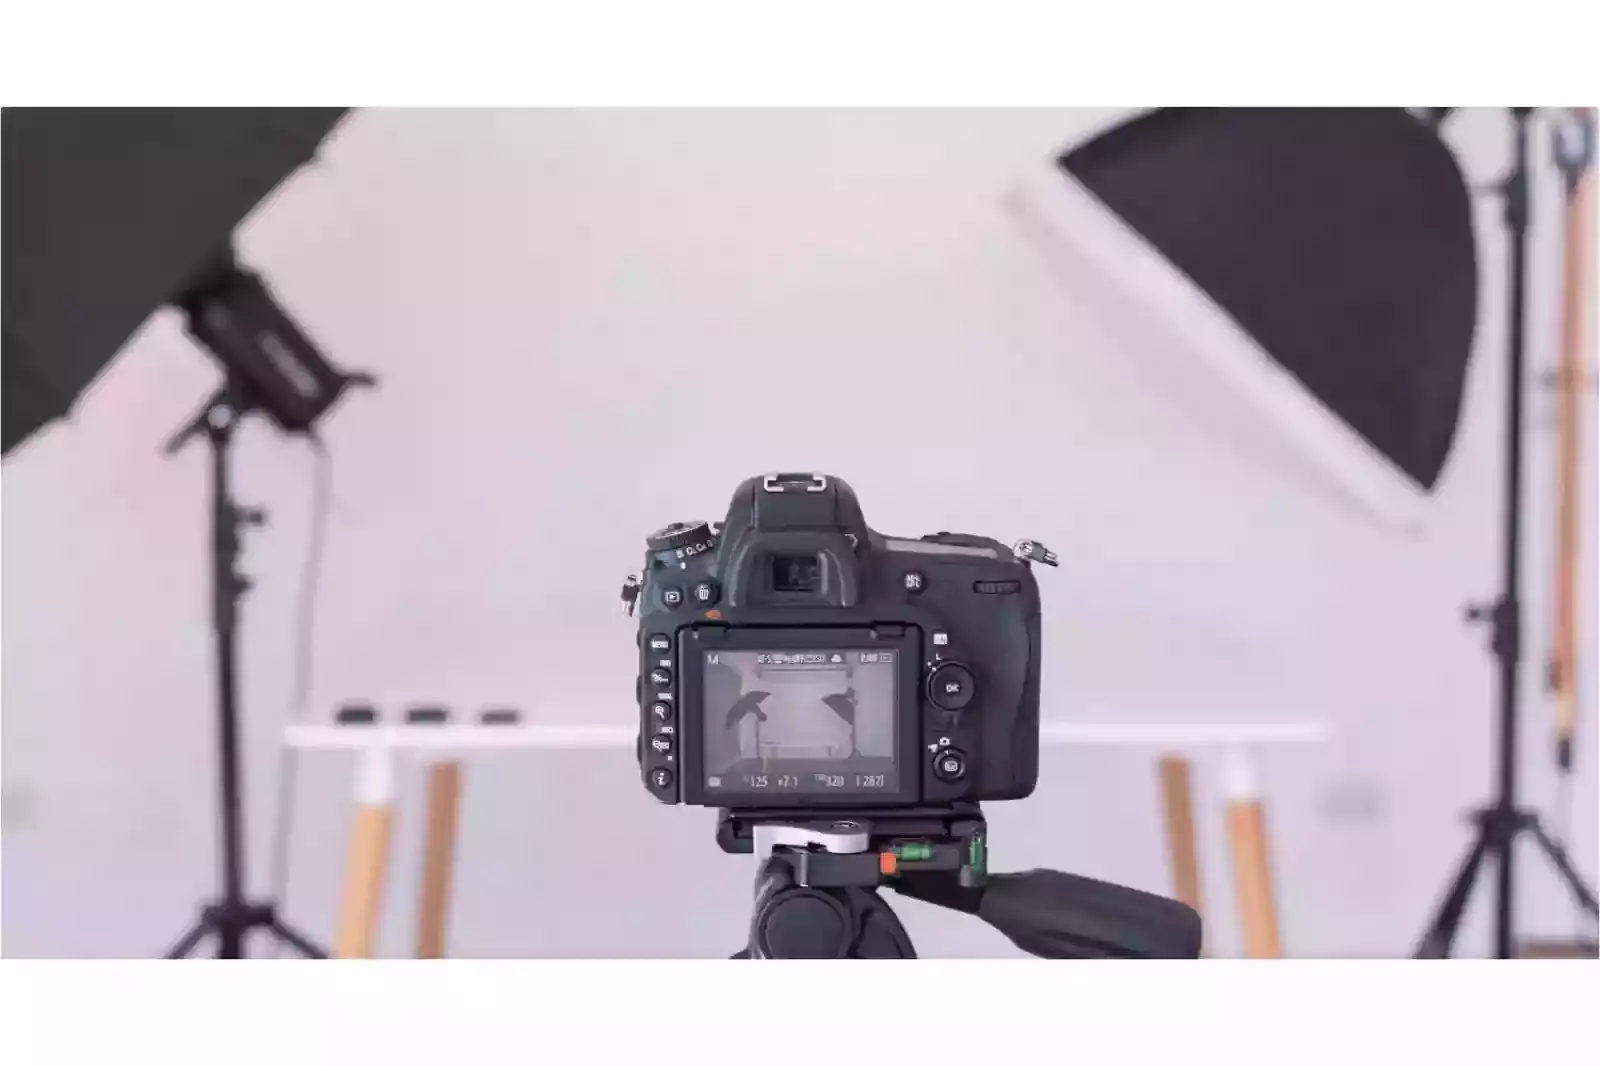
Tip 4: Use Proper Lighting

Without proper lighting, neither your product nor your Background will look decent. There are two distinct kinds of lighting when we talk about product photography, they are.
1. Studio Lighting
2. Natural Lighting
The kind of lighting you opt for solely relies on the product you're shooting for, the purpose of your product and the platform on which the product image will be uploaded.
Natural lighting works well for products featuring clothing, people or edible items. On the other hand, artificial lighting works for products primarily used indoors or has intricate details like artwork, cookware, etc.
Light
Product photography requires lighting to provide the mood. Lighting product photography:
1. The lighting emphasises product attributes and adds dimension.
2. Lighting creates an ambience and evokes emotion.
3. Free, abundant natural light. It diffuses light for product photography.
4. Studio lights and speedlights provide more control and uniform illumination.
Basic product photography lighting:
1. Light the thing from the side or above.
2. Softboxes and umbrellas disperse light.
3. Reflect light onto the product.
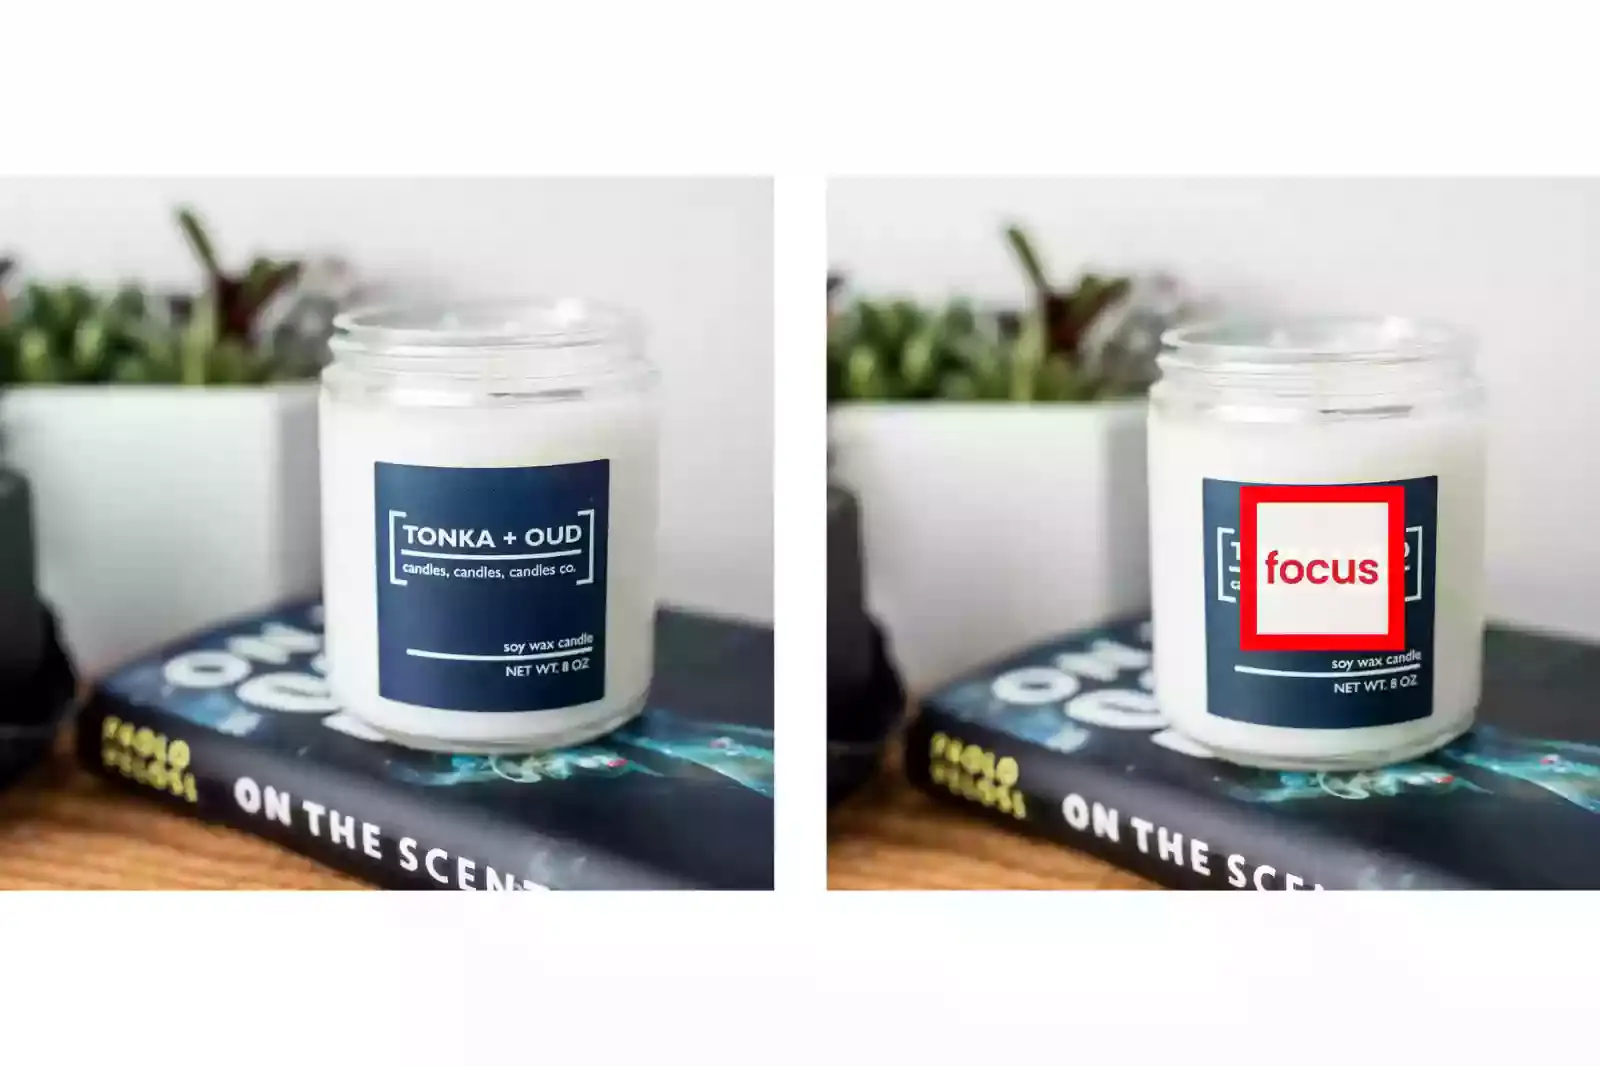
Tip 5: Use Macro Setting To Capture The Finer Details

If you sell a product with finer details, the macro setting on your camera will help you truly capture the finer points of your product. The macro settings on your camera help zoom in on the products to get a clear vision of their product.
Hence, investing in a macro lens could be your best bet to help capture the finer details.
Camera Settings
Product photography requires camera settings knowledge. Camera settings:
1. Aperture: sets the depth of field and visual focus.
2. Shutter speed: regulates light exposure to the camera's sensor and motion capture.
3. ISO: controls light sensitivity and picture brightness and noise.
Understanding how these parameters interact might help you expose product photographs. These parameters also regulate the depth of focus, motion blur, and noise.
Best camera settings for product photography:
1. For product focus, use a low aperture and narrow depth of field.
2. Fast shutter speeds freeze the action and prevent blurring.
3. Low ISO reduces noise and maintains picture quality.
Tip 6: Use A Flash Diffuser
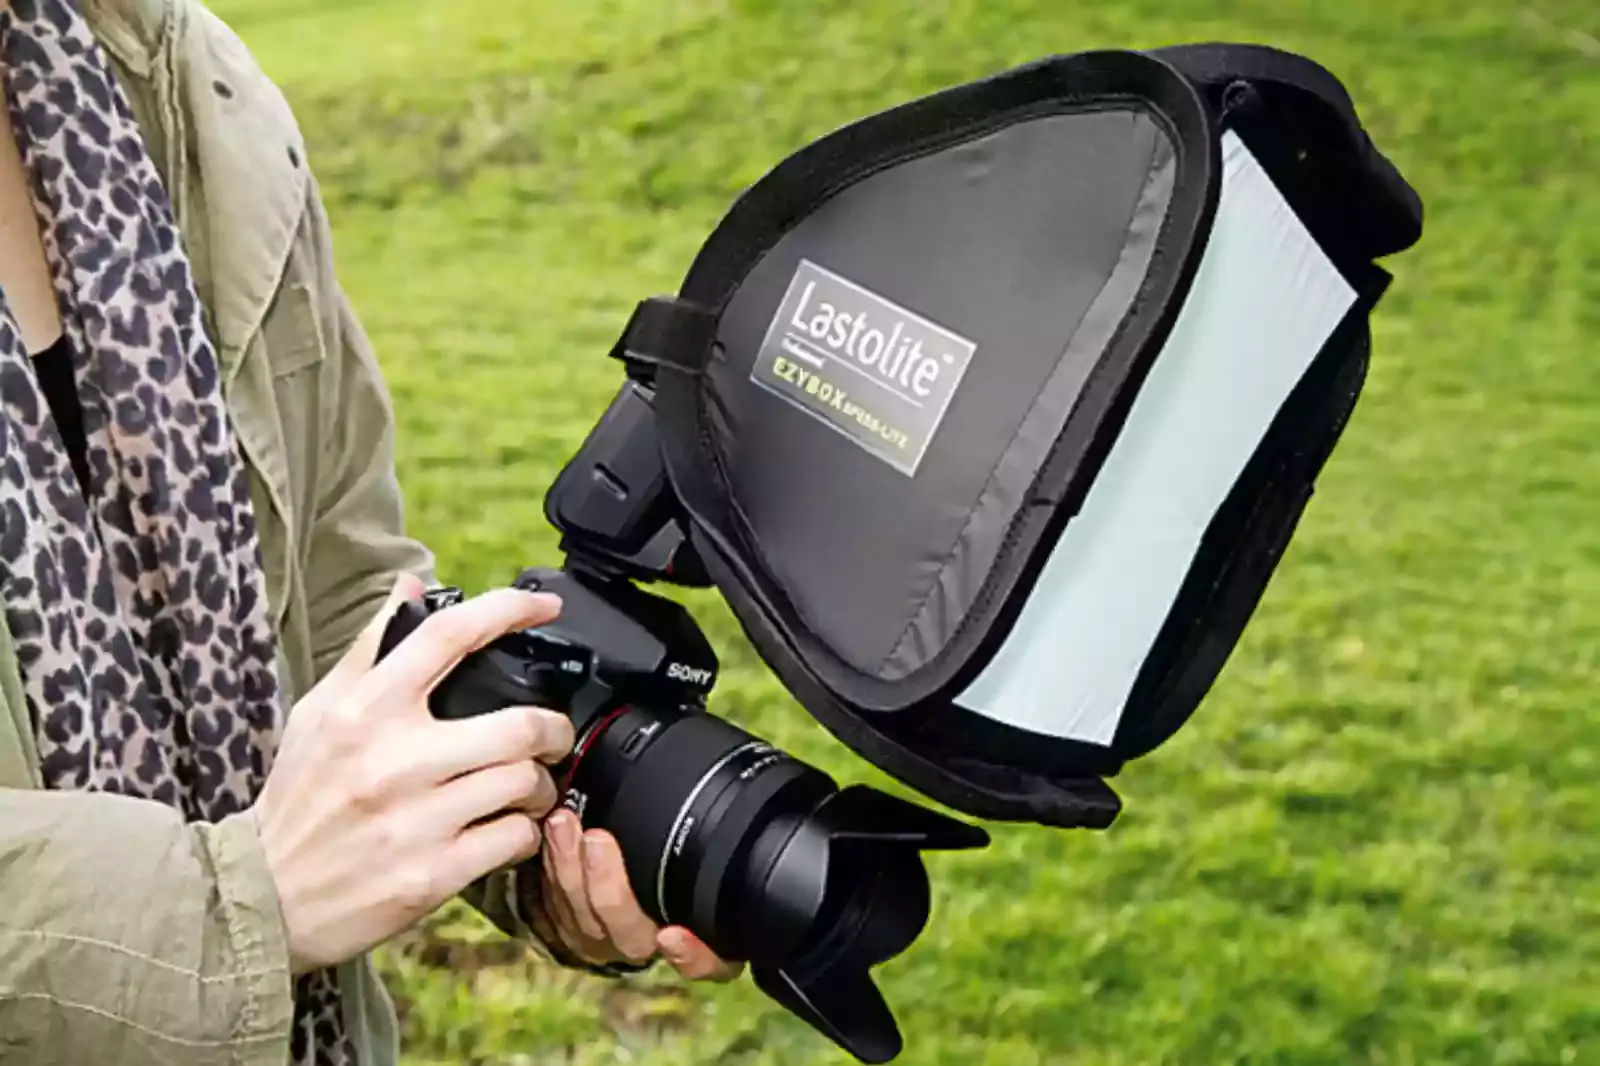
A flash diffuser is a tool that will help you spread the light out consistently and avoid hard lighting. A flash diffuser helps in ensuring thatensure the product looks good under the light and makes the images look much more natural.
Image Editing
Editing product photos may improve their quality and professionalism. Image editing tips:
1. Image editing fixes exposure, colour, and other issues.
2. It may also polish product characteristics.
3. Erase.bg eliminates picture backgrounds, making professional-looking photographs easier.
4. It may also boost productivity.
Product picture editing using erase.bg:
1. Upload your photograph to erase.bg and use the background removal tool.
2. Adjust options to optimise the selection.
Tip 7: Take Inspiration From Your Competitors
It is important to take a good look ofat what your competition is doing and take someget inspiration from it. Take a lookLook at their photography style and see if you could benefit from a similar style or something neweror newer style.
Product-Specific Tips
Product photography methods vary per product. Specific product photography tips:
1. Display clothes on a model or mannequin.
2. Avoid distractions with a plain backdrop.
3. Macro lenses catch details.
4. Use a lightbox or reflector for bright, even illumination.
Food photography:
1. Create diffused lighting using natural light or a softbox.
2. Use plates or table settings to establish the scene.
Photographing electronics:
1. Highlight the goods with primary lines and backdrops.
2. Showcase the product's characteristics via angles and lighting.
Tip 8: Keep In Mind The Rule Of Thirds
Be it any photographer, the rule of thirds is always given a lot of emphasises phases. The management of thirds helps you visualise your canvas as nine equal parts.
The rule of thirds came into existence to help artists create well-balanced compositions and assist in determining the focal part of your product image.
Shooting in RAW
Taking pictures of products in RAW format has several benefits. Some advice on RAW photography:
1. When compared to JPEG files, RAW files are more informative and detailed.
2. They provide you with more leeway and precision when editing and touching up.
There are several benefits to shooting in RAW when photographing products.
1. Enhanced management of exposure, colour, and white balance.
2. The post-processing tools help bring back lost detail in the highlights and shadows.
Product photography with the RAW format:
1. Shoot in RAW format by changing the camera settings.
2. To get the desired exposure, go to manual mode.
3. Edit and process the RAW images with a tool like Adobe Lightroom.
Tip 9: Use A Basic Prop
Regarding product photography, using props might turn out well, but you must also keep in mindremember that the main focus should be on the product, not the props.
Along with that, youYou must also keep in mindremember that the props shouldn't be too flashy either.
Product Photography Checklist
The work involved in getting ready for a picture shoot of a product might be much. To help you keep track of everything, below is a detailed checklist:
1. Prepare for the shoot by gathering all required materials.
2. Scrub the merchandise and set up the staging.
3. Prepare the scene by adjusting the lights and camera.
4. Capture the scene from a variety of vantage points.
5. Adjust and refine the photos as required.
6. Get the pictures filed and labelled so you can manage them with ease.
Tips for getting ready for a picture session of your product:
1. Ensure to have everything you require for the shoot by planning.
2. Get the goods and any props or settings ready by cleaning and setting them up.
3. Before the shot, ensure the lights are ready and the camera adjusts appropriately.
Helpful hints for keeping your product photos in order:
1. Keep track of the pictures by using a traditional naming scheme.
2. Organise the images by product or shoot using albums or folders.
3. To provide further context for the photographs, use metadata or tagging.
Tip 10: Use A Tripod Equipment
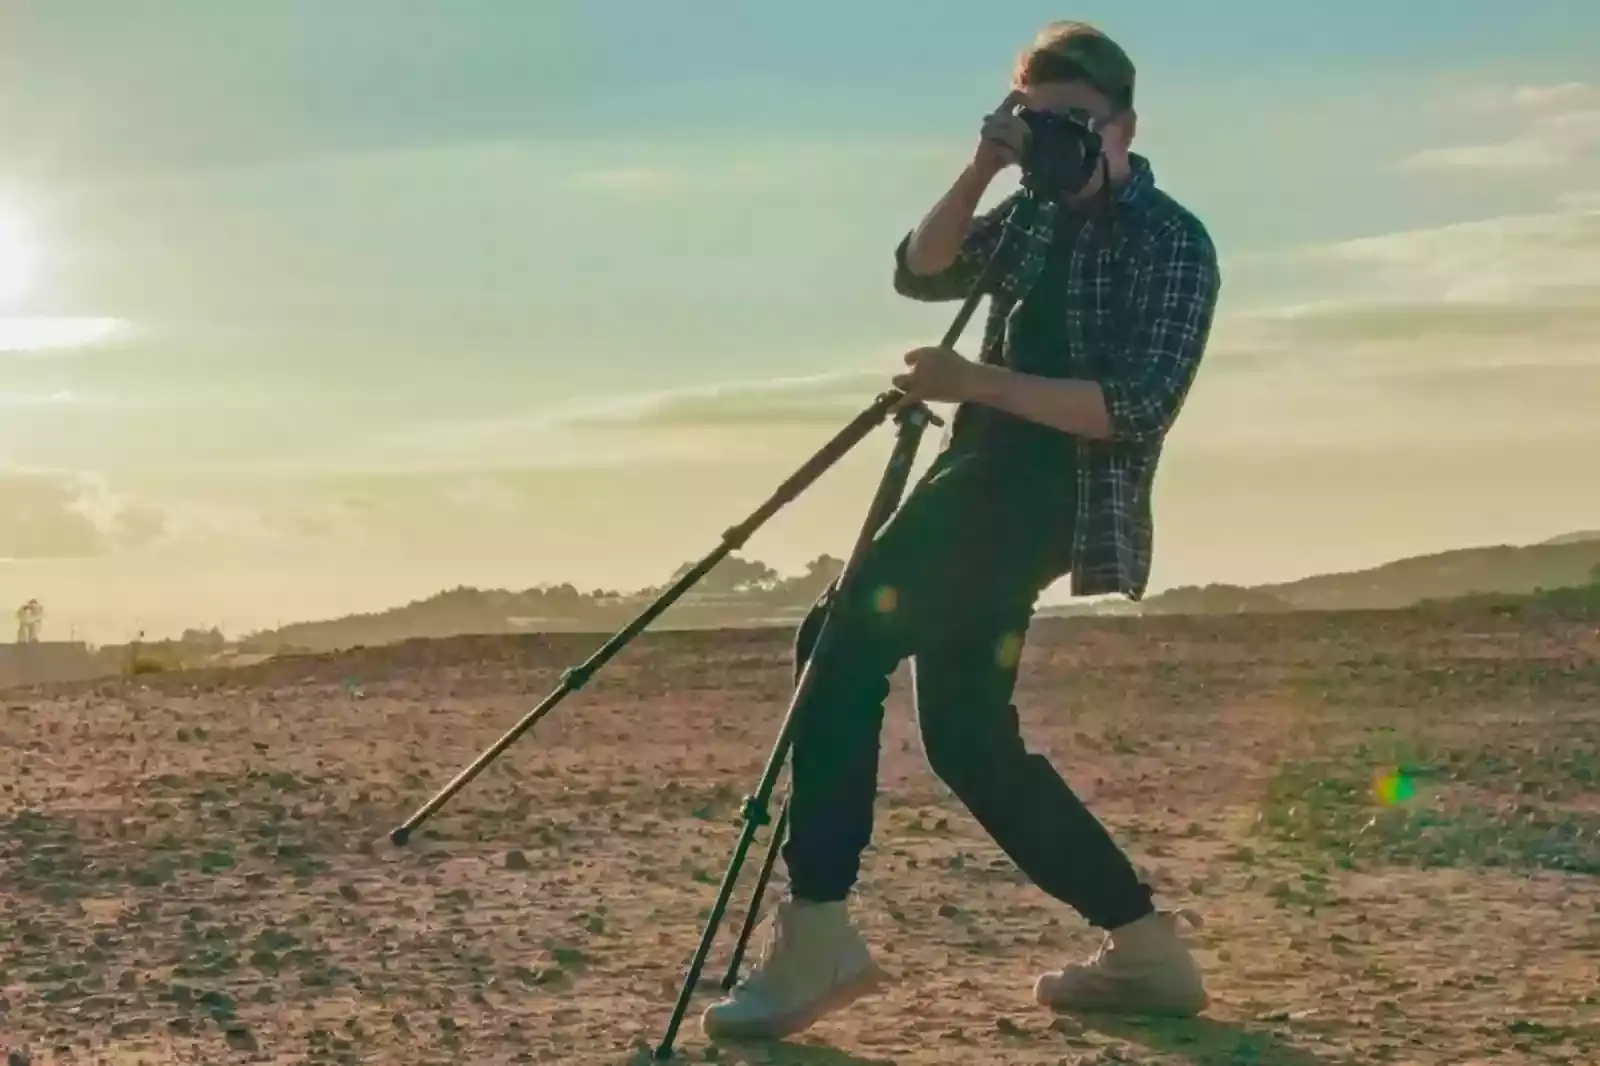
A tripod might seem unnecessary, but they make a huge difference in your product image's quality and clarity. They are usually not too expensive. Tripods help stabilise your camera and ensure that your images are not blurry.
This is important as you want your talks to look professional and reflect good quality. High-quality product photography demands specific equipment. Product photography requires these tools:
1. A camera:
High-quality picture sensors and manual settings make DSLRs and mirrorless cameras ideal.
2. A tripod:
Tripods prevent fuzzy photos.
3 Lenses:
The product you photograph will determine your lens. For little goods, use a macro lens, and for bigger ones, a wide-angle lens.
1. DSLRs' bigger sensors generate better photos.
2. Tripods cut camera shaking and enable longer exposures.
3. Product photography depends on the lens.
4. Macro lenses are ideal for little things, while wide-angle lenses work well for bigger ones.
Tip 11: Take Multiple Shots From Different Angles
If you have multiple productsmultiple products are too short, it might seem reasonable to taketaking just one or two pictures of each productmight seem reasonable.
However, this might not reflect well when attracting your customers. Make sure you take pictures of your product from multiple angles so your customers can see what your product looks like.
Mobile Photography for Products
Taking pictures of your products using your smartphone may be easy and inexpensive. You can check several online videos on how to set up a simple portable studio for photographing products.
1. The cameras on smartphones are of excellent quality and simple to use.
2. Some consumers may find them easier to use than DSLR cameras.
Instructions for establishing a portable studio for photographing merchandise:
1. Make use of a lightbox or a white backdrop.
2. Avoid blurry photos by shooting from a tripod or other steady base.
3. You may get the desired effect by using either natural or artificial light.
Here are some pointers for creating high-quality product photos using a smartphone:
1. Avoid blurring and smears by keeping the lens clean.
2. Make better use of your space by composing inside the lines.
3. Exposure, contrast, and colour balance may get modified with editing software.
Tip 12: Put The Product In Context
When it comes to buying products online, many people might be a bit hesitant when buying a product from a physical store, and they can feel it, touch it and envision themselves using it. Hence, you need to do your product photograph your product in a man so your customers can envision themselves using it.
Also, when it comes to targeting people with unlimited disposable income, they might hesitate a bit; hence you need to put your product in a manner that makes them confident enough in your product with regards to helping them improve their daily life.
Creating a Consistent Look
Branding requires regular product photography. It helps clients identify and trust your items. Tips for a constant look:
1. Use consistent lighting for every product shot, inside or out. It unifies your photos.
2. Choose and stick to a brand-appropriate colour palette. Complementary hues give a uniform appearance.
3. Keep your product photographs consistent by using the same backdrop. It might be white or textured to fit your brand.
4. Choose an angle and stick to it. Straight-on or 45-degree angle. Consistency matters.
Promotional Video for a Good or Service
Videos demonstrating how a product works may be an effective marketing strategy for online retailers. Some suggestions for making compelling product videos:
1. One can communicate the qualities and advantages of the product via video.
2. They may also make going shopping a lot more fun and exciting.
Tips for making promotional product videos:
1. Film a demonstration or actual usage of the product.
2. Emphasise the product's superior qualities and advantages.
3. Don't ramble; go right to the point in the video.
Ideas for making educational and entertaining product videos:
1. Make sure the lighting and audio are high-quality.
2. Use text overlays or captions to draw attention to key details.
3. Get a spokesperson or voice actor to narrate the video for you.
Tip 13: Follow Product Photography Specifications

Platforms like Google and Amazon have some well-laid-out rules, regulations and specifications when posting product listings. Hence, you must adhere to them when you photograph your product.
Common Mistakes Made During Product Photography
A product photography session might get derailed by a few frequent blunders. Some precautions to take against them gets listed below.
1. Photos that are out of focus or blurry because of camera movement.
2. Poor lighting may cast harsh shadows or cause unwanted reflections.
3. Messy or distracting scenery.
Tips for taking clear pictures:
1. The use of a tripod or other solid platform gets recommended.
2. Check the focus manually before snapping the picture.
The best way to soften sharp reflections and shadows:
1. Soften the light by using light diffusers and light modifiers.
2. You may illuminate the product by using a reflector.
Tip 14: Display The Details
When it comes to describing the details of your products verbally, you might be able to do it well, but when it comes toit often becomes a tough task when describing the product on an eCommerce website, it often becomes a tough task.
Even though people might read a short description or the bullet points you provide, make sure that the wayhow you photograph your product reflects all of the details one couldthe details you can expect.
Consistency of the Brand
Maintaining visual cohesion throughout all product photography is crucial to establishing a reliable brand identity. How to make product photographs seem like your brand:
1. A consistent visual identity helps consumers remember your firm.
2. Customer confidence and trust may get built in this way as well.
Tips for maintaining visual cohesion throughout all your product photos:
1. Maintain cohesion between your set design, lighting, and objects.
2. Make sure your typefaces and colour palettes are consistent.
3. Make sure your composition and formatting are always on point.
Branding your product photos with your company's colours and typefaces:
1. Ensure the backdrops, props, and text overlays reflect the brand colours.
2. In text overlays or captions, use brand typefaces.
Optimising Images for E-Commerce
E-commerce product image optimisation boosts sales. Image optimisation tips:
1. High-quality photos show off your stuff best. Sharpen your photos.
2. Showcase your things from different viewpoints. It shows clients your merchandise from all perspectives.
3. Lifestyle images show clients how to use your goods in their everyday lives. Include product-in-use lifestyle pictures.
4. Mobile commerce is growing. Keep your photos simple and mobile-friendly.
While these were a couple of our product photography tips and tricks that you could benefit from, there also might be an instance where a few of them might not be applicableapply to you. Anyway, always ensure to experiment and learnExperiment, learn what works well for your products, and increase the conversion rate.
Conclusion:
Finally, professional product photography is essential for commercial success. These 16 ideas will help you shoot beautiful, informative, and customer-converting product images. Product photography is about giving consumers an experience, not shooting pictures. These recommended practices may help your firm stand out and leave a lasting impression. Apply these ideas and watch your sales rise.
FAQ's
What do I need for basic product photography?
To capture basic product photos, you will need a camera, a tripod, a light source, and a background. You can use Erase.bg to replace the background if you have a distracting background.
What camera should I use for product photography?
A DSLR or mirrorless camera with manual settings will give you the best control over your product photography.
How important is lighting in product photography?
Lighting is crucial in product photography as it can make or break the final image. Use natural or artificial light to showcase the product in the best possible way.
How do I choose the right background for my product photography?
The background should complement the product and not compete with it. A simple, solid-coloured background or a textured surface can be a good choice.
What is Erase.bg and how can it help with product photography?
Erase.bg is an online tool that can remove the background from your product images, making it easy to replace with a clean and professional-looking background.
How can I make my product photos look more professional?
Use a tripod to keep your camera steady, play with angles and composition, and edit your images to adjust brightness, contrast, and colour balance. And use Erase.bg to replace the background with a perfect one.
.webp)

.webp)

.webp)

.webp)
.webp)


