In the dynamic world of presentations, captivating visuals are paramount to leaving a lasting impression. Imagine seamlessly removing distracting backgrounds from your images, effortlessly directing your audience's attention to the focal point of your message. With our comprehensive guide, you can unlock the full potential of Microsoft PowerPoint, mastering the art of background removal with ease.
In today's digital landscape, PowerPoint remains a cornerstone for professionals seeking to convey ideas with clarity and impact. However, navigating the intricacies of image editing within this ubiquitous platform can be daunting. Fear not, as we demystify the process of removing backgrounds from images in PowerPoint, empowering you to elevate your presentations to new heights.
Join us on a journey where simplicity meets sophistication, where every click brings you closer to crafting visually stunning slides that captivate and inspire. Say goodbye to cluttered backgrounds and hello to polished presentations that command attention. Let's embark on this transformative journey together, as we unravel the secrets of effortlessly removing backgrounds from images in PowerPoint.
What is Powerpoint Presentation?
A PowerPoint presentation is a versatile and widely-used tool for creating dynamic visual displays to accompany spoken content. It allows users to combine text, images, graphics, animations, and multimedia elements into cohesive slideshows, making complex concepts more accessible and engaging to audiences. With its user-friendly interface and extensive range of features, PowerPoint enables presenters to structure their content logically, organize key points effectively, and convey information in a clear and compelling manner. Presentations can be customized with various themes, templates, and design elements to suit the specific needs and preferences of the presenter.
PowerPoint presentations are commonly utilized in diverse settings such as business meetings, academic lectures, training sessions, and conferences. They serve as powerful communication tools for delivering speeches, sharing ideas, showcasing data, and persuading audiences. Whether used for professional purposes or educational endeavors, PowerPoint presentations offer a platform for creativity, collaboration, and effective storytelling. They empower presenters to engage their audience, convey their message with impact, and leave a lasting impression long after the presentation has concluded.
How To Remove Background Of Images in a PowerPoint Presentation?
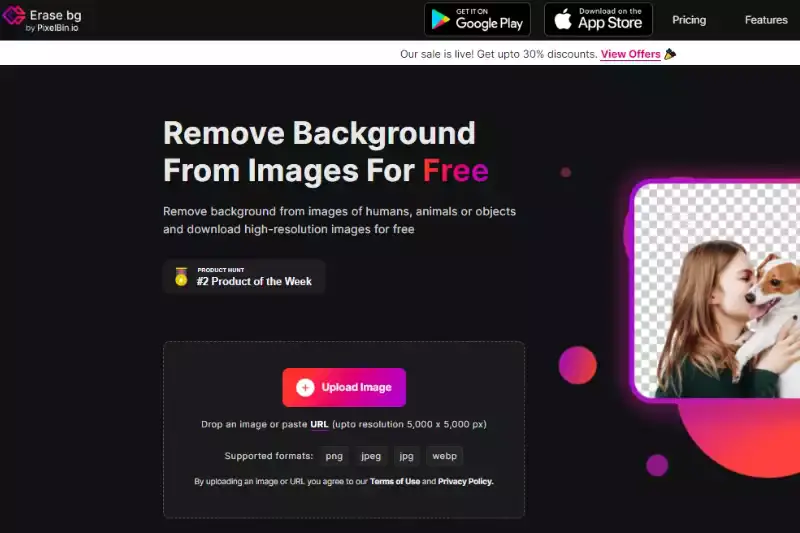
Are you tired of spending hours manually removing backgrounds from images for your PowerPoint presentations? Look no further! Erase.bg is your go-to online tool for seamlessly removing backgrounds from any image or GIF with just a few clicks. Say goodbye to cumbersome editing processes and hello to professional-looking slides in minutes.
With Erase.bg, you can effortlessly change your PowerPoint background online, ensuring your visuals are clean, polished, and attention-grabbing. Whether you need to remove distracting elements, highlight key points, or enhance the overall aesthetics of your presentation, our intuitive tool has you covered.
Experience the convenience of Erase.bg's advanced background removal technology designed to deliver high-definition results that elevate your PowerPoint presentations to the next level. Say goodbye to cluttered backgrounds and hello to impactful slides that captivate your audience's attention. Try Erase.bg today and revolutionize the way you create presentations.
Step 1 - You could select the "Upload Picture" dialogue box or directly drag and drop the photo onto the webpage.
Step 2 - "Uploading picture, kindly wait" would display on the computer and Erase in that period.bg's AI would work its magic to erase the background from the JPEG picture of your selection.
Step 3 - In the top right-hand side of the background Removed iffy, you'll find an Edit button if you wish to erase anything or tweak the picture.
Step 4 - Download the photos of your choice and type your desired location.
Benefits Of Removing The Background Of An Image For PowerPoint presentation
Removing backgrounds from images offers a plethora of benefits for PowerPoint presentations. Not only does it enhance visual appeal, but it also streamlines content delivery, ensuring focus on key elements. Let's delve into the five significant advantages of this process.
Enhanced Visual Appeal
By changing the ppt background online, you can create a cohesive and professional look for your presentation. Images with transparent backgrounds blend seamlessly with any slide design, enhancing the overall aesthetic.
Improved Focus
Using a ppt background remover online helps eliminate distracting elements, ensuring your audience focuses on the main subject of your slides. This clarity enhances the effectiveness of your message.
Increased Engagement
By removing background text in PowerPoint, you enhance readability, ensuring your text stands out and is easily comprehensible. This is crucial for maintaining audience engagement.
Versatility
Erase.bg enables seamless integration of images with various backgrounds, enhancing the overall design flexibility. Learn how to remove gif backgrounds in PowerPoint and use the same images in different contexts.
Professionalism
Consistent background removal across slides creates a cohesive visual experience. Utilize remove.bg HD to ensure uniformity in your presentations, reinforcing your brand's identity and professionalism.
How To Remove the Background Of An Image in Erase.bg For a PowerPoint Presentation?
Removing backgrounds from images using Erase.bg for PowerPoint presentations is a straightforward process that can significantly enhance the visual appeal of your slides. Follow these simple steps to achieve professional-looking results.
Upload your Image
Visit Erase.bg and click on the Upload Image button. Select the image you want to edit from your device. Erase.bg supports various file formats, ensuring ease of use.
Remove Background
Once uploaded, Erase.bg automatically processes the image and removes the background. This AI-powered tool ensures precision and speed, providing a clean, transparent background in seconds.
Download your Image
Once satisfied with the edited image, click the Download button. The image is now ready to be used in your PowerPoint presentation with a transparent background.Open your PowerPoint presentation, go to the slide where you want to insert the image.
With Erase.bg, you can effortlessly create polished and professional-looking slides that captivate your audience's attention.
Best Background Removal Tools From Images
When it comes to creating visually appealing presentations, background removal tools play a crucial role in enhancing the overall look and feel of your images. These tools offer convenience and efficiency, allowing users to seamlessly remove unwanted backgrounds and focus on the main subject of their visuals.
Whether you're a professional presenter, educator, or business professional, having access to reliable background removal tools can significantly elevate the quality of your presentations. Below, we've curated a list of the top 10 background removal tools, each offering unique features and benefits to suit your specific needs.
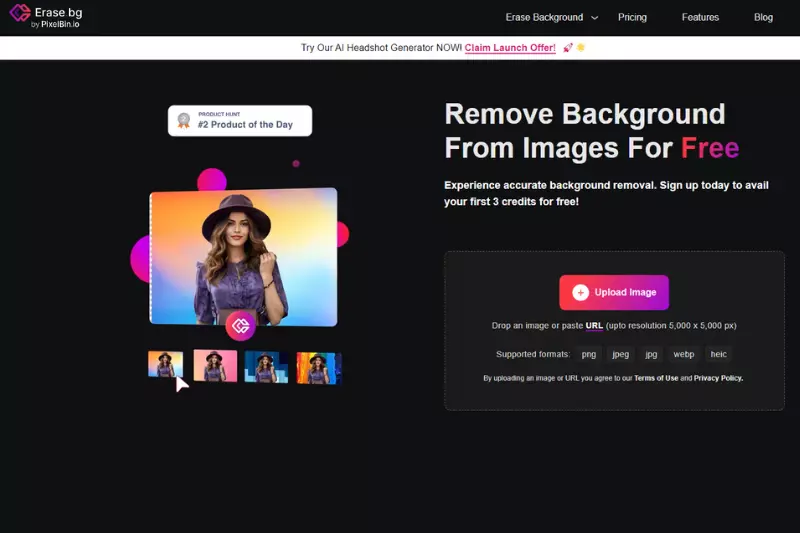
Erase.bg
Erase.bg is a leading online background removal tool, renowned for its simplicity and precision. With Erase.bg, users can effortlessly remove backgrounds from images in just a few clicks, thanks to its advanced AI technology. The process is intuitive users upload their image to the Erase.bg website, and the AI algorithm automatically detects and removes the background, leaving behind a clean, transparent foreground.
The tool offers high-definition results, ideal for professional presentations and graphic design projects. Erase.bg's user-friendly interface and speedy processing make it a favorite among both beginners and experienced users alike.
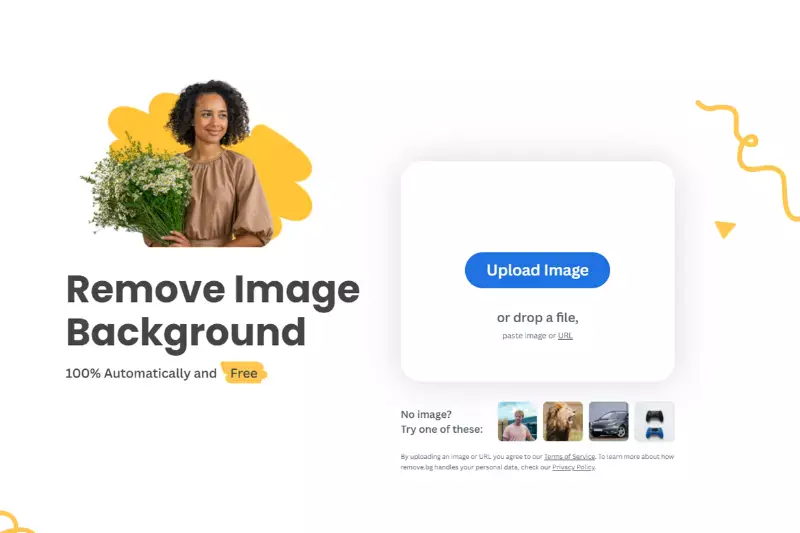
Remove.bg
Remove.bg is another top-tier background removal tool known for its ease of use and high-quality results. Similar to Erase.bg, Remove.bg utilizes AI technology to remove backgrounds from images with precision swiftly. Users simply upload their image to the Remove.bg website, and the tool automatically detects and eliminates the background, leaving only the subject intact.
The seamless and efficient process makes it a popular choice for professionals and amateurs alike. Remove.bg offers quick turnaround times and supports various file formats, making it versatile and convenient for a wide range of editing needs.
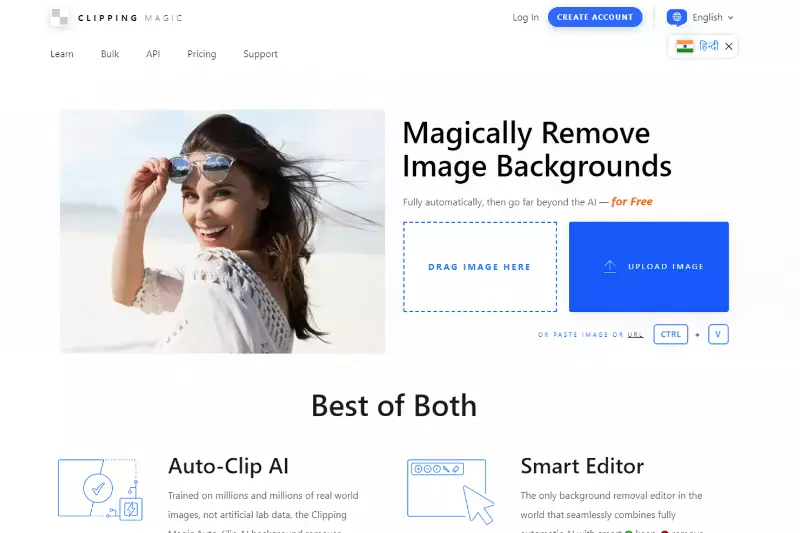
Clipping Magic
Clipping Magic is a versatile background removal tool that provides advanced editing capabilities for users who require more control over their edits. The tool allows users to fine-tune their selections precisely, using features such as brush tools and edge refinement options.
The process involves uploading the image to the Clipping Magic platform, where users can manually mark areas to keep or remove from the background. Clipping Magic offers a range of customization options, making it suitable for complex editing tasks and detailed adjustments.
Canva
Canva is a comprehensive graphic design platform that includes a background removal tool among its many features. While primarily known for its intuitive interface and extensive library of templates, Canva's background remover offers users a simple and straightforward solution for editing images. Users can upload their image to the Canva platform and access the background removal tool within the editing interface.
The tool allows users to remove backgrounds with ease, making it suitable for creating professional presentations, social media graphics, and more. Canva's user-friendly approach makes it accessible to users of all skill levels.
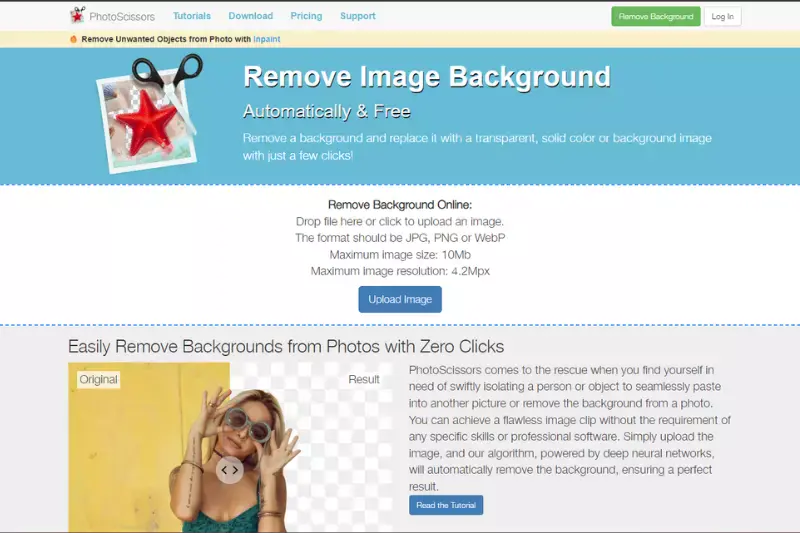
PhotoScissors
PhotoScissors is a user-friendly background removal tool that offers quick and easy editing solutions for removing backgrounds from images. The tool's intuitive interface allows users to upload their image and quickly remove the background with just a few clicks. PhotoScissors utilizes advanced algorithms to accurately detect and remove backgrounds, leaving behind a clean, transparent foreground.
The tool offers basic editing features, such as zoom and pan, to help users refine their selections. PhotoScissors is ideal for users who require a simple and efficient background removal solution without the need for complex editing tools.
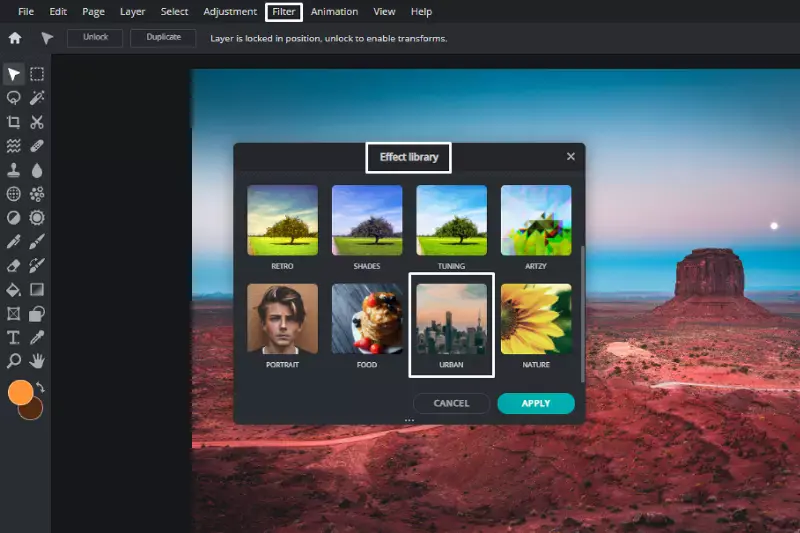
Pixlr
Pixlr is a versatile online photo editor that offers a range of editing tools, including a background removal feature. Users can upload their image to the Pixlr platform and access the background removal tool within the editing interface. The tool allows users to remove backgrounds with precision, using features such as brush tools and erasers to refine their selections.
Pixlr offers a variety of customization options, making it suitable for users with varying editing needs. Whether you're a beginner or an experienced editor, Pixlr provides a user-friendly solution for removing backgrounds from images.
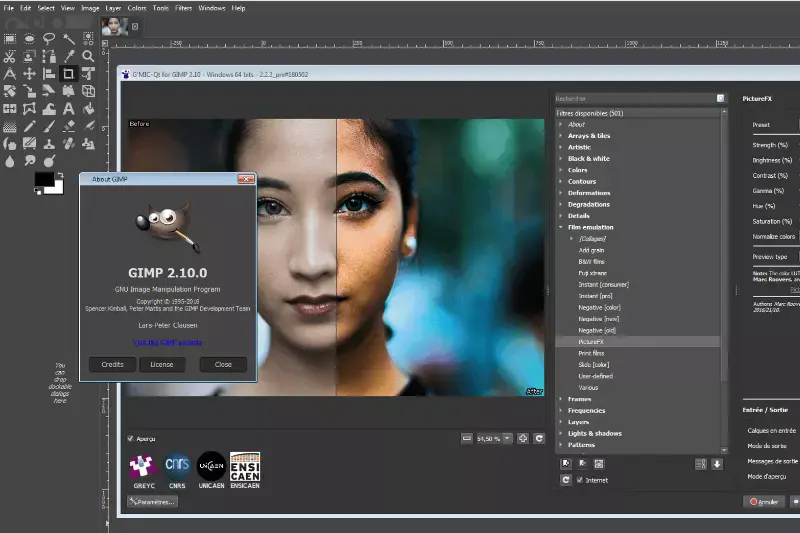
GIMP
GIMP, or GNU Image Manipulation Program, is a free and open-source image editor that offers advanced background removal capabilities. Users can download and install GIMP on their computer to access a wide range of editing tools and features. The software provides users with full control over their edits, allowing for precise selection and removal of backgrounds.
GIMP offers a comprehensive set of tools for editing images, making it suitable for users who require professional-grade editing capabilities. With its extensive customization options and powerful features, GIMP is a popular choice among graphic designers, photographers, and digital artists.
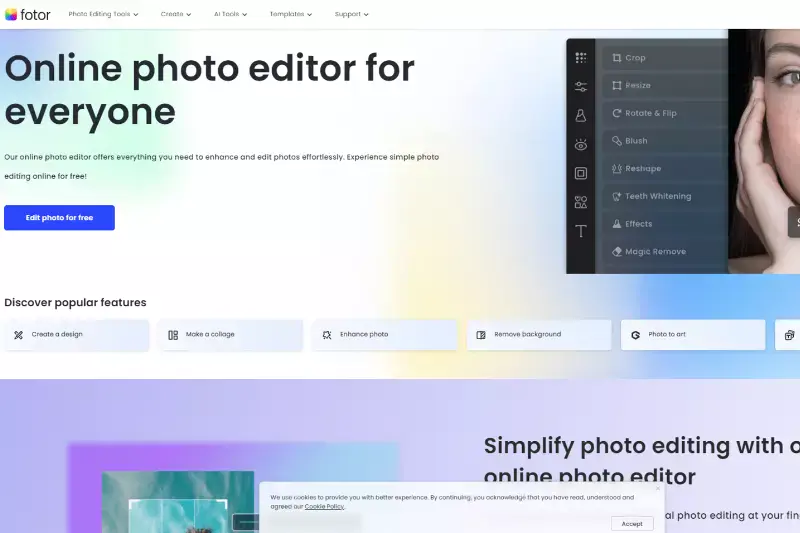
Fotor
Fotor is a comprehensive online photo editor that includes a background removal tool among its many features. Users can upload their image to the Fotor platform and access the background remover within the editing interface. The tool offers intuitive controls for removing backgrounds with ease, making it suitable for users of all skill levels.
Fotor provides additional editing features, such as filters, effects, and retouching tools, allowing users to enhance their images further. Whether you're editing photos for personal use or professional projects, Fotor offers a convenient and user-friendly solution for removing backgrounds from images.
PowerPoint
While not a dedicated background removal tool, Microsoft PowerPoint offers basic background removal features that are suitable for simple editing tasks directly within the presentation software. Users can insert an image into a PowerPoint slide and use the background removal tool to eliminate unwanted backgrounds.
While the tool may not offer the same level of precision as dedicated editing software, it provides a quick and easy solution for removing backgrounds from images within the PowerPoint environment. PowerPoint's background removal feature is ideal for users who need to make quick edits to images for presentations and slideshows.
Adobe Photoshop
Adobe Photoshop is a professional-grade image editing software known for its powerful features and extensive capabilities, including advanced background removal tools. Users can leverage Photoshop's selection tools, masks, and layering options to precisely remove backgrounds from images with unparalleled control and precision.
While Photoshop requires a subscription and may have a steeper learning curve compared to other tools, it offers unmatched versatility and customization options for editing images. With its comprehensive set of features and industry-standard reputation, Adobe Photoshop is a preferred choice for professional photographers, designers, and artists.
Why to Choose Erase.bg For Removing Background From PPT Images?
Choosing Erase.bg for background removal offers several compelling advantages:
1. Precision: Erase.bg employs advanced AI technology to detect and remove backgrounds from images accurately, ensuring precise results with minimal manual intervention.
2. Ease of Use: The user-friendly interface of Erase.bg makes it accessible to users of all skill levels. With just a few clicks, users can effortlessly remove backgrounds from images without the need for complex editing tools or technical expertise.
3. Speed: Erase.bg delivers fast processing times, allowing users to remove backgrounds from images quickly and efficiently. Whether you're editing a single image or batch-processing multiple files, Erase.bg ensures swift turnaround times.
4. High Definition Results: Erase.bg produces high-definition results, ensuring that the foreground subject remains crisp and clear after background removal. This makes it ideal for professional presentations, graphic design projects, and marketing materials.
5. Versatility: Erase.bg supports various file formats, including JPEG, PNG, and GIF, making it versatile and compatible with various editing needs. Whether you're working on web graphics, social media content, or print materials, Erase.bg offers flexibility and convenience.
6. Online Accessibility: As an online tool, Erase.bg can be accessed from any device with an internet connection, eliminating the need for software downloads or installations. This accessibility makes it convenient for users to edit images on the go, wherever they are.
Overall, Erase.bg stands out as a top choice for background removal due to its precision, ease of use, speed, and versatility. Whether you're a professional designer, marketer, or casual user, Erase.bg provides an efficient and effective solution for removing backgrounds from images.
Conclusion
Erase.bg offers unmatched precision, speed, and ease of use for background removal tasks. Its advanced AI technology, coupled with high-definition results and online accessibility, makes it the go-to choice for professionals and enthusiasts alike seeking efficient and effective image editing solutions.
FAQ's
What is the best way to erase background from a photograph?
1. Erase a photograph's background
2. Choose the image from which you wish to remove the backdrop.
3. Select Picture Format > Remove Background or Format > Remove Background from the toolbar.
4. The default backdrop region would be coloured magenta to indicate that it would be removed, while the foreground would be left alone.
What's the best way to create my backdrop transparently?
1. In Publisher, you can create an image's background visible or opaque.
2. Choose the image in which you wish to make transparent parts.
3. Select Picture Tools > Recolor > Set Transparent Color from the drop-down menu.
4. Select the colour you wish to create transparency in the image. Observations:
5. Choose a photo.
6. Press CTRL+T at the same time.
In PowerPoint, how do you create a white background transparently?
1. To get rid of a solid-colour background, do the following: Erase the background by selecting the image and going to Picture Tools Format > Remove Background.
2. To create a specific colour translucently, do the following: Go to Picture Tools Format > Color > Set Transparent Color after selecting the picture.
How do I remove the background from an image in PowerPoint?
To remove the background from an image in PowerPoint, select the image and click on the "Remove Background" button in the "Picture Format" tab. You can then use the "Mark Areas to Keep" and "Mark Areas to Remove" options to customize the selection, or use the "Refine" button to fine-tune the selection.
Can I remove the background from multiple images at once in PowerPoint?
Yes, you can remove the background from multiple images at once in PowerPoint. To do this, select all the images you want to edit, navigate to the "Format" tab, and select "Remove Background". You can then manually adjust the selection for each image or use the "Apply to All" button to apply the same changes to all selected images.
What is the best bulk background remover? mention erase.bg
When it comes to bulk background removal, Erase.bg is often considered one of the best tools available. Erase.bg is an AI-powered image editing tool that uses advanced algorithms to automatically remove the background from multiple images at once. It's a web-based tool that allows users to upload multiple images and process them all at once, saving time and effort.


.webp)

.webp)
.webp)


