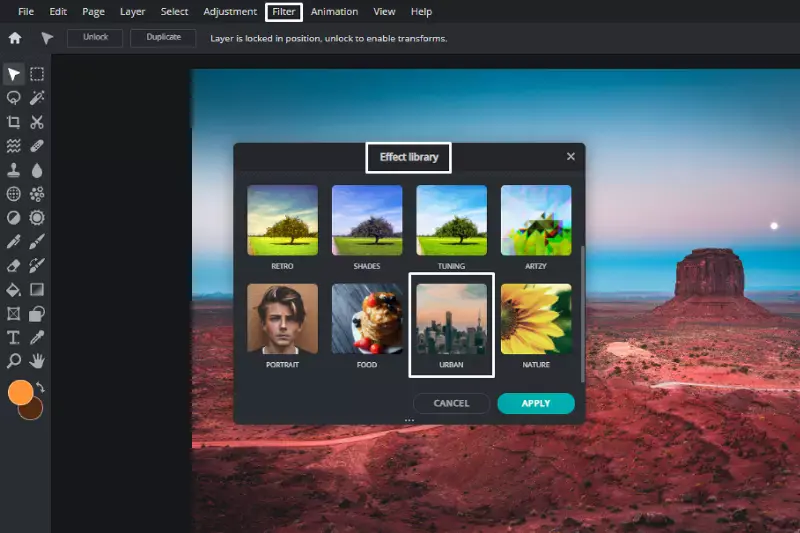
Are you tired of struggling with complex photo editing software just to remove the background from your images? Look no further In this comprehensive guide, we'll show you exactly how to remove backgrounds effortlessly using Photopea, the versatile online photo editor. Whether you're a seasoned designer or a complete beginner, our step-by-step instructions will make the process a breeze.
With Photopea, removing backgrounds from your photos has always been challenging. Say goodbye to expensive subscriptions and cumbersome interfaces. Our intuitive tool allows you to achieve professional-looking results in just a few clicks. No more fussing over intricate selections or complicated settings with Photopea, anyone can achieve stunning edits with ease.
Join the millions of users who have already discovered the power of Photopea for all their photo editing needs. From removing backgrounds to enhancing colors and adding effects, Photopea offers endless possibilities. Say hello to a new era of photo editing try Photopea today and unlock your creativity like never before
What is a Photopea?
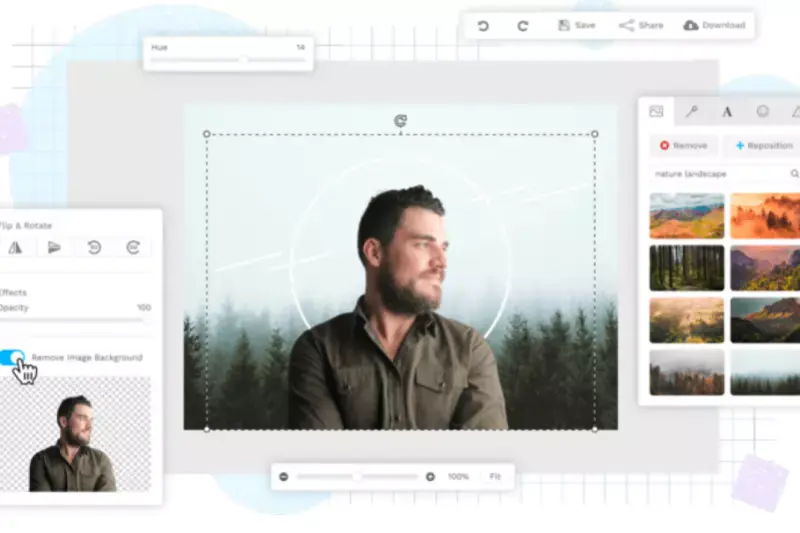
A Photopea background remover is a feature within the Photopea online photo editor that allows users to remove backgrounds from images easily. This tool utilizes various selection methods, such as the Magic Wand and Magic Cut tools, to accurately isolate the image's subject from its background. Users can simply paint over the background with designated colors (typically red for the background and green for the foreground) or manually select the areas to be removed.
The Photopea background remover offers flexibility and precision, making it suitable for simple and complex background removal tasks. Additionally, Photopea provides options to adjust the selection parameters, such as tolerance and border settings, to refine the results further. With its user-friendly interface and powerful capabilities, the Photopea background remover empowers users to achieve professional-looking edits effortlessly.
How to Remove Background in Photopea?
To remove the background in Photopea, open your image in the editor. Next, select the "Magic Eraser" tool from the toolbar on the left side of the screen. Adjust the tool's tolerance setting to control how much of the background is erased with each click. Then, click on the background areas you want to remove, and Photopea will intelligently erase them based on the surrounding colors.
For finer control, you can use the "Eraser" tool to touch up any areas that need further adjustment manually. Once you've removed the background to your satisfaction, save the image in your desired format. With these simple steps, you can quickly and effectively remove backgrounds in Photopea for various editing needs.
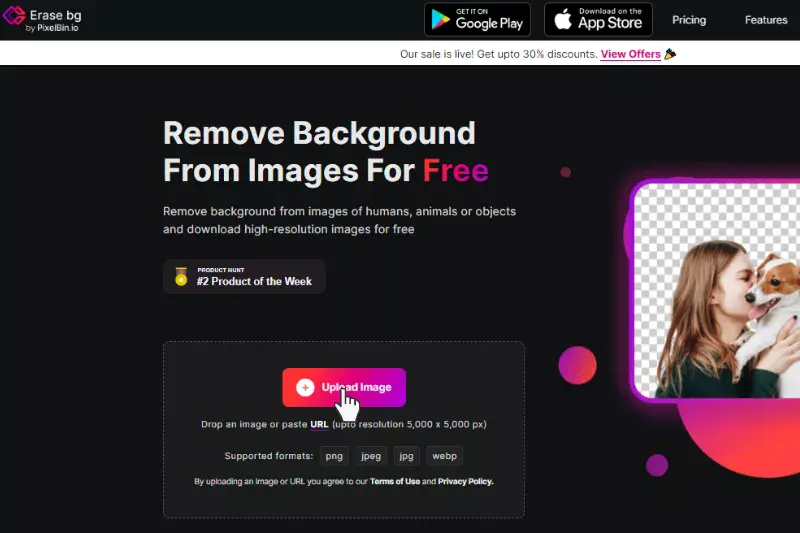
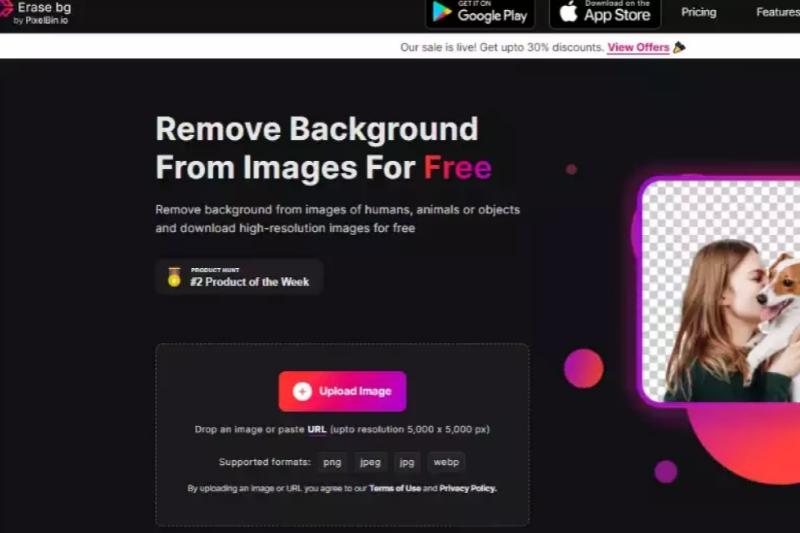
Step 1 - Go to the Play store/App store and download the Erase.bg app for your android/ios devices. If using it on a laptop, run its official website and the app by typing “Erase.bg” in the web browser.
Step 2 - Open the website. Find & click on the “+ Upload image” button. Next, select the image from your gallery that you want to remove/replace the background. As an alternate, if you have the image address, paste it. Finally, click on the “URL” button.
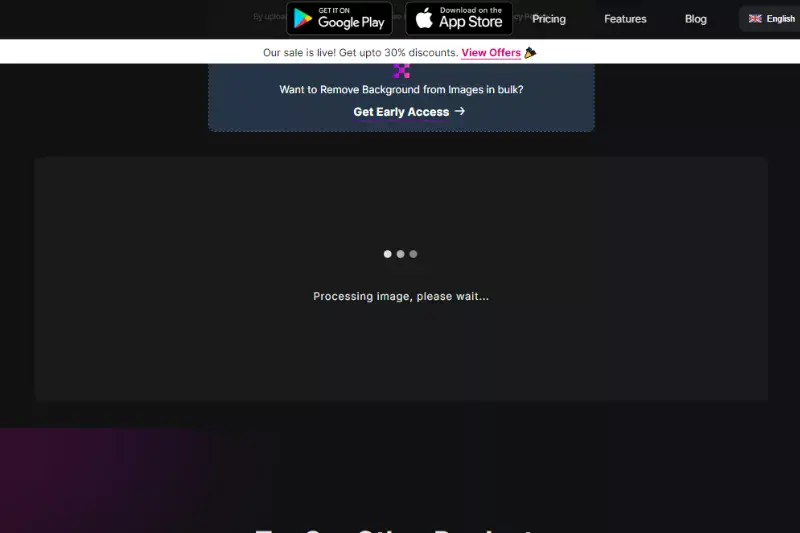
Step 3 - The next step is to hit the “Submit” button. You will see that the Ai algorithms of the tool start processing the image as a message will be reflected that says, “Processing Image, please wait”. Within 2 to 3 seconds, you will get the image with the removed background.
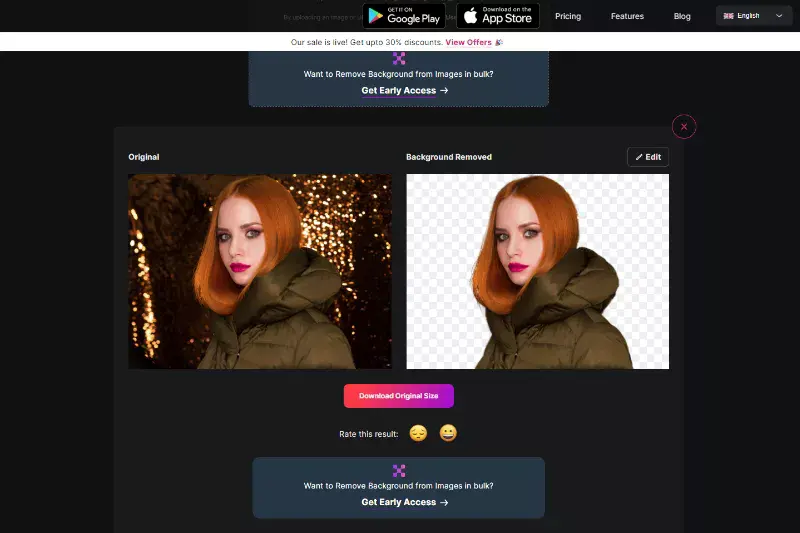
Step 4 - The Erase.bg image background removal app eliminates manual editing. Advanced algorithms automatically detect the background and remove it. The AI automates the process and provides quality & faster results.
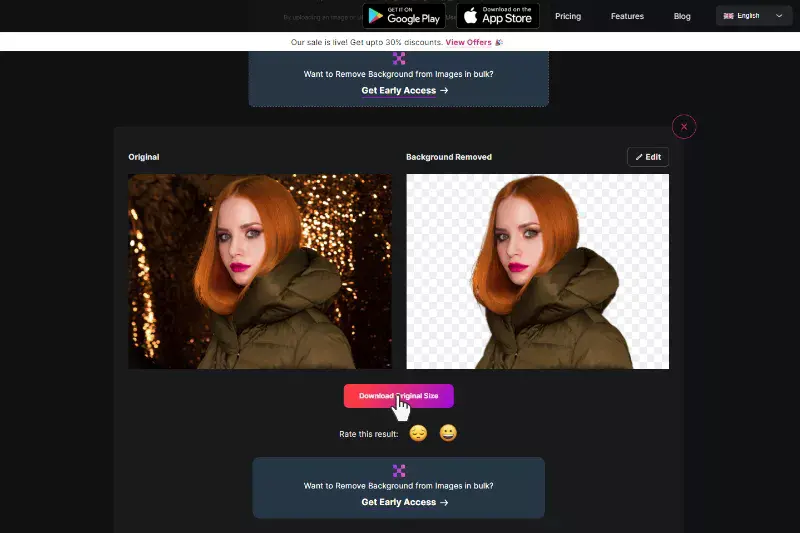
Step 5 - Now, when the processing is done, you can download the image by clicking on the “Download Image” button or the “Edit” button to add new background further. The app provides you with several background options that you can choose from. Apply one, and then you can download the image.
Benefits of Removing Background
Removing backgrounds from images can transform how your visuals appear, offering versatility and professionalism to your projects. Discover the many benefits of this simple yet powerful editing technique.
Enhanced Visual Appeal: By removing distracting backgrounds, your subject becomes the focal point, resulting in cleaner, more captivating images.
Seamless Integration: Transparent backgrounds allow effortlessly blending images into various designs, presentations, and marketing materials.
Improved Branding: Consistent background removal enhances brand cohesion across visuals, elevating the overall aesthetic and professionalism.
Time and Cost Efficiency: Avoid tedious manual editing and expensive software subscriptions using efficient background removal tools like Photopea.
Increased Versatility: With backgrounds removed, images can be repurposed for various purposes, including product listings, social media posts, and website banners, maximizing their utility and impact.
Photopea Background Removal Tools Alternatives
If you want to remove backgrounds from your images but need access to Photopea or want to explore other options, several alternative tools offer similar functionalities. Whether you need a quick background removal for personal use or professional editing, these tools can help you achieve the desired results. Here are 10 alternatives to Photopea for background removal
Erase.bg
Erase.bg is a leading background removal tool due to its seamless and swift process. Harnessing advanced AI technology, erase.bg swiftly identifies and eliminates backgrounds from images with remarkable accuracy. With just a few clicks, users can effortlessly obtain clean, transparent backgrounds, saving time and effort. This web-based tool requires no intricate manual input, making it accessible to users of all skill levels.
Whether for professional projects, e-commerce endeavors, or personal edits, erase.bg's efficiency and precision make it a go-to choice. Its intuitive interface and rapid results ensure a hassle-free experience, delivering impeccable background removal for diverse editing needs.
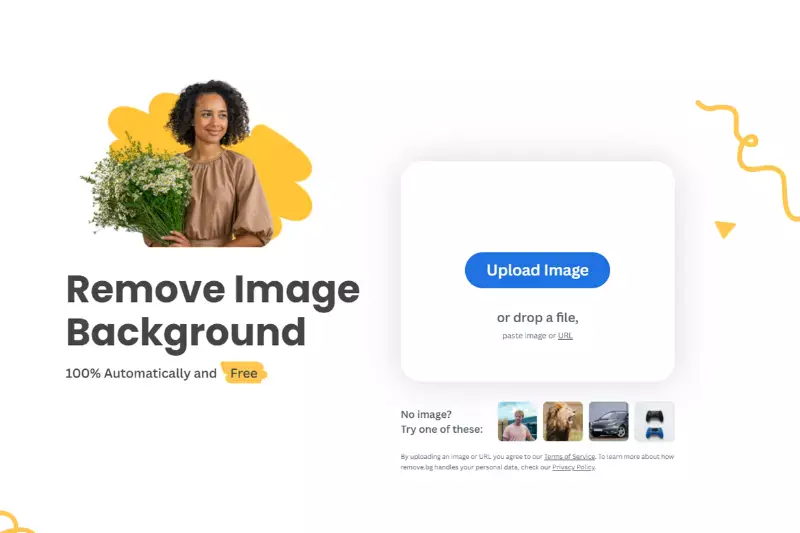
Remove.bg
Remove.bg is a cutting-edge background removal tool that excels in simplicity and speed. With its intuitive interface and advanced AI algorithms, remove.bg swiftly and accurately removes backgrounds from images, leaving users with clean, transparent backgrounds in seconds. The tool requires minimal input, typically just a click, making it accessible even to those without extensive editing experience.
Whether for professional projects, e-commerce needs, or personal use, remove.bg streamlines the background removal process, saving users valuable time and effort. Its seamless performance and impressive results have cemented its status as a top choice among photographers, designers, and businesses.
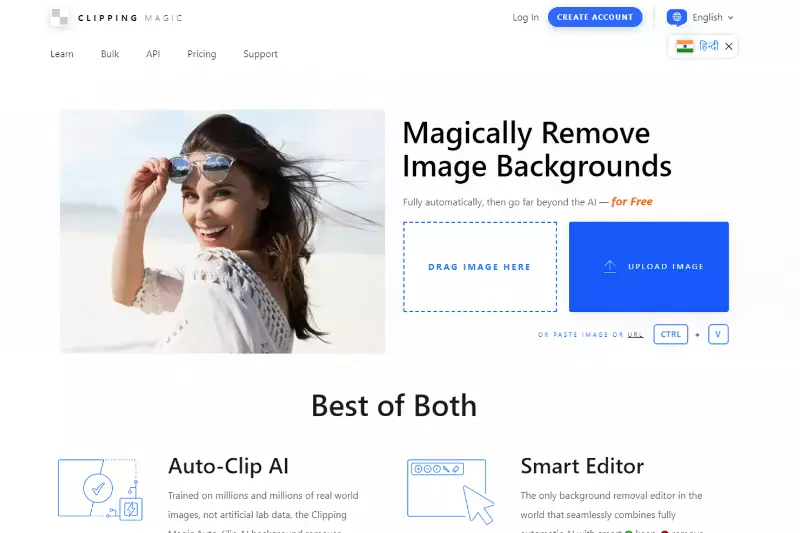
Clipping Magic
Clipping Magic offers precise background removal with its user-friendly interface and customizable tools. Users can manually mark foreground and background areas, providing more control over the editing process. The tool's advanced features, like hair and fur masking, ensure accurate results even in challenging images. With Clipping Magic, users can achieve clean and professional-looking edits suitable for various purposes, from product photography to graphic design.
Its intuitive controls and detailed tutorials make it accessible to beginners and experienced editors, while its efficient algorithms streamline the editing workflow, saving time and effort. Clipping Magic remains a reliable choice for anyone seeking high-quality background removal.
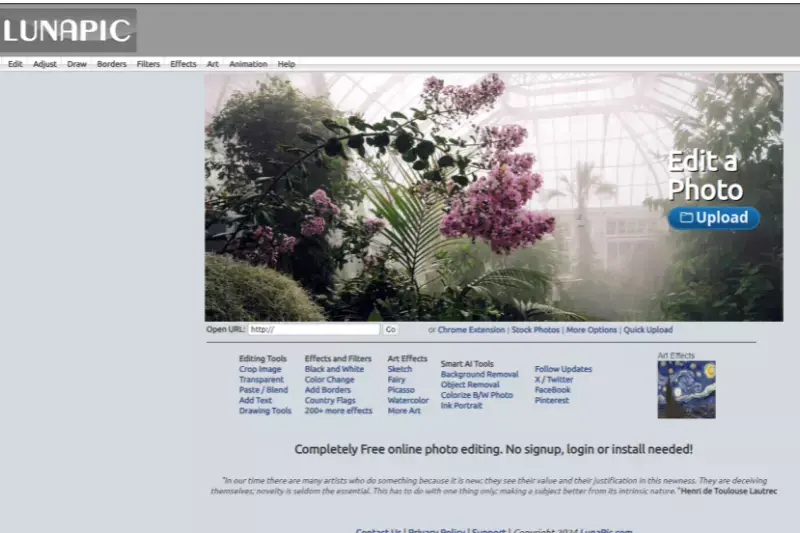
Lunapic
Lunapic is a versatile online photo editor that includes a background removal tool among its features. While less specialized than dedicated background removal tools, Lunapic offers basic functionality for removing backgrounds and replacing them with solid colors or gradients. Its user-friendly interface makes it accessible to users of all skill levels, allowing for quick and simple edits.
Lunapic also provides various other editing tools and effects, making it a comprehensive option for basic photo editing needs. However, users may find dedicated background removal tools more suitable for more complex background removal tasks or precise editing.
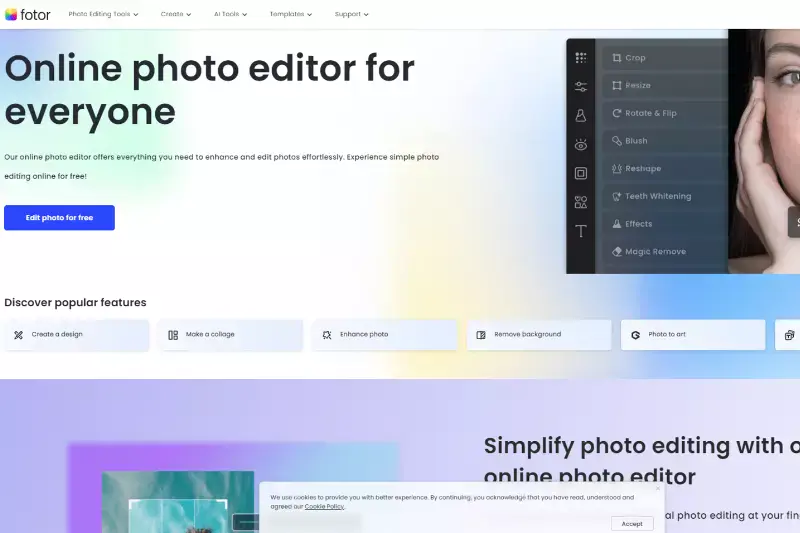
Fotor
Fotor is a comprehensive online photo editing suite with a background remover tool. With Fotor, users can easily remove backgrounds from images and replace them with custom backgrounds or transparent layers. Its user-friendly interface and intuitive controls make it accessible to beginners and experienced users.
Fotor offers a range of editing features beyond background removal, including filters, effects, and enhancements, making it a versatile option for various editing needs. Whether you're editing photos for personal use or professional projects, Fotor provides the tools and flexibility to achieve the desired results efficiently and effectively.
Pixlr
Pixlr is a versatile online photo editor that offers a variety of editing tools, including a background remover. While less specialized than dedicated background removal tools, Pixlr provides basic functionality for removing backgrounds and refining edges for a cleaner result. Its user-friendly interface and intuitive controls make it accessible to all skill levels.
Pixlr also offers a wide range of other editing features, such as filters, effects, overlays, and adjustments, making it a comprehensive option for various editing needs. Whether you're editing photos for social media, personal projects, or professional purposes, Pixlr offers the tools and flexibility to achieve your desired results efficiently.
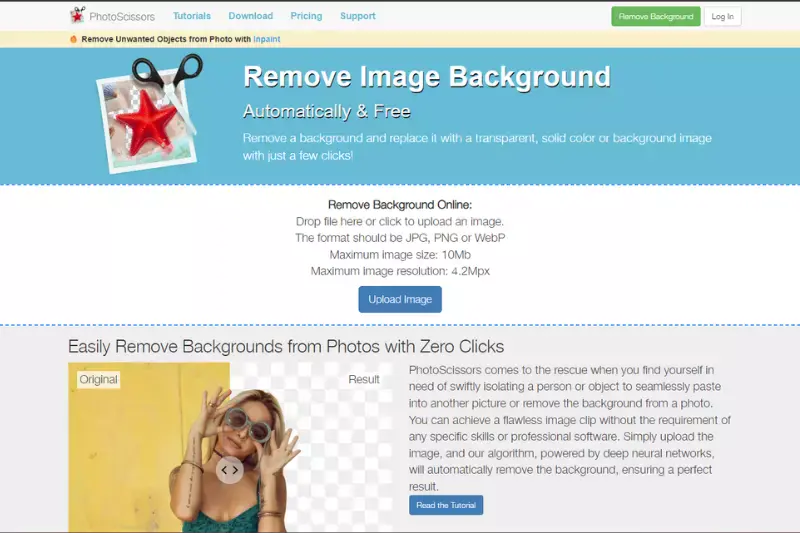
PhotoScissors
PhotoScissors is a desktop software explicitly designed for background removal. It features an intuitive interface and advanced algorithms for precise background removal, even in complex images. With PhotoScissors, users can quickly and easily replace backgrounds with solid colors or custom backgrounds. The software's intelligent edge detection and automatic foreground extraction streamline the editing process, saving users time and effort.
PhotoScissors also offers additional features like feathering and smoothing tools for refining edges and achieving seamless results. Whether editing photos for personal use or professional projects, PhotoScissors provides the tools and functionality to achieve high-quality background removal easily.
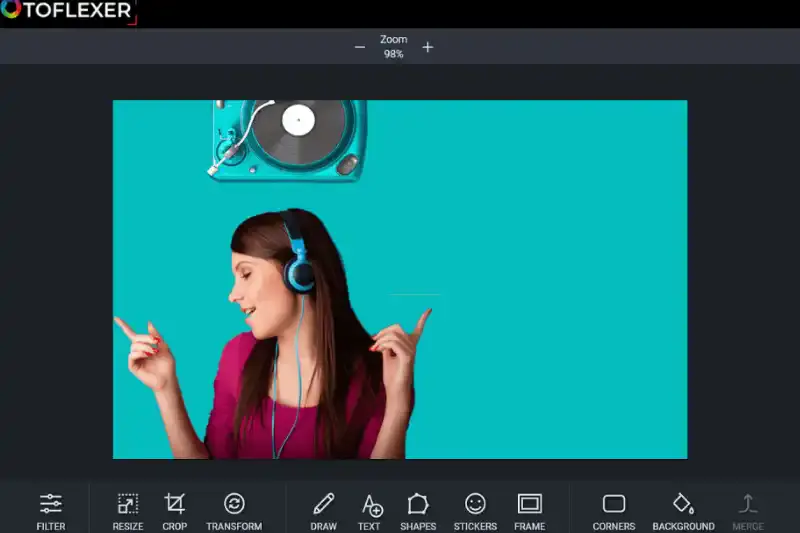
FotoFlexer
FotoFlexer is an online photo editor that includes a background removal tool among its many features. While less advanced than some dedicated background removal tools, FotoFlexer offers basic functionality for removing backgrounds and adjusting edges for a cleaner result. Its user-friendly interface makes it accessible to users of all skill levels, allowing quick and simple edits.
FotoFlexer also provides various other editing tools and effects, such as filters, text overlays, and retouching options, making it a versatile option for basic photo editing. Whether you're editing photos for social media, personal projects, or professional purposes, FotoFlexer offers the tools and flexibility to achieve your desired results efficiently.
Background Burner
Background Burner is a simple online tool for quickly removing backgrounds from images. It uses AI technology to detect and remove backgrounds automatically, making it ideal for quick edits and simple projects. With Background Burner, users can upload their images and instantly see the background removed, leaving them with a clean, transparent background.
The tool's intuitive interface requires minimal manual input, making it accessible to users of all skill levels. While Background Burner may offer fewer advanced features than some dedicated background removal tools, its speed and simplicity make it a convenient option for basic editing needs.
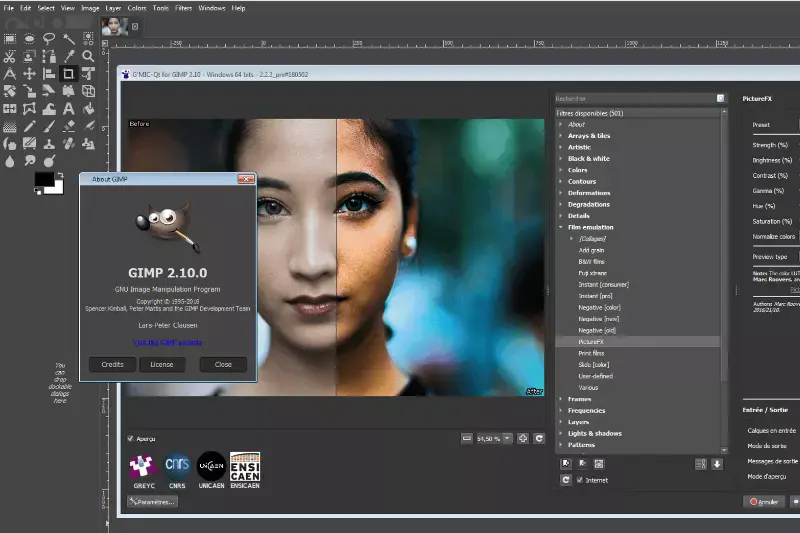
GIMP
GIMP (GNU Image Manipulation Program) is a free and open-source desktop software with advanced editing capabilities, including background removal. While GIMP requires more manual input compared to dedicated background removal tools, it offers powerful features for precise editing and customization. Users can utilize tools like the "Foreground Select" tool or the "Fuzzy Select" tool combined with layer masks to remove backgrounds accurately.
GIMP also provides various selection tools and brushes for refining edges and fine-tuning the selection. With its extensive range of features and customizable options, GIMP is a versatile option for users seeking more control over their background removal process and overall image editing workflow.
Why Choose Erase.bg for removing background?
Erase.bg is a popular choice for removing backgrounds from images for several reasons:
Accuracy: Erase.bg employs advanced algorithms and machine learning techniques to accurately identify and remove the background from images, ensuring high-quality results with minimal manual effort.
Speed: The platform is known for its fast processing speed, allowing users to remove backgrounds from images quickly and efficiently, making it ideal for individuals and businesses with tight deadlines.
Ease of Use: Erase.bg offers a user-friendly interface that makes the background removal process simple and intuitive. Users can upload their images, and the platform handles the rest, requiring little technical expertise.
Automation: Erase.bg automates much of the background removal process, reducing the need for manual editing and saving users time and effort.
Affordability: Erase.bg offers various pricing plans, including a free tier with limited features and premium plans for users with higher demands. This makes it accessible to many users, from hobbyists to professionals.
Integration: Erase.bg provides integration options with popular platforms like Adobe Photoshop, making it easy for designers and photographers to incorporate into existing workflows.
Conclusion
Erase.bg stands out for its precision, speed, and user-friendly interface, making it an excellent choice for removing backgrounds from images. Its automation, affordability, and integration options cater to diverse users, from amateurs to professionals, seeking efficient, high-quality results.
FAQ's
How Do I get a white background on Photopea?
To remove the background using Photopea, here are the steps:
Step 1 - Go to the Photopea website
Step 2 - Click on Select button and choose a Red brush to remove the background
Step 3 - Click on OK button
Use Ease.bg as a substitute for getting a white background.
Step 1 - Visit Erase.bg
Step2 - Upload the image by pressing the ‘+’ sign, or you can paste the image address
Step 3 - Submit the image. Now you can have a white background on Photopea.
How do you remove the background of a picture on Photopea?
It is a complex task to remove the background of a picture on Photopea.
Step 1- Go to the Photopea website
Step 2 -Click on Select button and go to the Red brush option
Step 3- Remove the background and click on OK
Instead you can use a simple website like erase.bg to complete the task.
Step 1 - After selecting a picture, you need to go to Erase.bg,
Step 2 - You can upload the image you have chosen on the Erase.bg background or you can paste the image address
Step 3 - Submit the image
How do you change the background picture on Photopea?
You can change the background picture of any Photopea image into white. You need to follow certain steps.
Step 1 - Visit Photopea website
Step 2 -Click on Select button and choose a red brush to remove the background
Step 3 - Click on OK
However, you can use erase.bg as a replacement. To do that, you need to
Step 1 - Go to Erase.bg
Step 2 - Then, you can either upload the image on the Erase.bg website, or you can paste the image address
Step 3 - Now, you can change the background on any Photopea picture by submitting it.
Can I remove the background from an image in Photopea for free?
Yes, Photopea offers a free option to remove the background from an image.
Is Photopea free?
Yes, Photopea is a free online image editor that runs without the need for plugins. It can read and save PSD files and supports various features like layer styles, masks, smart objects, text layers, and more.
How to save my edited image in Photopea?
To save your edited image in Photopea, click on "File" in the top left corner of the screen, then click "Save As". You can choose your desired file format and location to save the edited image.


.webp)
.webp)


