


What is the need for Product Photography to Drive Sales


Product photography is any picture of a for-sale item. These photos, often known as commercial photography, are intended to encourage consumers to buy the pictured objects. In addition to written text and product descriptions, they contain product specifics and features. The objective is to provide prospective purchasers with a comprehensive view of the goods.
Why we need Product Photography in Business
Product photography is a big part of your business that you should consider convincing people to buy your products. Even more so now that more and more people are shopping online. You can find almost everything you need with just one click, and shopping online saves time, which shoppers want.
There's no denying a picture's power; if you don't have great product photography on your website, you could miss out on many sales. Product photography is so important that it could be the difference between making a sale and losing many customers.
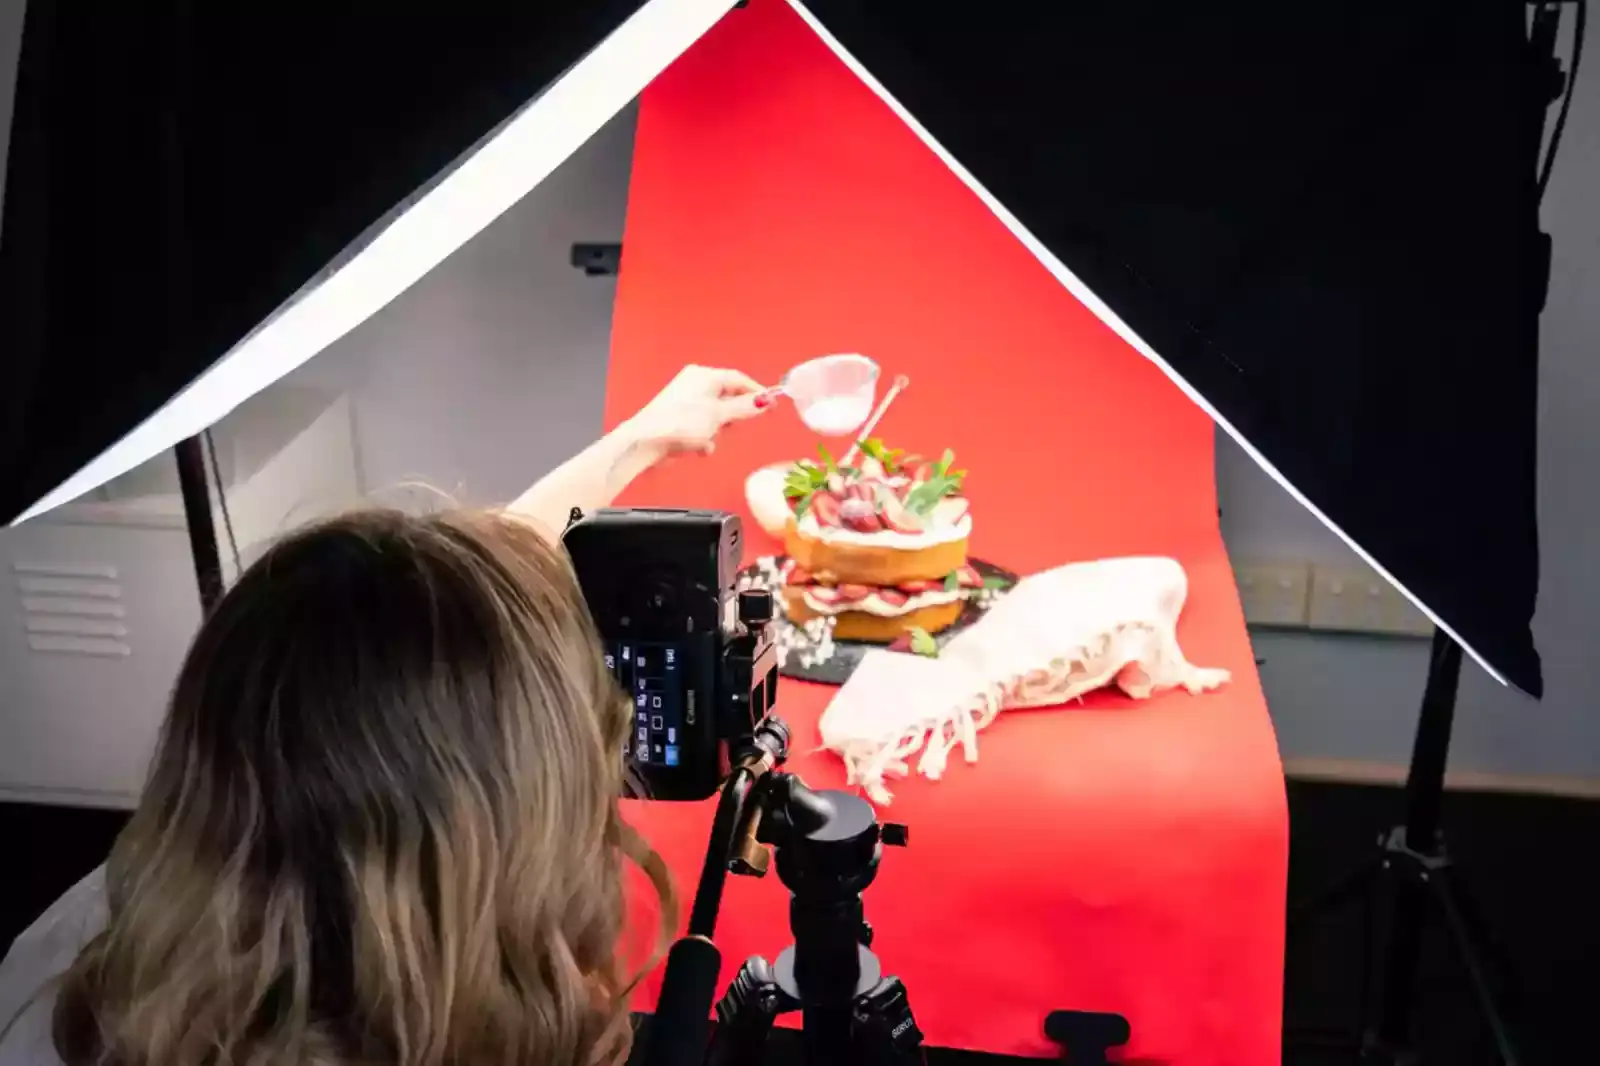
Equipment Needed for Product Photography
What is required for product photography
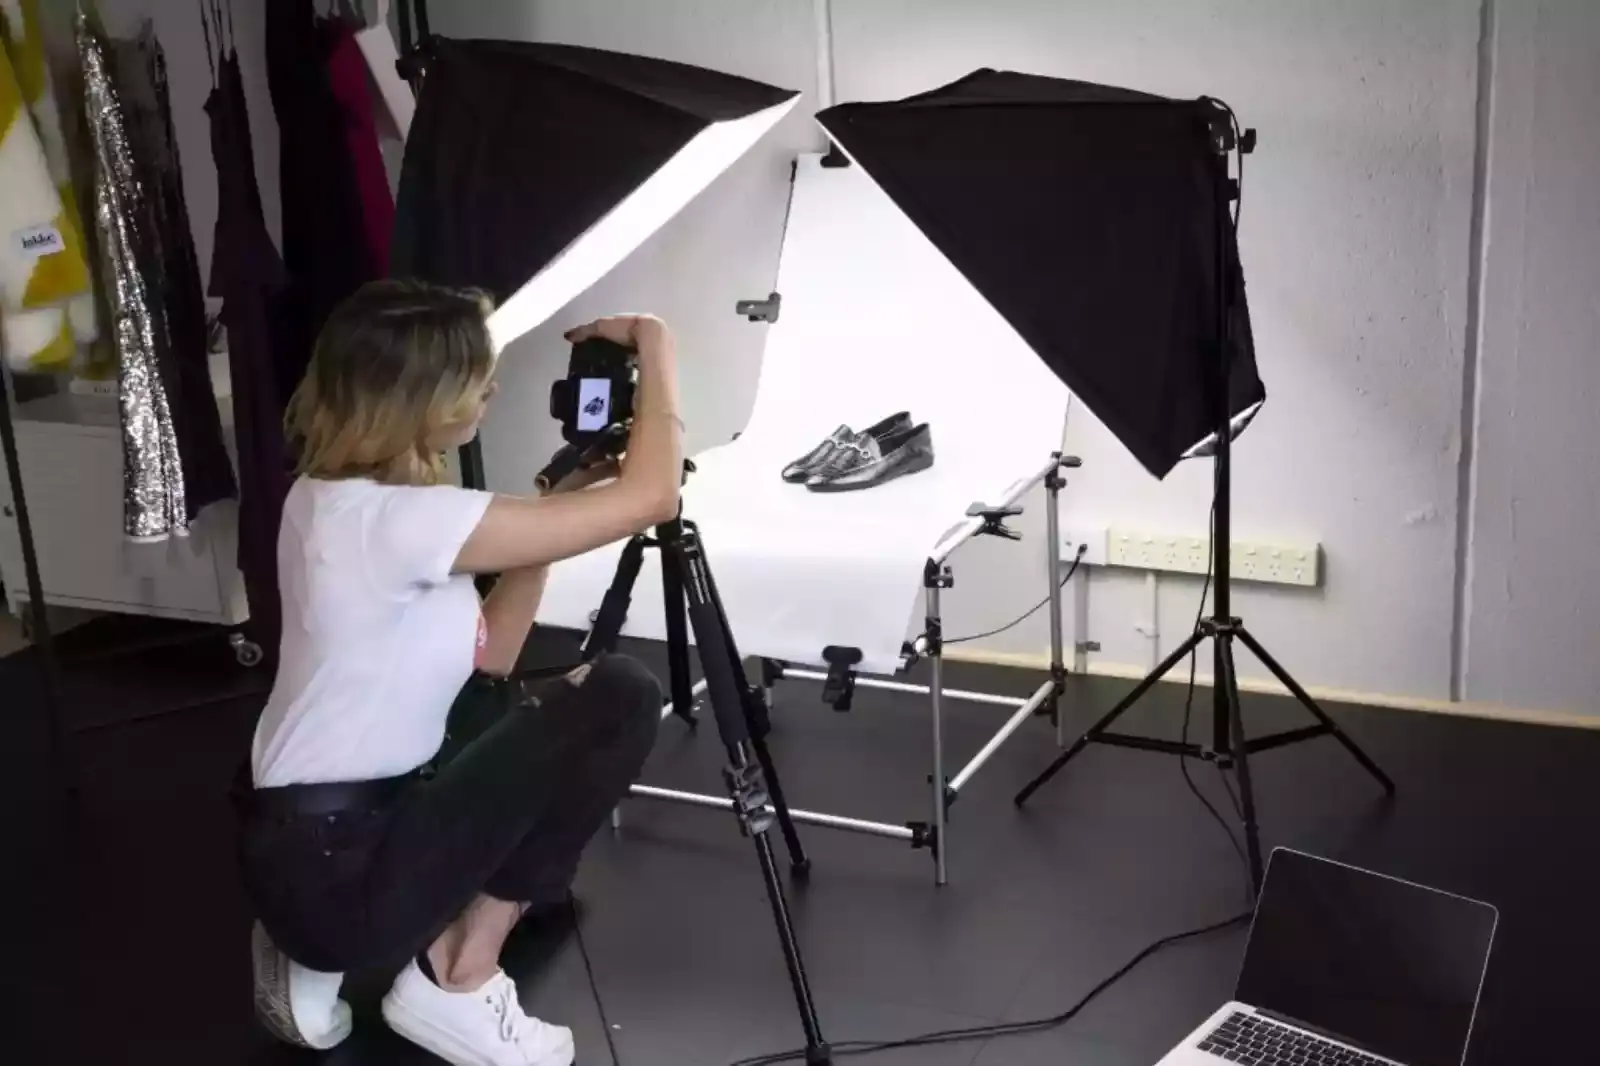
1. Camera for Taking Pictures of Products

You need a DSLR camera to get the best results. It's the most expensive piece of equipment on the list of things you need for product photography. Some well-known DSLR camera brands are:
1. Canon
2. Nikon.
If you can't afford a DSLR camera, you can start with a good camera on your phone and save up for a DSLR camera.
2. Lenses for product photography

A kit lens is a lens that comes with your DSLR camera, so you don't need to buy anything else. Personalised lenses, like macro lenses, are for taking close-up pictures.
1. A prime lens for very clear images.
2. A higher-quality zoom lens will give you sharper pictures and more options than your kit lens.
3. Tripod for product photography
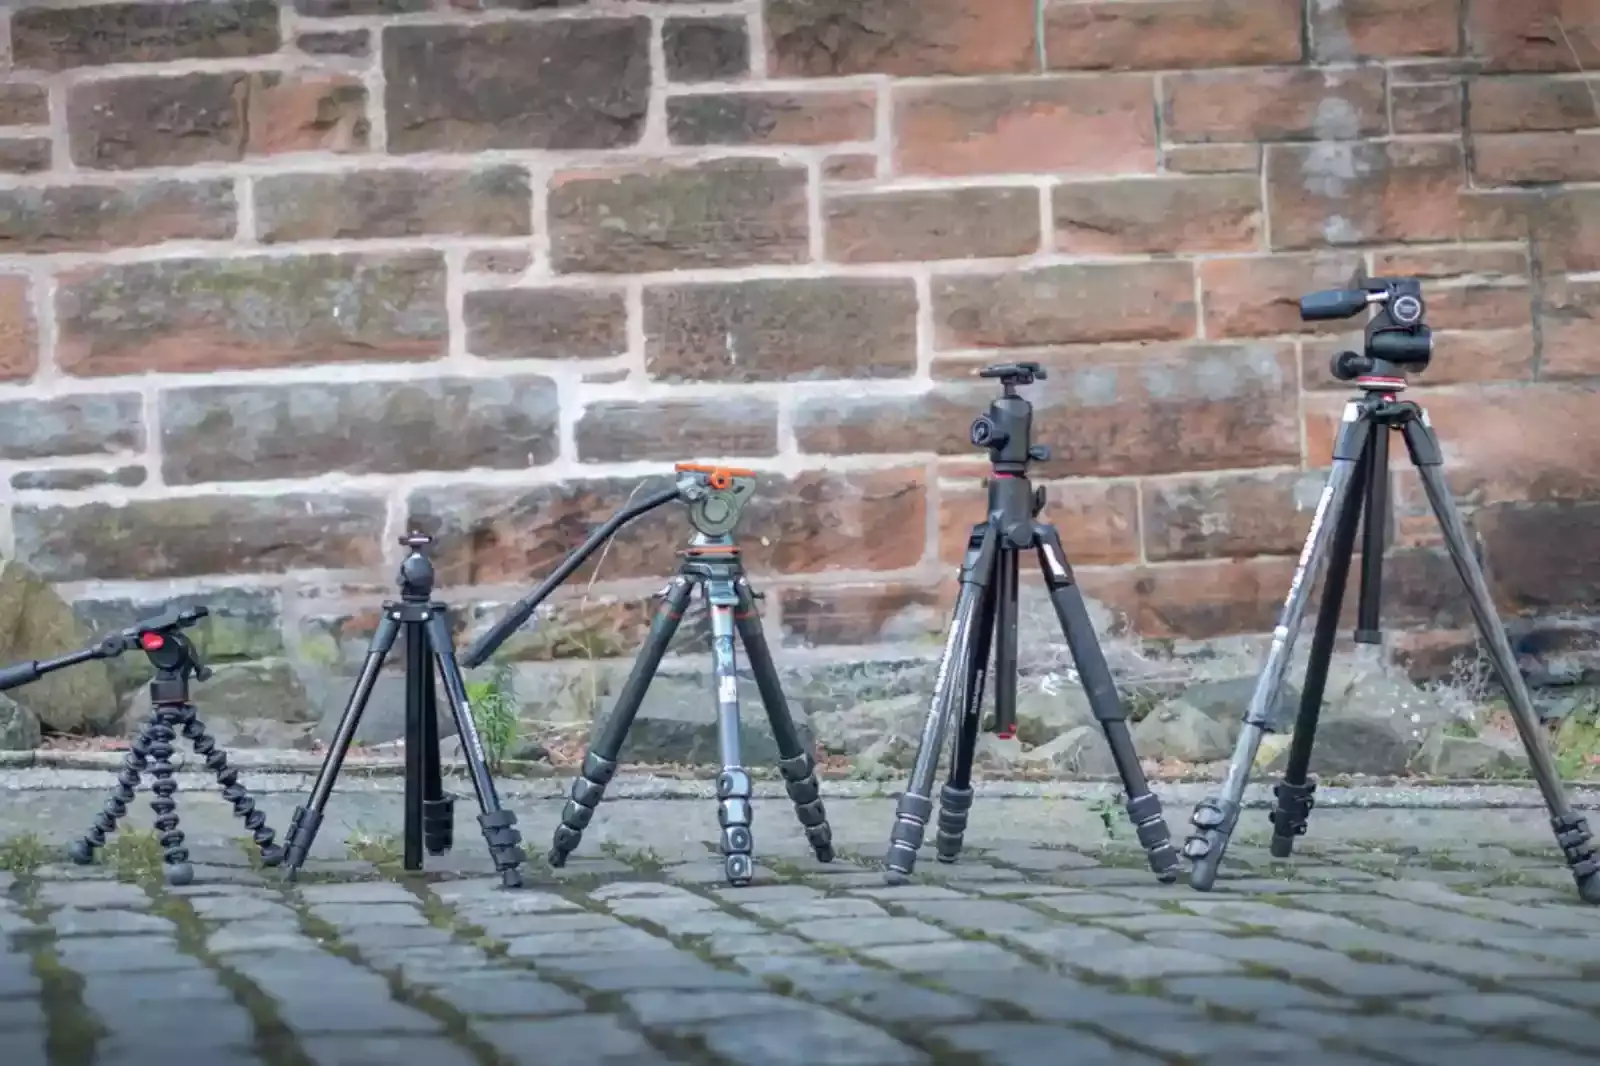
A tripod To free up your hands, keep things steady, and take sharper photos. You don't HAVE to have a tripod to get started, but it's beneficial to have one. I suggest you buy this piece of equipment as soon as possible.
4. Remote Shutter
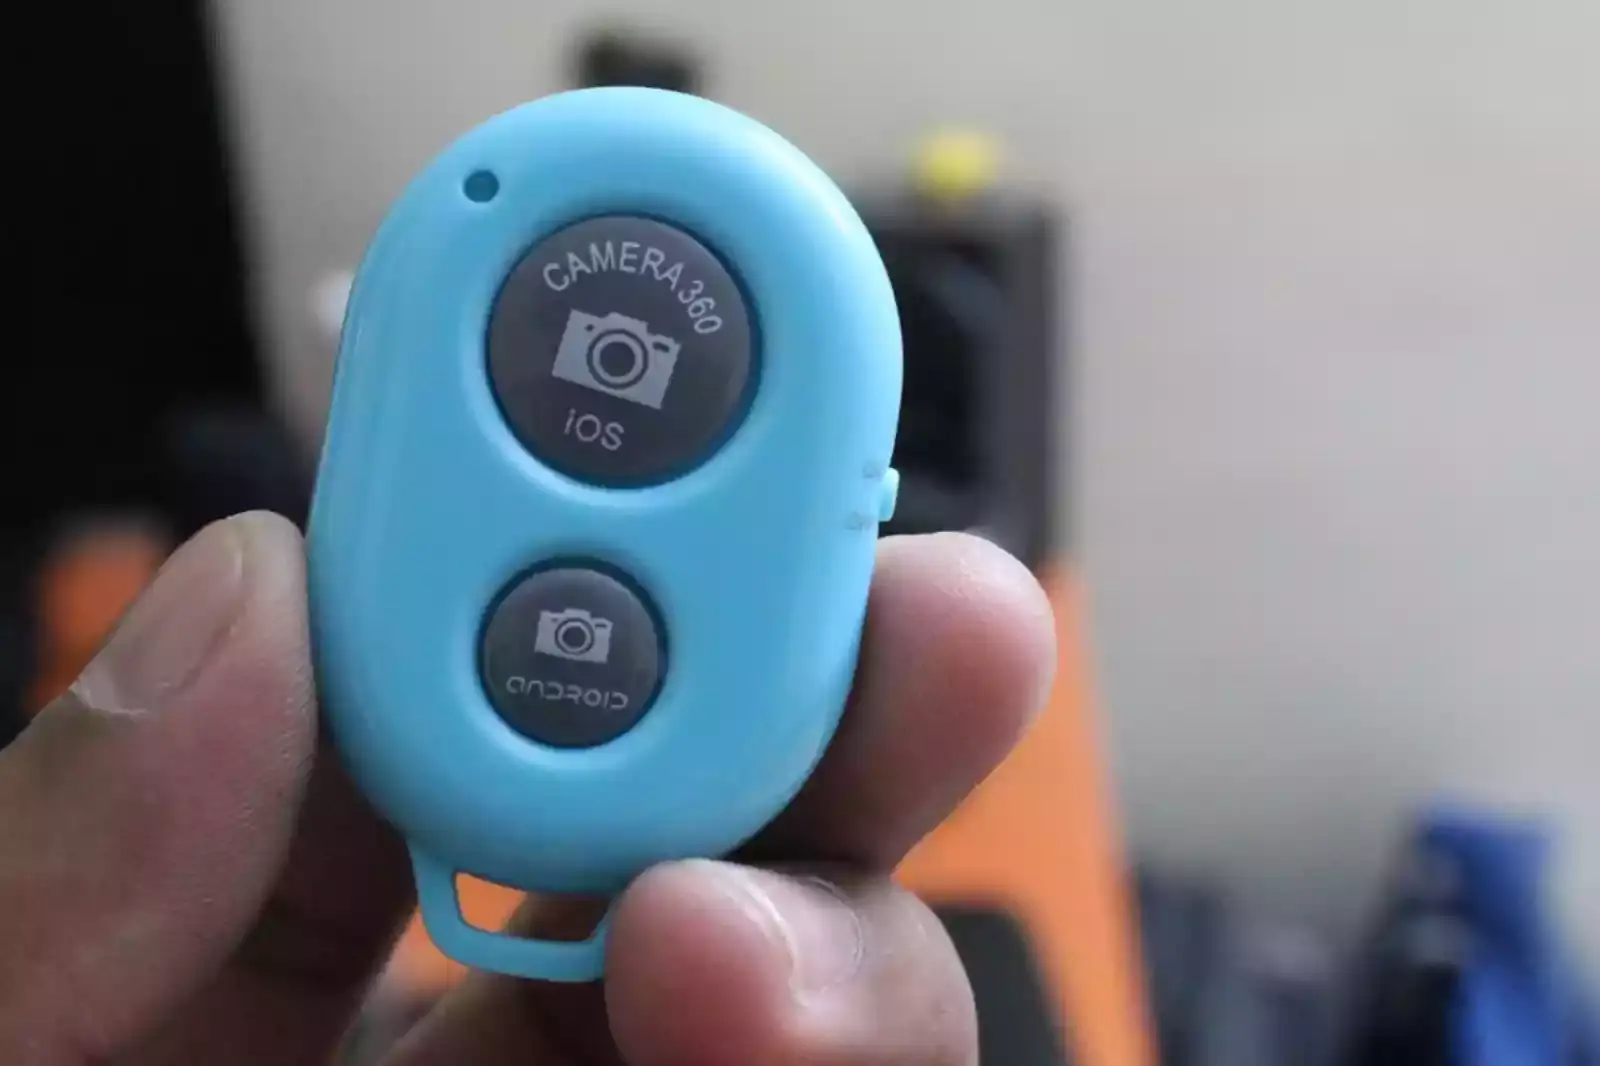
A remote shutter release to get sharper photos, especially when the shutter speed is slow. You can start by holding your camera by hand. But using a tripod to take pictures of products can change your life completely.
Using a tripod is a great way to make a series of sharp, consistent pictures. It gives your camera a stable base and helps you. Take sharp photos in complex situations, like when you're close or using a slow shutter speed.
Create consistency across a series of pictures by setting up your tripod the same way each time. Take photos from angles that would be hard to reach with a hand-held camera. Free up your hands to do other things.
5. Bounce Cards
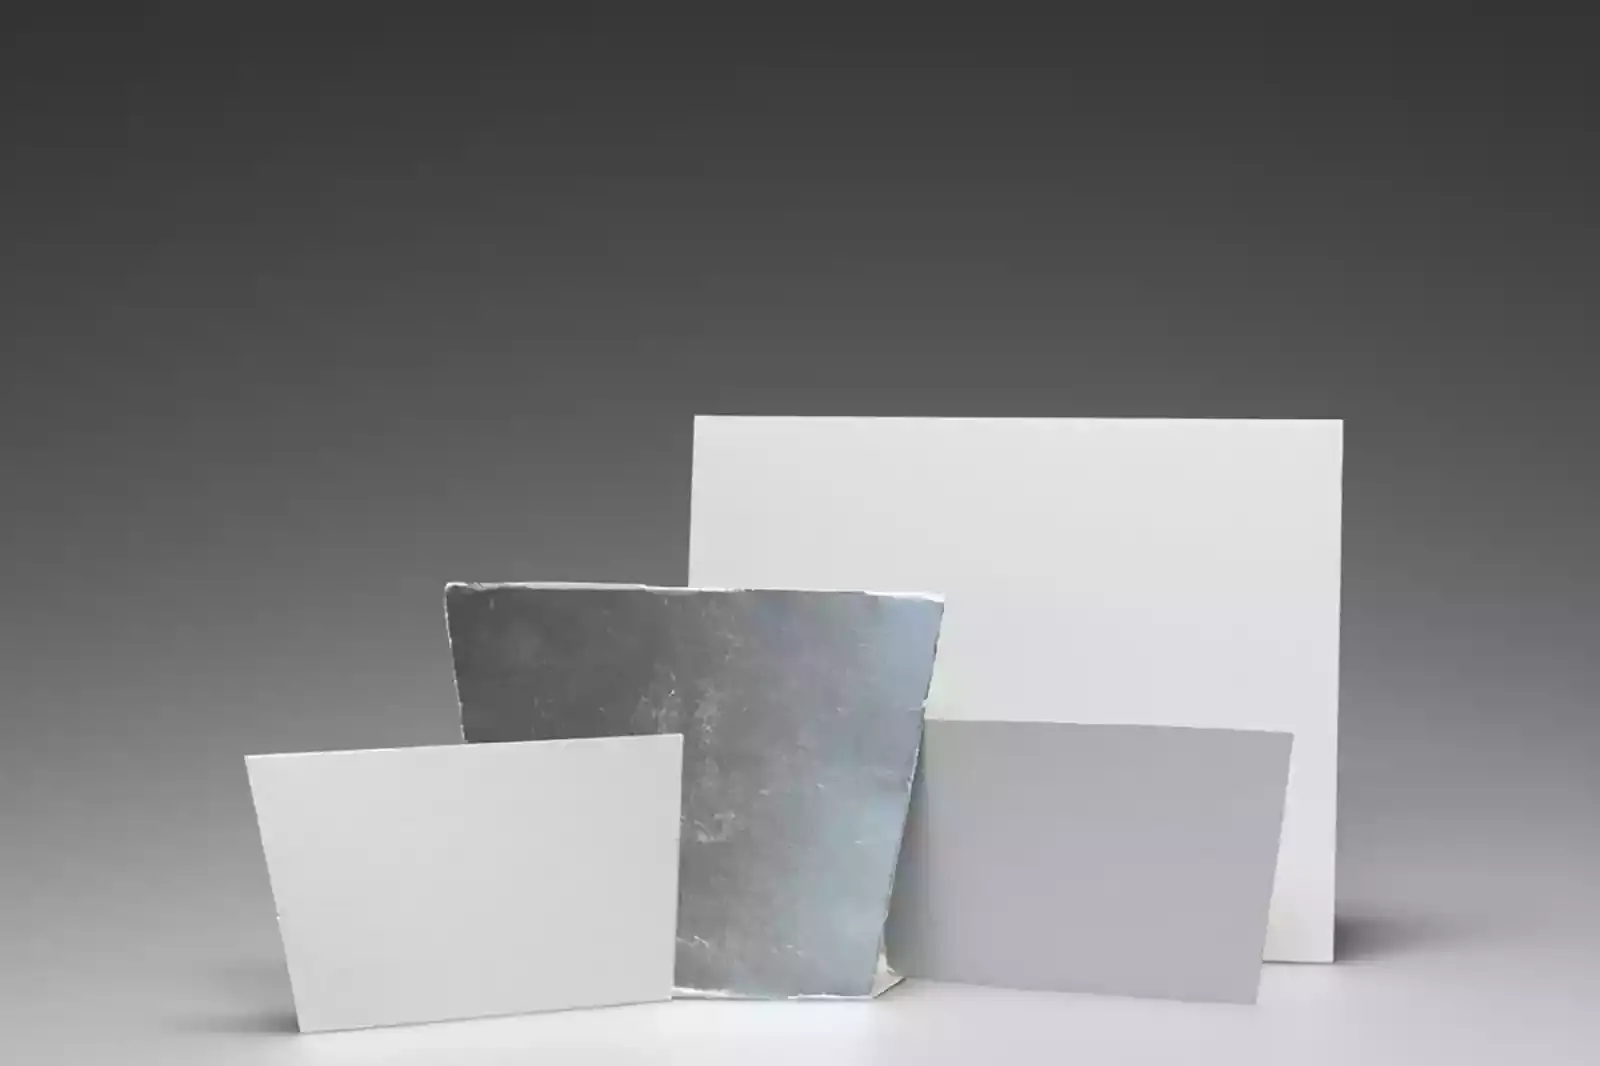
If you're shooting indoors and using natural light from a window or the sun, you'll need bounce cards to make the shadows thinner or thicker, depending on the product and background. Bounce cards are helpful because they eliminate shadows caused by shooting with light from a window or the sun.
When natural light shines on your product, it makes some parts brighter and others darker. In different situations, bounce cards either remove or strengthen the shadows.
A black bounce card works excellently when shooting a white product against a white background. It would give your product that professional-looking dark look. A white bounce card does the opposite, removing shadows in your pictures.
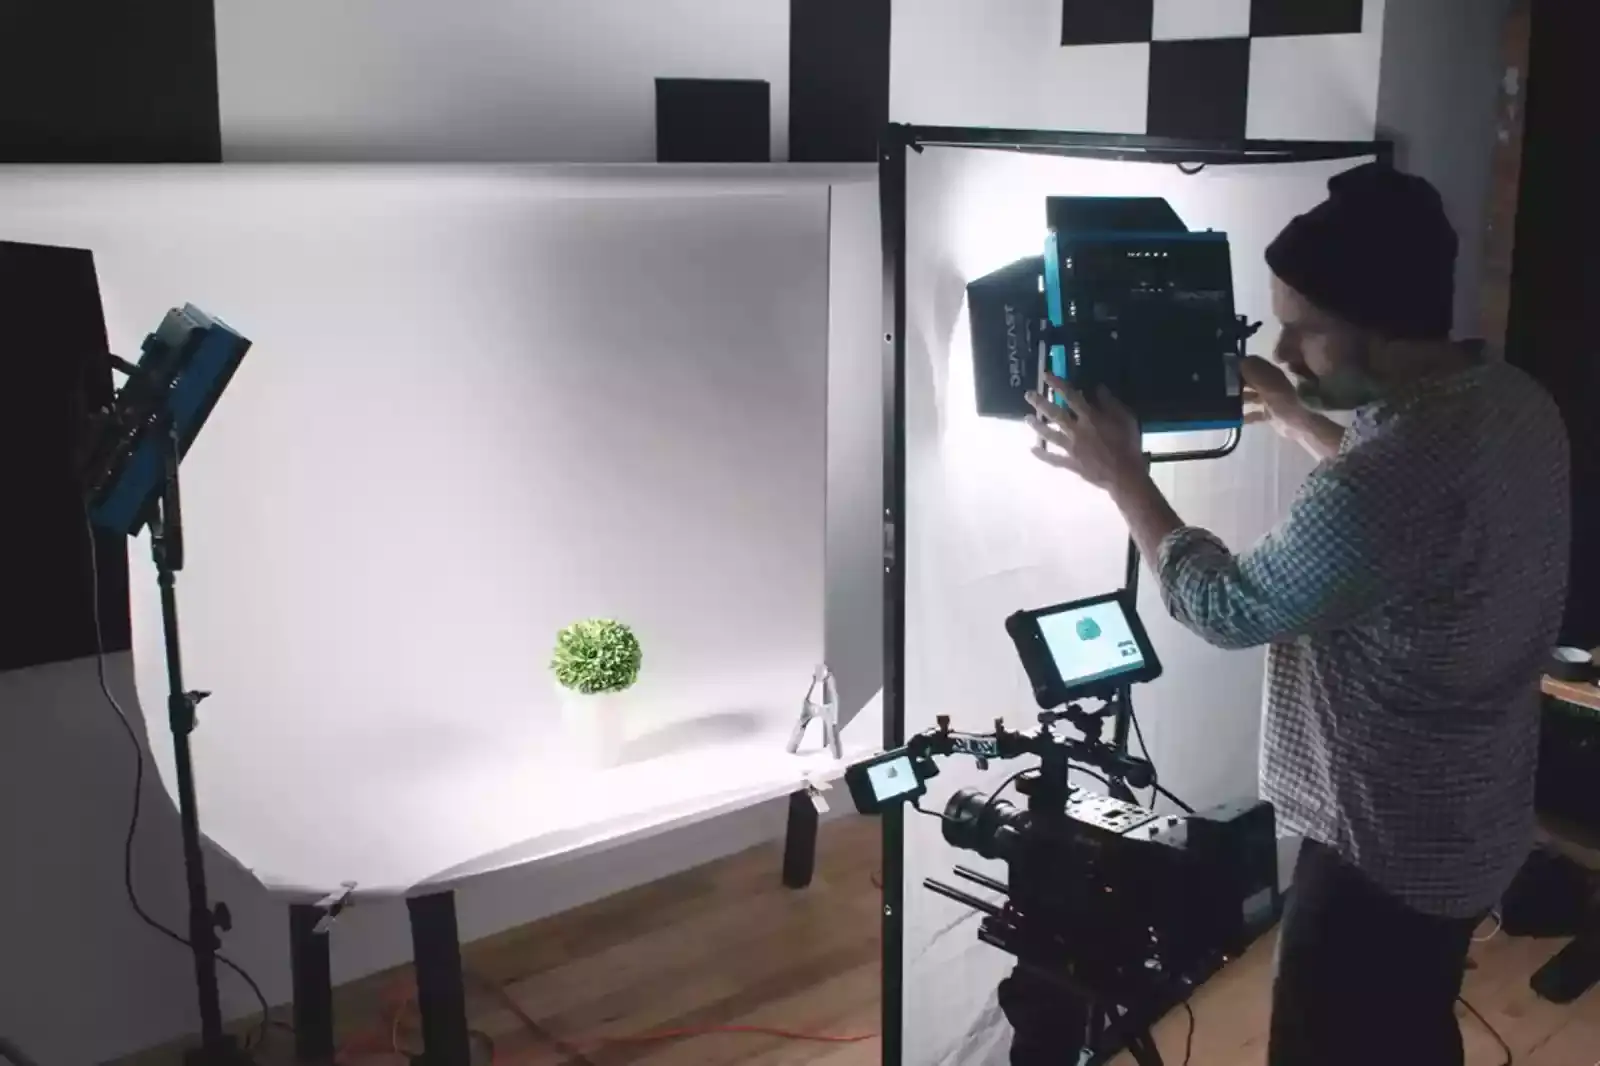
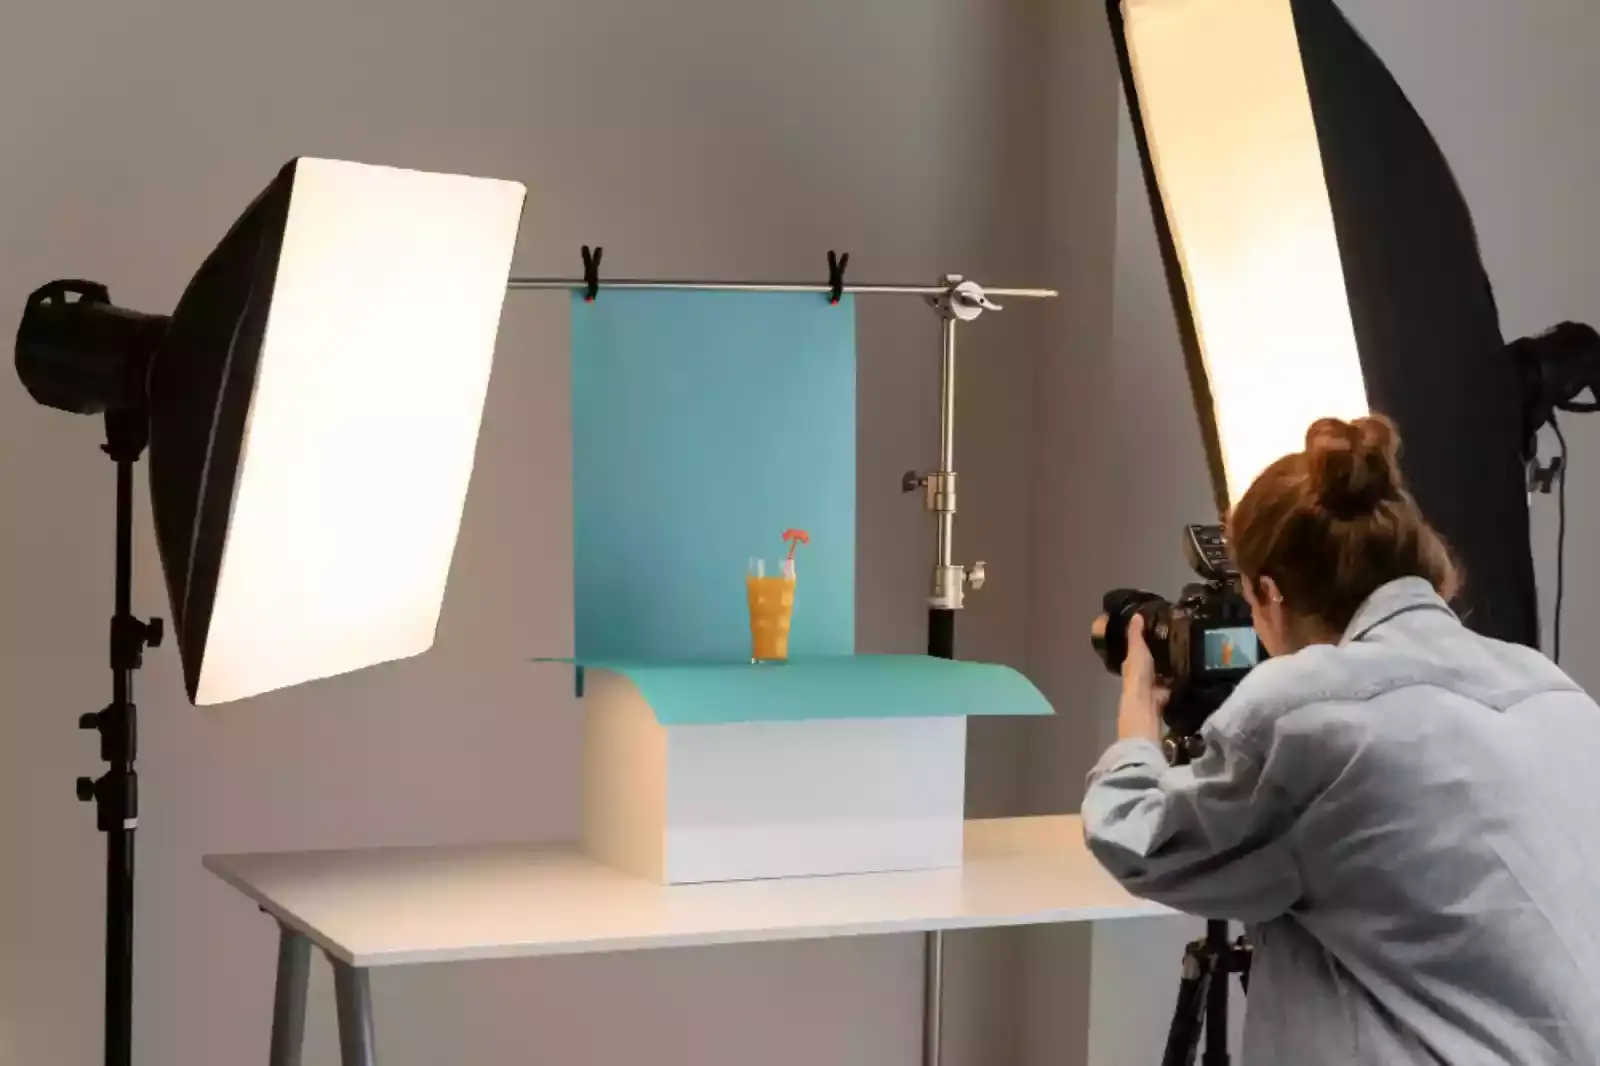
6. Lighting Equipment for Photography
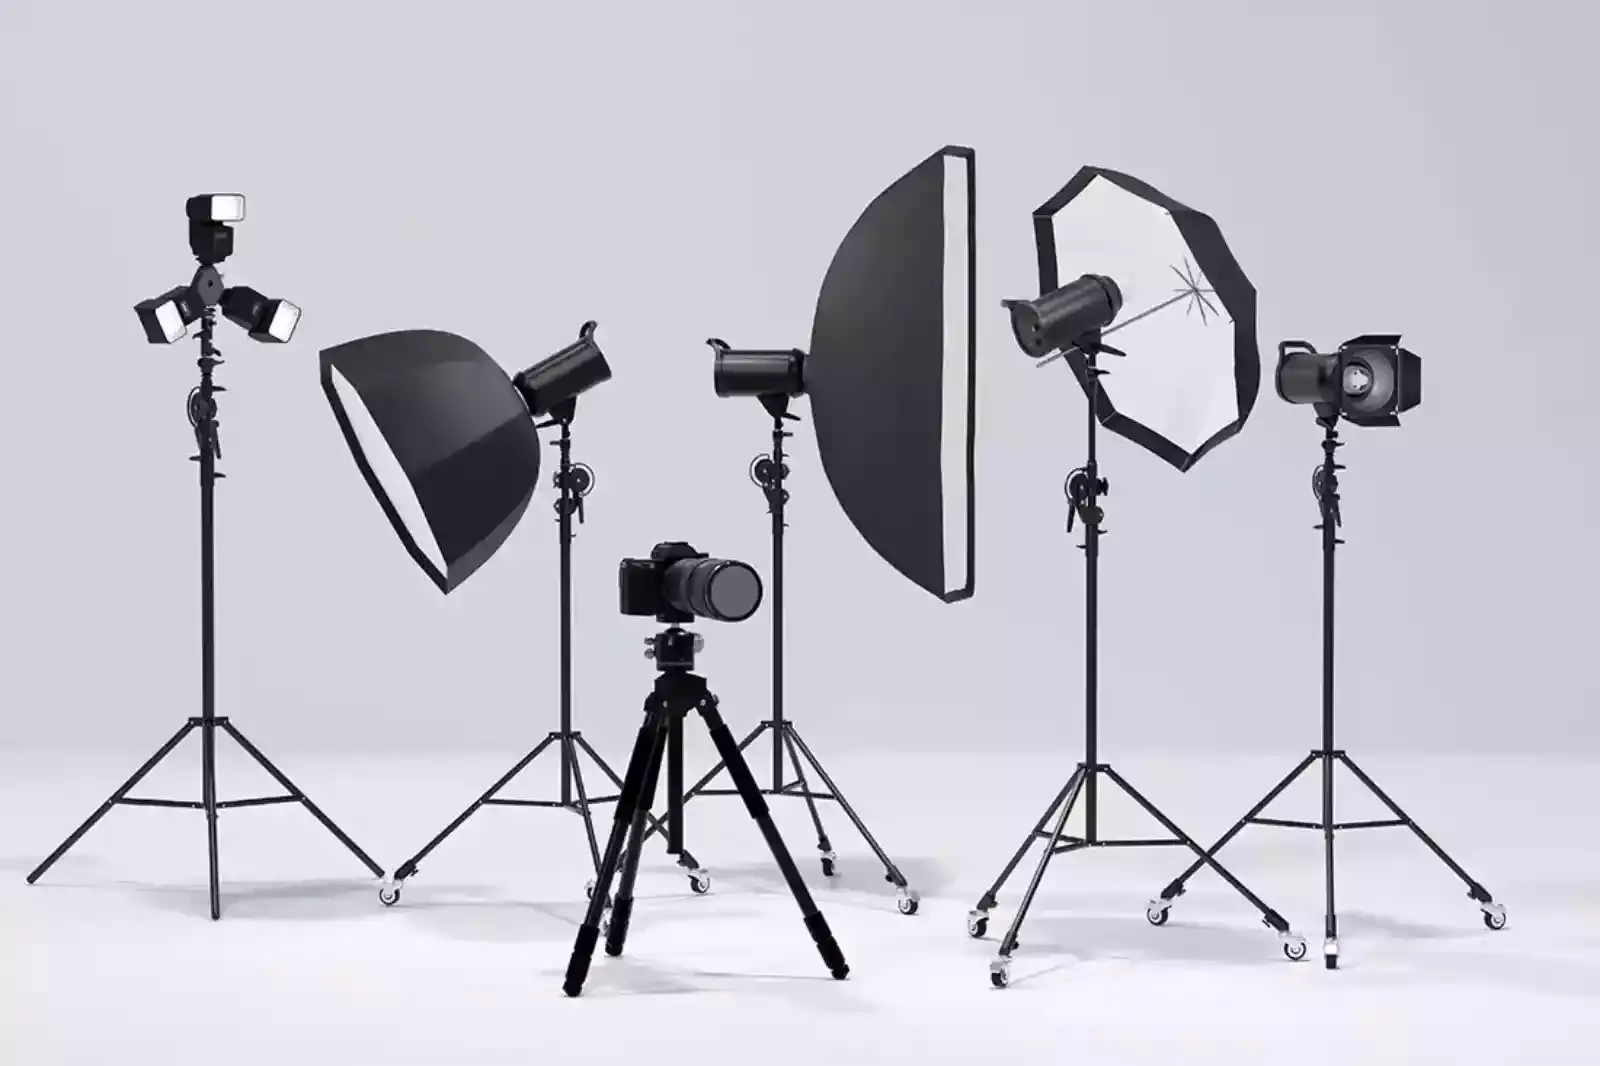
Natural light is one of life's best freebies. If the sun is out and you have a room with windows, you have all the light sources you need for photography. The only problem is that you don't have much control: you can only shoot during the day, and even then, you might have to deal with clouds or harsh light.
If you use artificial lighting, you can always get the shot you want, no matter the weather or time of day. It's not required, but it will ensure you can always take good photos of your products. You can have more control over your lighting options with artificial lights. Beginners should start with two continuous lights.
If the lights you buy don't come with their stands, you can use light stands to change the height and angle of your light. A light box kit is a white box in which you put your product to take a picture.
The kit has lights, and the package can reflect and spread the light. Lightbox product photography is excellent for new photographers because putting your product inside a lightbox solves many common problems.
7. Props & Tools
Tools to prepare your product for photos: you must ensure your product is clean and perfect. I have put the following styling tools and props on my buying list. You may need some of these items immediately, depending on how you want to style and arrange your products, and you may need some of these items immediately.
Future:
1. Clear acrylic blocks and risers let you put things in different positions and heights.
2. To keep your things in place, you'll need something sticky. You could use glue putty, glue dots, or low-tack tape.
3. Styling props are extra things you use to make your scene more interesting.
3. Clamps are used to keep backdrops and other things in place.
Photo Editing Software & Apps
When you're done taking pictures of your crafts, you'll need a way to edit them. Your needs will determine which photo editing software is best for you.
Desktop Photo Editing Software
- Erase.bg
- Paint.net
- Gimp
- Photoshop
- Pixlr
- Photo Editor
- Canva
- PicMonkey
Each program has its good points. Find out more about my top choices for photo editing software so you can choose the best one for your needs.
Mobile Image Editing Apps
1. Snapseed is good for editing photos all around.
2. Afterlight is good for editing photos all around.
3. TouchRetouch is good for fixing flaws.
4. AntiCrop is good for straightening images.
5. SKRWT is good for putting things in the right place.
6. Priime is a good way to add filters.
Procedure for product photography Detailed Step-by-Step
Set up your background.
Choosing the right background keeps the focus on the product you're photographing and makes it easier to edit the photo after it's been taken. A white or light set will eliminate unwanted things and fix your images easier.
Shooting table
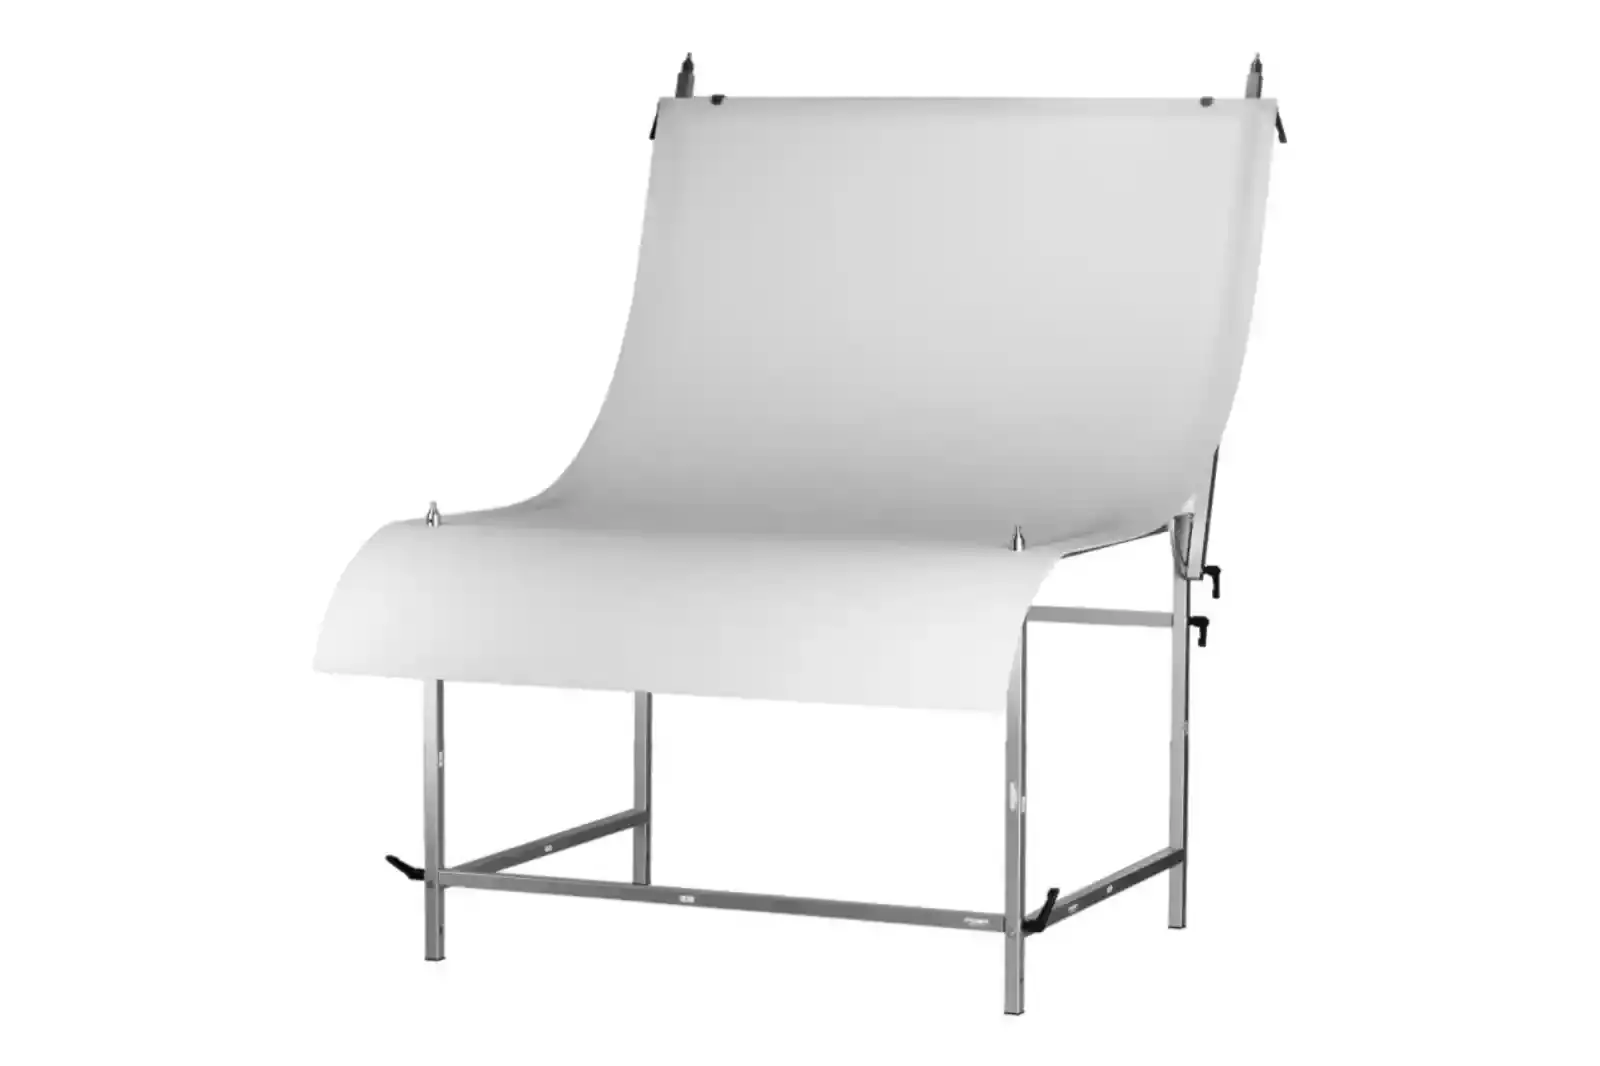
If you plan to take many pictures, you might want to order a white sweep from Amazon. But if you're going to make something yourself, you can use a roll of white craft paper to make a chair-mounted sweep.
All you have to do is put the chair's back against a wall and tape the craft paper to the wall above it, letting it fall to the ground. This will smooth the transition between the vertical and horizontal planes whenever you put your product on the chair.
Light tent
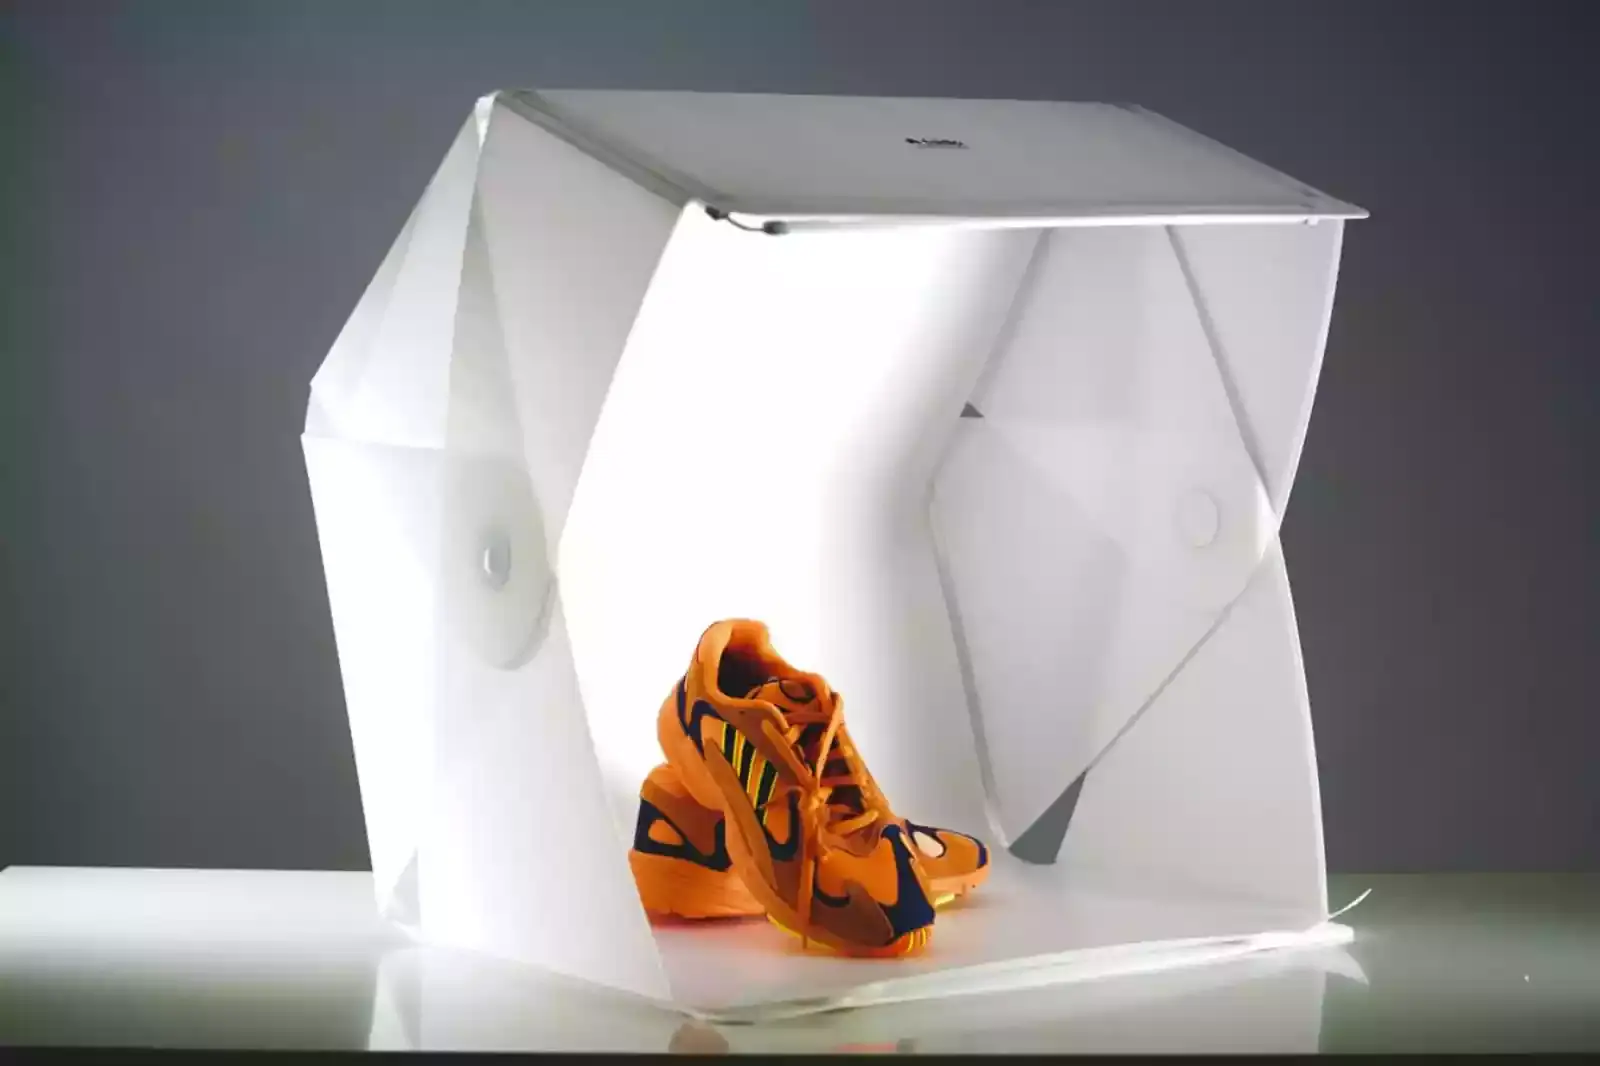
You can also save money on a backdrop by making your light tent, also known as a lightbox. This is a box made of wires with see-through walls. This helps spread light evenly around the object in focus.
To make your own, turn a plastic storage container on its side and remove the lid. Next, cover the bottom and all the other sides with the white paper if you want the light to spread out more evenly. Lastly, put an artificial light on either side of the container, or if you're on a tight budget, use natural light from a nearby window.
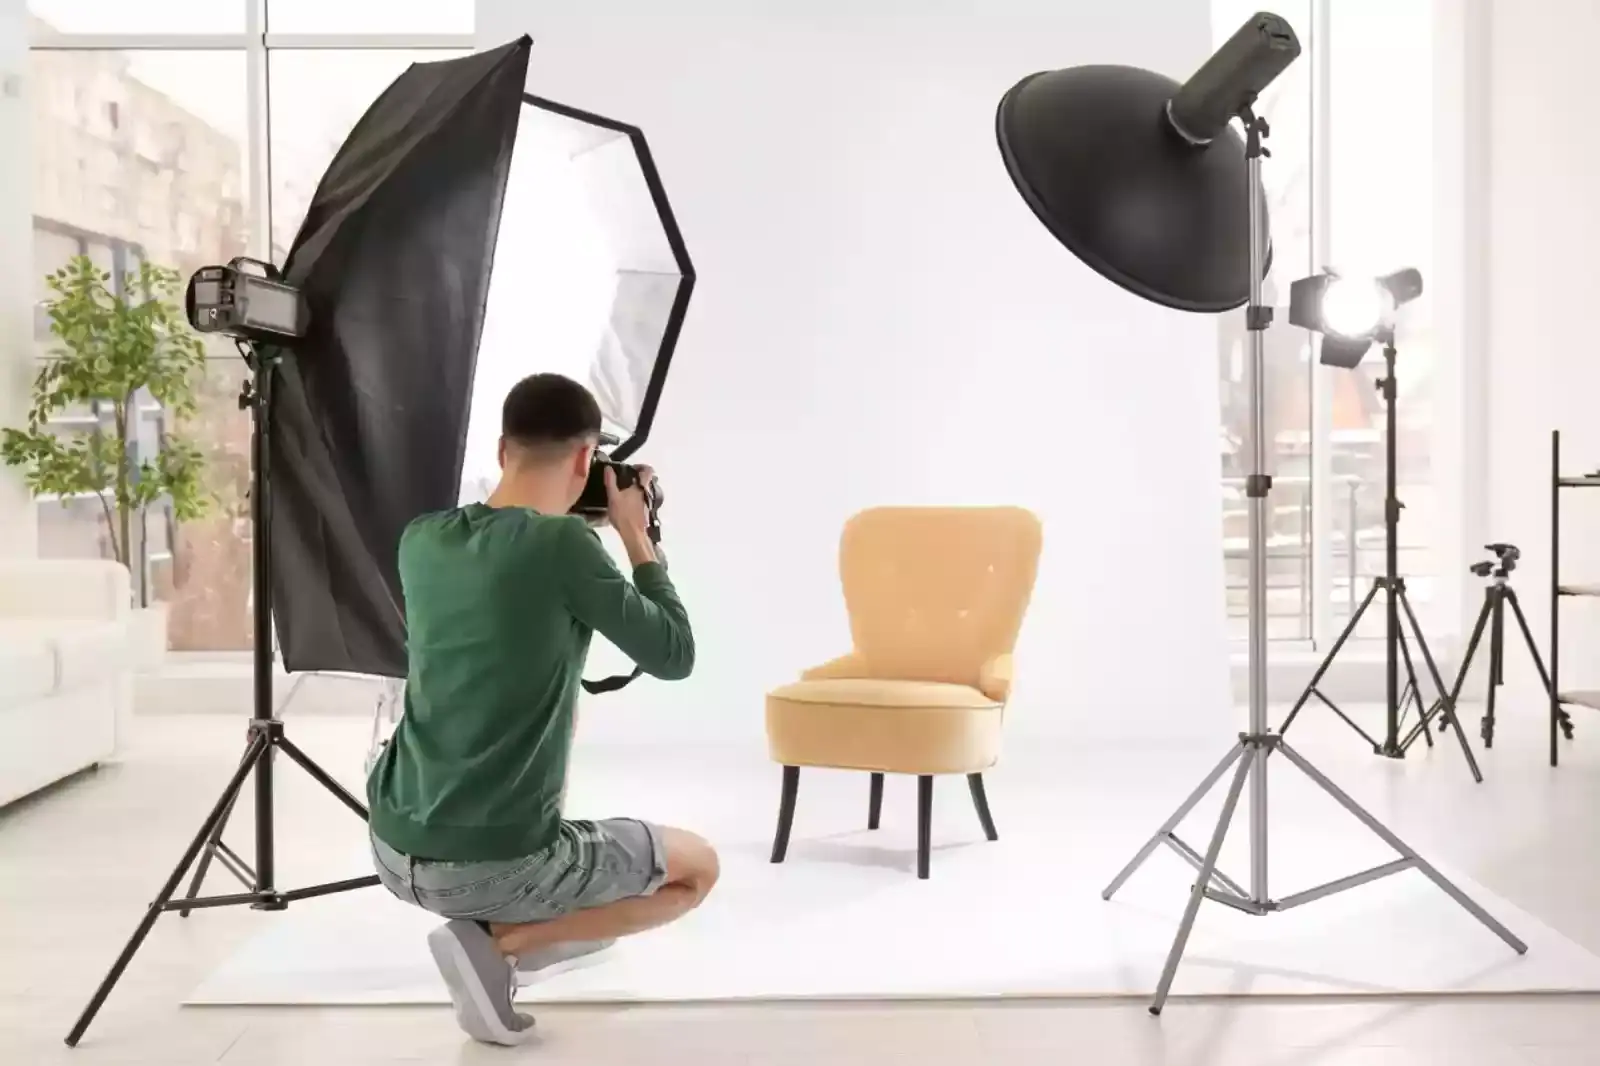
Set up your product.
Place your product in front of the backdrop, ensuring it is in the middle and on a flat, stable surface like a table or chair. You may need to adjust for items with labels or unique designs until it's in the middle.
Adjust your lighting.
To get clear and sharp images, you need good natural lighting. You can make your product photos more interesting by controlling the shadows cast by natural light.
But one thing you can always count on about nature is that it is unpredictable, and so is natural lighting, which can change from minute to minute. You need to be ready for anything that could happen. When using natural light to light your subject, there are three terms you should know:
1. A product is front-lit when indirect natural light hits it straight on.
2. Backlit means that the light is coming from behind your subject.
3. The light comes from either side when a product is side-lit.
Choose a good camera.
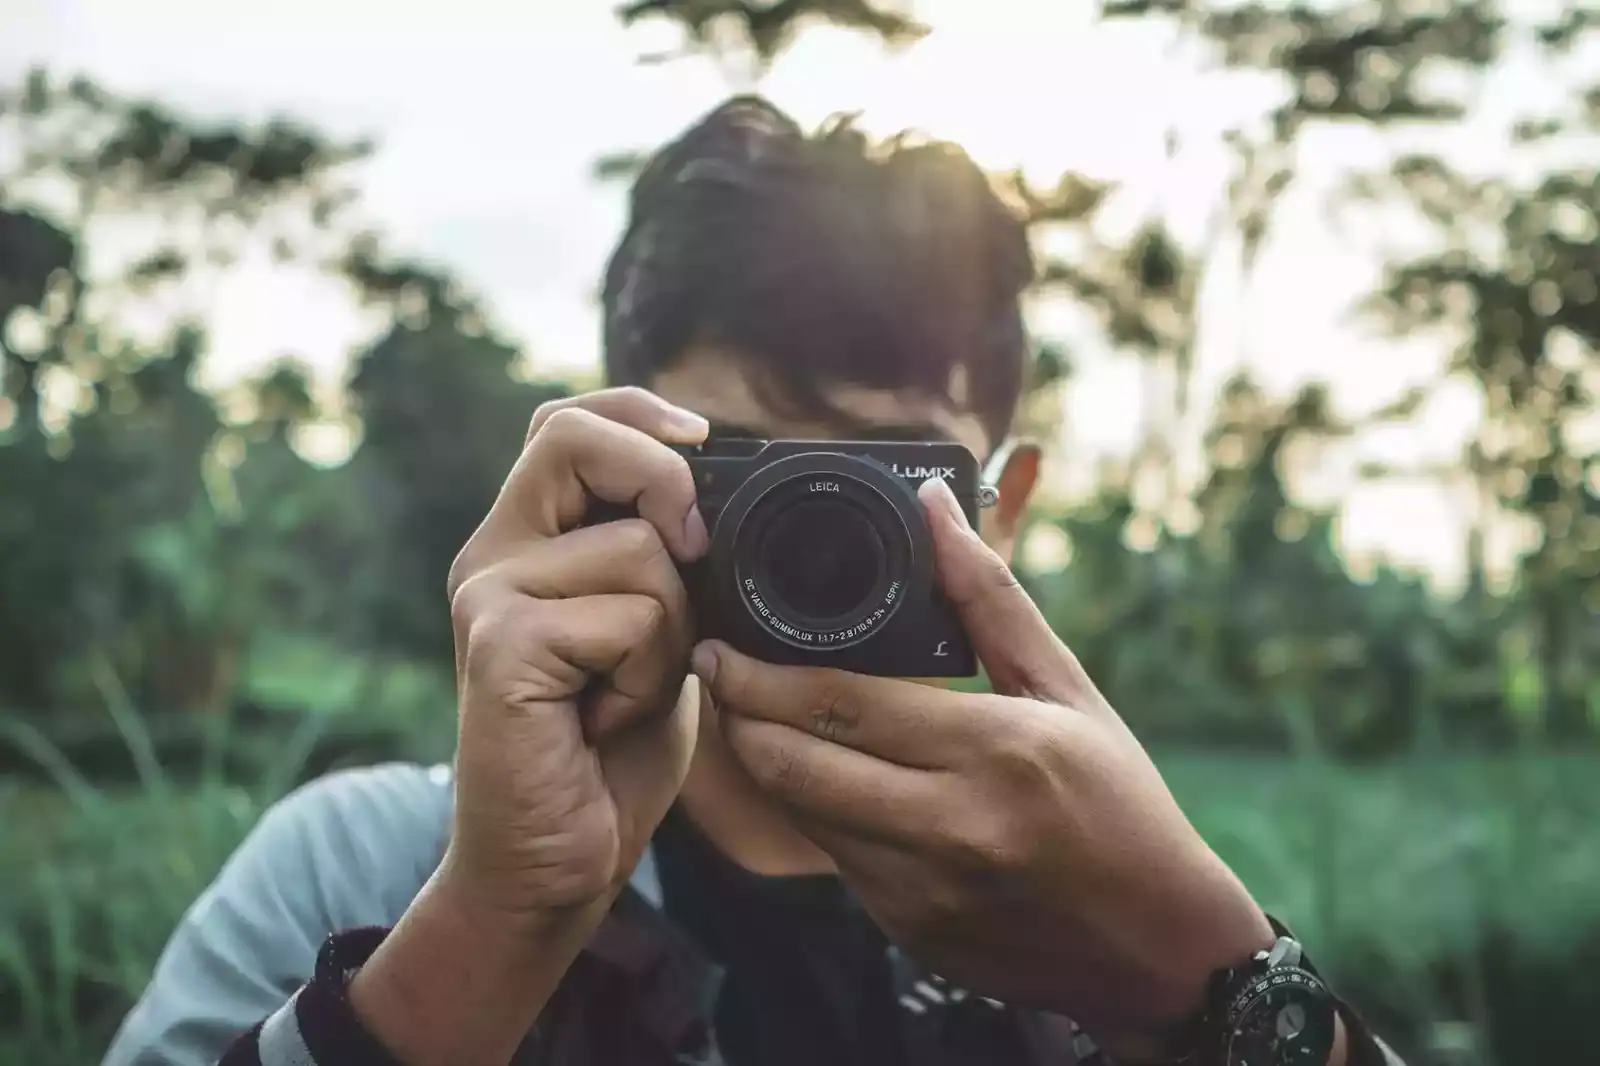
Choosing the right camera is one of the essential parts of taking good photos of products. Smartphone technology has come a long way, so if you already have an iPhone in your pocket, you'll be fine.
You can always play around with the lighting or the background to get that perfect shot. DSLR camera if you don't plan on doing photoshoots often or are on a tight budget.
Evaluation after taking many photos.
It's now time to put your product pictures to use! Remember that the first few may be rusty when you're ready to start snapping, so feel free to take many. Try a few photos to determine which angle, distance, and location work best.
Once you've shot as many photos as necessary, upload them to a computer to check how they turned out since the camera's small screen usually doesn't accurately represent them. A tool like Adobe Lightroom may be helpful to arrange your photographs and start editing.
Photoshop your photos.
Post-production has now begun. Even if you've presumably already taken a few shots you like, editing your photos is still crucial. By doing this, you can transform your photographs from mediocre to professional-level ones and guarantee that the placement, lighting, and quality of every product image on your website are the same.
Retouching enables the correction of colour, eliminating undesired elements and lighting changes. Naturally, it could seem tiresome at first, but with some practice, you can breeze through post-production quickly.
Image optimisation
Unfortunately, the more significant the picture is, the slower the page load time on your e-commerce website. Conversely, improving your SEO may result in a decline in your image quality.
Many customers are unwilling to wait for an online business that isn't loading quickly since time is money. Because of this, optimising your photos for the finest quality is essential while also paying attention to how quickly the website loads.
Fortunately, you can optimise your photographs and strike that balance with free minifying programs. Lastly, accurately label your product photographs and add metadata and keywords to raise your search rating.
Why your Brand needs Professional Product Photography
Professional photos set the tone for your brand.
Images are essential to your brand and how your business talks to the public. Whether your business is serious, funny, or just plain fun, video and images allow you to show what your brand is all about. Plus, it shows you care about quality and professionalism, no matter who you are.
Professional photos show how your brand looks naturally.
Photos and videos of your genuine staff, office and business allow customers to feel like they know you before meeting you. You can't ignore how productive this is, especially in professional services like finance and medicine, where trust and connection are vital to keeping customers. You could always use stock photos, but they won't seem real to your customers because they don't show your product, service, or business.
It gets people interested and makes people more aware of the product.
One picture is said to be worth a thousand words. Good product photography can help you because it shows off a product's best features. Using great images to show off these features can help potential customers understand your product before they use it.
It drives engagement.
Good photos make people more likely to interact on social media and other digital channels. It stops people from scrolling so they can look at your picture. If the photo makes them feel something, they might even share it.
Professional photography is incomparable in terms of quality.
No matter how good the camera on your phone is, you can't beat the quality of a professional photographer. Because they have years of experience and use high-quality equipment, you can be sure that the photos they give you will be high quality and perfect for your website, Facebook, LinkedIn, and other platforms.
If you want to connect with your audience, you must ensure your posts have good photos and videos of your product so people are more likely to interact with your business.
Stock photos don't feel real.
The biggest problem with using stock photos is that anyone can buy and use them, so it's likely that another company is also using the same image. Also, if a picture on your website reminds visitors of a business they had a bad experience with, that can affect how they feel about your brand. We're not saying you should never use stock photos, but there are times and places for them.
Types of product Photography
1. E-Commerce Photography
Any eCommerce website needs a classic image with a white background. These pictures get rid of things that take attention away from the product. They show how a product looks and bring awareness to minor details. Since these images focus on a product's appearance, eCommerce photos are often found in online stores.
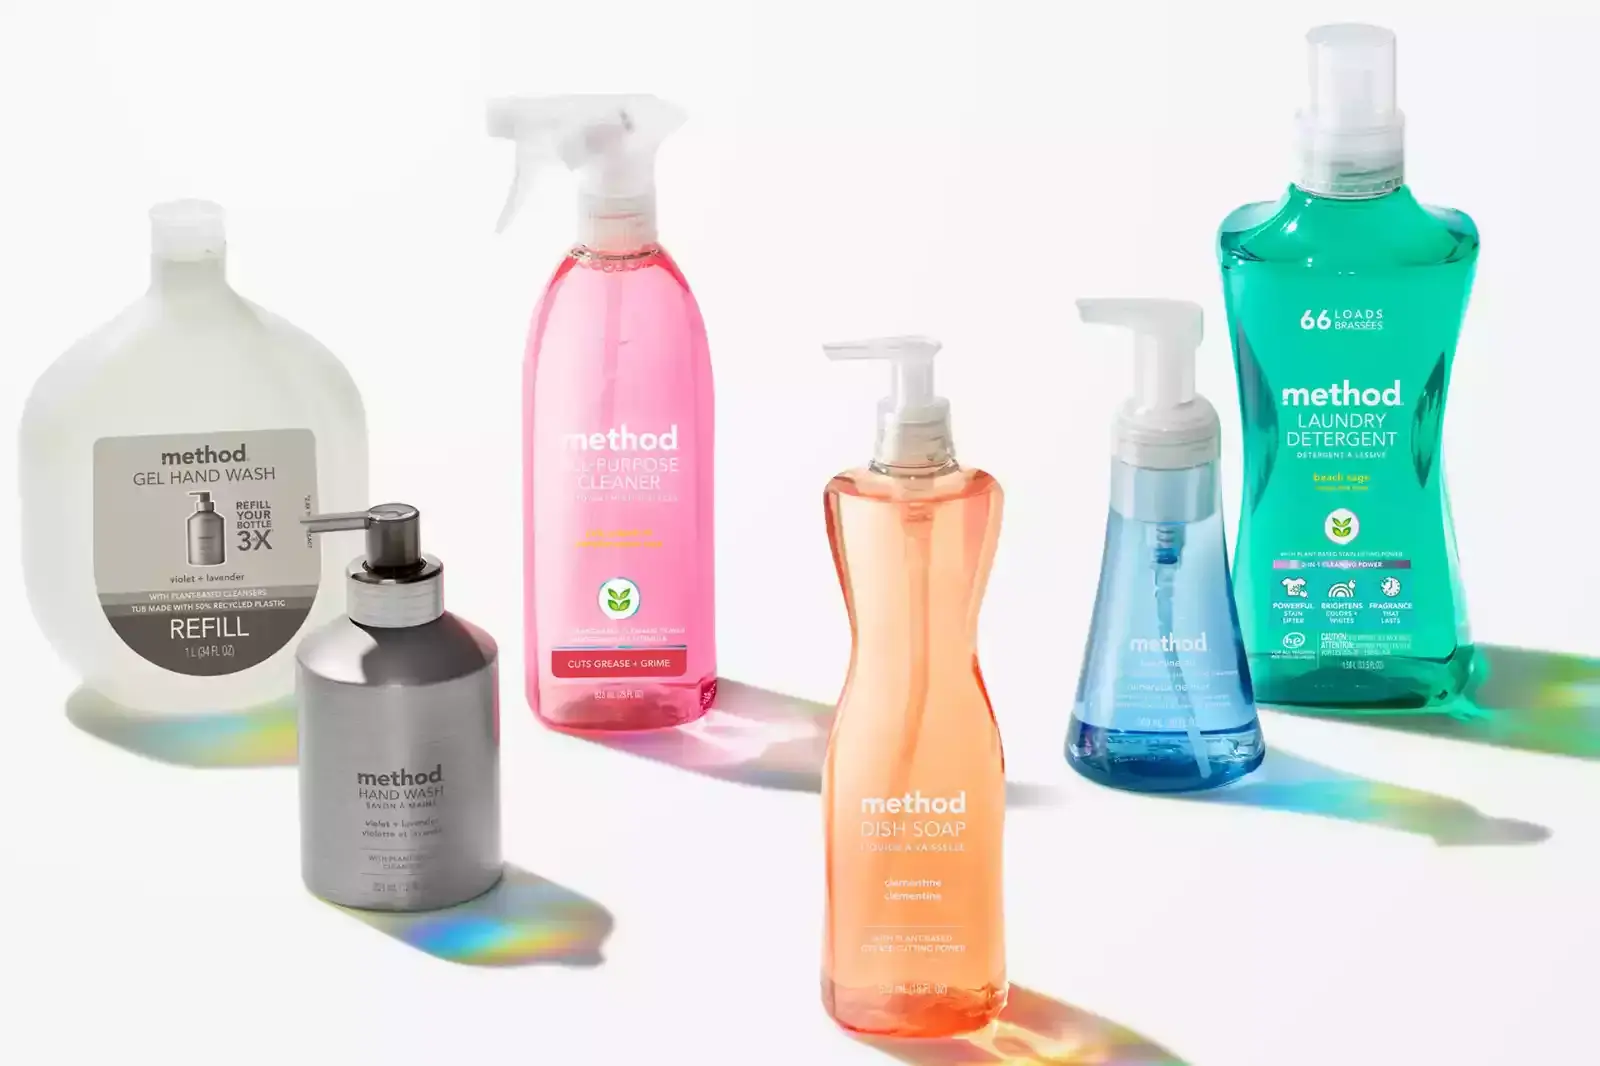
2. Group Shots
You can't go wrong with a group shot if you want to show how awesome your products are. These pictures show your store's variety and give customers choices as they shop. Usually, you can find them on website banners, in the store, or on social media.
3. Lifestyle photos
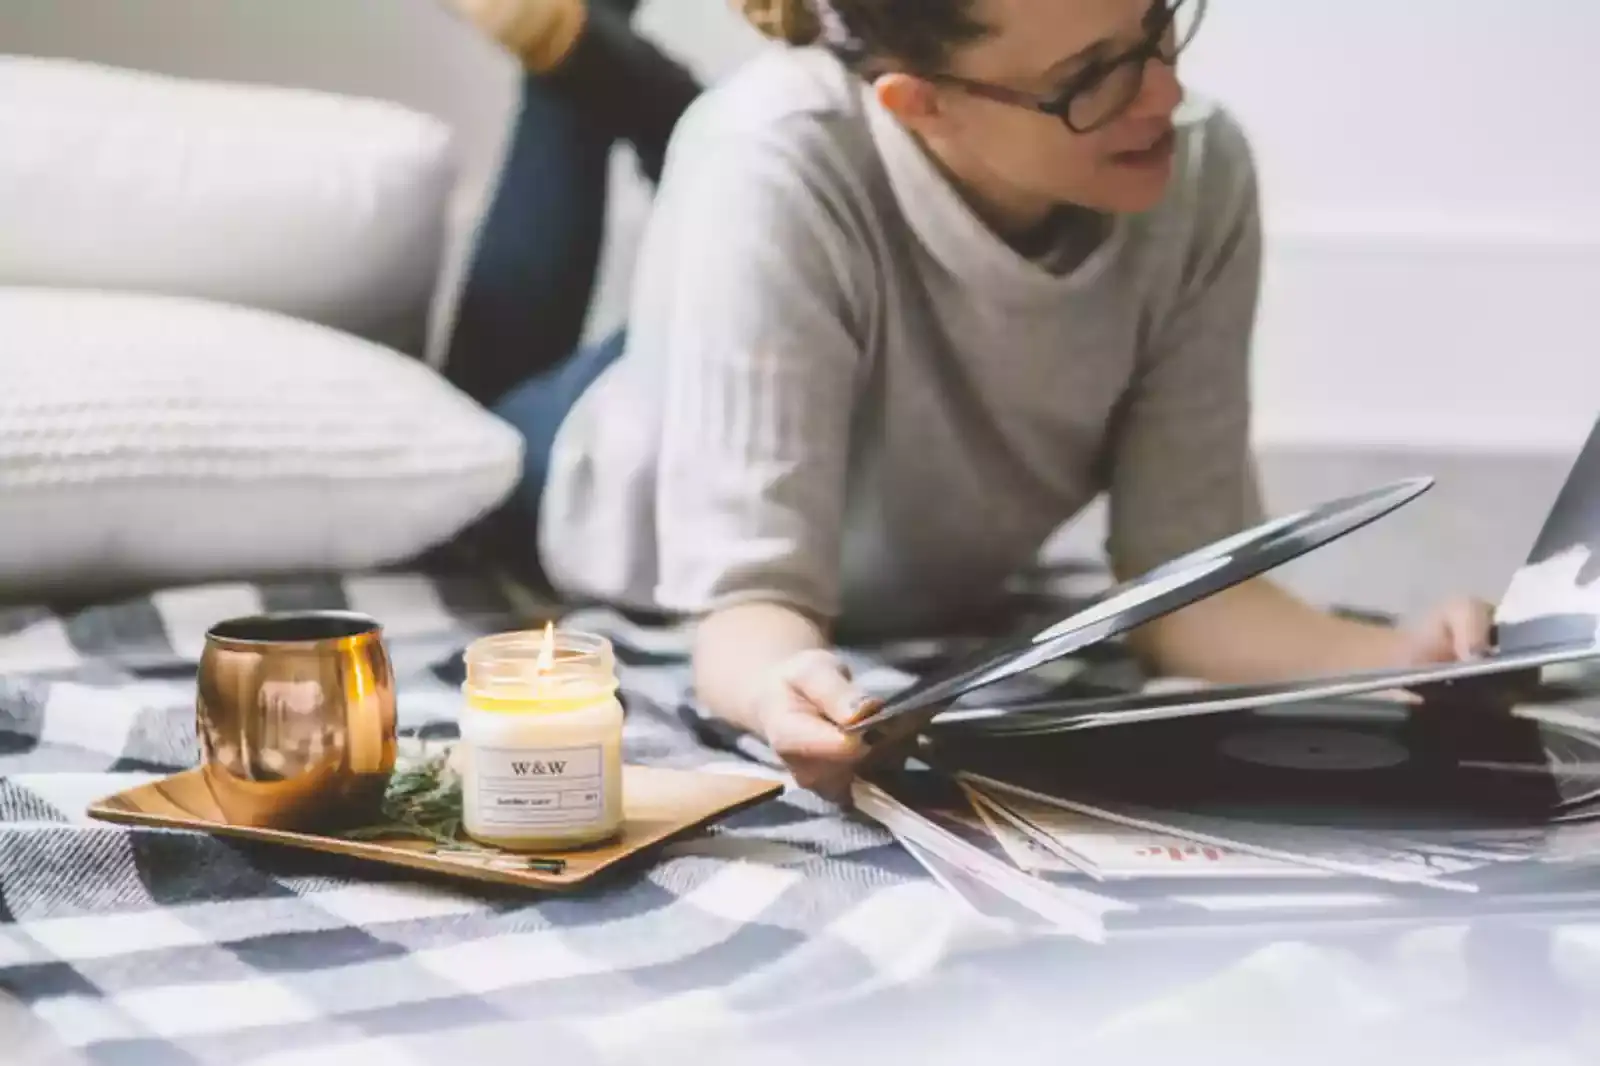
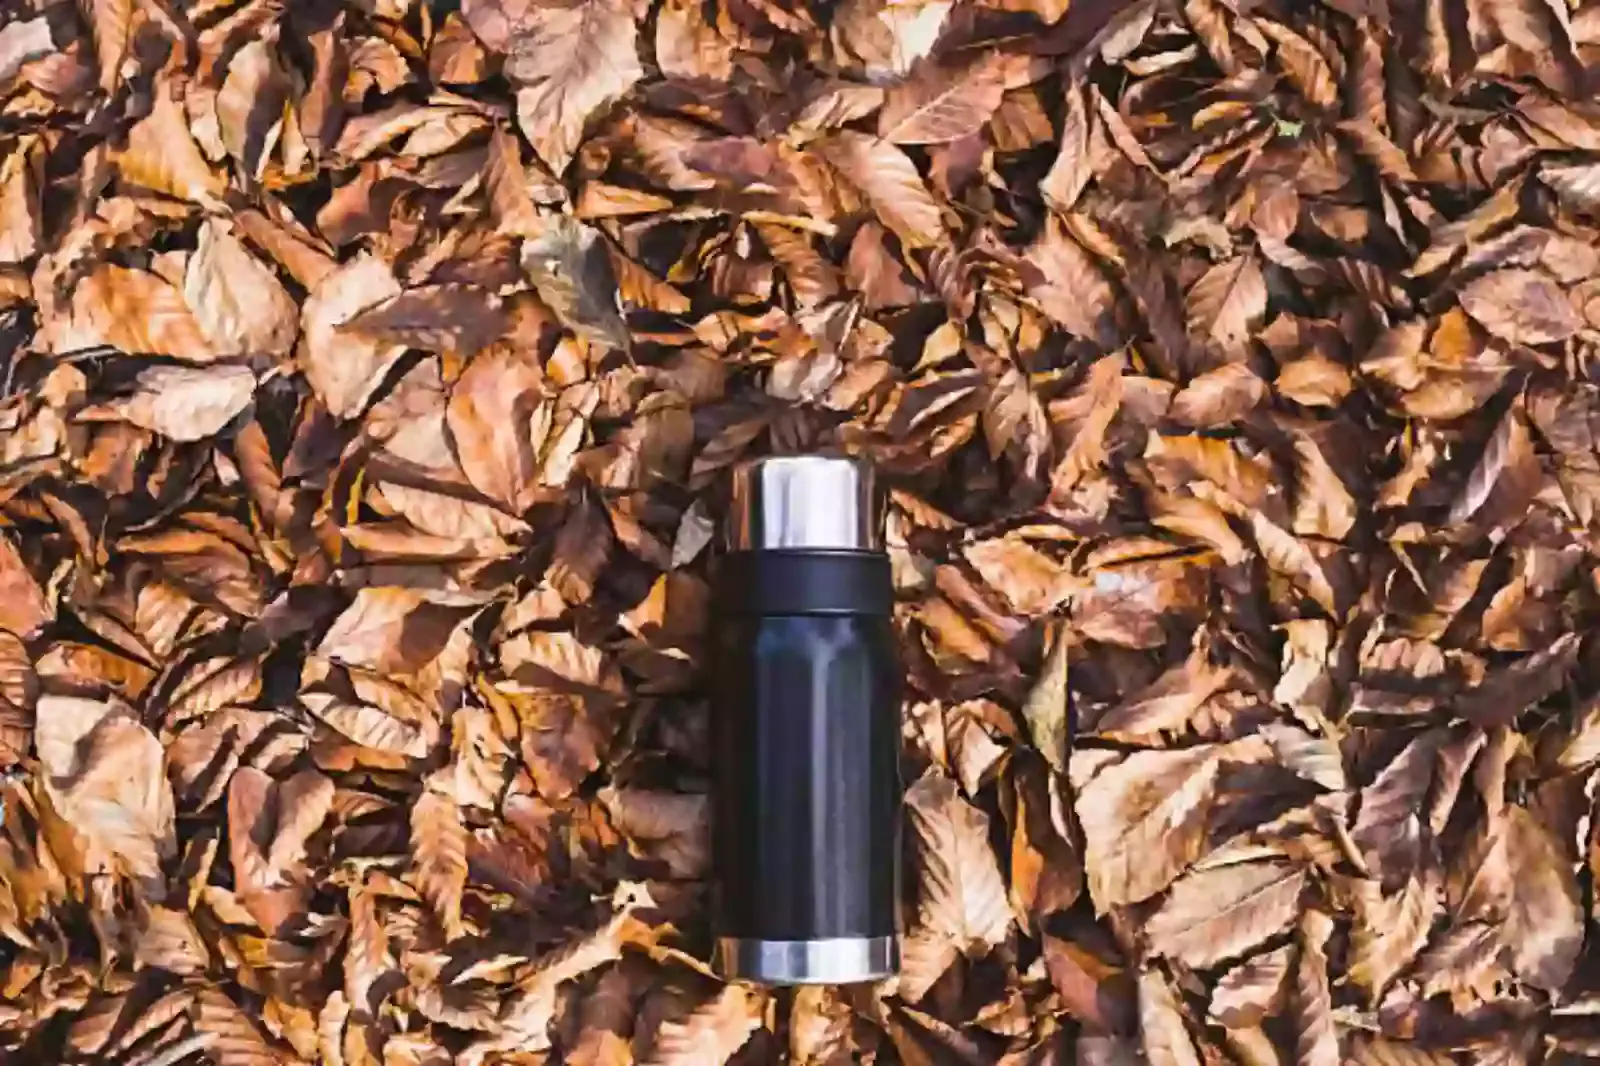
"Still life" photography goes even better with "lifestyle" photography. It aims to show how the item would be used in real life. If you're going to take a picture of camping gear, why not do it with the tents already set up?
Or, take a picture of the mug you're trying to sell sitting on a coffee table, where it would be used every day. It's also pretty convincing: if you take a warm and welcoming picture, people will want to take the things home.
Lifestyle product photos have a few basic sub-styles, such as Tabletop photography takes pictures of things that can fit on tables and is put next to items you typically find at home. Placemats, stuff for the bathroom, etc.
4. Flat-Lays
Flat-lays are another popular type of lifestyle product photography you can see on social media, eCommerce websites, and everywhere else. If you're wondering, a flat-lay is a picture taken from above with the product and props set up on a flat surface below.
The idea sounds very simple, but making a flat lay that looks good can be challenging. If you want to take better flat lays, start by ensuring that the background, props, and products have the same colour scheme.
Also, add texture to your photos to give them more depth, such as using a stone, wooden, or metal surface. Lastly, try to include someone's hands naturally. It can make the scene look much more natural and give the photo more depth.
5. Close-up pictures
This type of packshot is precisely what it sounds like a close-up of your product that shows specific details and textures. It's usually used with packshots to give more clarity and focus; it's not very expressive.
If you're selling handbags, rugs, or shoes made of fur or leather, you'll want to get some detail on the skin or leather (hopefully an imitation!) to show customers how well it was made.
6. Macro photographs
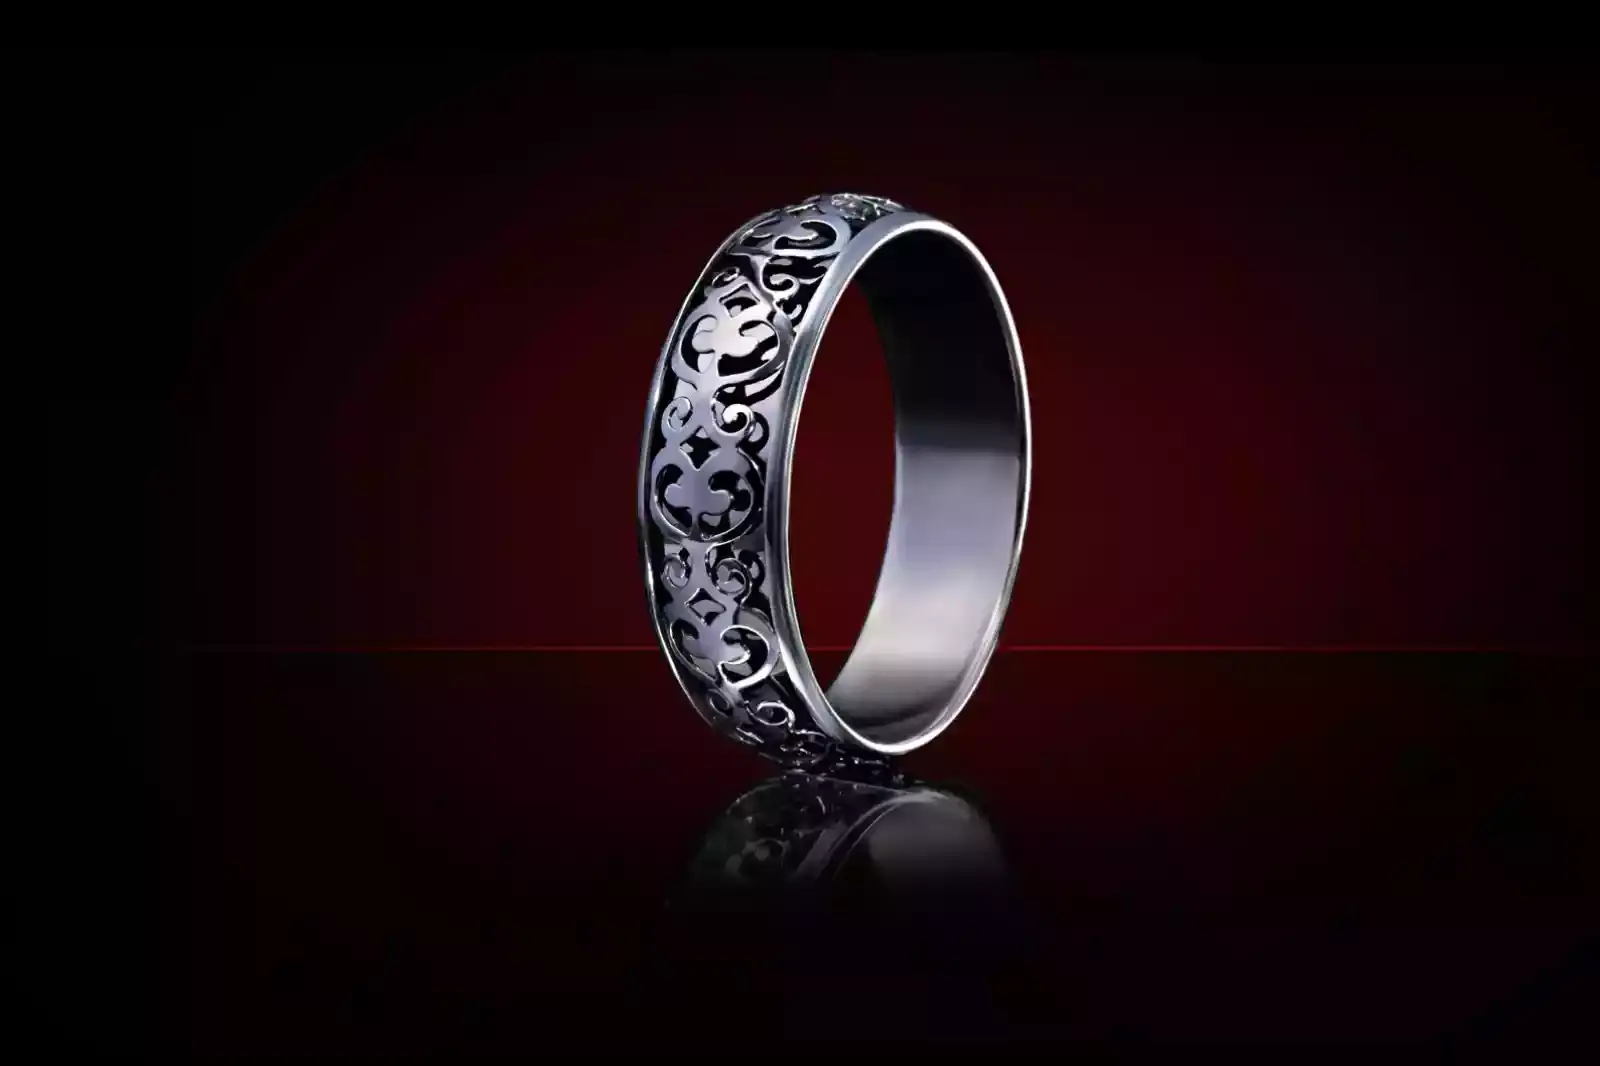
Detail is something other types of product photography can't get. You must have good macro photos of your products if you sell smaller items like jewellery or wristwatches.
A macro product image is an extreme close-up of a small subject, making the products look more significant than real life. This lets you see the small details that you wouldn't see otherwise.
An outrageous close-up may sound simple, but these photos draw attention to your product and make it look great. Professional product photos are essential for every eCommerce store, whether it's to boost sales, build the brand, or stand out from the competition.
But if you know the different types of product photography, you can tailor your approach and make the most of your visual content to help your business grow.
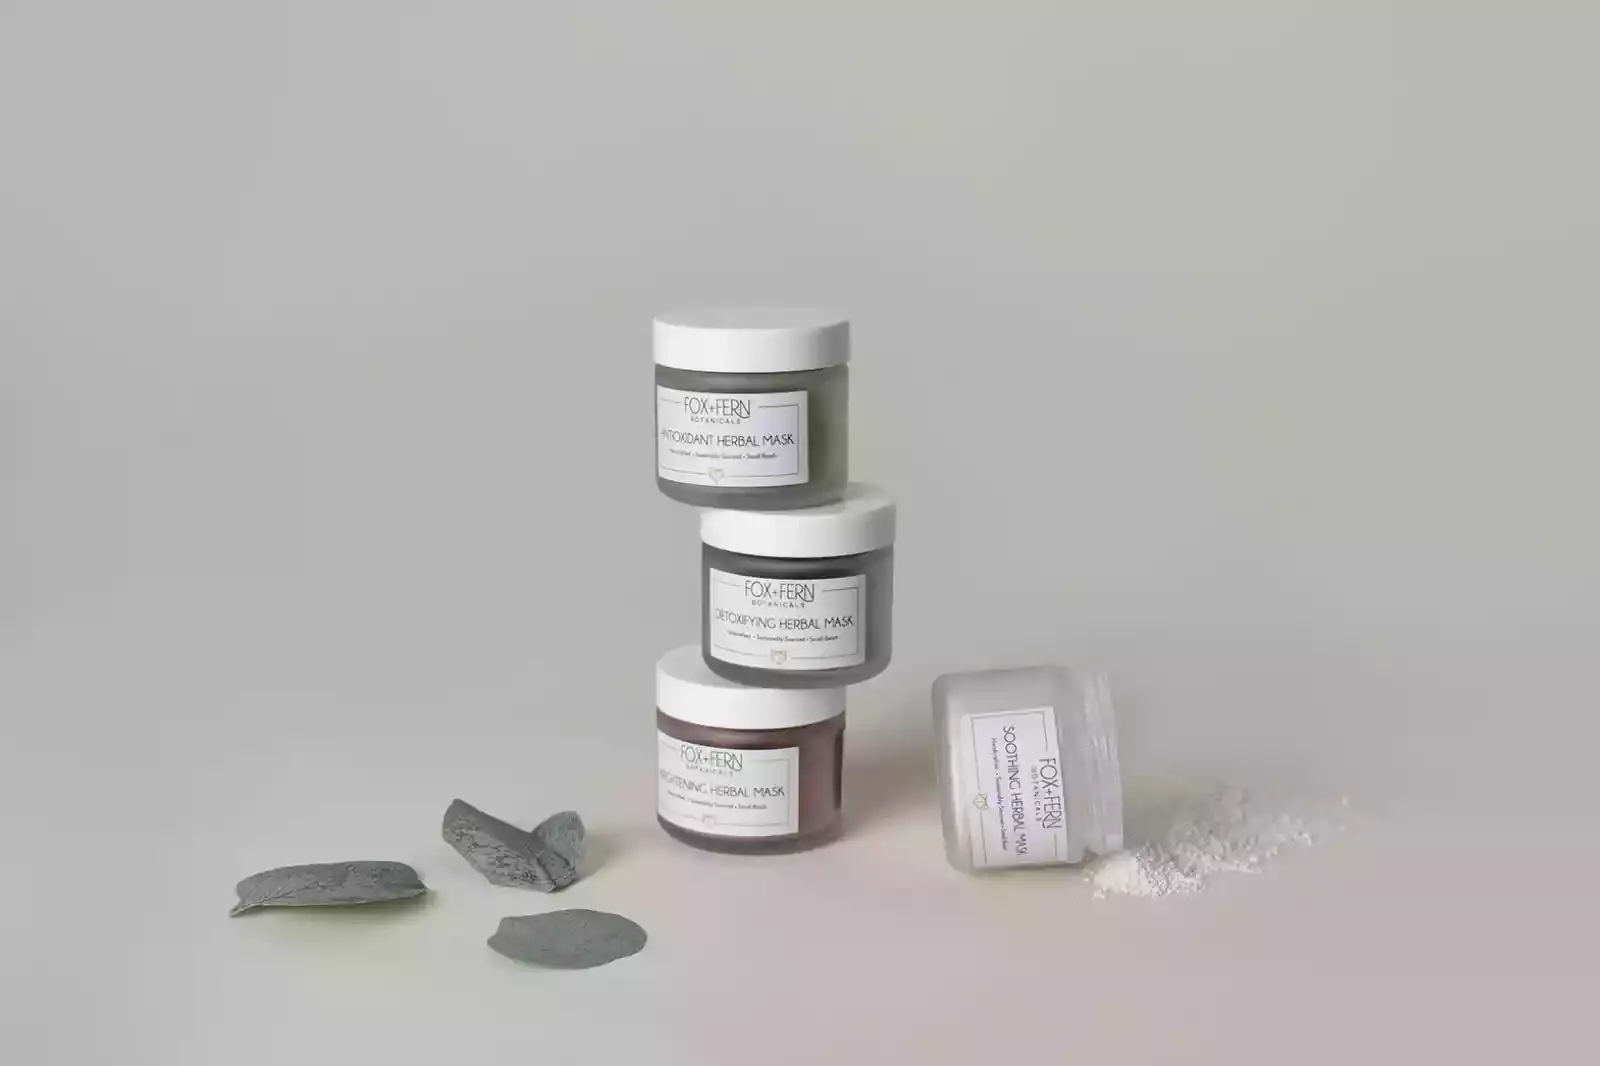
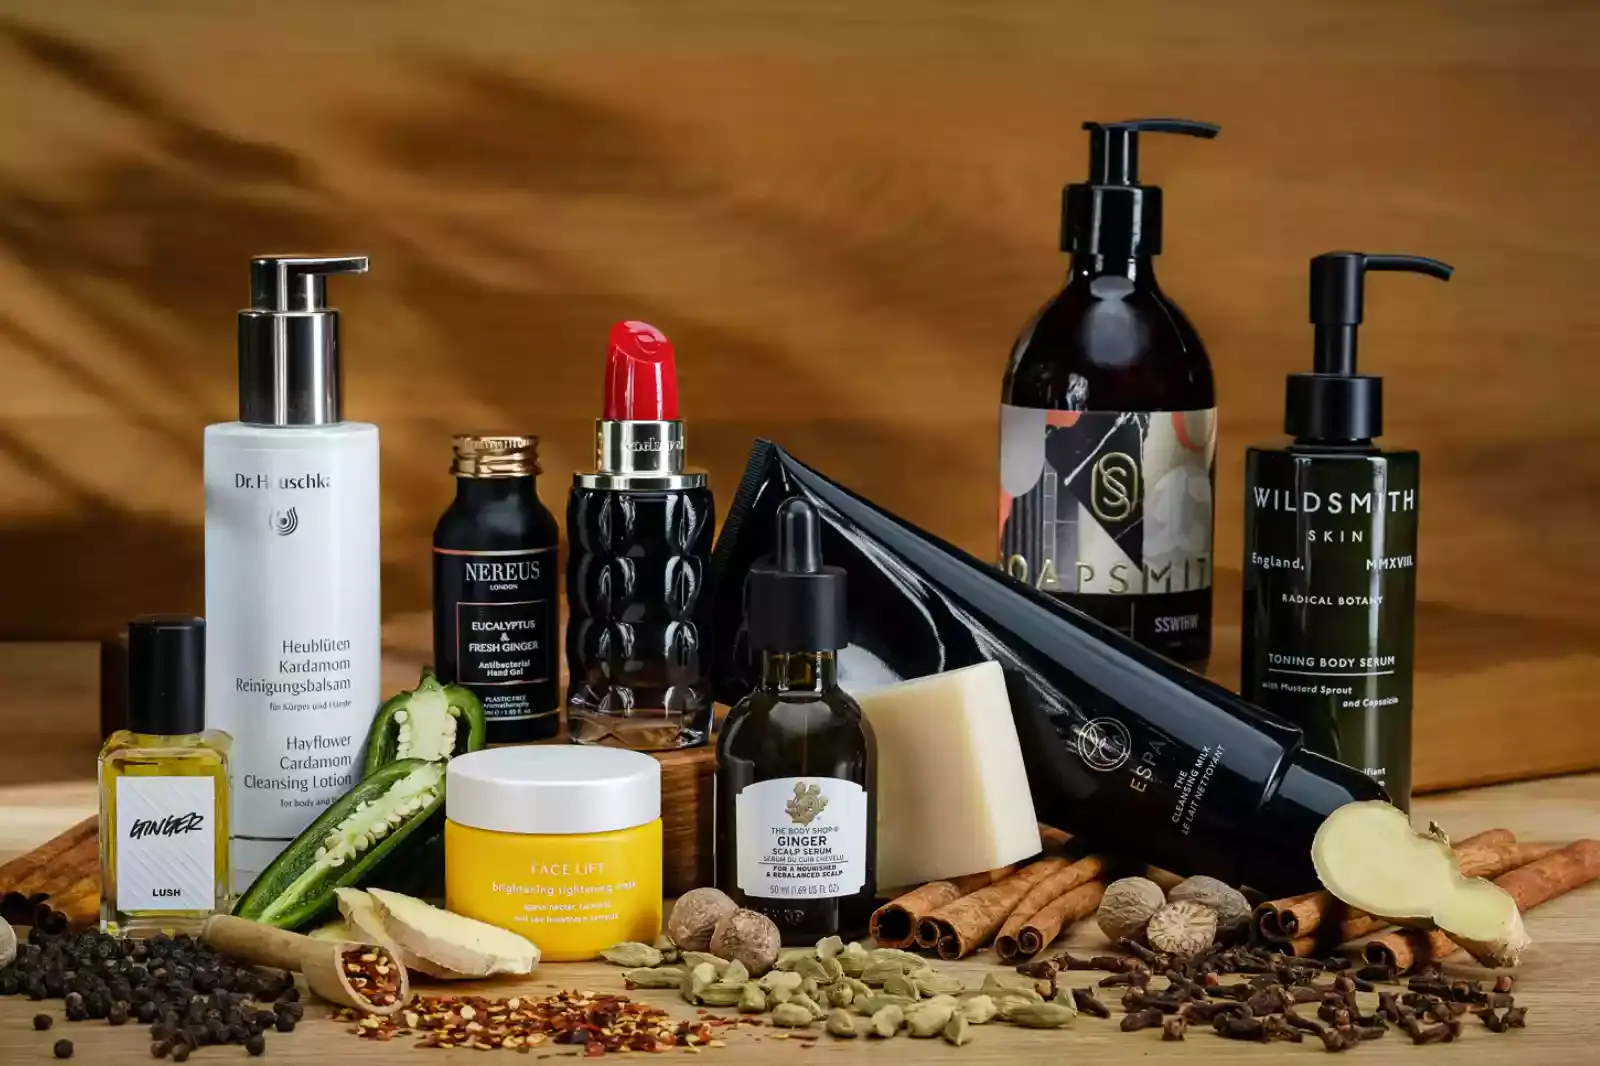
7. Product Grouping
Grouping products lets a buyer see how one item compares to many of its competitors. Usually, the goal is to make a kind of still-life photo, where many objects in a pleasing setting give you a good idea of what they're about.
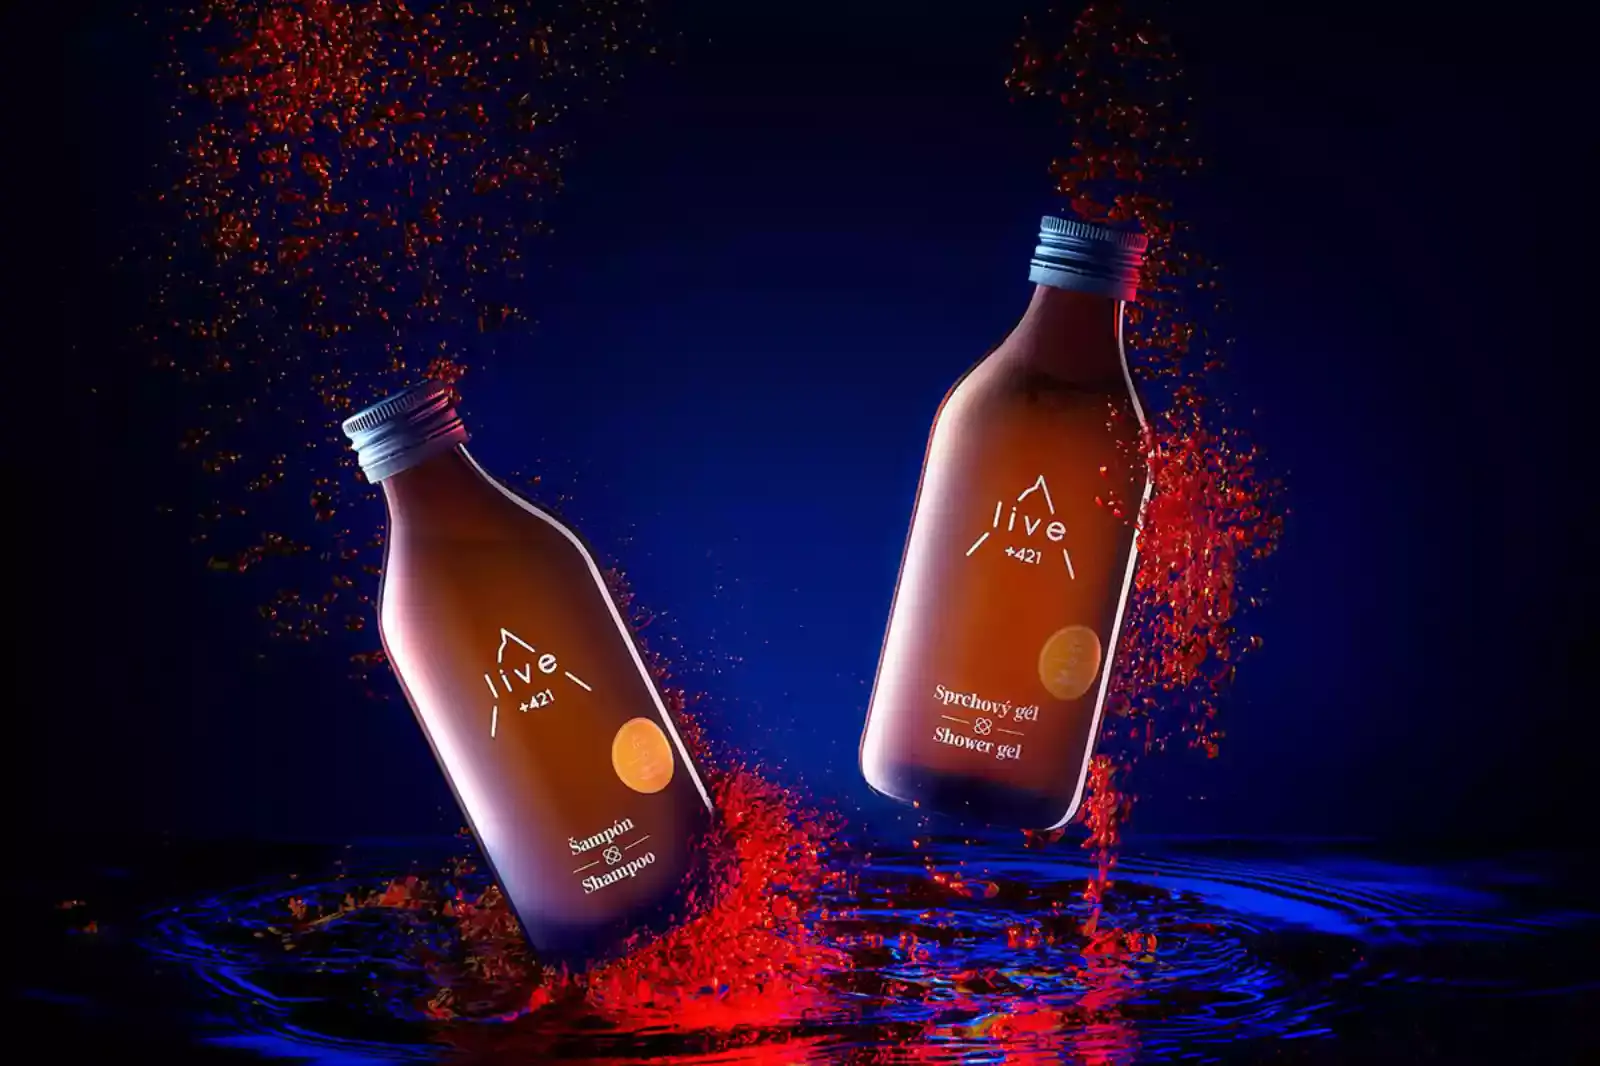
8. Packaging shots.
Even if you don't think customers care about packaging, they do. Customers want a consistent shopping experience from when they look at your website to getting their order in the mail. So, even if you have a great product, your customers might notice if your presentation isn't up to par.
And if your products come in beautiful, branded packaging, why not show it on your product page to give your customers an idea of what to expect? Like this one from Green Roads, packaging shots show the product and its packaging, which could be a box, bag, or label.
FAQ's
Why is product photography important for my business?
Product photography is crucial in attracting potential customers, showcasing product features, building trust, and ultimately driving sales. High-quality images help your products stand out and make a strong impression in a competitive market.
How does product photography affect customer trust and engagement?
Clear, accurate, and visually appealing product images instil confidence in potential customers, assuring them that the product will meet their expectations. Good visuals also enhance user engagement and encourage customers to explore more of your offerings.
Can I use stock images instead of investing in professional product photography?
While stock images might be cost-effective, they lack your products' personal touch and unique representation. Custom product photography ensures that your images accurately reflect your brand identity and highlight the distinctive features of your offerings.
What are some essential tips for creating compelling product images?
Some key tips for creating engaging product images include: a. Using a clean, uncluttered background. b. Ensuring proper lighting to highlight the product's features. c. Capturing images from multiple angles to showcase different aspects. d. Using consistent image styles and dimensions for a cohesive look. e. Including close-ups to highlight important details or features.
Should I consider hiring a professional photographer for my product photography needs?
Hiring a professional photographer can significantly improve the quality and effectiveness of your product images. Professionals have the equipment, lighting, and experience to capture your products best, ultimately enhancing your brand image and boosting sales.
What is the role of post-processing in product photography?
Post-processing helps refine and polish product images by adjusting exposure, contrast, colour balance, and sharpness. It can also be used for retouching or removing imperfections, resulting in visually appealing images that accurately represent your products.
.webp)

.webp)

.webp)

.webp)
.webp)


