Are you ready to take your photo editing skills to the next level? Look no further than Pixlr, your go-to platform for transforming ordinary images into extraordinary works of art. This comprehensive guide unveils the secrets of Pixlr's powerful background removal tool, empowering you to unleash your creativity like never before.
Whether you're a seasoned graphic designer or a novice photographer, Pixlr's intuitive interface and robust features make removing backgrounds a breeze. Say goodbye to complex software and hello to effortless editing with Pixlr's user-friendly platform. With just a few clicks, you can seamlessly remove backgrounds, customize images, and elevate your visual storytelling.
Join us as we dive into the world of Pixlr, exploring everything from basic editing techniques to advanced features. Learn how to harness the full potential of Pixlr's background remover to create stunning visuals that captivate your audience and leave a lasting impression. Get ready to unlock your creative potential with Pixlr the ultimate tool for turning your vision into reality.
What is Pixlr
Pixlr is a versatile and user-friendly online photo editing platform developed by Autodesk, renowned for its comprehensive suite of editing tools and features. With its cloud-based framework, Pixlr offers seamless access to various editing options, from basic adjustments to advanced manipulations. Whether you're a professional designer or an amateur photographer, Pixlr caters to all skill levels, providing an intuitive interface for effortless editing.
One of Pixlr's standout features is its background removal tool, allowing users to remove backgrounds from images with precision and ease easily. Additionally, Pixlr offers a variety of filters, overlays, and editing options to enhance and refine your photos. Available on desktop and mobile devices, Pixlr ensures users can edit their images anytime, anywhere. Pixlr is a powerful yet accessible platform for creating stunning visuals and unleashing creativity.
How to Remove Background in Pixlr
Looking to remove background in Pixlr Look no further. With the help of Erase.bg, a cutting-edge AI background removal tool, achieving flawless results has never been easier. Whether you're a graphic designer, photographer, or someone looking to enhance your images, Erase.bg offers a seamless solution.
Say goodbye to tedious manual editing and hello to effortless background removal. With Erase.bg, you can achieve professional-grade results in just a few clicks. So why wait Unlock the full potential of your images with Erase.bg and take your editing skills to the next level. Try it now and see the difference.
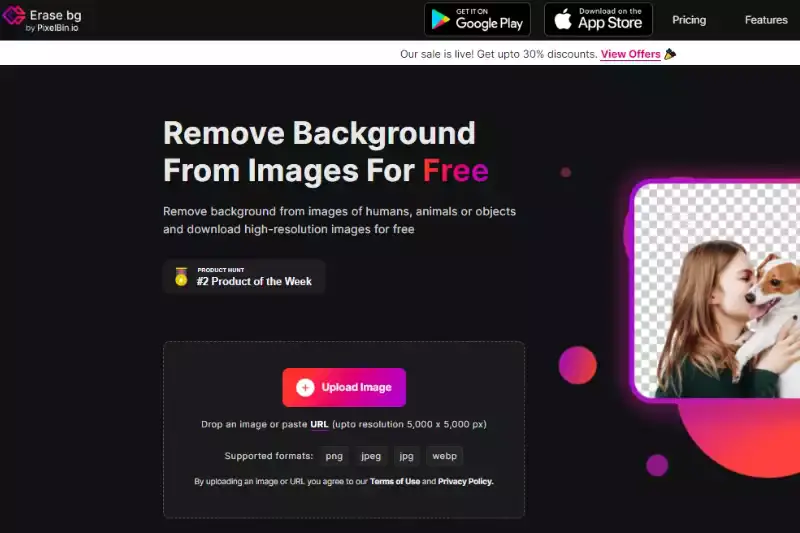
Step 1: Select the dialogue box that says "Upload Image," or you can make the most out of dragging and dropping the image on the page.
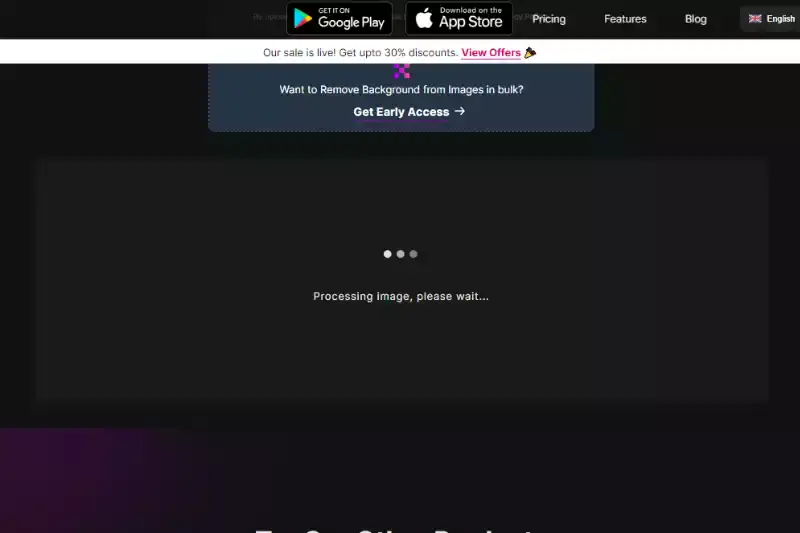
Step 2: A message will pop up on the screen that says, "Uploading image, please wait…" meanwhile, Erase.bg's AI will perform its magic to remove background from picture of your choice.
Step 3: If you wish to remove something or edit the image further, you can use the Edit option located at the top right corner of the image.
Step 4: Finally, download the image in your chosen format to your preferred destination.
Benefits of pixlr
Looking to enhance your photo editing skills Pixlr is your go-to solution. With its array of features and user-friendly interface, Pixlr simplifies the background removal process, making it accessible for both beginners and professionals alike.
Whether you're editing for personal pleasure or professional projects, Pixlr offers versatility and precision to help you achieve your desired results. Explore the benefits of Pixlr's background remover feature and unlock a world of creative possibilities. With Pixlr, removing backgrounds from images has never been easier or more efficient.
Versatility: Pixlr's background remover feature allows users to effortlessly remove backgrounds from images, making it ideal for creating clean and polished visuals.
Ease of Use: Removing background in Pixlr is a breeze, thanks to its user-friendly interface and intuitive editing tools.
Precision: Pixlr offers precise control over the background removal process, ensuring seamless results every time.
Efficiency: With Pixlr, users can remove backgrounds from multiple images quickly and efficiently, saving time and streamlining their workflow.
Accessibility: Whether you're editing on your desktop or mobile device, Pixlr is accessible anytime, anywhere, making it the perfect tool for on-the-go editing needs.
Best Alternatives of Pixlr Background Remover Tools
Looking to remove backgrounds from your images effortlessly? Numerous background remover tools available online offer quick and efficient solutions. These tools cater to various needs, from basic editing to advanced image manipulation. Whether you're a professional designer or a casual user, finding the right background remover can significantly streamline your workflow and enhance the visual appeal of your photos. Let's explore ten top background remover tools that can help you easily achieve stunning results.
Erase.bg
Erase.bg is an AI-powered background remover tool that offers seamless removal of backgrounds from images with just a few clicks. Whether it's removing pixelated backgrounds or intricate details, Erase.bg ensures precise and professional results every time.
With its intuitive interface and advanced algorithms, Erase.bg makes background removal quick, easy, and hassle-free. Say goodbye to pixelated backgrounds and hello to clean, transparent images in seconds.
Remove.bg
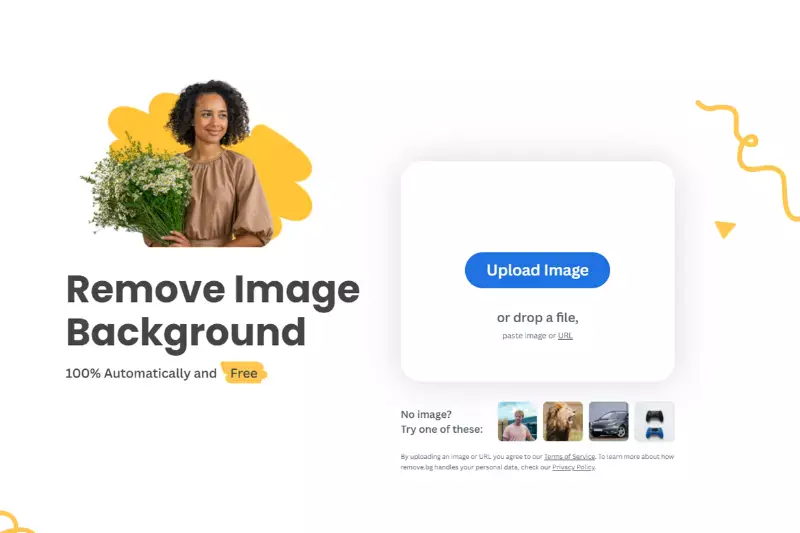
Remove.bg is a leading online tool for effortlessly removing backgrounds from images. With its advanced AI technology, Remove.bg ensures accurate and high-quality results, making it a go-to choice for professionals and hobbyists alike.
Whether you're using Pixlr or any other image editing software, Remove.bg seamlessly integrates to provide you with transparent images in just a few seconds. Say goodbye to tedious manual editing and hello to a streamlined workflow with Remove.bg.
Clipping Magic
Clipping Magic is a versatile online tool that simplifies the process of removing backgrounds from images. It offers precise and efficient background removal, making it ideal for various applications, including Pixlr editing. With its intuitive interface and advanced algorithms, Clipping Magic enables users to seamlessly edit images and achieve professional-looking results.
Whether you're a beginner or an experienced designer, Clipping Magic streamlines the background removal process, allowing you to focus on unleashing your creativity. Say goodbye to complex editing techniques and hello to effortless background removal with Clipping Magic.
Background Burner
Background Burner is a powerful online tool that provides a simple and efficient solution for removing backgrounds from images. It offers a user-friendly interface and advanced algorithms, making it easy to achieve professional-looking results. Whether you're using Pixlr or any other editing software, Background Burner seamlessly integrates into your workflow, allowing you to remove backgrounds with just a few clicks.
With its automated process, Background Burner quickly identifies and removes the background from your images, saving you time and effort. Plus, it's free to use, making it an accessible option for anyone looking to remove backgrounds from their images hassle-free.
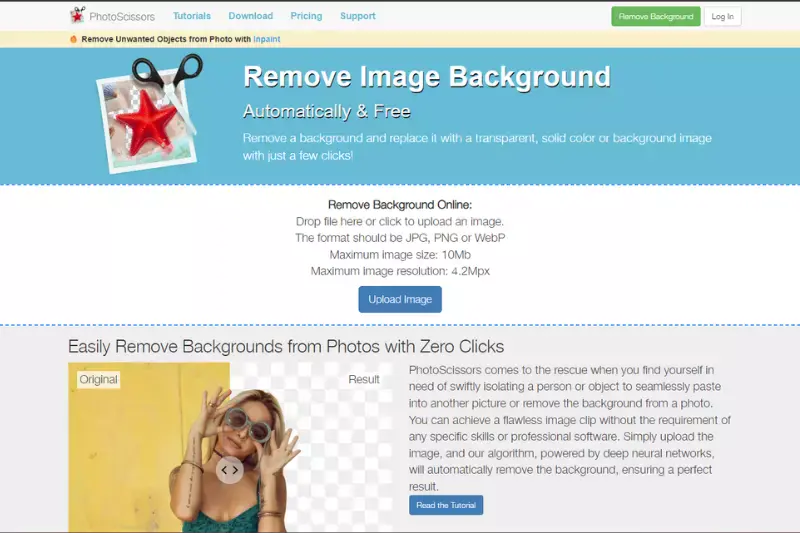
PhotoScissors
PhotoScissors is an advanced tool tailored for precise background removal from images. Unlike Pixlr, renowned for its comprehensive photo editing features, PhotoScissors specializes exclusively in background removal, offering advanced tools for achieving seamless results. Whether you're a novice or an expert, PhotoScissors provides an intuitive interface and powerful algorithms for effortless background removal.
Its intelligent features accurately detect and remove backgrounds, allowing users to enhance images without distractions. Complementing Pixlr, PhotoScissors ensures professional-quality results, making it an ideal choice for editing portraits, product photos, or landscapes with ease.
Adobe Photoshop
Adobe Photoshop is a versatile software renowned for its robust editing capabilities, including advanced background removal tools. While Pixlr offers similar features, Adobe Photoshop provides a wider array of functionalities for professional-grade editing. With its sophisticated selection tools and layer-based editing system, Photoshop allows for precise background removal, catering to the needs of photographers, designers, and digital artists.
However, for users seeking a simpler and more accessible option akin to Pixlr, Photoshop may present a steeper learning curve. Nonetheless, both Pixlr and Photoshop remain popular choices for editing, with Pixlr offering a more user-friendly interface for beginners.
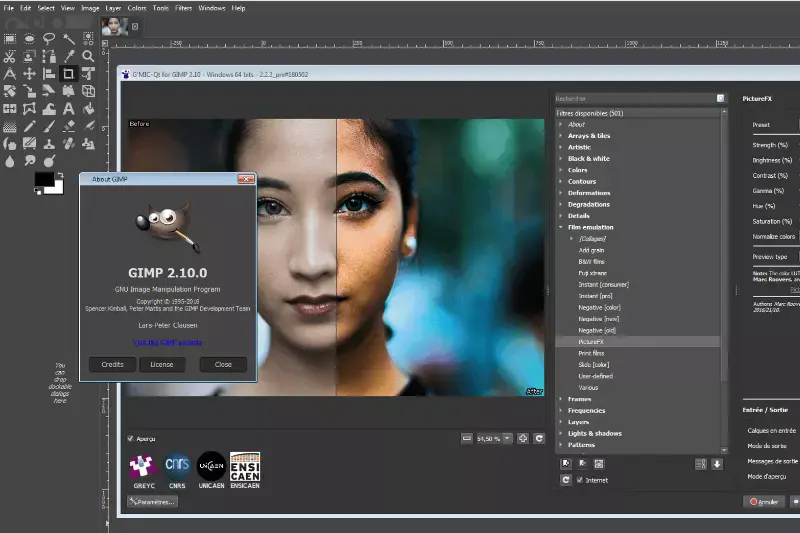
GIMP
GIMP, an acronym for GNU Image Manipulation Program, is a powerful open-source alternative to Pixlr, offering a comprehensive set of tools for image editing, including background removal. While Pixlr provides a user-friendly interface, GIMP caters to more advanced users with its extensive features and customization options. With GIMP's selection tools and layer-based editing capabilities, users can effectively remove backgrounds and refine images to their liking.
Additionally, GIMP's community-driven development ensures regular updates and a wide range of plugins and scripts for enhanced functionality. While Pixlr may be preferred for its simplicity, GIMP offers a free and versatile solution for those seeking more control over their editing process.
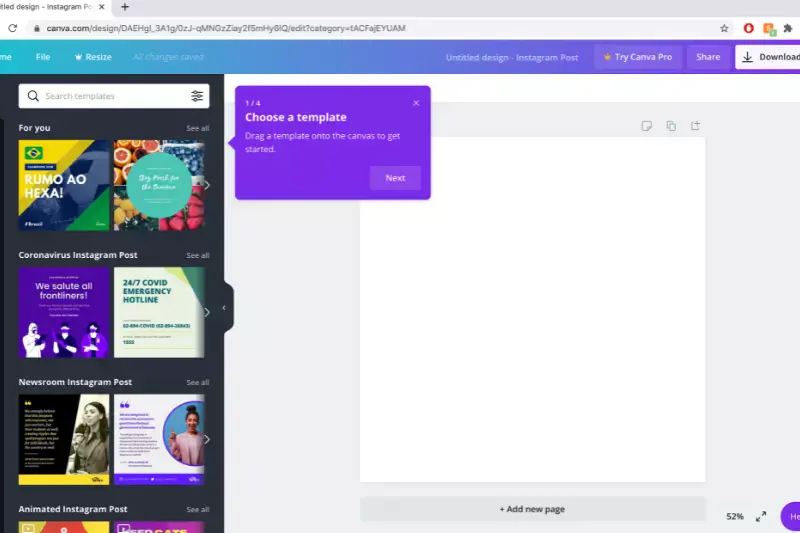
Canva
Canva, a popular online graphic design platform, provides users with a range of intuitive tools, including background removal, akin to Pixlr's functionality. With Canva, users can easily remove backgrounds from images without the need for advanced editing skills. While Pixlr offers similar features, Canva's user-friendly interface and extensive library of templates make it an ideal choice for individuals and businesses alike.
Users can access the background removal tool by simply uploading an image to Canva and effortlessly create professional-looking graphics. Whether for social media posts, presentations, or marketing materials, Canva simplifies the process of removing backgrounds, empowering users to unleash their creativity.
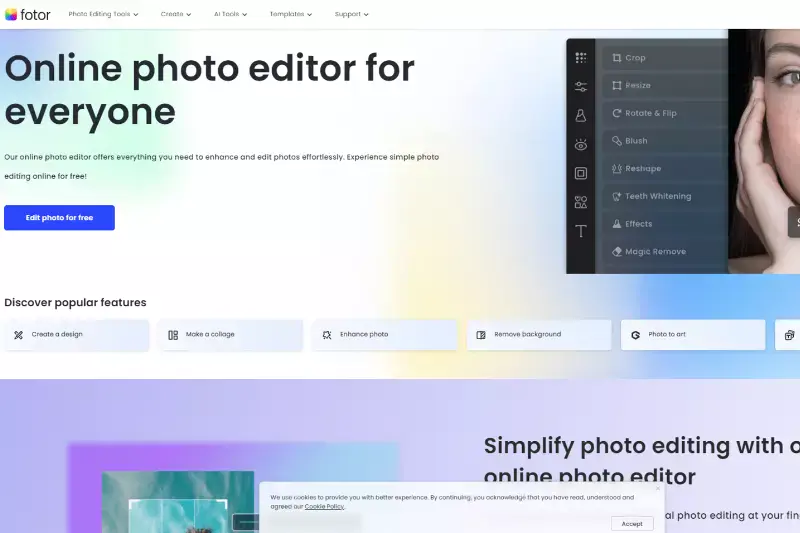
Fotor
Fotor, another popular online photo editing tool, offers a background remover feature similar to Pixlr. Fotor allows users to easily remove backgrounds from images, enhancing their visual content with professional-looking results. Like Pixlr, Fotor provides a user-friendly interface and various editing tools to cater to various needs.
Whether you're a beginner or an experienced designer, Fotor's background remover feature simplifies the process, allowing users to create stunning visuals easily. By uploading an image to Fotor's platform, users can access the background remover tool and achieve seamless edits, making it a valuable asset for anyone looking to enhance their photos effortlessly.
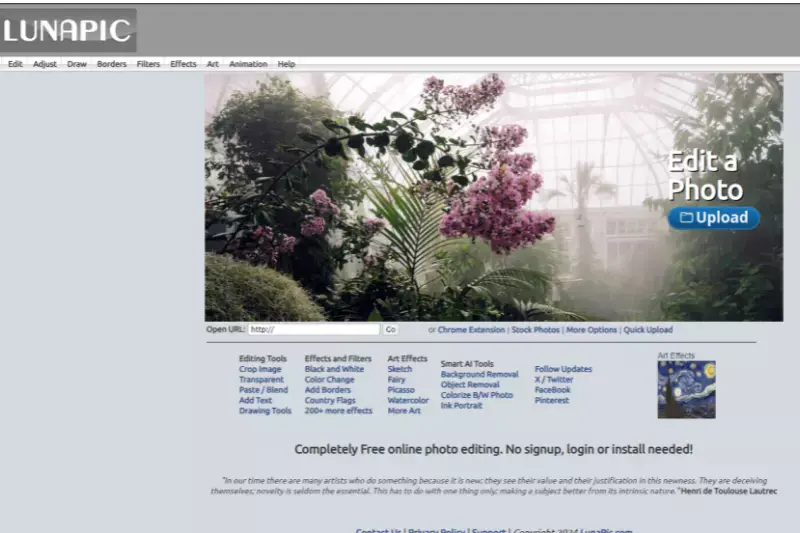
LunaPic
LunaPic is an online photo editing tool with a background removal feature similar to Pixlr. With LunaPic, users can easily remove backgrounds from their images, allowing for creative customization and professional-looking results. Whether you're a casual user or a graphic designer, LunaPic's intuitive interface makes removing backgrounds and enhancing your photos easy.
By uploading your image to LunaPic's platform, you can access the background removal tool and achieve seamless edits in just a few clicks. With LunaPic, removing backgrounds has always been challenging, making it a valuable resource for anyone looking to elevate their visual content.
Why Choose Erase.bg For Removing The Background Pixlr
Erase.bg stands out as the premier choice for removing backgrounds from Pixlr images due to several compelling reasons:
Accuracy and Precision: Erase.bg utilizes advanced AI technology to ensure accurate and precise background removal, resulting in clean and professional-looking images every time.
Efficiency: With Erase.bg, the background removal process is quick and efficient. Users can achieve high-quality results in just seconds, saving valuable time and effort.
User-Friendly Interface: Erase.bg offers a user-friendly interface that makes it easy for beginners and experienced users to effortlessly remove backgrounds from Pixlr images.
Compatibility: Erase.bg seamlessly integrates with Pixlr, allowing users to upload their images for background removal without any hassle directly.
Cost-Effectiveness: Erase.bg offers competitive pricing plans, making it an affordable option for individuals and businesses alike.
Erase.bg is the ideal solution for anyone seeking a reliable, efficient, and user-friendly tool for removing backgrounds from Pixlr images.
Conclusion
Erase.bg emerges as the top choice for removing backgrounds from Pixlr images, offering unparalleled accuracy, efficiency, user-friendliness, compatibility, and cost-effectiveness. With its advanced AI technology and seamless integration with Pixlr, Erase.bg provides users with a hassle-free solution for achieving professional-looking images.
FAQ's
How do I get a white background using Pixlr?
If you want to make the background of your image white using Pixlr, the steps to do so are:
Step 1: Launch Pixlr and upload the image you wish to edit the background of.
Step 2: Now, select the Lasso Tool or the Drawing Tool (for a much more precise cutout).
Step 3: Afterward, select the Arrange option and Change the Background Color. In there, select the white color.
Step 4: Now, click on save to download your image with white background.
With four easy steps, you have now successfully gotten a white background for your image.
How do you remove the background of a picture using Pixlr?
The step of removing the background from an image using Pixlr are explained below:
Step 1: The first step is to head to Pixlr's website. And then, upload the image you wish to remove the background of.
Step 2: Now, select the parts of the image from which you wish to remove the background. In order to do so, you will have to use the Wand Tool and Lasso Tool.
Step 3: The next step is to copy-paste the image by heading to the 'Edit' option and then selecting the "Copy" option. And in case you are using the keyboard, you can also press "Ctrl + C" to copy the image. When your image is copied, you will need to go back to the "Edit" option and select "Paste" or press "Ctrl + V."
Step 4: And now, to remove the background from the image, select the "Delete" button on your keyboard, and the background will now be removed. And in case you are not too satisfied with the image, you can select the background layer and hit the "Delete Layer" option in the "Layer Palette."
Step 5: Now that your background is removed with Pixlr, the next step is to download the image. You can then save your image in multiple formats, with PNG being the most compatible one.
How do you make the background picture transparent using Pixlr?
If you wish to change the background of an image using Pixlr, here are the steps you need to follow:
Step 1: Head to Pixlr and click on "Open image from computer," and upload the image you wish to edit the background of.
Step 2: Select the "Wand" tool in the tools palette on the left side of your screen or press "W" and select the part(s) of the picture you wish to make transparent.
Step 3: Click and drag the "Tolerance" slider on the top of your screen; with that, you can increase or decrease the outline.
Step 4: After that, press the Shift key and select another area of the picture you wish to add to the selection. And then, untick the "Contiguous" option on the top of your screen to add pixels in the image that blend well with your selection.
Step 5: Click on the "Edit" option from the menu bar and then hit "Invert Selection."
Step 6: After that, select the "Edit" option and then select "Copy" or press "Ctrl + C."
Step 7: Go to the "File" option and select "New Image." You can also press "Ctrl + N.
Step 8: Then, go to Clipboard from the "Preset" menu and select the boxes next to "Create image from Clipboard" and "Transparent."
Step 9: Assign a name to the new image in the "Name" section and hit OK.
Step 10: Go to File and click on Save. With that, your image with a transparent background is now saved.
Can you erase in Pixlr?
Yes, you can erase in Pixlr using the Eraser tool, which allows you to manually remove parts of an image by brushing over them.
Is Pixlr as good as Photoshop?
While Pixlr offers many powerful editing features similar to Photoshop, including background removal tools, layer support, and various adjustment options, Photoshop remains the industry standard for professional photo editing due to its extensive capabilities and advanced tools.
How do I remove a background in Pixlr?
To remove a background in Pixlr, use the "Magic Wand" tool to select the background area, then press the "Delete" key on your keyboard to remove it. Alternatively, you can use the "Lasso" tool to manually select and delete the background.


.webp)
.webp)


