Looking to transform your images with precision and finesse? Dive into the world of GIMP, the renowned open-source image editing software, and discover how to remove backgrounds with finesse effortlessly. At Erase.bg, we understand the importance of seamless image editing, which is why we're excited to unveil our comprehensive guide on how to remove backgrounds from images in GIMP. Whether you're a seasoned designer or a novice enthusiast, our step-by-step instructions will empower you to achieve professional-grade results quickly.
With GIMP's powerful array of tools at your fingertips, removing backgrounds has never been more accessible. Our blog post serves as your ultimate resource, offering insights into five easy methods to achieve transparent backgrounds in GIMP. From the intuitive Fuzzy Select Tool to the advanced Paths Tool, we've covered you with techniques tailored to suit various image types and skill levels.
Embark on your journey to image perfection with Erase.bg as your guide. Unleash your creativity and unlock the full potential of GIMP's background removal capabilities. Join us as we delve into the art of removing backgrounds in GIMP, where every click brings you one step closer to achieving flawless images that captivate and inspire. Let's elevate your editing game together and turn your vision into reality with GIMP's remove background feature.
What is GIMP
GIMP, which stands for GNU Image Manipulation Program, is a free and open-source raster graphics editor used for tasks such as photo retouching, image composition, and image authoring. Developed by volunteers as part of the GNU Project, GIMP offers a wide range of features and capabilities comparable to commercial image editing software like Adobe Photoshop.
With support for various operating systems, including Windows, macOS, and Linux, GIMP provides a versatile platform for users to create stunning visual content without the constraints of licensing fees. Its intuitive interface, extensive customization options, and powerful tools make it popular among graphic designers, photographers, illustrators, and hobbyists. GIMP's robust functionality, coupled with its community-driven development model, makes it a valuable asset for anyone seeking professional-grade image editing tools without breaking the bank.
How to Remove Background In GIMP
Looking to achieve seamless background removal in GIMP? Look no further. With the revolutionary tool Erase.bg, removing backgrounds from your images has never been easier. Whether you're a seasoned graphic designer or just starting, this powerful tool offers a simple and efficient solution for all your background removal needs.
Say goodbye to tedious manual editing and hello to automated precision. With Erase.bg, you can effortlessly create stunning visuals with transparent backgrounds in just a few clicks. Say hello to smoother workflows and stunning results with Erase.bg for GIMP background removal.
Step 1- In GIMP, select the picture you want to work with.
Step 2- Add an Alpha channel to the layer by right-clicking on it. This means that you may remove your transparent level with ease. When right-clicking the surface and checking if the add Alpha channel option is greyed off, you will see if the Alpha channel has already been applied to your picture.
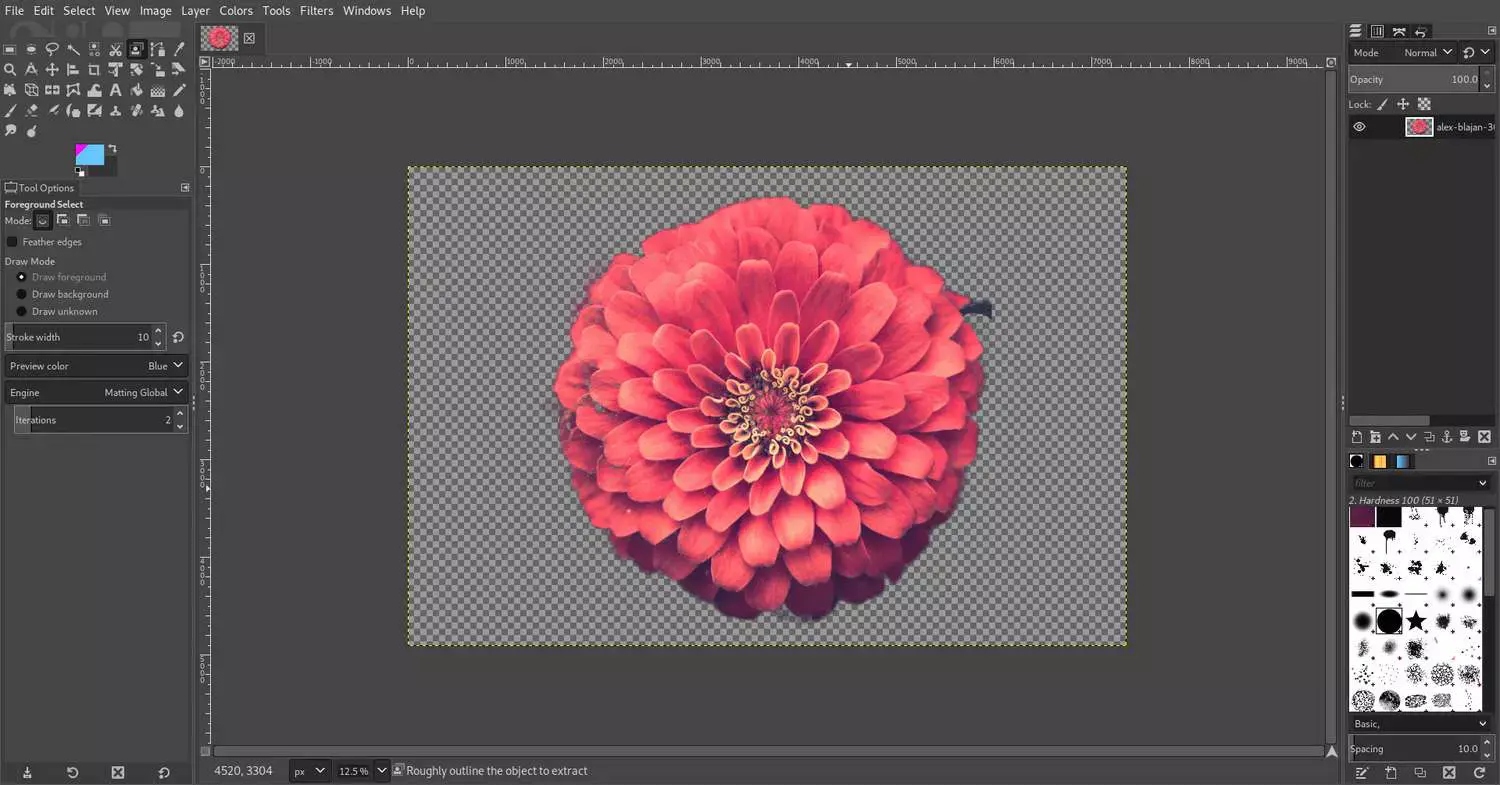
Step 3- Choose the Fuzzy Select tool from the toolbar and tick Anti Aliasing, Feather Edges, and Draw Mask. The Draw Mask choice would assist you in visualizing the backgrounds you wish to remove.
Step 4- Next, drag and stay on the area of the desktop wallpaper you wish to erase, and drag the cursor to your picture, seeing a mask drawn on the picture.
Step 5- The color combination indicates the option you are selecting. Moving the cursor down would raise the selection threshold, while moving the mouse up would decrease the selected threshold.
Step 6- Once you're happy with your pick, let go of the cursor and click delete on the keypad to remove it.
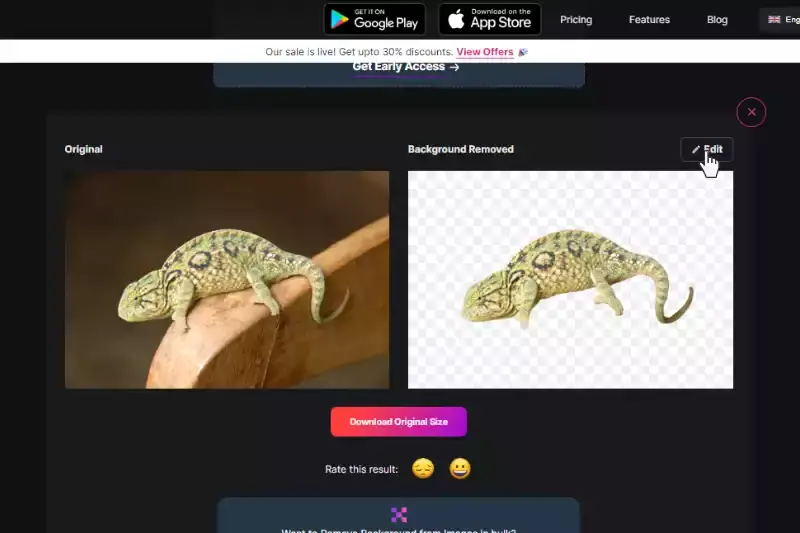
How To Use Erase.bg to Remove Background
Erase.bg is an AI-powered method that eliminates background from pictures with absolute accuracy in moments. It allows viewers to change an image's background and size and save it in various categories.
Step 1: Tap the "Upload Image" dialogue box or drag and decline the image onto the site.
Step 2: Throughout this period, Erase.bg's AI would then work its magic to delete the background first from the JPEG picture of the selection.
Step 3: Unless you want to delete or adjust the picture, click the Edit button in the top right hand corner of the background. Deleted iffy.
Step 4: Install the photos in the layout of your choice to your desired locations.
Benefits of Removing Background for GIMP
Looking to elevate your GIMP editing skills? Say goodbye to distracting backgrounds and hello to seamless image editing with the background removal feature in GIMP. By utilizing this powerful tool, you can effortlessly remove unwanted backgrounds from your images, opening up a world of creative possibilities.
Whether you're a graphic designer, photographer, or hobbyist, background removal in GIMP offers unmatched flexibility and control over your compositions. Join us as we explore the benefits of background removal for GIMP, unlocking new avenues for visually captivating designs and polished presentations.
Enhanced Visual Appeal: Remove distracting backgrounds to focus on your subject, creating visually stunning images with professional-looking results.
Improved Product Presentation: Showcase products effectively by removing cluttered backgrounds, allowing customers to focus solely on the presented item.
Versatile Design Options: Easily incorporate transparent backgrounds into your designs, enabling seamless integration with various backgrounds or layouts.
Time-Saving Efficiency: Eliminate the need for manual editing and tedious selection processes, saving valuable time and streamlining your workflow.
Increased Creativity: Experiment with different backgrounds or merge images effortlessly, unleashing your creativity and producing unique compositions with ease.
Top 10 GIMP Background Remover Tools
When it comes to enhancing your images in GIMP, having the right background remover tool can make all the difference. From simplifying complex edits to creating professional-looking compositions, these tools offer a range of features to suit your editing needs.
Whether you're a seasoned designer or just starting out, finding the perfect background remover can streamline your workflow and help you achieve stunning results. Join us as we explore ten top background remover tools, each offering unique benefits and functionalities to take your GIMP editing to the next level.
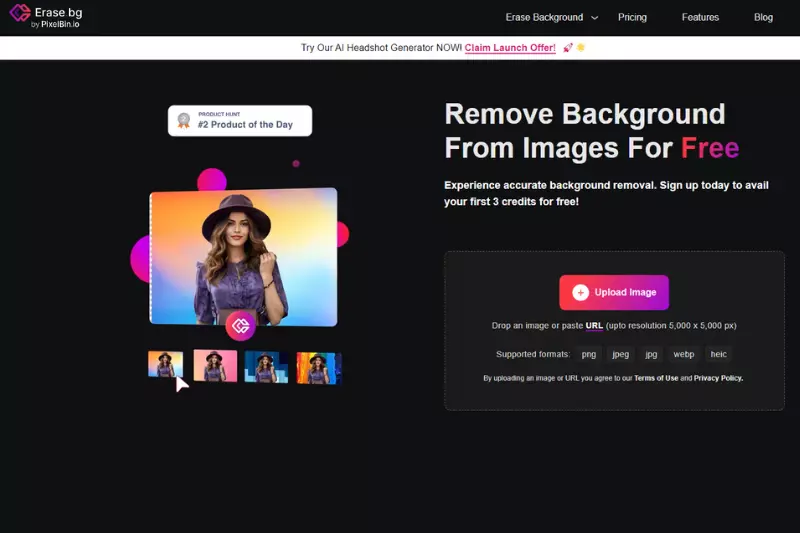
Erase.bg
Erase.bg is a game-changer for GIMP users seeking seamless background removal. With its intuitive interface and advanced AI technology, Erase.bg simplifies removing backgrounds from images with unmatched precision. Explicitly designed for GIMP, this tool integrates seamlessly into your workflow, allowing you to create transparent backgrounds in just a few clicks effortlessly. Say goodbye to tedious manual editing and hello to professional-looking results in no time.
Experience the power of Erase.bg and unlock a world of creative possibilities for your GIMP projects. Say goodbye to unwanted backgrounds and hello to stunning, transparent images with Erase.bg.
Remove.bg
Remove.bg is another exceptional tool tailored for GIMP users, offering effortless background removal with unparalleled accuracy. Seamlessly integrated into GIMP, Remove.bg streamlines the process of eliminating backgrounds from images, ensuring professional-grade results in mere seconds. With its user-friendly interface and powerful AI technology, Remove.bg empowers users to easily create transparent backgrounds, enhancing productivity and unleashing creative potential.
Say farewell to cumbersome manual editing and embrace the simplicity and efficiency of Remove.bg for all your GIMP projects. Experience the convenience of background removal like never before with Remove.bg, your go-to solution for achieving flawless transparency in GIMP.
Clipping Magic
Clipping Magic is a robust tool that complements GIMP's capabilities by providing advanced background removal features. With its intuitive interface and precise clipping algorithms, Clipping Magic allows users to effortlessly remove backgrounds from images in GIMP, delivering professional-grade results. Seamlessly integrated into the GIMP workflow, Clipping Magic enhances productivity and streamlines the editing process, making it easier than ever to achieve transparent backgrounds with precision and accuracy.
Whether you're a seasoned professional or a novice user, Clipping Magic empowers you to unleash your creativity and elevate your GIMP projects to new heights. Say goodbye to tedious manual editing and hello to seamless background removal with Clipping Magic and GIMP.
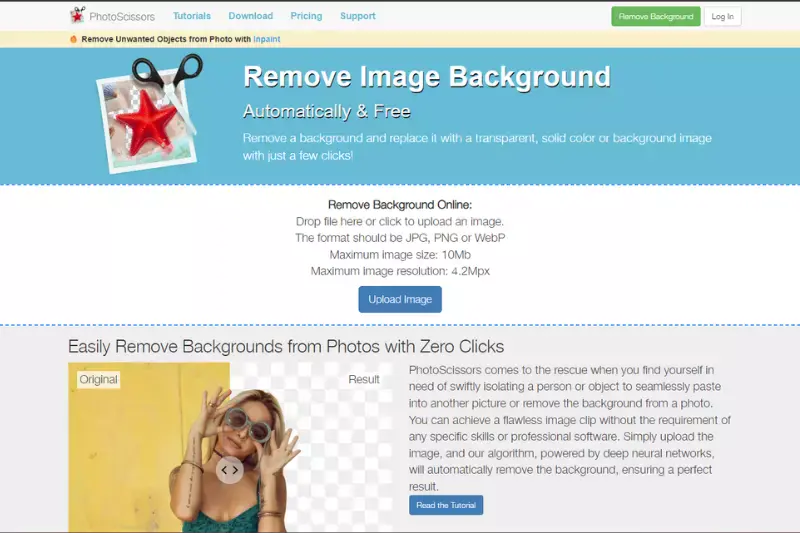
PhotoScissors
PhotoScissors is a versatile background remover that seamlessly integrates with GIMP, enhancing its capabilities for efficient background removal. With its intuitive interface and advanced algorithms, PhotoScissors simplifies the process of removing backgrounds from images in GIMP, allowing users to achieve precise and accurate results with ease.
Whether you're editing portraits, product photos, or landscapes, PhotoScissors offers powerful features to streamline your workflow and elevate your GIMP projects. Say goodbye to tedious manual editing and hello to seamless background removal with PhotoScissors and GIMP. Unlock new possibilities and unleash your creativity with PhotoScissors, the ultimate companion for background removal in GIMP.
Background Burner
Background Burner is a user-friendly tool designed to remove backgrounds from images with ease, perfectly complementing GIMP's functionality. With its intuitive interface and advanced algorithms, Background Burner allows users to effortlessly remove backgrounds from images in GIMP, making it an essential tool for graphic designers, photographers, and artists.
Whether you're editing product photos, portraits, or landscapes, Background Burner offers precise and efficient background removal, ensuring professional-quality results every time. Say goodbye to tedious manual editing and hello to seamless background removal with Background Burner and GIMP. Streamline your workflow and enhance your creative projects with Background Burner, the perfect solution for background removal in GIMP.
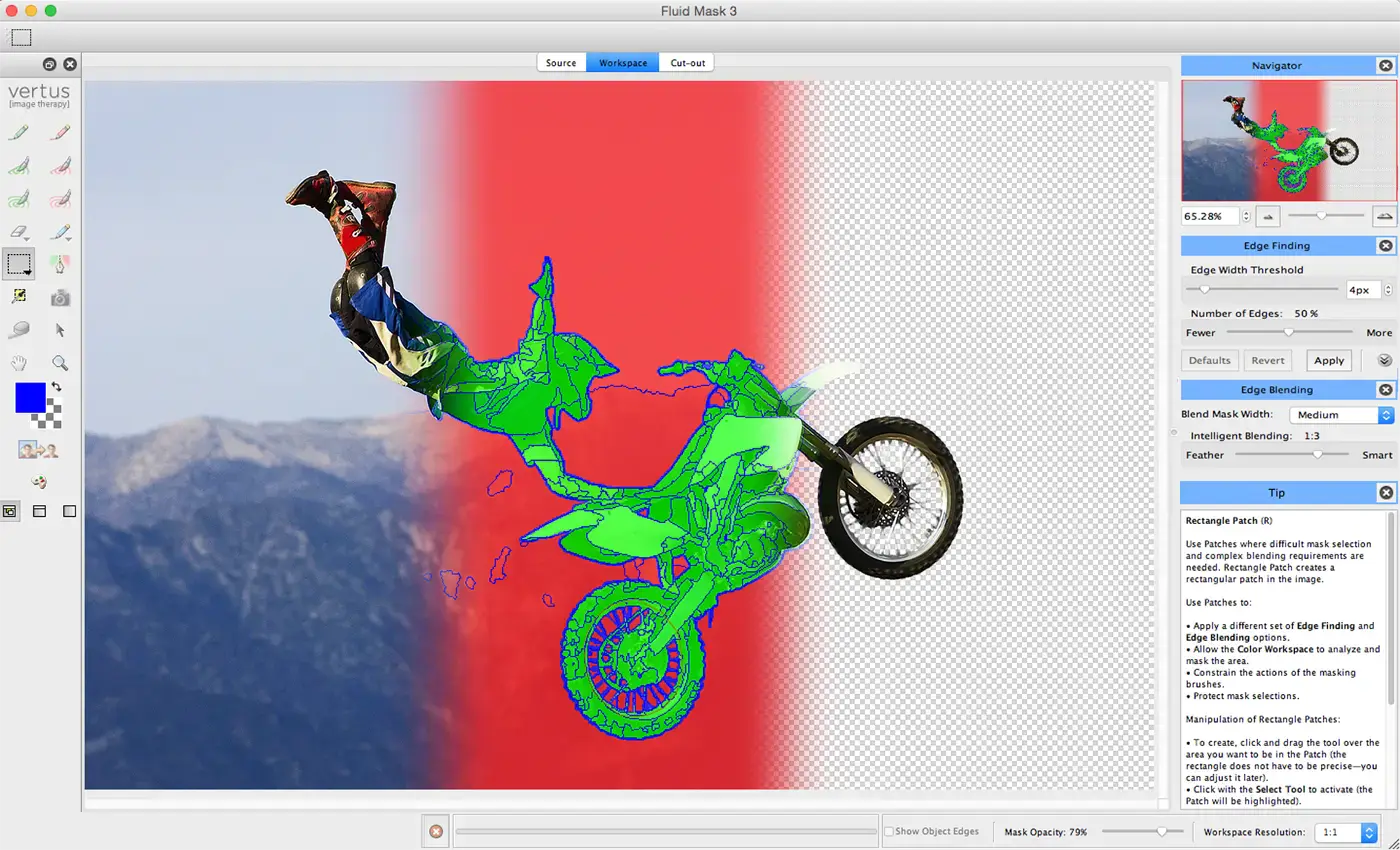
Fluid Mask
Fluid Mask is a powerful tool that seamlessly integrates with GIMP to facilitate background removal. With its advanced masking algorithms, Fluid Mask allows users to accurately remove backgrounds from images in GIMP with precision and ease. Fluid Mask provides intuitive controls and real-time previews to ensure seamless background removal, whether you're working on portraits, product photos, or landscapes.
Say goodbye to tedious manual editing and hello to efficient background removal with Fluid Mask and GIMP. Enhance your workflow and achieve professional-quality results with Fluid Mask, the ultimate solution for background removal in GIMP.
Magic Wand Tool in GIMP
The Magic Wand Tool in GIMP is a versatile feature for removing backgrounds with precision and efficiency. Users can select areas of similar color with just a few clicks and seamlessly remove backgrounds from images. This tool is handy when working with images that have solid or uniform backgrounds, allowing for quick and accurate background removal in GIMP.
Users can refine their selections by adjusting the tool's tolerance and threshold settings and achieve clean, professional-looking results. Say goodbye to tedious manual editing and hello to effortless background removal with the Magic Wand Tool in GIMP.
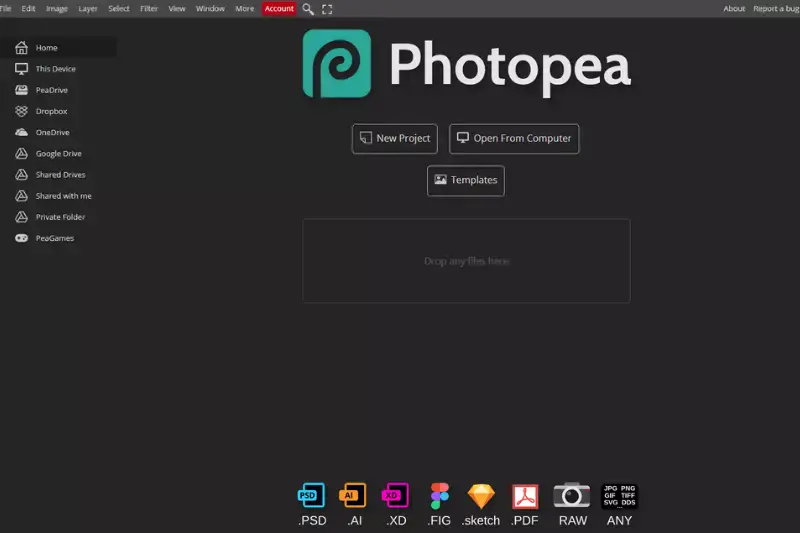
Photopea
Photopea is a robust online photo editing tool offering powerful features for effortlessly removing backgrounds. With its intuitive interface and advanced editing capabilities, users can easily erase backgrounds from images with precision and ease. Whether you're a beginner or a professional, Photopea provides the tools you need to achieve stunning results.
By leveraging its erasing capabilities, users can seamlessly remove backgrounds in GIMP and enhance their images with ease. With Photopea's user-friendly interface and powerful editing tools, background removal in GIMP has never been easier.
Apowersoft Background Eraser
Apowersoft Background Eraser is a user-friendly tool designed to remove backgrounds from images quickly and efficiently. With its intuitive interface and advanced algorithms, users can easily erase backgrounds in GIMP with just a few clicks. Whether you're editing photos for personal or professional use, this tool offers a seamless experience, allowing you to achieve professional-looking results in no time.
With its powerful erasing capabilities and compatibility with GIMP, Apowersoft Background Eraser simplifies the process of background removal, making it accessible to users of all skill levels.
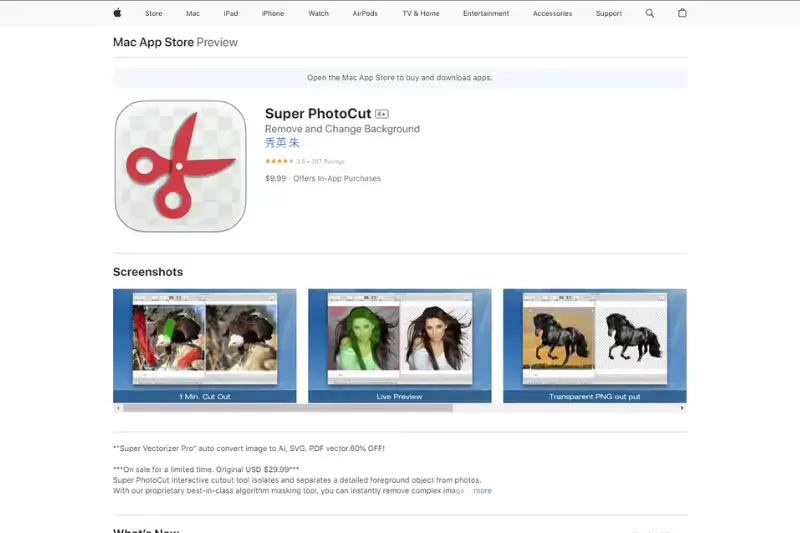
Super PhotoCut
Super PhotoCut is a powerful tool that specializes in removing backgrounds from images, offering seamless integration with GIMP for enhanced editing capabilities. With its advanced algorithms and intuitive interface, Super PhotoCut makes background removal in GIMP a breeze. Whether you're editing portraits, product photos, or any other type of image, this tool provides precise and accurate results, allowing you to achieve professional-looking edits easily.
By simplifying the background removal process and offering compatibility with GIMP, Super PhotoCut empowers users to unleash their creativity and bring their vision to life.
Why Choose Erase.bg?
Choosing Erase.bg offers several advantages for background removal needs:
Accuracy: Erase.bg leverages advanced AI algorithms to detect and remove backgrounds from images accurately, ensuring precise results with minimal manual intervention.
Ease of Use: With its intuitive interface, Erase.bg makes background removal a simple process. Users can upload images and obtain transparent backgrounds with just a few clicks.
Speed: Erase.bg is designed for efficiency, delivering fast processing times without compromising on quality. Users can quickly remove backgrounds from multiple images, saving time and effort.
Versatility: Whether you're editing portraits, product photos, or graphics for digital content, Erase.bg handles various image types and backgrounds, making it suitable for various applications.
Integration: Erase.bg seamlessly integrates with popular design tools like GIMP, allowing users to incorporate transparent images into their projects with ease. This integration enhances workflow efficiency and flexibility.
Overall, Erase.bg offers a reliable solution for background removal, enabling users to achieve professional-looking results with speed and precision.
Conclusion
Erase.bg stands out as a top choice for background removal due to its accuracy, ease of use, and seamless integration with tools like GIMP. Whether for personal or professional projects, Erase.bg ensures high-quality results efficiently, making it an essential tool for all your image editing needs.
FAQ's
Using GIMP, how do I erase a black background?
Start choosing the background by having to click on it after choosing the Fuzzy Select tool. Choosing the correct set position to get the right background; else, we won't obtain what we want. After you've selected the backdrop, press the Delete key to erase it.
In GIMP, how can I create a white background?
In GIMP, select the required picture and go to the Tools menu on the left to find the Fuzzy tool. Choose by color is another option, and you may choose the backdrop color by tapping on it. When you've decided on a backdrop color, click Erase on your keypad or pick Clear from the Edit menu on the toolbar.
Is it possible to remove items in GIMP?
To delete the item, click the "Delete" key on the keypad. Using the "Ctrl-X" keys on the keyboard will delete this choice. Users could also reveal the listing by selecting "Edit" and afterward "Cut" to erase the drawn object.
What is the finest cheap app for removing an image's background?
In 2022, here are the top 5 top iPhone and Android apps for removing backgrounds from photos: The Best Free Background Remover is YouCam Perfect. Remove Background PNG from PhotoCut Background Editor using Magic Eraser
How can I get rid of layers in photos?
Select Remove from the Layers palette by right-clicking on it. To remove a layer, drag it to the Delete Layer button. 1 Click the name of the layer you wish to clear in the Layers palette. Keep in mind nothing outside the layer is chosen.
What is background eraser tool?
The background eraser tool is a feature commonly found in graphic design and photo editing software. It allows users to easily remove the background from an image, leaving only the foreground object or subject. This tool typically works by identifying and deleting pixels of a similar color to the background, helping users achieve clean and precise cutouts


.jpg)
.jpg)
.jpg)
.jpg)
.jpg)


.webp)
.webp)


