In digital artistry, creating captivating illustrations often hinges on the ability to remove backgrounds seamlessly. With the ever-evolving landscape of creative tools, mastering the art of background removal has become more accessible and efficient than ever before. Enter Procreate, the go-to platform for digital artists seeking precision and versatility in their craft. In this comprehensive guide, we delve into the intricacies of removing background in Procreate, unlocking a world of possibilities for artists of all levels.
For users of Erase.bg, a cutting-edge AI background remover tool, integrating Procreate into your workflow opens up a wealth of creative possibilities. Whether you're an aspiring artist or a seasoned professional, harnessing the power of Procreate alongside Erase.bg empowers you to remove backgrounds and elevate your artwork to new heights effortlessly.
Join us as we explore the seamless integration of Erase.bg with Procreate, offering a seamless workflow for background removal. From leveraging Procreate's intuitive interface to harnessing Erase.bg's AI-driven precision, we'll guide you through each step of the process with clarity and ease. With this powerful combination at your fingertips, achieving stunning, background-free illustrations has never been more accessible.
Unlock the full potential of your creative endeavors with Erase.bg and Procreate. Say goodbye to cumbersome editing processes and hello to a streamlined workflow that puts your artistic vision front and center. Let's embark on this journey together and discover the endless possibilities that await when Erase.bg meets Procreate.
What is Procreate?
Procreate is a leading digital art software designed exclusively for iPad users, offering a comprehensive suite of illustration, painting, and design tools. With its intuitive interface and powerful features, Procreate has become a global go-to platform for artists, designers, and creatives. Whether you're a professional artist or a hobbyist, Procreate provides a seamless and immersive digital canvas where you can bring your ideas to life with precision and creativity.
From customizable brushes and advanced layering capabilities to dynamic effects and seamless integration with Apple Pencil, Procreate offers a versatile toolkit that empowers users to express their creativity in new and innovative ways. With its robust performance and user-friendly interface, Procreate has earned acclaim for its ability to deliver professional-quality results on the iPad, making it a must-have tool for anyone passionate about digital art and design.
How to Remove Background of Images in Procreate?
Procreate, a powerful and versatile digital illustration app for iPad, offers a variety of tools to help artists create stunning artwork. One common task artists often need to perform is removing the background from an image, which is essential for creating transparent images, layering artwork, or preparing designs for various applications.
In Procreate, this process can be accomplished efficiently using the selection and masking tools. By understanding how to use these features effectively, artists can isolate their subjects from backgrounds with precision, enhancing their creative workflows and ensuring their artwork meets professional standards. Here’s a step-by-step guide on how to remove backgrounds in Procreate.
Step 1: Download your picture and disable the backdrop layer's visibility.
We must first upload our picture in Procreate to get things going. I'll use the illustration below to illustrate my point:
Due to the negative space among this photograph's stem, leaf, and mango and the grey discolouration from the shadow it is creating, it serves as a good illustration for this demonstration.
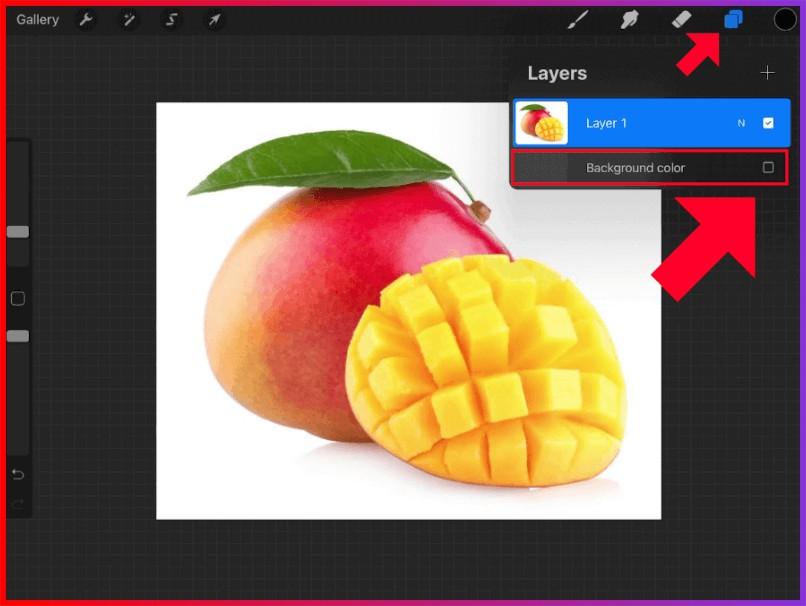
When selecting the Layers symbol in the upper corner of the display, now let's disable the backdrop layer's visibility. A Backdrop layer can be found at the bottom of the Layers panel. To make the backdrop layer invisible, uncheck the box next to it:
While removing a white backdrop from a picture, it's crucial to switch off the visibility of the backdrop layer because if you don't, the backdrop will be erased to transparency. However, the content's white backdrop would still be visible, making no visible changes to your content.
You can skip this phase if your picture doesn't have a backdrop layer.
Step 2: To remove the backdrop, make a circle around the picture's white region.
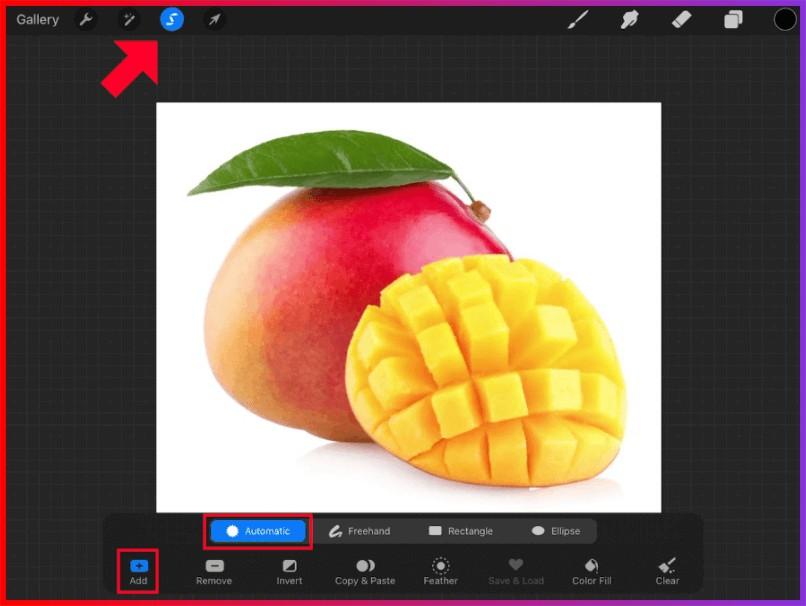
Procreate requires that we make a selection around the white zone to remove white background, which we will do in this step. You may access the Selection panel by selecting the rounded symbol with an "S" on the top-left side of your display. At the bottom of the display, the Selection option would appear:
Pick Automatic and Add from the Selection menu. Then, to make your pick, hold click over any area of the white backdrop of your photograph. The selection threshold would rise as you move your finger or stylus to the right. This would lower the barrier if you move it to the left:
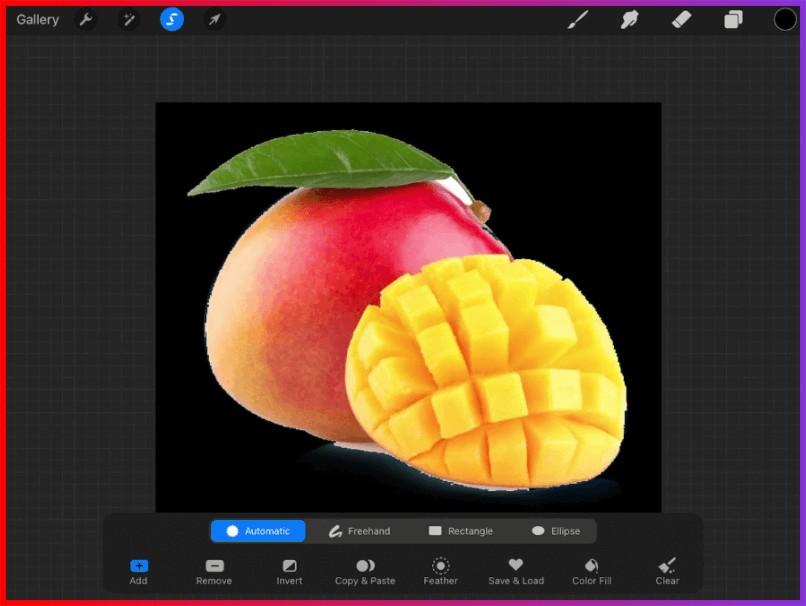
It's crucial to make sure that your choice perfectly encircles your theme. Most of the surrounding white backdrop will remain if the threshold is too low. If too high, the subject and the background parts will be removed.
Modify the threshold until your subject's boundaries are precisely aligned with the selected area on display:
Each picture would have a particular selection threshold, so tweak it until it suits you precisely. Minor patches of the white backdrop showing through are OK. If your topic is casting a shadow, as in my instance photograph, then this is to be considered. The next phase will deal with the grayscale pixels that make up the shadow.
Click the wrench symbol on the top-left side of the display, go to the Add menu, and click Cut while your selection is still selected. The dark grey grid pattern that is visible through your picture indicates that this has successfully removed the backdrop from your photograph:
You can now remove the selection by touching on the Selection menu symbol one more.
Step 3: Follow the procedure for the negative space sections, then use the Eraser to remove any stray pixels.
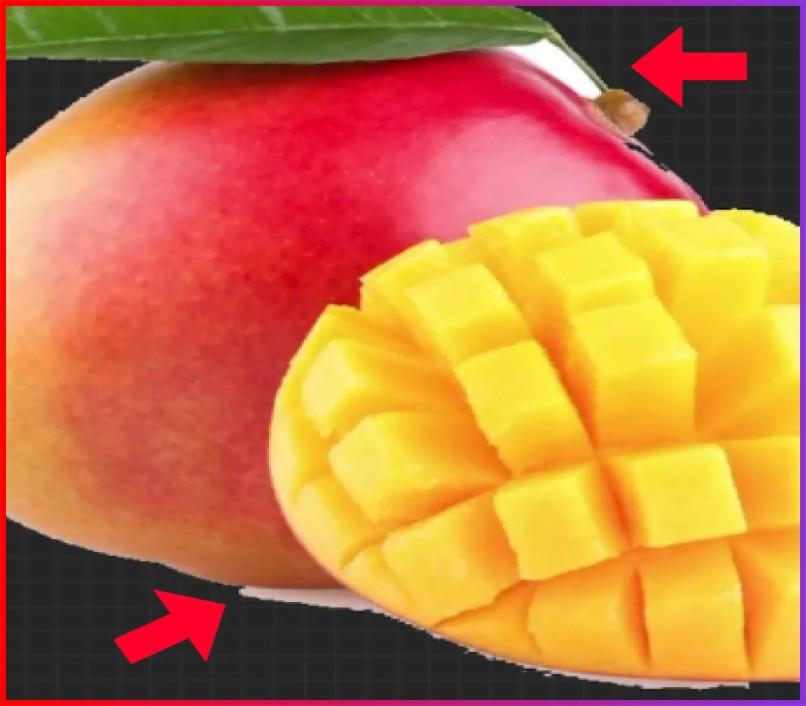
There is always a potential that Procreate will leave behind some errant pixels while removing a white backdrop, as is the instance with the shadow at the bottom of the mango in my illustration photo:
Till they are gone, use the procedure from step 2 to those places. Furthermore, if there are stray pixels, you might need to remove them using the Eraser manually.
Remember to repeat the procedure from step 2 on any portions of your picture that may have negative space, as in my illustration picture among the stem, leaf, and mango.
Step 4: To maintain transparency, export your output as a PNG format.
When you have completed removing the backdrop from your picture, export your output into a format that may be used. We'll export this picture in a PNG format to keep the transparent backdrop. Other file types, including JPEG, do not support transparency. Therefore, if you save your work in one of those files, your picture will already have a white backdrop.
Click the wrench symbol on the top-left side, go to Share, and choose PNG from the list to export your output as a PNG:
It can be used if the picture file has a translucent backdrop. Any background, including a website, an app, or the workplace of another application, could be used with the picture, which would show through the surrounding subject.
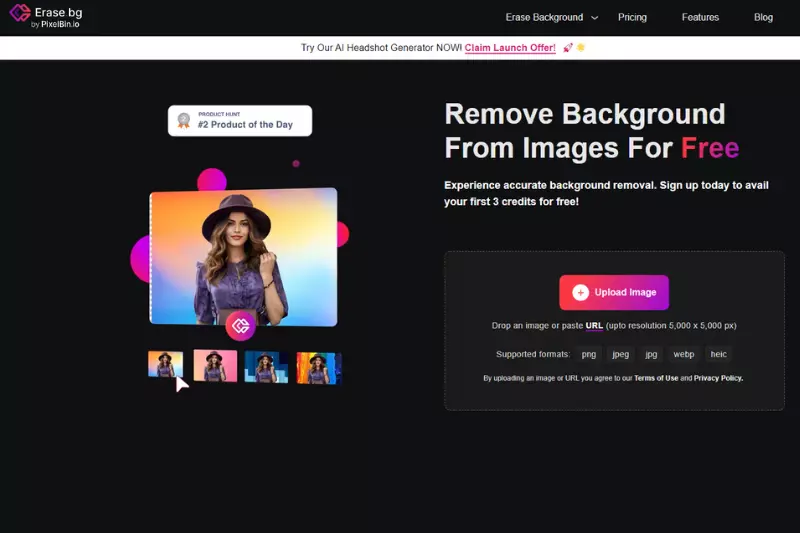
How you can use Erase.bg to remove Background in one click.
Erase.bg is an AI-powered software that erases background from photographs with extreme accuracy in moments. It allows people to change the background of photos, edit them, and save them in various formats.
Using these simple procedures, you could easily erase the background from your JPEG picture using Erase.bg via the webpage or by purchasing the Erase.bg App, which could be obtained from the App Store (for iOS users) or the Google Play Store (for Android users) (for Android users).
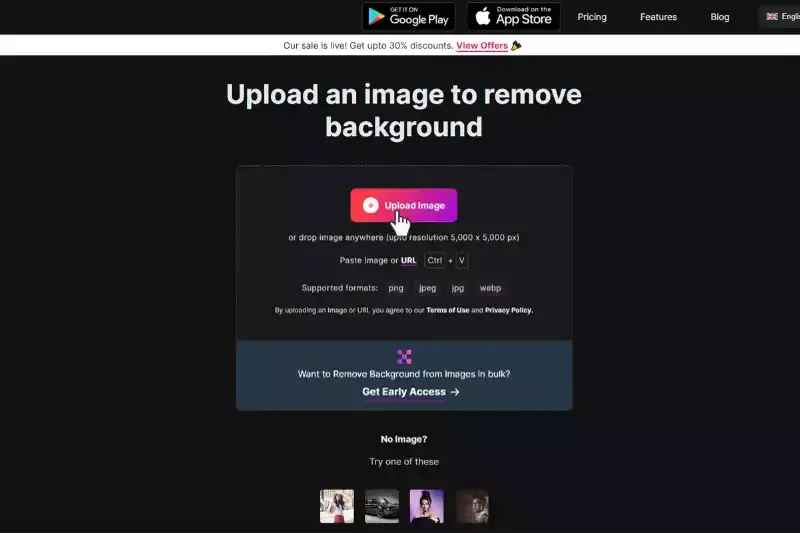
Step 1: You could select the "Upload Picture" dialogue box or directly drag and drop the photo onto the webpage.
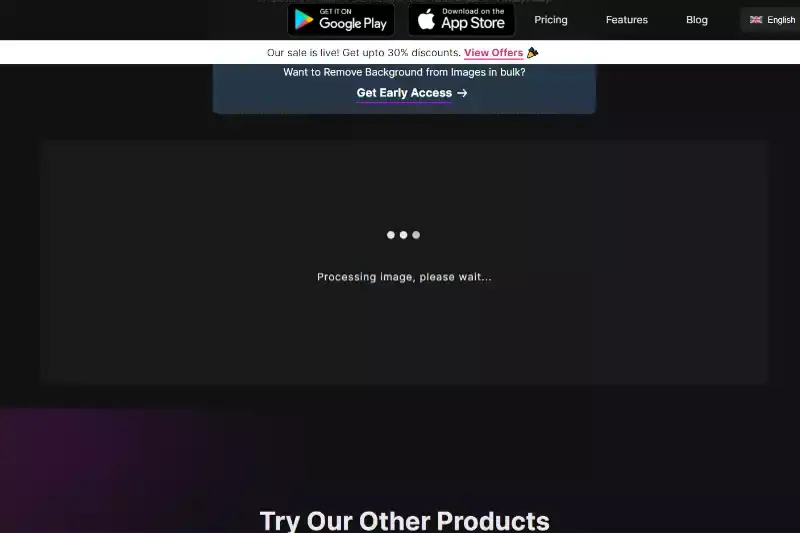
Step 2: "Uploading picture, kindly wait" would display on the computer, and in all that period, Erase.bg's AI would work its magic to erase the background from the JPEG picture of your selection.
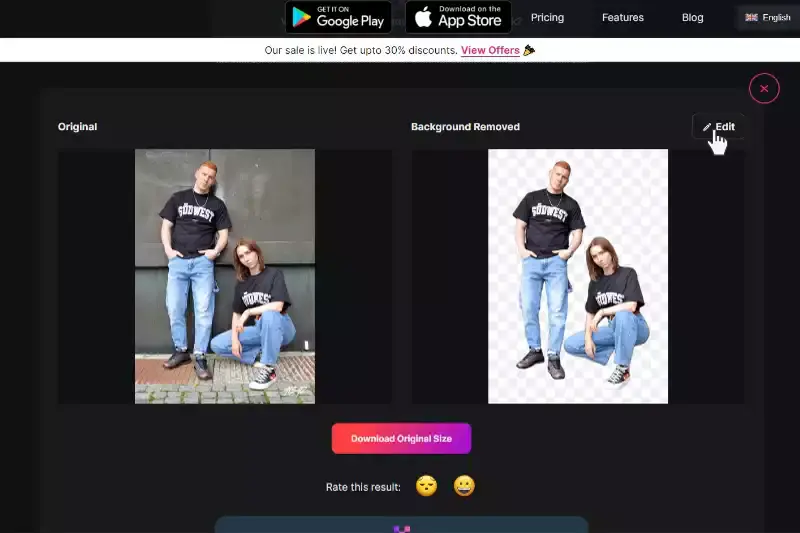
Step 3: In the top right-hand side of the background Removed iffy, you'll find an Edit button if you wish to erase anything or tweak the picture.
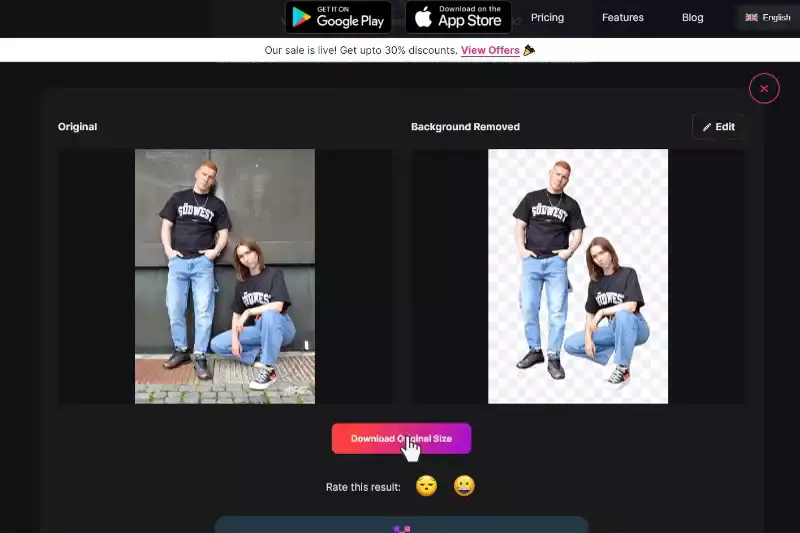
Step 4: Download the photos of your choice and type them to your desired location.
Benefits of Removing Background of Images
Removing backgrounds from images offers numerous benefits that enhance visual appeal and streamline design workflows. By mastering how to remove backgrounds in Procreate, artists and designers can elevate their creations to new levels of professionalism and creativity.
Enhanced Visual Focus: Removing distracting backgrounds directs viewers' attention to the main subject, emphasising its importance and impact on the image.
Seamless Integration: Background removal enables seamless integration of images into various projects, such as digital art compositions, presentations, and marketing materials.
Versatile Design Options: With backgrounds removed, designers can experiment with different backgrounds or overlay images onto various surfaces, expanding creative possibilities.
Improved Branding: Clean, background-free images convey professionalism and consistency, enhancing brand identity and leaving a lasting impression on audiences.
Time and Cost Efficiency: Removing Background from images saves time and resources, allowing artists and designers to focus on refining their creations rather than tedious manual editing processes.
10 Alternatives of Procreate
Introducing a diverse array of alternatives to Procreate, each offering unique features and capabilities tailored to the needs of digital artists and designers. These alternatives provide versatile options for unleashing creativity on digital canvases, from advanced drawing and painting tools to intuitive interfaces and seamless integration.
Erase.bg
Erase.bg is an innovative AI-powered tool designed to simplify the process of removing backgrounds from images. With its advanced algorithms, Erase.bg offers users a seamless and efficient solution for achieving precise background removal with just a few clicks. Whether you're a professional designer, digital artist, or amateur photographer, Erase.bg streamlines your workflow by automating the tedious task of manual background removal.
By harnessing the power of artificial intelligence, Erase.bg delivers accurate results in seconds, saving you time and effort. Its intuitive interface and lightning-fast processing make it the go-to choice for anyone looking to create stunning visuals with clean, transparent backgrounds. Say goodbye to complex editing techniques and hello to hassle-free background removal with Erase.bg.
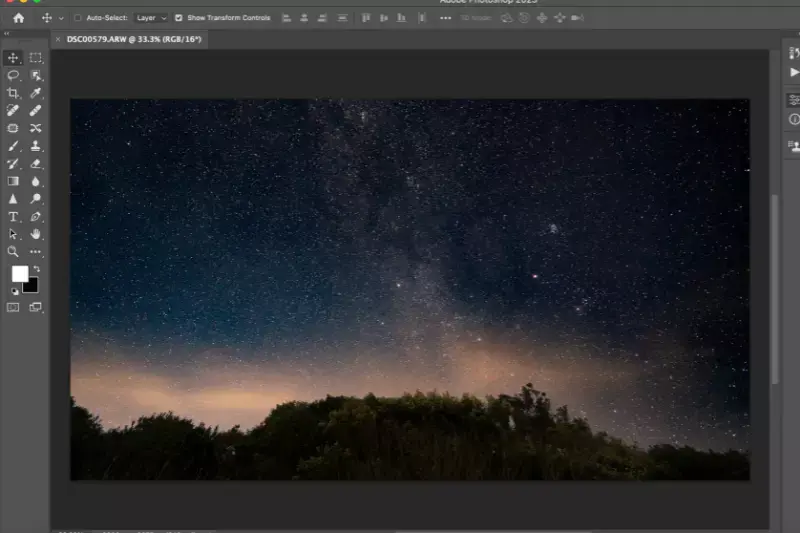
Adobe Photoshop
Adobe Photoshop is a versatile and powerful software application used for image editing, graphic design, digital art, and photography. Developed by Adobe Inc., Photoshop offers a wide range of tools and features to manipulate and enhance images with precision and creativity. From basic tasks like cropping and resizing to advanced techniques such as layering, masking, and retouching, Photoshop provides unparalleled flexibility and control over the editing process.
With its comprehensive suite of tools, filters, and effects, Photoshop is the industry standard for professionals in various creative fields, including graphic design, advertising, web development, and photography. Whether you're a beginner or an expert, Photoshop empowers users to bring their creative vision to life with stunning results.
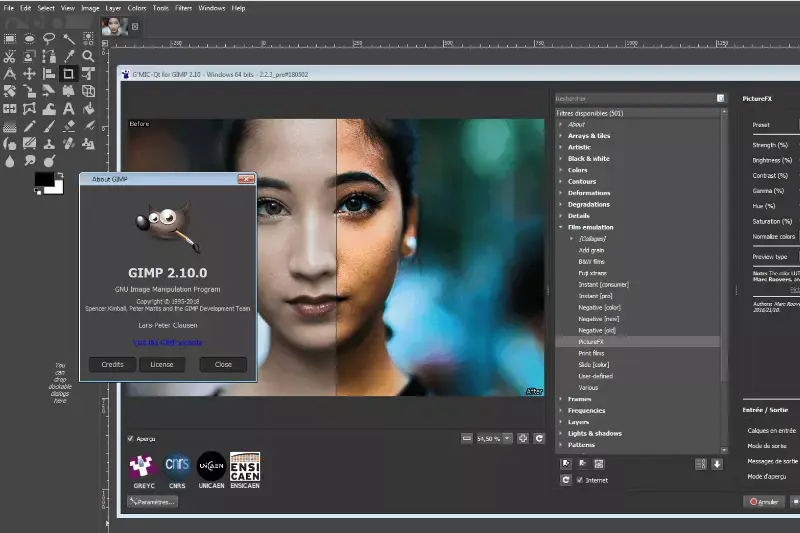
GIMP
GIMP, or GNU Image Manipulation Program, is a free and open-source raster graphics editor widely used for image editing, retouching, and creation of graphics. Offering a robust set of tools comparable to proprietary software like Adobe Photoshop, GIMP provides users with features such as layers, masks, filters, and various selection tools. Its versatility extends to supporting various file formats and plugins, enabling users to expand its functionality according to their needs.
Whether you're a professional designer, photographer, or hobbyist, GIMP offers a powerful platform for manipulating images and creating artwork without the cost associated with proprietary software. With its active community and frequent updates, GIMP continues to evolve as a popular choice for digital image editing across different platforms.
Affinity Photo
Affinity Photo is a professional-grade raster graphics editor developed by Serif Labs. It offers a comprehensive suite of tools and features for editing, retouching, and manipulating images with precision and ease. Designed as an alternative to Adobe Photoshop, Affinity Photo provides a non-destructive editing workflow, advanced layer management, robust selection tools, and powerful adjustment layers.
With its fast performance and seamless compatibility with macOS, Windows, and iPadOS, Affinity Photo caters to the needs of photographers, designers, and illustrators alike. Its intuitive interface and extensive range of tools make it suitable for both beginners and experienced users seeking a reliable and affordable solution for their creative projects.
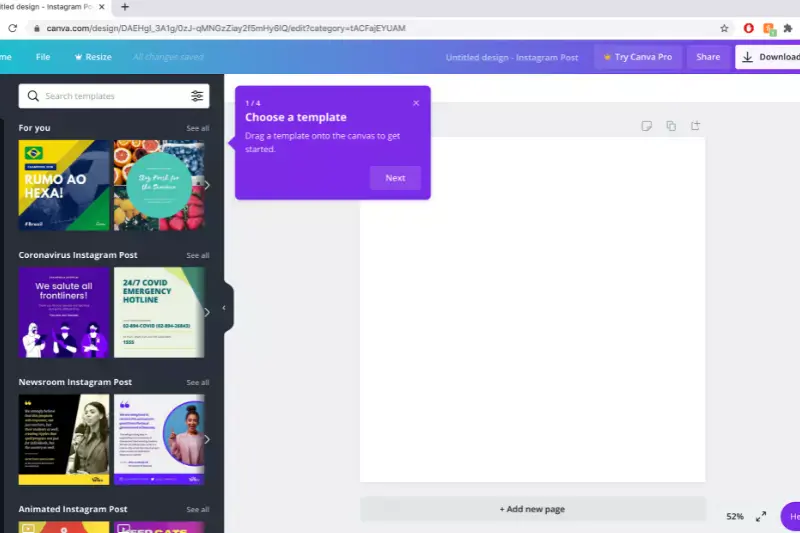
Canva
Canva is an intuitive online graphic design platform that enables users to create a wide range of visual content, including social media graphics, presentations, posters, and more. With its user-friendly drag-and-drop interface and vast library of templates, images, and design elements, Canva simplifies the design process for users of all skill levels.
Whether you're a business owner, marketer, educator, or individual user, Canva offers a versatile toolset for creating professional-looking designs without the need for graphic design expertise. From customizable templates to collaboration features and seamless sharing options, Canva empowers users to bring their ideas to life and communicate effectively through visually engaging content.
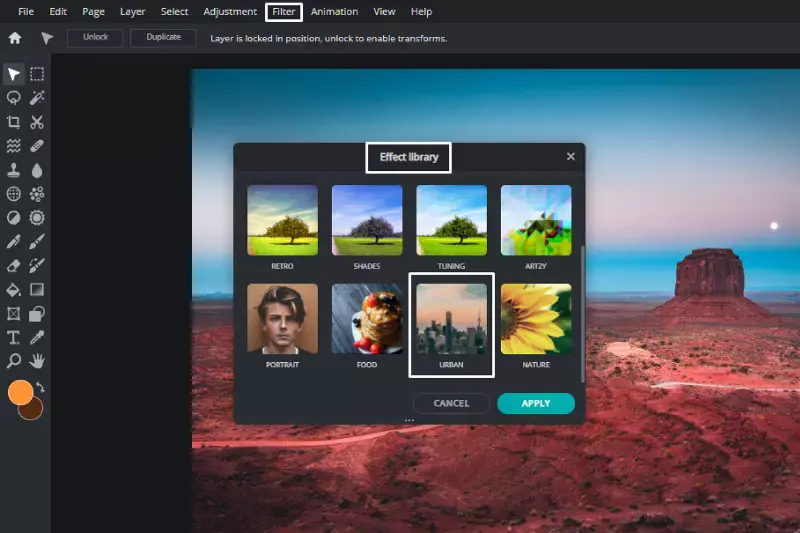
Pixlr
Pixlr is a powerful online photo editing tool that provides users with a wide range of features for editing and enhancing images. With its intuitive interface and comprehensive set of editing tools, Pixlr offers a versatile platform for both beginners and experienced users to create stunning visuals. From basic adjustments like cropping and resizing to more advanced features such as layers, filters, and effects, Pixlr enables users to transform their photos with ease.
Additionally, Pixlr offers a variety of pre-designed templates and overlays, making it easy to add creative elements to your images. Whether you're editing photos for personal use, social media, or professional projects, Pixlr provides the tools you need to unleash your creativity.
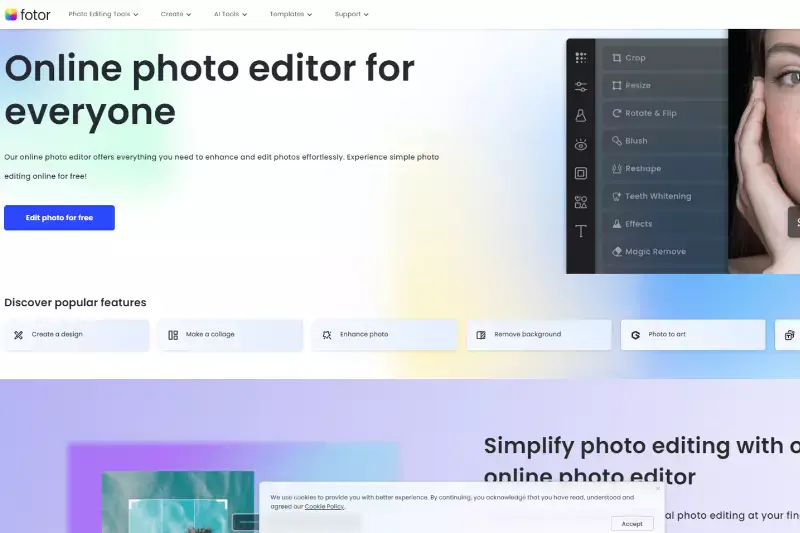
Fotor
Fotor is a comprehensive online photo editing and graphic design tool that offers a wide range of features for enhancing and creating visual content. With its intuitive interface and extensive library of editing tools, Fotor caters to both casual users and professional designers alike. From basic adjustments such as cropping and color correction to advanced features like layers, filters, and special effects, Fotor provides users with the flexibility to transform their images with ease.
Additionally, Fotor offers a variety of pre-designed templates and design elements, making it easy to create stunning graphics for social media, marketing materials, and more. Whether you're editing photos, creating collages, or designing graphics, Fotor provides the tools and resources you need to bring your ideas to life.
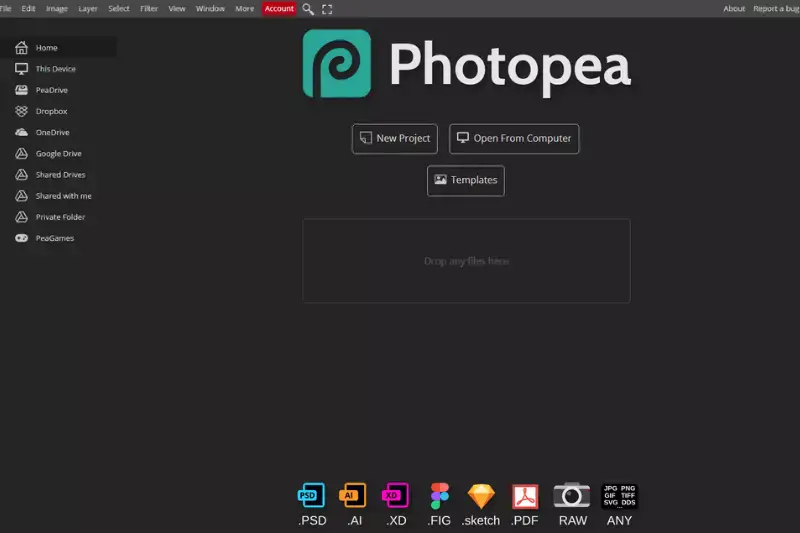
Photopea
Photopea is a robust online image editing tool that offers a wide array of features similar to those found in professional editing software like Adobe Photoshop. Its intuitive interface and comprehensive set of tools make it a versatile choice for users ranging from beginners to experienced designers. With Photopea, users can perform a variety of tasks, including photo retouching, image manipulation, and graphic design.
The software supports layers, masks, blending modes, and various adjustment options, allowing for precise control over editing processes. Additionally, Photopea is compatible with a wide range of file formats, making it easy to work with images from different sources. Whether you're editing photos for personal use or professional projects, Photopea provides a powerful and accessible platform for all your editing needs.
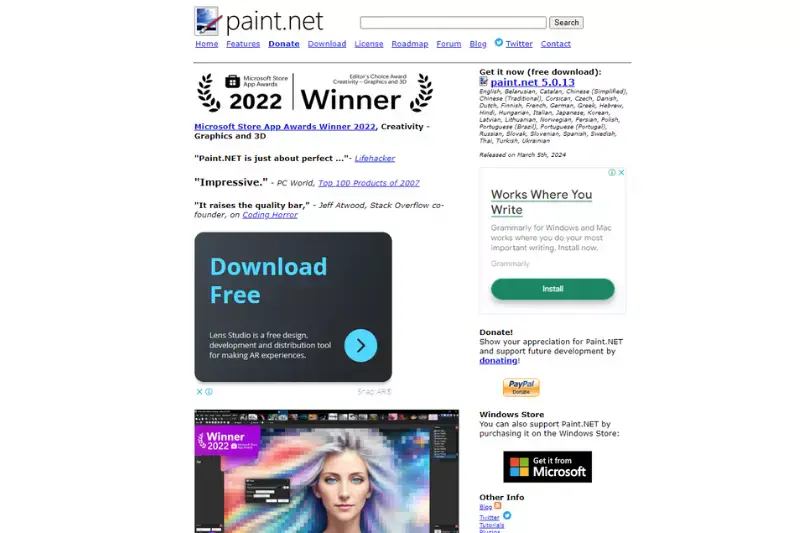
Paint.NET
Paint.NET is a user-friendly image editing software designed for Windows users. Despite its simplicity, it offers a range of powerful features for editing and enhancing images. With an intuitive interface, Paint.NET allows users to perform basic tasks like cropping, resizing, and rotating images with ease. Additionally, it offers a variety of tools for adjusting colors, applying effects, and removing blemishes.
While not as advanced as some professional editing software, Paint.NET is suitable for beginners and casual users looking to make simple edits to their photos. Its extensive plugin support also allows for additional functionality and customization, making it a versatile choice for a wide range of editing tasks.
Remove.bg
Remove.bg is a cutting-edge online tool that specializes in automatically removing backgrounds from images. With its advanced AI technology, Remove.bg swiftly identifies the main subject in an image and accurately separates it from the background, producing a clean and transparent result. This user-friendly tool requires no manual tracing or editing, making it incredibly convenient and efficient for users of all skill levels.
Whether you're a photographer, designer, or simply someone looking to remove backgrounds from photos, Remove.bg streamlines the process and saves valuable time. Its seamless integration with various platforms and formats further enhances its usability, making it a go-to solution for anyone in need of quick and high-quality background removal.
Why Choose Erase.bg to Remove Background of Image?
Choosing Erase.bg to remove the background of an image offers numerous advantages:
Accuracy: Erase.bg utilizes advanced AI algorithms to accurately detect and remove backgrounds from images, ensuring precise results with minimal manual intervention.
Efficiency: With its automated background removal process, Erase.bg significantly reduces the time and effort required to edit images, enabling users to complete tasks quickly and efficiently.
User-Friendly: Erase.bg features a simple and intuitive interface, making it accessible to users of all skill levels. Whether you're a professional designer or a casual user, you can easily remove backgrounds with just a few clicks.
Versatility: Erase.bg supports a wide range of image formats and works seamlessly with various platforms, including desktop and mobile devices. This versatility allows users to edit images from different sources without any compatibility issues.
High-Quality Results: By employing state-of-the-art technology, Erase.bg delivers high-quality results with smooth edges and accurate subject isolation, ensuring that your edited images look professional and polished.
Overall, Erase.bg offers a convenient and reliable solution for removing backgrounds from images, making it an ideal choice for anyone seeking a hassle-free editing experience.
Conclusion
Erase.bg stands out as a top choice for removing backgrounds from images. With its precision, efficiency, user-friendly interface, versatility, and high-quality results, Erase.bg simplifies the editing process and delivers professional outcomes, making it a valuable tool for users across various industries.
FAQ's
How do I get a white background on Procreate?
Step 1: Download your picture and disable the backdrop layer's visibility.
Step 2: To remove the backdrop, make a circle around the picture's white region.
Step 3: Follow the procedure for the negative space sections, then use the Eraser to remove any stray pixels.
Step 4: To maintain transparency, export your output as a PNG format.
How do you remove the background of a picture on Procreate?
In Procreate, you could choose to utilize the selection tool or the eraser to get rid of the backdrop of a picture or piece of art. You can copy and paste the main subject of your photo or work of art to a new layer by using the selection tool to isolate it. A more practical method is made possible by the eraser.
How do you change the background picture on Procreate?
Visit the "little wrench" symbol on the upper side of the display. Choose Insert a Picture from the drop-down box after tapping Add. Choose a Solid Background Paper from your "camera roll" or a particular "album" by navigating there.
How many images do I need for Procreate listing?
To select a picture and drag it into Procreate, click on the picture. Select other images to add them to the stack after selecting one so you may drag them all in at once.
Is white background photo necessary for Procreate?
When removing a white backdrop from a picture, it's crucial to turn off the visibility of the background layer because if you don't, the backdrop would be removed to transparency while still displaying the document's white backdrop, which won't make any noticeable difference to your document.
Where is the transparency tool in Procreate?
In Procreate, the transparency tool is located within the Layers menu. Simply tap on the layer you want to adjust, then select the "Opacity" option and adjust the slider to control the transparency of the layer.


.webp)
.webp)


