Are you tired of distracting backgrounds ruining your perfect shots? Whether you're a professional photographer or a hobbyist, mastering the art of background removal can elevate your images to new heights. With Erase.bg, you have a powerful AI tool at your fingertips. Imagine efficiently removing backgrounds, whether cluttered scenes or simple white backdrops, and bringing your subjects into sharp focus. Our comprehensive guide will walk you through removing background in Affinity Photo using Erase.bg, ensuring your images always look their best.
Using the advanced tools in Erase.bg, you can select subjects with precision and remove backgrounds with ease whether you're dealing with a green screen or a busy cityscape, Erase.bg’s AI capabilities make it simple to achieve professional results. We’ll show you how to use the "select subject" feature to isolate your subject quickly, then refine the edges to perfection. You'll also learn how to remove white backgrounds and make them transparent, providing you with versatile images ready for any creative project.
Join us as we explore the best practices for using Erase.bg to remove backgrounds in Affinity Photo. Our guide covers everything from step-by-step tutorials on removing green screens to tips on achieving a flawless finish. Get ready to transform your photos and unleash your creativity with Erase.bg’s powerful background removal tools.
What is Affinity Photo?
Affinity Photo is a powerful, professional photo editing software developed by Serif. Renowned for its robust features and affordability, it provides an excellent alternative to high-end photo editing tools. Affinity Photo supports various file formats and offers a wide range of tools for editing, retouching, and enhancing images. Its capabilities include advanced layer management, comprehensive RAW editing, HDR merging, panorama stitching, and precise selection tools.
One of Affinity Photo's standout features is its non-destructive live filter layers, which allow users to make changes without permanently altering the original image. It also boasts impressive performance, efficiently handling large files and complex edits. Whether you're working on a simple touch-up or an intricate composite, Affinity Photo delivers professional-grade results. Its user-friendly interface and extensive tutorials make it accessible to beginners and seasoned photographers, making it a versatile choice for anyone serious about photo editing.
How To Remove Background of Images in Affinity Photo?
Removing backgrounds from images in Affinity Photo can be daunting, especially when dealing with intricate details or complex compositions. However, the process becomes seamless and efficient with the innovative tool Erase.bg. Powered by AI technology, Erase.bg integrates seamlessly with Affinity Photo, offering precise and automated background removal.
Whether you need to remove a white background, a green screen, or any other backdrop, Erase.bg delivers impeccable results. With just a few clicks, users can effortlessly select the subject and create transparent backgrounds with Affinity Photo, saving time and effort while achieving professional-quality edits. Say goodbye to tedious manual selections and hello to a streamlined editing workflow with Erase.bg and Affinity Photo.
Benefits Of Removing Background From Images
Removing the background from images can enhance your photos' visual appeal and versatility. This process becomes quick and efficient with tools like Affinity Photo and Erase.bg. By using advanced AI technology, you can achieve professional-quality results effortlessly. Here are five key benefits of removing backgrounds from images:
• Enhanced Focus on Subject: Using Affinity Photo to select the subject and remove the background ensures the main focus is on the subject, making it stand out against any backdrop. This enhances visual appeal and draws viewers' attention directly to the subject, improving the overall impact of the image.
• Versatile Image Usage: Removing the background in Affinity Photo allows for easy placement of subjects in various settings, whether for marketing, social media, or personal projects. This versatility enables creators to adapt images to different contexts, enhancing their usability and relevance across multiple platforms.
• Professional Presentation: Removing a white background or green screen in Affinity Photo allows you to create clean, polished images suitable for websites, portfolios, and professional presentations. This produces a more professional appearance, boosting credibility and aesthetic appeal for your visual content.
• Creative Freedom: Affinity Photo AI enables users to experiment with different backgrounds and effects, enhancing creativity and producing unique, eye-catching visuals. This creative freedom allows for innovative image compositions and personalized designs, making your work stand out in a crowded visual landscape.
• Streamlined Workflow: Tools like Erase.bg and Affinity Photo make background removal efficient, saving time and effort, especially with features like "select subject" and automated background removal. This streamlined workflow boosts productivity, allowing users to focus on other creative tasks without compromising quality.
10 Alternatives of Affinity Photo
Erase.bg
Erase.bg is a powerful online tool designed for effortless background removal from images. Erase.bg can accurately detect and separate subjects from their backgrounds using advanced AI technology, ensuring clean and precise results. Whether you need to remove white backgrounds, green screens, or complex backgrounds, Erase.bg simplifies the process, making it perfect for professionals and beginners.
The tool is particularly effective with intricate details, such as hair or fur, and offers quick, high-quality output. Its user-friendly interface and efficiency make Erase.bg a top choice for anyone looking to enhance their images by removing unwanted backgrounds seamlessly.
Adobe Photoshop
Adobe Photoshop is a powerful and versatile image editing software that professionals and enthusiasts use. Known for its advanced tools and features, Photoshop allows users to perform intricate edits, including background removal, photo retouching, and graphic design.
Users can efficiently remove backgrounds and create transparent images with tools like the Magic Wand, Quick Selection, and Refine Edge. Adobe Photoshop also supports a wide range of file formats and integrates seamlessly with other Adobe products, making it a top choice for comprehensive photo editing and digital art creation.
Open the image in Adobe Photoshop.
Use selection tools like Magic Wand or Quick Selection to outline the background.
Refine the selection using tools like Refine Edge or Select and Mask.
Press the Delete key to remove the background or apply a layer mask for non-destructive editing.
GIMP
GIMP, or GNU Image Manipulation Program, is a powerful and free open-source image editing software widely used for graphic design, photo retouching, and image composition. Offering a comprehensive set of tools akin to premium software like Photoshop, GIMP allows users to manipulate images with precision. It supports various file formats and features customizable brushes, layers, filters, and plugins, enabling versatile editing capabilities.
GIMP's user-friendly interface makes it accessible to beginners while still catering to the needs of advanced users. With its extensive community support, regular updates, and cross-platform compatibility, GIMP stands as a prominent choice for professional and amateur image editing alike.
Open your image in GIMP.
Utilize selection tools like Free Select or Fuzzy Select to outline the background.
Refine the selection using tools like Feather or Refine Selection.
Press the Delete key to remove the background or add a layer mask for non-destructive editing.
Canva
Canva is an intuitive graphic design platform enabling users to create stunning visuals effortlessly. With a user-friendly interface and a vast library of templates, graphics, and fonts, Canva caters to beginners and professionals. It offers versatile design tools for various purposes, including social media posts, presentations, posters, and more.
Users can easily customize designs, add text, images, and elements, and collaborate with team members in real time. Canva's cloud-based platform allows seamless access from any device, making it convenient for users to create, edit, and share designs on the go.
Sign in to your Canva account or create a new one.
Choose a design template or start from scratch.
Customize your design by adding text, images, and elements from the Canva library.
Use Canvas editing tools to adjust colors, fonts, and layout.
Preview and save your design once you're satisfied.
Download your design or share it directly from Canva.
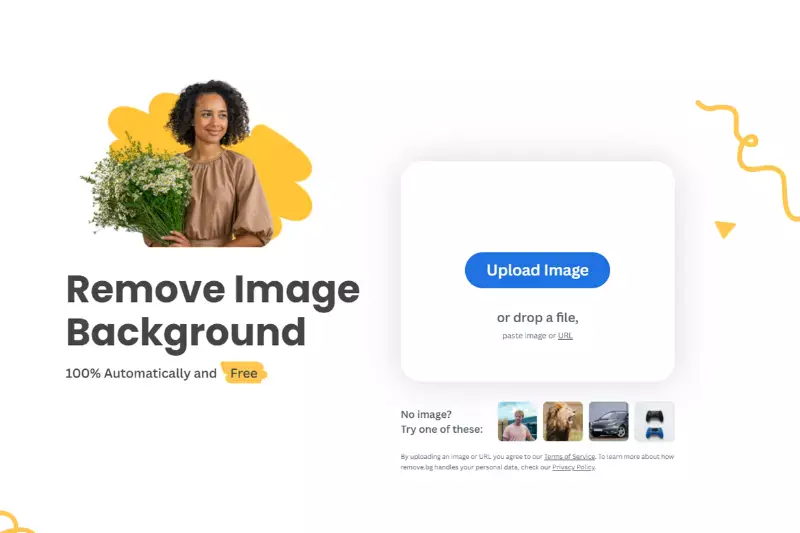
Remove.bg
Remove.bg is an AI-powered background removal tool that makes it incredibly easy to remove backgrounds from images. Users can instantly create transparent backgrounds with just a few clicks, allowing the subject to stand out. Its advanced algorithms accurately detect the subject and remove the background, saving users valuable time and effort.
Remove.bg is perfect for photographers, graphic designers, and anyone needing to edit images for various purposes quickly. Whether you're creating product photos, social media posts, or presentations, Remove.bg ensures professional-looking results with minimal hassle.
Upload your image.
Let the AI remove the background.
Download the transparent image.
Enjoy your professionally edited photo.
Fotor
Fotor is a comprehensive online photo editing tool that offers a wide range of features for enhancing and retouching images. From basic adjustments like cropping and resizing to advanced editing options such as filters, effects, and overlays, Fotor provides users with everything they need to create stunning visuals.
Its user-friendly interface and intuitive controls suit beginners and experienced photographers. With Fotor, users can quickly transform their photos into works of art for personal use or professional projects.
Upload your photo to Fotor.
Choose from various editing tools.
Apply filters, effects, or retouching.
Save or share your edited image.
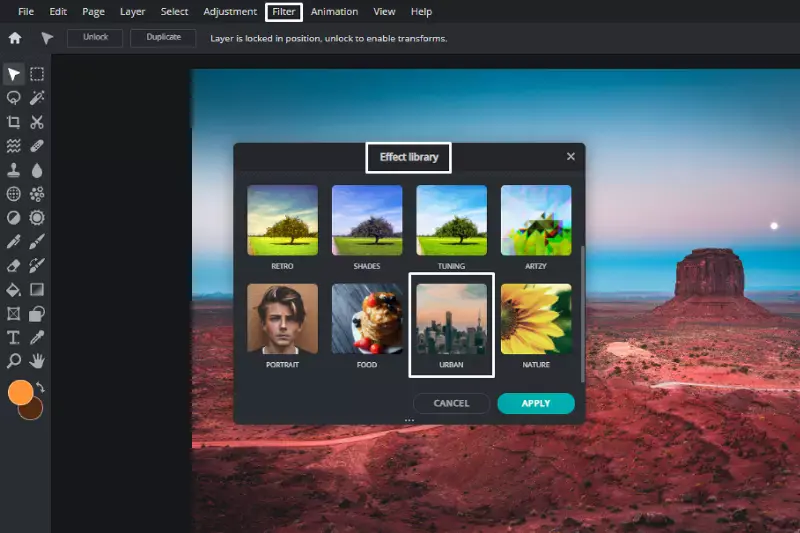
Pixlr
Pixlr is a powerful online photo editor that offers a variety of tools and effects for editing images. With its extensive collection of filters, overlays, and borders, Pixlr allows users to unleash their creativity and enhance their photos uniquely.
Whether retouching portraits, creating digital art, or designing graphics for social media, Pixlr provides the tools you need to achieve professional-looking results. Its user-friendly interface and intuitive controls make it easy to navigate, while its robust features offer endless possibilities for photo editing.
Open Pixlr editor online.
Upload your image.
Use editing tools and effects.
Save or export your edited photo.
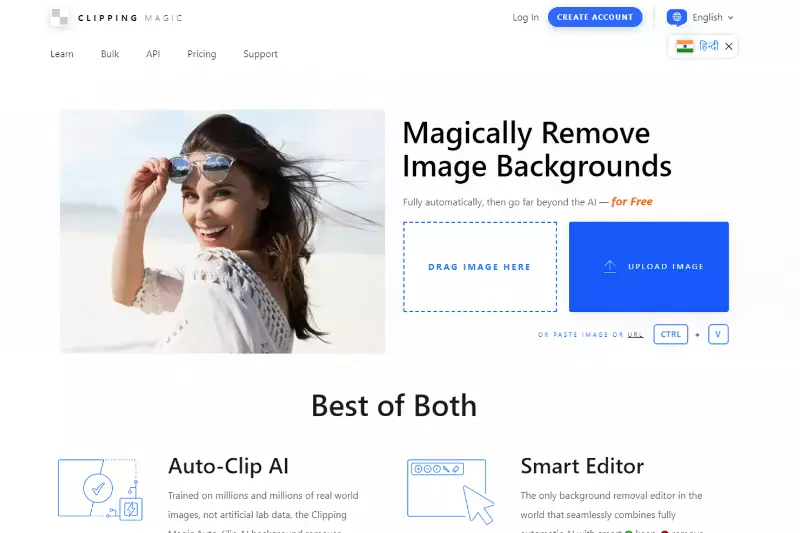
Clipping Magic
Clipping Magic is a dedicated background removal tool that accurately cuts out subjects from their backgrounds. With its intelligent algorithms, Clipping Magic automatically detects edges and removes backgrounds precisely, saving users time and effort.
Whether you're removing backgrounds from product photos, portraits, or landscapes, Clipping Magic ensures clean and seamless results every time. Its simple interface and intuitive controls make it easy to use, while its advanced features offer additional customization options for fine-tuning edits.
Upload your image to Clipping Magic.
Mark the foreground and background.
Let the tool automatically remove the background.
Download your edited image.
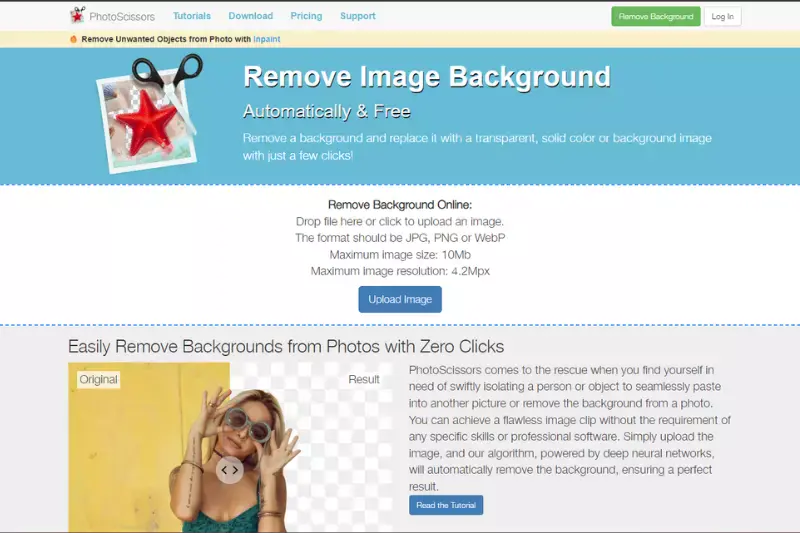
PhotoScissors
PhotoScissors is a user-friendly background removal tool that simplifies cutting out objects from photos. With its intuitive drag-and-drop interface, users can quickly remove backgrounds and replace them with transparent or solid colors.
PhotoScissors' intelligent algorithms accurately detect edges and automatically remove backgrounds, making it easy to isolate subjects precisely. Whether editing photos for personal use or professional projects, PhotoScissors offers a convenient solution for creating clean and polished images.
Upload your image to PhotoScissors.
Mark the areas to keep and remove.
Let the tool automatically remove the background.
Download your edited image.
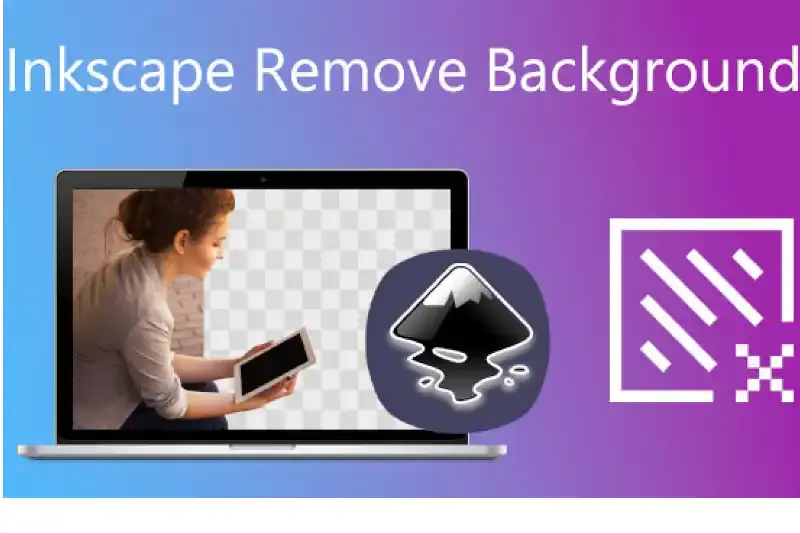
Inkscape
Inkscape is a powerful open-source vector graphics editor that allows users to create and edit scalable graphics. With its comprehensive drawing tools, Inkscape allows users to create intricate designs, illustrations, logos, and more. Whether you're a graphic designer, illustrator, or hobbyist, Inkscape offers a versatile platform for unleashing your creativity.
Its user-friendly interface and extensive features suit beginners and experienced users. Plus, as open-source software, Inkscape is free to use and is continuously updated by a vibrant community of developers.
Open Inkscape and create a new document.
Import your image.
Use the Bezier tool to trace around the subject.
Delete the background and export your edited image.
Why Choose Erase.bg To Remove Background of an Image?
Choosing Erase.bg to remove the background of an image offers several compelling advantages:
Efficiency: Erase.bg utilizes advanced AI technology to swiftly and accurately remove backgrounds, saving you valuable time and effort.
Quality: With Erase.bg, you can expect high-quality results thanks to its precise algorithms that ensure clean and professional-looking edits.
User-Friendly: Erase.bg's intuitive interface makes it easy for anyone to use, whether you're a professional photographer or a casual user.
Versatility: Whether you need to remove a white background, a green screen, or any other background, Erase.bg can handle it with ease.
Accessibility: Erase.bg is accessible online, meaning you can use it from any device without downloading or installing software.
Overall, Erase.bg provides a convenient, reliable, and efficient solution for background removal, making it the top choice for anyone looking to enhance their images effortlessly.
Conclusion
Erase.bg offers a superior solution for background removal with its efficient AI technology, user-friendly interface, and high-quality results. Whether you're a professional photographer or an amateur user, Erase.bg provides the tools to quickly achieve clean and professional-looking edits.
FAQ's
Do you have to pay for erase.bg?
No, you don't have to pay anything for ease.bg, it is a free background remover tool. Anyone from anywhere can use this website to remove the background from their image. You can also add colour and gradient to the background of your image for free.
How do you remove the background of a picture on Affinity Photo?
Import the picture that you want to edit, click on the ‘selection brush’ tool and paint across the subject of your image. Now let's move to the masking step. Click on ‘Mask’ from the right bottom of your screen. Once you click on ‘Mask’, you will see the white background, to deselect the subject, click on ‘ctrl + D’. To save your image click on ‘File’ from the top and then click on ‘Export’. Choose the file type you want to save your image and then click on ‘Export’.
Note : most of the images are exported as ‘JPEG’ but ‘JPEG’ images do not support a white background so you can save the image as ‘PNG’, so click on ‘PNG’ and then click on ‘Export’.
How do you change the background picture on erase.bg?
Go to erase.bg website and click on ‘Upload Image’, and select the image that you want to edit. With just one click your background will be removed. Then you will see an option ‘Edit’ on the right top of your image, click on it and then you will get two options ‘gradient’ and ‘colour’, now you can customise your image as per your choice by adding gradient or colour to the background of your image. This way you can change the background picture on erase.bg.
Does Affinity Photo have a background remover?
Yes, Affinity Photo does have a background removal tool, but it can be complicated to use for some users. For a simpler and more efficient solution, it is recommended to use a dedicated tool like Erase.bg, which uses AI technology to accurately remove backgrounds from images while preserving their quality.
How do I remove the background of a picture professionally?
To remove the background of a picture professionally, you can use a tool like Erase.bg in just a few simple steps:
Step 1: Upload your image to Erase.bg
Step 2: Wait a few seconds for the AI technology to remove the background
Step 3: Download your image with a transparent background or add a new background of your choice.
Erase.bg is an easy and efficient way to remove backgrounds from images professionally while preserving the quality of the image.
Does Affinity Designer have an eraser?
Yes, Affinity Designer does have an eraser tool, but it may be complicated to use for some users. For a simpler and more efficient solution, it is recommended to use a dedicated tool like Erase.bg.


.webp)

.webp)
.webp)


