Do you need help with background removal in your photos? Whether you're a designer, a business owner, or someone who loves creating beautiful images, background removal can be daunting. If you've tried using PicMonkey's background remover and found it challenging or the tool isn't working as expected, you're not alone. Many users have encountered issues with the PicMonkey background remover, but don't worry—there's a solution that can make this process effortless and efficient.
In this comprehensive guide, we'll walk you through removing backgrounds using PicMonkey, and introduce you to Erase.bg, an AI-powered alternative that simplifies the entire process. PicMonkey is a well-known tool for image editing, praised for its user-friendly interface and powerful features. However, its background removal tool can sometimes be tricky, especially when dealing with complex backgrounds or green screens. We'll explore how to remove green screens on PicMonkey, handle nature backgrounds, and address common issues users face, like when the PicMonkey background remover is not working.
Erase.bg offers a seamless and precise solution, ensuring your images look professional without the hassle. Whether you want to remove bg nature backgrounds or perfect a monkey editing background, this guide will provide all the information you need to make your images stand out. Learn how Erase.bg can transform your editing experience and save you valuable time.
What is PicMonkey?
PicMonkey is an online image editing platform designed to cater to novice and professional users. Renowned for its intuitive interface and robust features, PicMonkey allows users to create and edit stunning visuals effortlessly. Whether you're working on social media graphics, marketing materials, or personal projects, PicMonkey provides a versatile suite of tools to enhance your creativity.
With PicMonkey, you can edit photos, design graphics, and create collages using various templates and customization options. The platform's features include essential photo editing tools, advanced retouching, text overlays, and various effects to elevate your images. It also offers functionalities like the background remover, which, although sometimes challenging to use, can help you achieve a polished look.
Through a subscription model, PicMonkey appeals to users looking for an accessible yet powerful image editing solution that doesn't require extensive design skills or expensive software.
How to Remove Background in PicMonkey?
PicMonkey is a popular online image editing tool known for its user-friendly interface and powerful features. One standout feature is the PicMonkey background remover, which allows users to seamlessly remove backgrounds from images, perfect for creating professional visuals. If you’ve struggled with the PicMonkey background remover not working, don't worry—there are simple steps to get it right.
Whether you want to remove bg nature backgrounds or learn how to remove the green screen on PicMonkey, this guide covers it all. PicMonkey reviews highlight its effectiveness in monkey editing background tasks, making it an essential tool for both amateurs and professionals alike. Discover what PicMonkey can do for your creative projects today!
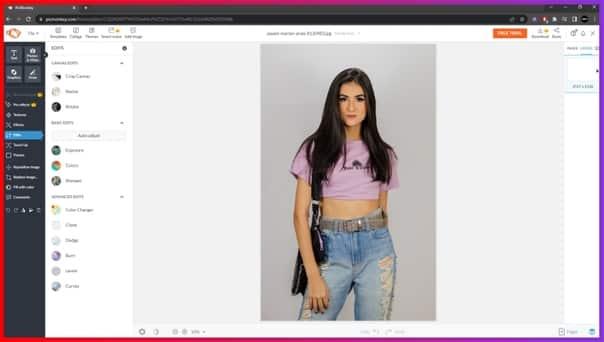
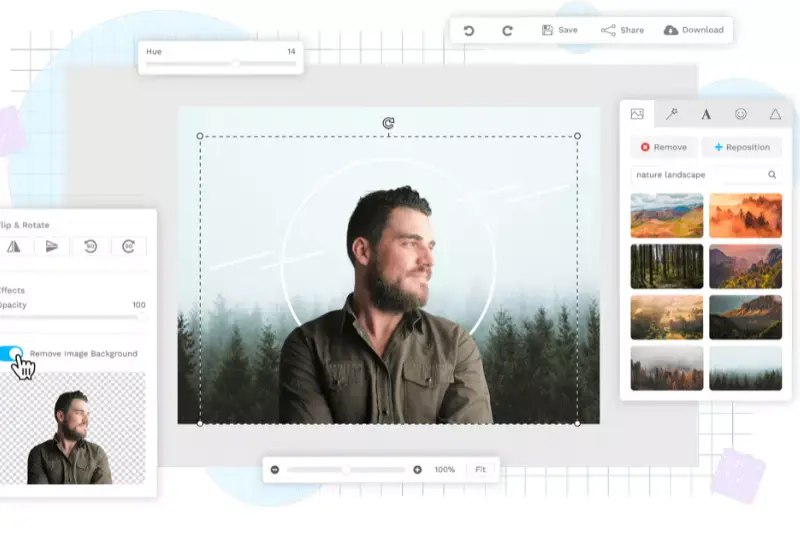
Step 1: Go to PicMonkey and open your image there.
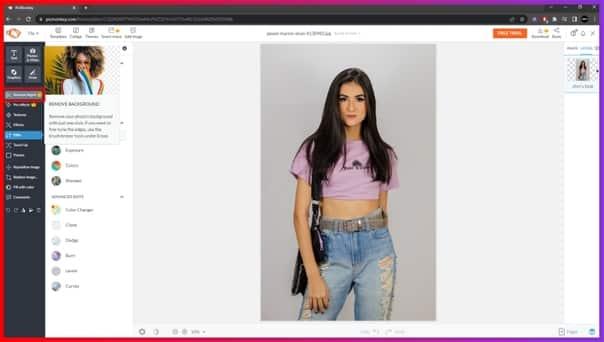
Step 2: Then, go to the Background Tools section on the left side of the screen and select Remove bkgnd.
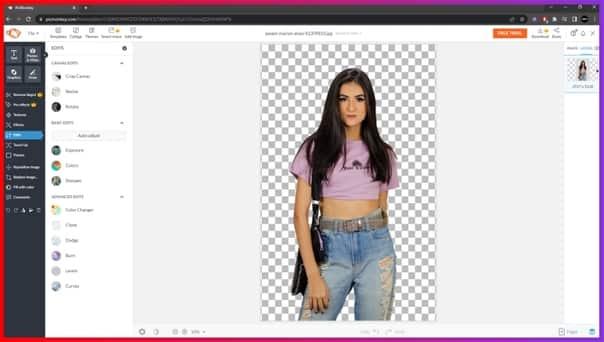
Step 3: The background of your image is now removed and is saved in the Hub with a transparent background.
And just like that, the background from your PNG, JPEG, WebP or JPG image i removed in an instant.
How to Remove Background in Erase.bg?
Erase.bg is a cutting-edge AI-powered tool designed to effortlessly remove backgrounds from images, making it ideal for personal and professional use. Whether you need to remove the background from a JPEG,JPG, PNG, or WebP format file, Erase.bg ensures precision and speed. Unlike other tools, Erase.bg simplifies the process with a user-friendly interface, eliminating the need for complex editing skills.
This guide will show you how to use Erase.bg to remove backgrounds seamlessly, helping you enhance your images with minimal effort. From product photos to personal snapshots, Erase.bg is your go-to solution for high-quality background removal.
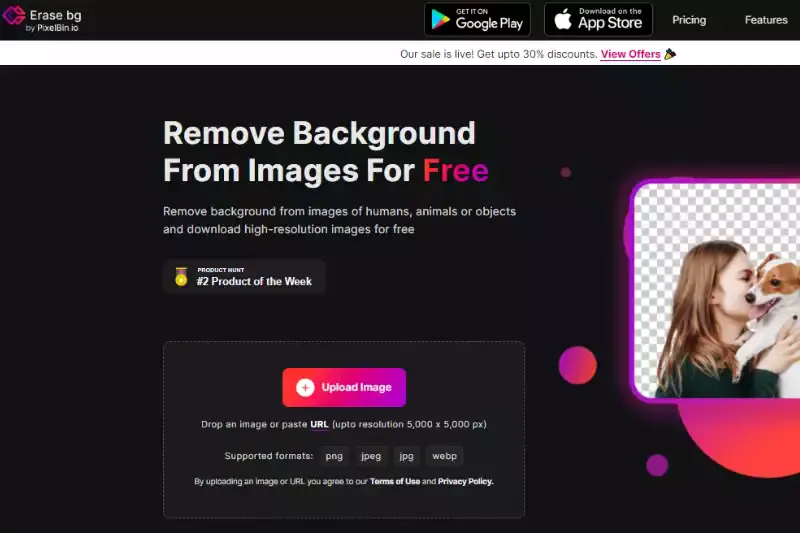
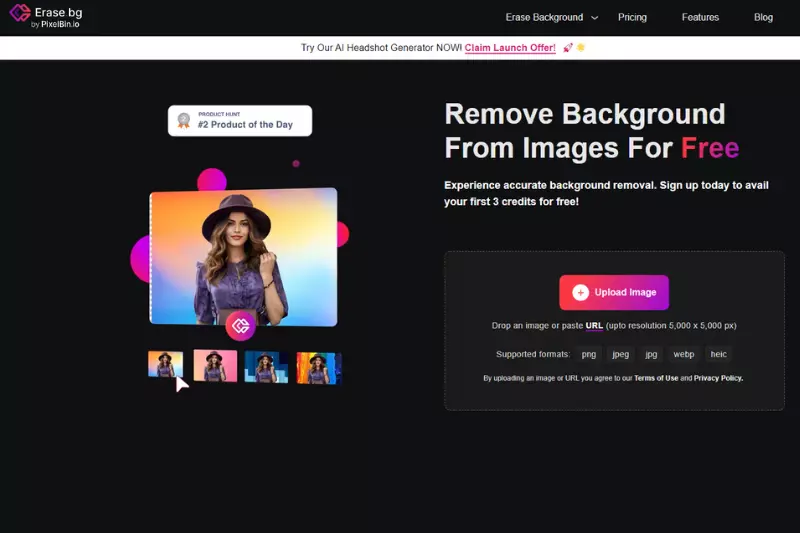
Step 1: Click on the dialogue box that reads “Upload Image,” or use the Drag and Drop image on the page. You can also copy-paste the URL of the image you wish to edit.
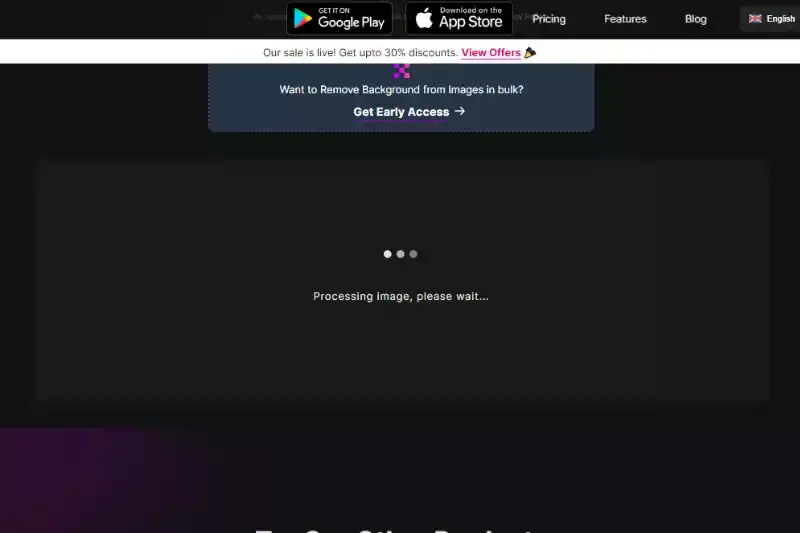
Step 2: A message will show on the screen that says, “Uploading image, please wait…” and during this time, Erase.bg’s AI works on removing the background from the image of your choice.
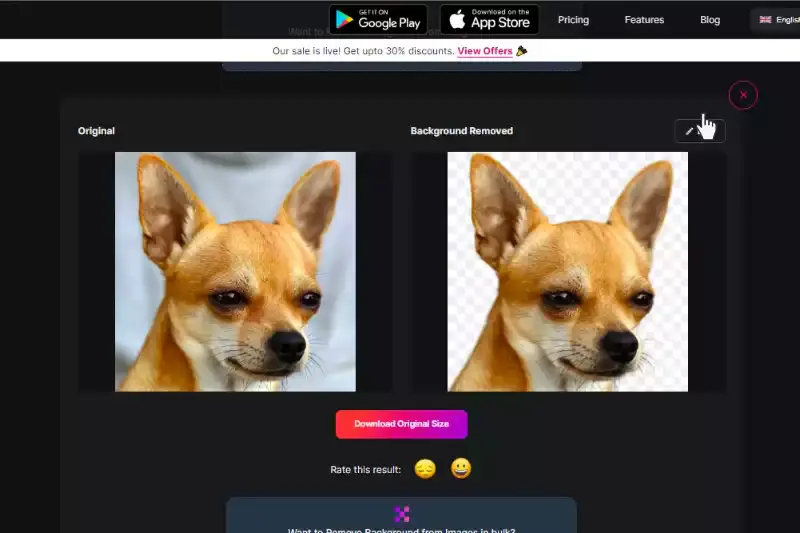
Step 3: If you wish to remove something else from the background or edit the image, which is located in the top right corner of the image, you will see an Edit option; you can further edit the image using it.
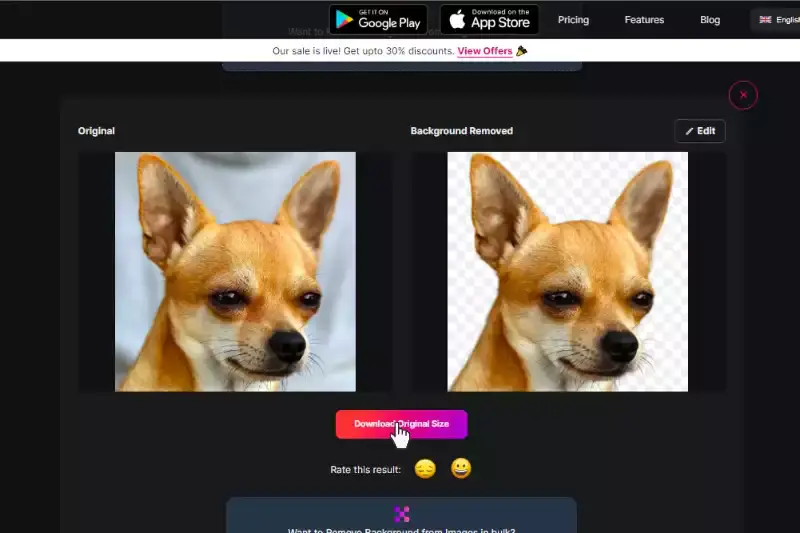
Step 4: You can easily download the edited image in your chosen format to your preferred destination. The background from your image is successfully removed in two to three seconds with Erase.bg.
Difference Between Erase.bg and PicMonkey
Erase.bg and PicMonkey are popular tools for background removal and image editing, but they differ in several key aspects.
Erase.bg is an AI-powered background removal tool known for its precision and speed. It specializes in automatically removing backgrounds from images, making it an efficient choice for users seeking quick and accurate results. Erase.bg excels in handling various file formats, including JPEG, PNG, and WebP, and is particularly favored for its user-friendly interface and straightforward process.
On the other hand, PicMonkey offers a broader range of image editing features beyond background removal. While it includes a background remover tool, PicMonkey is a comprehensive online editing platform that caters to diverse creative needs. It provides users with tools for photo editing, graphic design, collage making, and more, making it a versatile option for individuals looking for a full-fledged editing suite.
In summary, while Erase.bg specializes in background removal with AI precision and simplicity, PicMonkey offers a wider array of editing features beyond background removal, catering to a broader range of creative projects.
Benefits of Removing Background of Images in Erase.bg
They are removing backgrounds in Erase.bg offers numerous benefits, enhancing your images' overall quality and versatility. Erase.bg empowers users to create professional-looking visuals easily and efficiently by seamlessly eliminating unwanted backgrounds. Here are five key advantages:
Enhanced Visual Appeal: Removing distracting backgrounds allows the main subject to stand out, resulting in cleaner and more visually appealing images that captivate viewers instantly.
Improved Branding: With background removal, businesses can maintain consistent branding across their visual content, ensuring a cohesive and professional image across various platforms and materials.
Versatility in Design: Background removal enables greater flexibility in design, empowering users to overlay images onto different backgrounds or integrate them seamlessly into various projects without restrictions.
Increased Focus: By eliminating cluttered backgrounds, the focus shifts entirely to the subject, conveying the intended message more effectively and facilitating better engagement with the audience.
Time and Cost Efficiency: Erase.bg streamlines the background removal process, saving users valuable time and resources that would otherwise be spent on manual editing or outsourcing tasks to professionals.
10 Alternatives of PicMonkey
Regarding image editing and background removal, numerous alternatives to PicMonkey are available in the market. These tools offer a range of features and functionalities to cater to various editing needs, from basic adjustments to advanced manipulation.
Whether you're a professional designer or an amateur photographer, these alternatives provide options to suit your preferences and requirements.
Erase.bg
Erase.bg is an AI-powered background removal tool designed for swift and precise image editing. With its intuitive interface and advanced algorithms, Erase.bg effortlessly removes backgrounds from images in seconds. Users can upload their images directly to the platform or utilize the Erase.bg application for seamless editing on the go.
Whether you're a professional photographer, designer, or hobbyist, Erase.bg streamlines the editing process, allowing you to focus on creativity rather than technicalities. Its high level of accuracy ensures that even intricate details are preserved, making it a go-to solution for anyone seeking fast and flawless background removal.
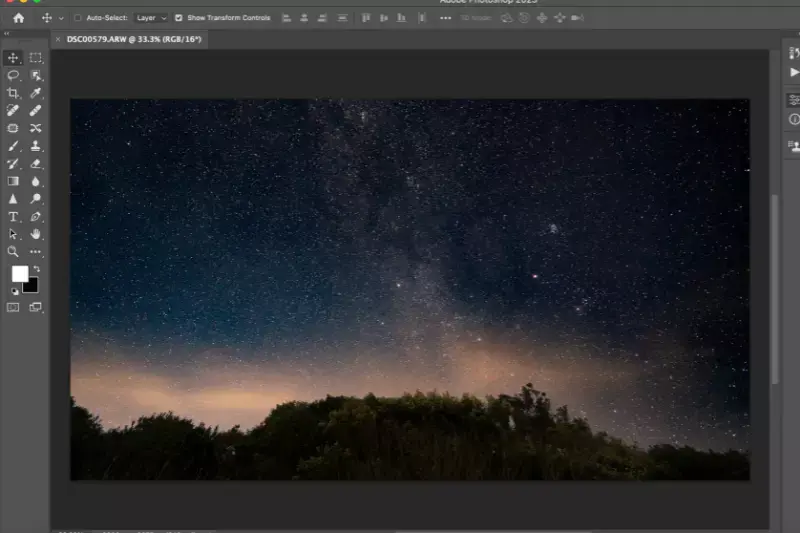
Adobe Photoshop
Adobe Photoshop is a premier raster graphics editor developed by Adobe Inc. It offers a comprehensive suite of image manipulation, compositing, and retouching tools, catering to professionals and enthusiasts alike. With its extensive array of features, including layers, masks, filters, and brushes, Photoshop empowers users to unleash their creativity and achieve stunning results.
Photoshop provides unparalleled flexibility and precision, from basic photo editing to intricate digital artwork. Its integration with Adobe Creative Cloud allows for seamless workflow management and collaboration. As an industry-standard software, Photoshop remains indispensable for photographers, designers, and artists worldwide, setting the benchmark for image editing excellence.
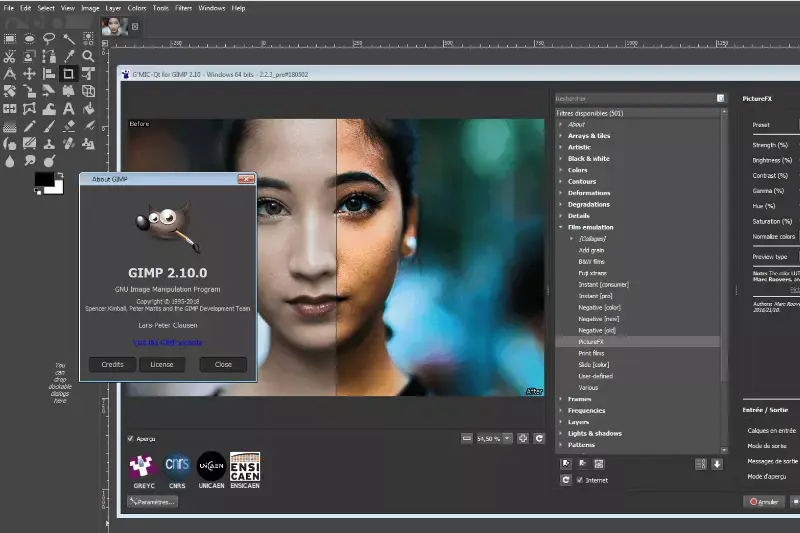
GIMP
GIMP, or GNU Image Manipulation Program, is a free and open-source raster graphics editor widely recognized as a powerful alternative to commercial software like Adobe Photoshop. Developed by a community of volunteers, GIMP offers a comprehensive set of tools for image editing, retouching, and composition. Its features include layers, masks, filters, and customizable brushes, providing users with versatile options for creative expression.
GIMP supports various file formats and plugins, enhancing its functionality and flexibility. With its user-friendly interface and extensive documentation, GIMP is accessible to both beginners and experienced users, making it a popular choice for digital artists, photographers, and graphic designers seeking high-quality editing software without the hefty price tag.
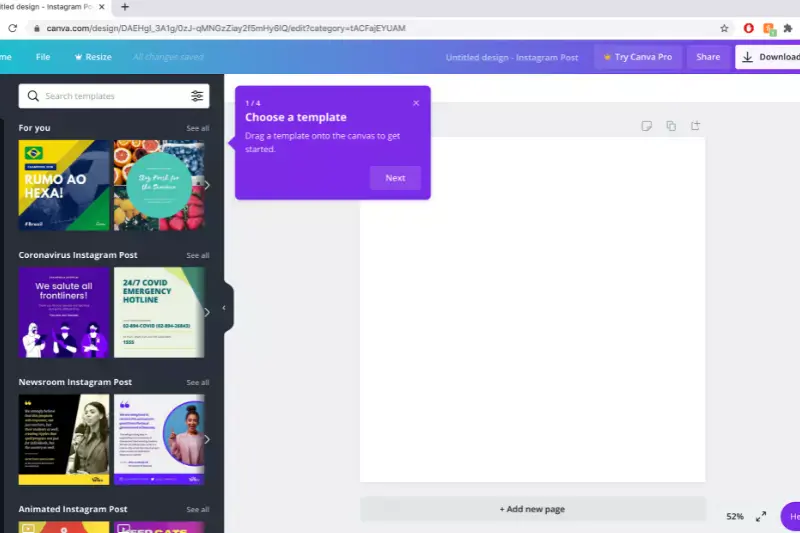
Canva
Canva is a user-friendly online graphic design platform that empowers individuals and businesses to easily create professional-quality designs. Offering a wide range of customizable templates for various purposes such as social media graphics, presentations, posters, and more, Canva simplifies the design process for users of all skill levels.
Its intuitive drag-and-drop interface, extensive library of images, icons, and fonts, and collaboration features make it a go-to tool for anyone looking to create eye-catching visuals quickly and efficiently. With both free and paid subscription options, Canva caters to diverse needs and budgets, making it a versatile solution for graphic design tasks ranging from personal projects to professional marketing materials.
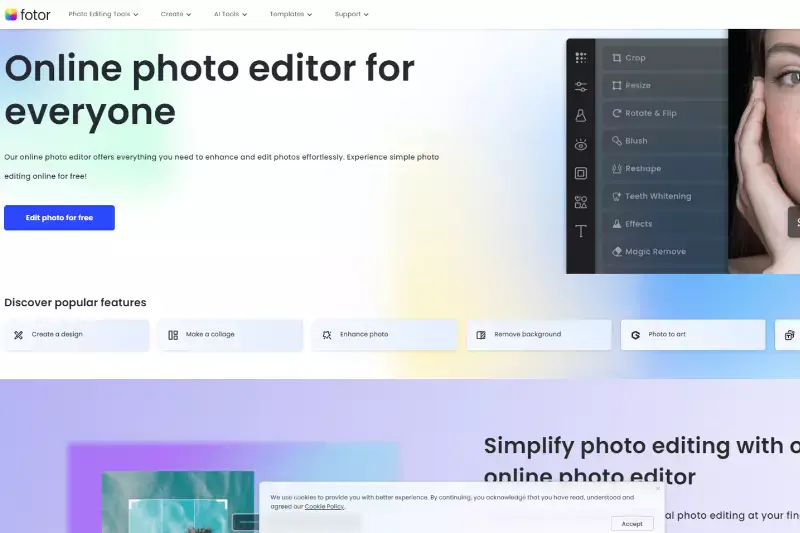
Fotor
Fotor is a comprehensive online photo editing and graphic design platform that offers a wide range of tools and features for enhancing images and creating stunning visual content. With its intuitive interface and extensive library of templates, filters, effects, and editing tools, Fotor enables users to transform their photos into professional-quality masterpieces easily.
Whether editing portraits landscapes, or creating social media graphics and promotional materials, Fotor provides a versatile and user-friendly solution for photographers, designers, and content creators of all skill levels. Additionally, Fotor offers web-based and mobile applications, allowing users to edit and design on the go, making it a convenient choice for anyone looking to elevate their visual content.
Pixlr
Pixlr is a robust online photo editing tool that offers many features and functionalities for enhancing and manipulating images. With its user-friendly interface and powerful editing tools, Pixlr allows users to easily adjust colors, apply filters and effects, add text and graphics, and perform advanced editing tasks like layering and masking.
Whether you're a beginner or a seasoned professional, Pixlr provides a seamless editing experience with its intuitive design and extensive editing options. Additionally, Pixlr offers both web-based and mobile versions, making it accessible and convenient for users to edit their photos anytime, anywhere. With its versatility and ease of use, Pixlr is a popular choice for individuals and businesses alike seeking high-quality photo editing capabilities.
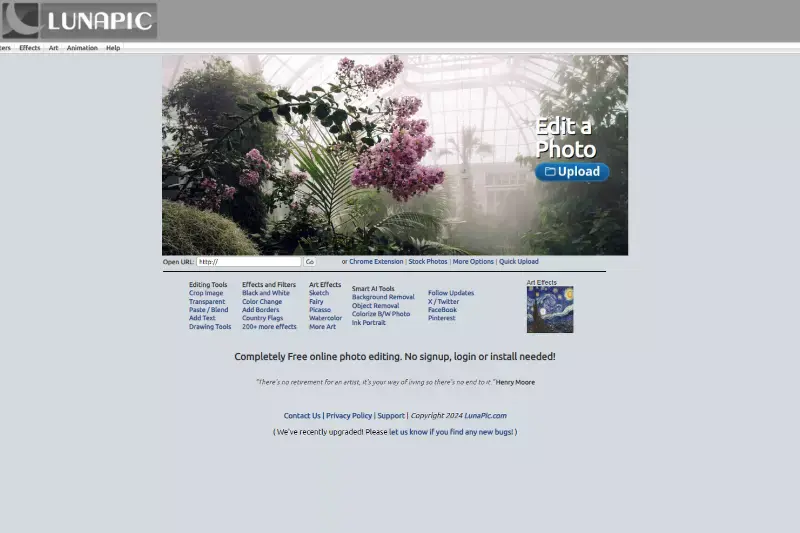
LunaPic
LunaPic is a versatile online photo editing tool that offers a range of features for enhancing and manipulating images. With its intuitive interface and diverse editing options, LunaPic allows users to easily adjust colors, apply filters and effects, add text and graphics, and perform various creative edits. Whether you're looking to retouch portraits, create artistic compositions, or add animations to your photos, LunaPic provides the tools to bring your vision to life.
Additionally, LunaPic offers convenient web-based access, enabling users to edit their images directly from their browser without downloading or installing them. With its user-friendly interface and extensive editing capabilities, LunaPic is a valuable resource for anyone looking to elevate their photos.
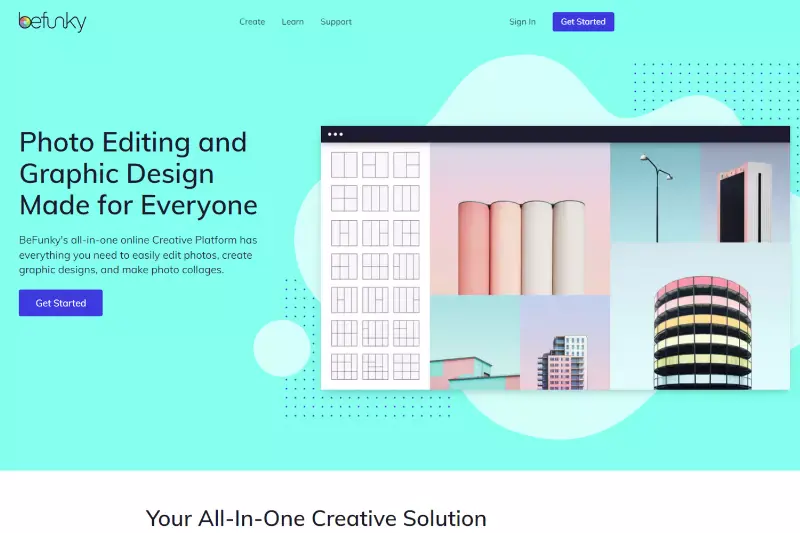
BeFunky
BeFunky is a comprehensive online photo editing and graphic design tool that offers a wide range of features for creating stunning visuals. With its intuitive interface and extensive library of editing options, BeFunky allows users to enhance photos, add filters and effects, apply overlays and textures, and easily create collages and designs.
Whether you're a beginner or a seasoned designer, BeFunky provides the tools to unleash your creativity and transform your images into professional-quality masterpieces. Additionally, BeFunky offers both web-based and mobile versions, making it accessible and convenient for users to edit their photos on any device. With its versatility and user-friendly interface, BeFunky is a popular choice for photographers, designers, and content creators worldwide.
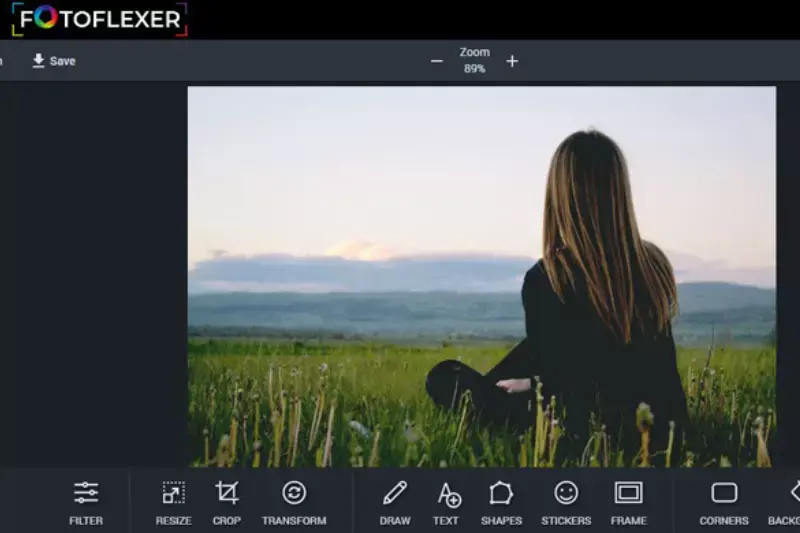
FotoFlexer
FotoFlexer is an online photo editing platform that offers a wide array of tools and features to enhance and manipulate images. With its user-friendly interface and robust editing capabilities, FotoFlexer enables users to perform cropping, resizing, adjusting colors, applying filters and effects, adding text and stickers, and easily retouching photos.
Whether you want to make minor adjustments or create complex compositions, FotoFlexer provides the tools necessary to achieve your desired results. Additionally, FotoFlexer supports various file formats and seamlessly integrates with social media platforms, allowing users to share their edited photos effortlessly. With its versatility and accessibility, FotoFlexer is a valuable tool for anyone looking to elevate their photography.
Background Burner
Background Burner is an online tool designed to remove backgrounds from images quickly and effortlessly. With its intuitive interface and powerful algorithms, Background Burner makes the background removal process seamless and efficient. Users simply upload their image, and the tool automatically detects and removes the background, leaving behind a clean, transparent background.
Whether editing product photos for an e-commerce website or creating graphics for social media posts, Background Burner streamlines the editing process and helps you achieve professional-looking results in minutes.
Additionally, Background Burner offers various customization options, allowing users to fine-tune the results to suit their preferences. With its simplicity and effectiveness, Background Burner is a valuable tool for photographers, designers, and anyone needing high-quality background removal.
Why Choose Erase.bg to Remove Background of Images?
Choosing Erase.bg for removing image backgrounds offers several compelling advantages:
Precision: Erase.bg utilizes advanced AI technology to precisely detect and remove backgrounds from images, ensuring accurate results with minimal manual effort.
Speed: With Erase.bg, background removal is quick and efficient, saving valuable time compared to manual editing or less advanced tools.
Ease of Use: Erase.bg features a user-friendly interface that makes background removal accessible to users of all skill levels, eliminating the need for extensive training or expertise.
Versatility: Whether you're editing product photos, portraits, or any other type of image, Erase.bg can handle a wide range of images and backgrounds with ease.
Consistency: Erase.bg consistently delivers high-quality results, ensuring your edited images appear professionally across various projects and platforms.
Overall, Erase.bg offers a reliable and efficient solution for removing image backgrounds, making it an ideal choice for photographers, designers, e-commerce businesses, and anyone needing high-quality background removal.
Conclusion
Erase.bg is a top choice for background removal, offering precision, speed, and ease of use. With its advanced AI technology and user-friendly interface, Erase.bg streamlines the editing process and delivers consistent, high-quality results, making it an indispensable tool for professionals and enthusiasts.
FAQ's
How do you make the background of an image white using PicMonkey?
The step of removing the background from an image using PicMonkey are explained below:
Step 1: Go to PicMonkey and pick the picture you wish to remove the background from.
Step 2: And then click on the Layers panel and then select the Background Layer.
Step 3: After that, go to the Background Tools menu and pick the white color from the color picker. Now, click on Apply.
How do you make the background picture transparent using PicMonkey?
If you wish to make the background of an image transparent using PicMonkey, here are the steps you need to follow:
Step 1: Go to PicMonkey and open your image there.
Step 2: Then, go to the Background Tools section on the left side of the screen and select Remove bkgnd.
Step 3: The background of your image is now removed and is saved in the Hub with a transparent background. And now, the background from your image is removed in an instant.
How do you remove the background of an image using PicMonkey?
Removing the background of an image using PicMonkey is a very easy job. It involves three basic steps. They are:
Step 1: Go to PicMonkey and open the image you wish to remove the background from.
Step 2: Now, select the image’s layer from the Layers panel or you could do so by clicking on the canvas.
Step 3: After selecting the image’s layer, simply click on the Remove bkgnd option from the Image tools in the left panel. With that, the background from your image will be removed.
In three easy steps, the background from your image is removed successfully, all thanks to PicMonkey.
Is PicMonkey a free tool for removing image backgrounds?
No, PicMonkey is not a free tool for removing image backgrounds. However, it offers a free trial that allows you to test out its features, including the background remover tool. After the trial period, you will need to subscribe to a paid plan to continue using the tool.
Is it easy to remove the background from images using PicMonkey?
Yes, removing the background from images using PicMonkey is a straightforward process. The tool can automatically detect the edges of your product and remove the background in just a few clicks. However, you may need to do some manual adjustments to get a more precise result.
What is PicMonkey, and how does it help remove background from images?
PicMonkey is a popular online photo editing tool that allows users to edit and enhance images quickly and easily. One of its standout features is the ability to remove the background from an image, which is useful for creating transparent overlays, collages, and other graphic designs.
PicMonkey uses advanced AI algorithms to automatically detect the subject of the image and remove the background with precision and accuracy.


.webp)
.webp)


