In the realm of digital creativity, every pixel counts. Whether you're a seasoned illustrator, a budding concept artist, or a passionate animator, achieving that perfect image often hinges on one crucial element: the background. Enter Krita, the open-source drawing and painting platform that empowers artists worldwide. But what happens when you need to strip away distractions and focus solely on your subject? That's where our journey begins: unlocking the power of Krita to effortlessly remove backgrounds and elevate your visual storytelling.
With Krita's intuitive interface and robust features, the process becomes a breeze. Say goodbye to cumbersome layers and intricate masking techniques. Our guide will walk you through each step, from initiating a transparency mask to fine-tuning your selections with precision brushes. Whether you're a seasoned pro or just dipping your toes into the world of digital artistry, our methods cater to all skill levels. It's time to unleash your creativity without constraints.
Join us as we delve into the art of background removal with Krita. From removing white backgrounds to achieving transparent perfection, we've got you covered. Let's embark on this journey together and unlock the full potential of your artistic vision.
What Is Krita?
Krita is a versatile and powerful open-source digital painting and illustration software designed for artists, illustrators, animators, and concept designers. It provides a comprehensive set of tools and features tailored to meet the diverse needs of creative professionals. With its intuitive user interface and extensive range of brushes, layers, filters, and effects, Krita enables users to express their artistic vision with ease and precision.
Whether you're creating intricate digital paintings, designing captivating concept art, or crafting compelling animations, Krita offers the tools and flexibility to bring your ideas to life. Its community-driven development model ensures regular updates and improvements, making it a reliable and accessible choice for artists of all levels.
How To Make Background Transparent In krita?
Unlocking the full potential of Krita just got easier with Erase.bg. Say goodbye to complex manual processes and hello to seamless background removal. With Erase.bg, removing backgrounds in Krita is a breeze, whether you're a seasoned pro or just getting started. Our tool effortlessly handles tasks like krita remove background, krita transparent background, and krita remove white background, providing crisp, transparent results every time.
No more tedious editing or hours spent perfecting your images. Experience the power of Erase.bg and elevate your Krita creations with ease. Say hello to transparent backgrounds and goodbye to frustration.
Benefits Of Making Backgrounds Transparent
In today's digital age, transparent backgrounds have become a necessity for various creative endeavors. Whether you're designing a website, crafting marketing materials, or creating digital art, the ability to remove backgrounds seamlessly is paramount. Let's explore the benefits of making backgrounds transparent and how it can elevate your projects.
Enhanced Visual Appeal: Transparent backgrounds create a sleek and professional look, allowing your subject to stand out without distractions. With Krita remove background feature, achieve a polished finish that captivates your audience instantly.
Versatility in Design: Transparent backgrounds provide flexibility in design, enabling you to seamlessly integrate images into various layouts and compositions. Remove background krita effortlessly and adapt your visuals to any context or platform.
Seamless Integration: Transparent backgrounds ensure smooth integration of images into diverse digital environments, such as websites, presentations, and social media posts. With krita transparent background feature, achieve seamless transitions for a cohesive visual experience.
Focus on the Subject: By removing distracting backgrounds, transparent images allow viewers to focus solely on the subject matter, enhancing comprehension and engagement. Utilize krita remove white background tool to maintain clarity and emphasize your message effectively.
Brand Consistency: Transparent backgrounds help maintain brand consistency across different marketing channels and materials. With krita background removal capability, ensure that your brand visuals remain cohesive and recognizable, reinforcing your brand identity effortlessly.
Alternatives For Making Backgrounds Transparent
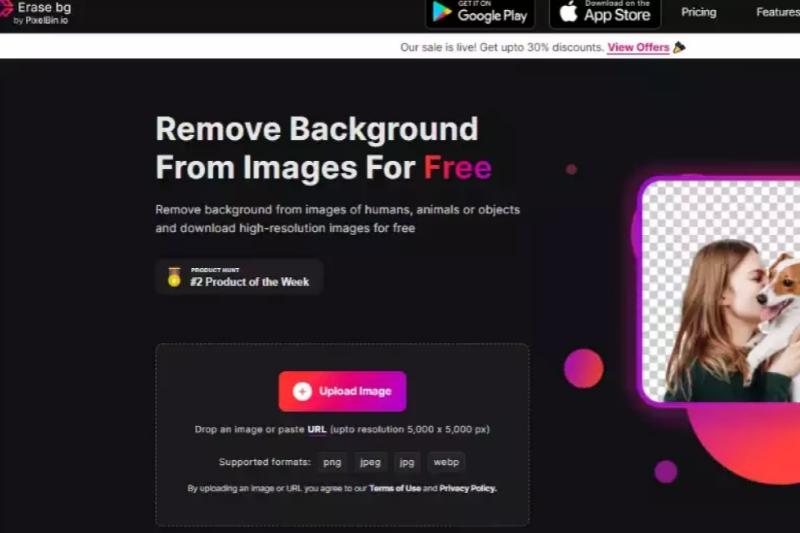
Erase.bg
Erase.bg is an innovative AI-powered tool designed for effortless background removal, specializing in creating transparent images. With Erase.bg, users can easily eliminate unwanted backgrounds from their photos with just a few clicks, saving time and effort. The advanced algorithms accurately detect and remove backgrounds, leaving behind clean, transparent images that seamlessly integrate into any design or project.
Whether you're a professional designer, marketer, or hobbyist, Erase.bg offers a simple and efficient solution for achieving transparent backgrounds, enhancing the visual appeal and versatility of your images with ease.
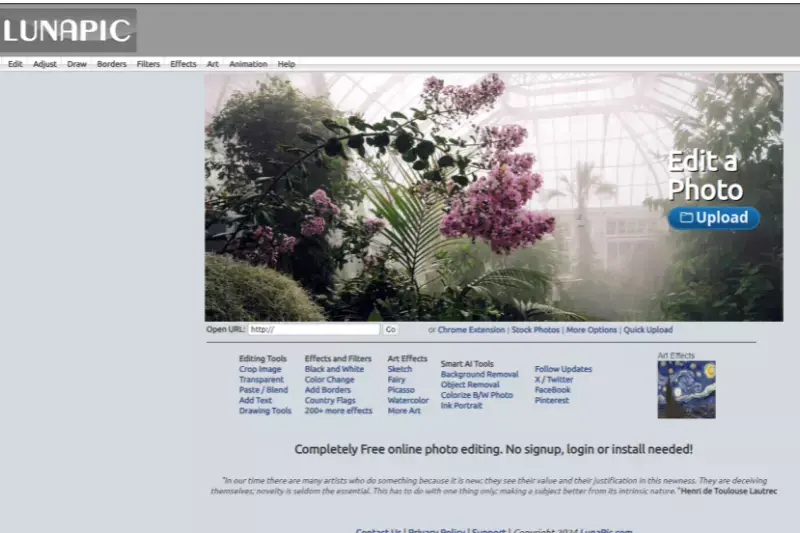
LunaPic
Lunapic is an online photo editing tool that offers a user-friendly interface for various editing tasks, including background removal to create transparent images. With Lunapic, users can easily upload their images and utilize the background removal feature to eliminate unwanted backgrounds with precision. The tool provides intuitive controls for selecting and removing backgrounds, allowing users to achieve transparent images effortlessly.
Whether for personal projects or professional endeavors, Lunapic's straightforward approach to background removal makes it a convenient choice for users seeking to create transparent images with ease.
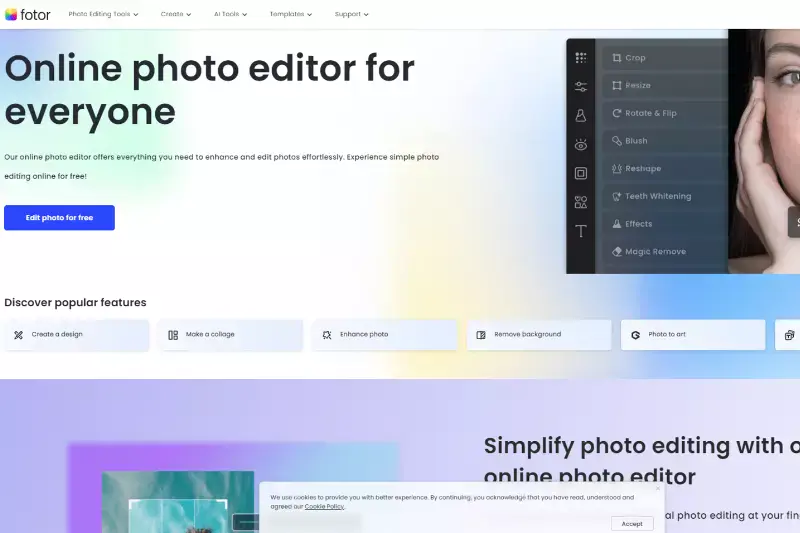
Fotor
Fotor is a versatile online photo editor that offers an array of features, including background removal to create transparent images. With its intuitive interface, users can effortlessly remove backgrounds from photos with precision and ease. Fotor provides various tools and effects to refine selections and ensure a seamless transition to transparency.
Whether you're editing portraits, product images, or designs, Fotor's background removal feature allows for quick and efficient customization. Its user-friendly platform makes it accessible to users of all skill levels, empowering them to create professional-looking transparent images effortlessly.
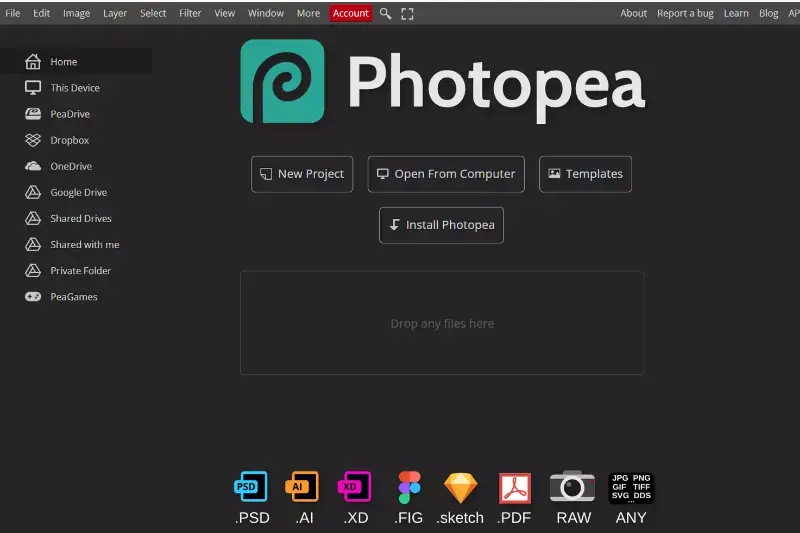
Photopea
Photopea is a robust web-based image editing tool that includes a feature for making backgrounds transparent. As a versatile alternative to traditional desktop software like Photoshop, Photopea offers a user-friendly interface and a wide range of editing capabilities. With its intuitive tools, users can easily remove backgrounds from images, allowing for seamless integration into various projects.
Whether you're editing photos, designing graphics, or retouching images, Photopea provides the flexibility and precision needed to achieve transparent backgrounds with professional results. Its accessibility and comprehensive features make it a popular choice for both beginners and experienced users alike.
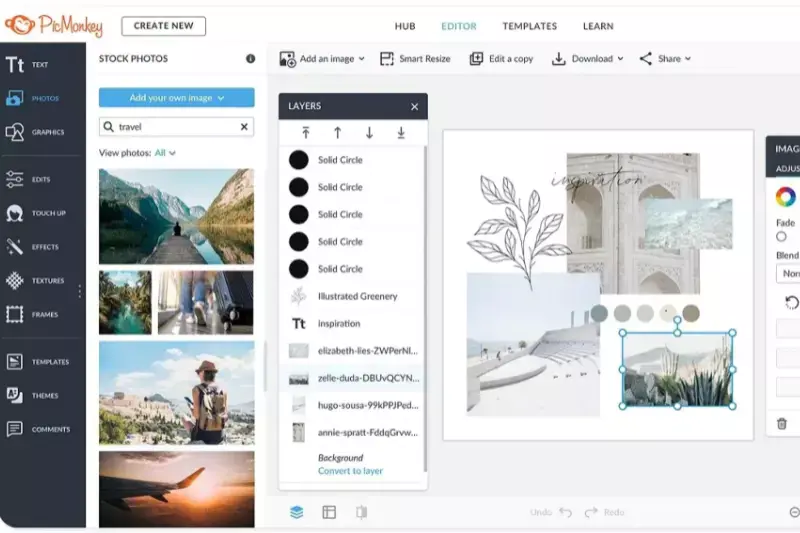
PicMonkey
PicMonkey is an intuitive online photo editor renowned for its simplicity and versatility. With its wide array of tools, including background removal features, users can effortlessly create transparent backgrounds for their images. PicMonkey's user-friendly interface makes the process straightforward, allowing users to achieve professional-looking results without the need for advanced technical skills.
Whether you're editing photos for personal projects or professional endeavors, PicMonkey provides the tools and flexibility to make background transparent with ease. Its accessibility and comprehensive features make it a go-to choice for individuals seeking quick and efficient background removal solutions.
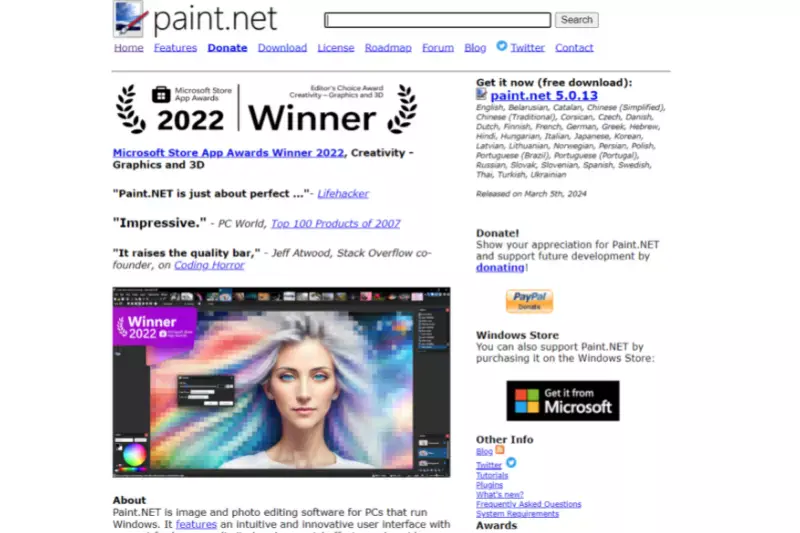
Paint.NET
Paint.NET is a popular free image editing software that offers a range of features, including tools for making backgrounds transparent. With its intuitive user interface and powerful editing capabilities, Paint.NET provides users with the ability to remove backgrounds from images with ease. The software offers various selection and masking tools, allowing for precise control over the transparency of the background.
Whether you're editing photos, creating graphics, or designing digital art, Paint.NET provides a convenient and efficient solution for achieving transparent backgrounds. Its accessibility and comprehensive feature set make it a valuable tool for both amateur and professional image editors alike.
InPixio
InPixio is a user-friendly photo editing software known for its simplicity and efficiency. With its background removal feature, InPixio empowers users to create transparent backgrounds for their images effortlessly. The software offers intuitive tools and easy-to-follow processes, making it accessible to users of all skill levels. Whether you're editing photos for personal projects or professional endeavors, InPixio provides the flexibility and precision needed to achieve transparent backgrounds with professional results.
Its streamlined interface and comprehensive feature set make it a popular choice for individuals seeking quick and effective background removal solutions without the need for extensive technical expertise.
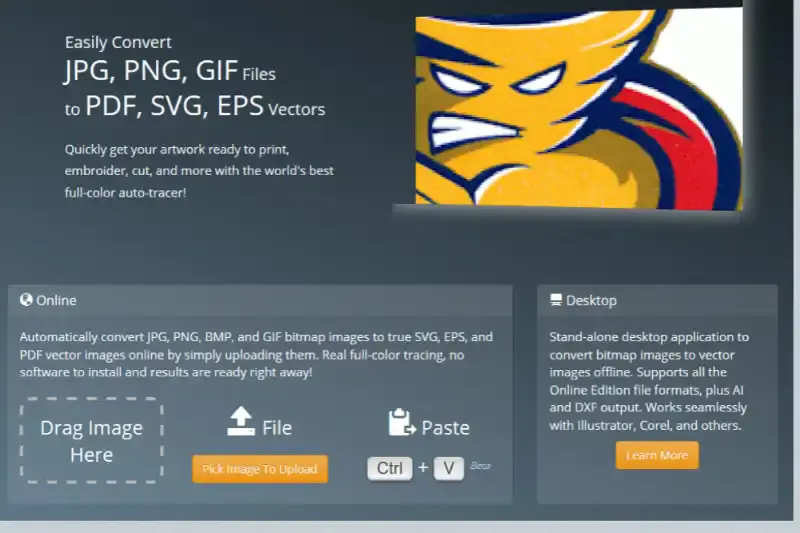
VectorMagic
VectorMagic is a powerful online tool used for converting raster images into vector graphics. While it primarily focuses on vectorization, VectorMagic also offers background removal features with transparency options. Users can upload their raster images and easily remove the background to create transparent images. With its intuitive interface and advanced algorithms, VectorMagic ensures precise background removal, maintaining the quality and integrity of the image.
Whether you're editing photographs, logos, or illustrations, VectorMagic provides a convenient and efficient solution for achieving transparent backgrounds, making it a valuable tool for graphic designers, illustrators, and artists alike.
Bazaart
Bazaart is a versatile photo editing app known for its creativity and convenience. Among its features is a background removal tool that enables users to create transparent backgrounds for their images. With Bazaart, users can easily remove unwanted backgrounds from their photos and replace them with transparent backgrounds, allowing for seamless integration into various projects.
The app offers intuitive editing controls and a wide range of customization options, making it suitable for both casual users and professionals. Whether you're editing photos for social media, creating collages, or designing graphics, Bazaart provides the tools and flexibility to achieve transparent backgrounds with ease.
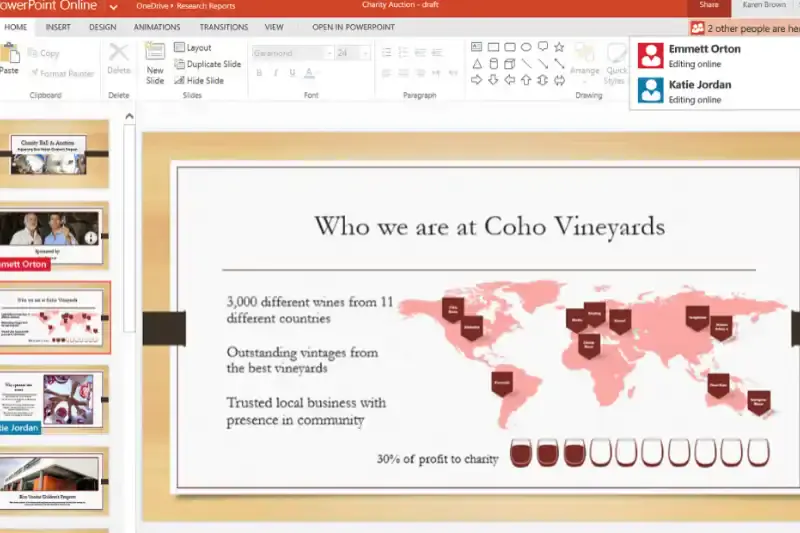
PowerPoint
PowerPoint, commonly known as presentation software, surprisingly offers basic tools for background removal and transparency adjustments. Users can remove backgrounds from images directly within PowerPoint by using the "Remove Background" feature. This feature allows users to mark areas of the image to keep or remove, resulting in a transparent background.
While not as advanced as dedicated image editing software, PowerPoint provides a simple and accessible solution for creating transparent images. Whether you're creating presentations, graphics, or digital content, PowerPoint's background removal feature offers a convenient option for achieving transparency without the need for additional software.
Why Choose Erase.bg For Making Background Transparent?
Erase.bg stands out as the premier choice for making backgrounds transparent due to several compelling reasons:
Accuracy: Erase.bg utilizes advanced AI technology to accurately identify and remove backgrounds from images, ensuring precise and clean results every time.
Speed: With Erase.bg, background removal is quick and effortless, saving users valuable time and streamlining their workflow.
Ease of Use: Erase.bg offers a user-friendly interface that makes background removal accessible to users of all skill levels, eliminating the need for complex editing software.
Consistency: Erase.bg consistently delivers high-quality results, allowing users to maintain a professional and cohesive look across their images and projects.
Accessibility: As a web-based tool, Erase.bg can be accessed from any device with an internet connection, providing convenience and flexibility for users on the go.
Cost-Effective: Erase.bg offers affordable pricing plans and a free trial option, making it an accessible solution for individuals and businesses alike.
Overall, Erase.bg's combination of accuracy, speed, ease of use, consistency, accessibility, and affordability makes it the ideal choice for making backgrounds transparent.
Conclusion
Erase.bg emerges as the top choice for transparent background removal, offering unparalleled accuracy, speed, and ease of use. With its advanced AI technology and user-friendly interface, Erase.bg empowers users to achieve professional-quality results efficiently and effortlessly, making it the ultimate solution for all background removal needs.
FAQ's
How Do I Make A Krita Image Background Transparent?
Transparency Mask can be selected by clicking the "+" drop-down in the lower left corner of the layers docker. On the canvas, paint with your favourite painting instrument. White paints opacity, while black paints transparency (see-through) (visible).
Step 1- Choose the image where you wish translucent parts to appear.
Step 2- Choose Set Transparent Color under Picture Tools > Recolor.
Step 3- Click the colour you wish to make transparent in the image. Notes:
Step 4- Choose the image.
Step 5- Click CTRL+T.
How Do I Change The Background From A Krita?
The steps are listed below.
Step 1: Choose "Theme" from the main menu of a Krita design file:
Step 2: Insert any design file you have into Krita.
Step 3: Tap the upper-left corner of the toolbar.
Step 4: Choose a theme in the preferences.
Step 5: Pick a theme from the list of offered options.
How Do I Remove A White Background From Krita Space Image?
The steps are listed below.
Step 1: Select Upload and then pick a raster file from your computer (.png, .jpg, .gif, .bmp)
Step 2: After choosing either the Complex, Challenge Posed, or Simple picture kind, kindly click.
Step 3: Select Automatic Location and Background Removal in the menu on the left of the screen.
How Do I Extract An Object From The Background from Krita Image?
If so, follow these steps:
Step 1: When opening your picture, double-click the "background" label in your layers menu.
Step 2: Choose Image > Extract to open the extract programme, or press Option/Alt+Cmd/Ctrl+X.
Simply take the.
Step 3: A few locations might have been accidentally eliminated.
How To Save A Krita With A Transparent Background?
Go to the My Projects page and click the three points on the subject tile you want to save. After that, select Save for Offline. You will see a small computer icon on each project tile that has been correctly saved for offline use.
Can Krita automatically remove the background of an image?
Krita does not have an automatic background removal feature built-in. However, you can use plugins or external software, such as Erase.bg, to remove the background of your image.
Erase.bg is a cloud-based AI-powered tool that can quickly and accurately remove the background of your image, leaving you with a transparent background. To use Erase.bg, simply upload your image to the website, and the tool will do the rest.


.webp)
.webp)


